
This is a sponsored post written by me on behalf of FrogTape® for IZEA Worldwide. All opinions are 100% mine.

The fourth bedroom has a chair rail with wainscoting under it. When updating the room for my oldest son, we painted above the chair rail a gray and painting white below the chair rail.
This post may contain affiliate links which may earn me commissions should you click through them and take certain actions. As an affiliate for Amazon, Cricut, xTool, Home Depot, and other sites, I earn from qualifying purchases. Please DIY carefully. View my full legal disclosures here.
The majority of my content is generated by me, as are 99% of the photos and videos, but I utilize technology for titles, descriptions, video editing out all of my ums, and occasionally for text overlay on images.
Please read the whole post so you don’t miss any important information!
Our oldest son, G, is 7 years old and has been happily sharing a room with his little brother who is 5. Recently though, I decided that it may make my life easier if they had separate rooms. Specifically because they love leaving their dirty clothes everywhere, their clean clothes always go in the wrong child’s bins, and it was hard to have both of them clean the one room in any fair sort of way.
And we had the extra space.
G has fantasies about this eventually being decorated to look like a Jurassic World room and we may do that. But when I paint the kids’ rooms, my main goal is to get safe paint and a clean, semi neutral look to the room. This allows me to change the theme of the room without a new paint job. It also means not needing to repaint the room should we ever decide to move.
At the old house, we did gray for their Minecraft room, and it turned out lovely with all of the accessories.
The main challenge for this space was that the room has a chair rail and wainscoting below it. Plus there was a lot of moulding above too! As my friend Scottie said: “That’s a nice upstairs dining room you have.”
Here’s the before picture of the room:
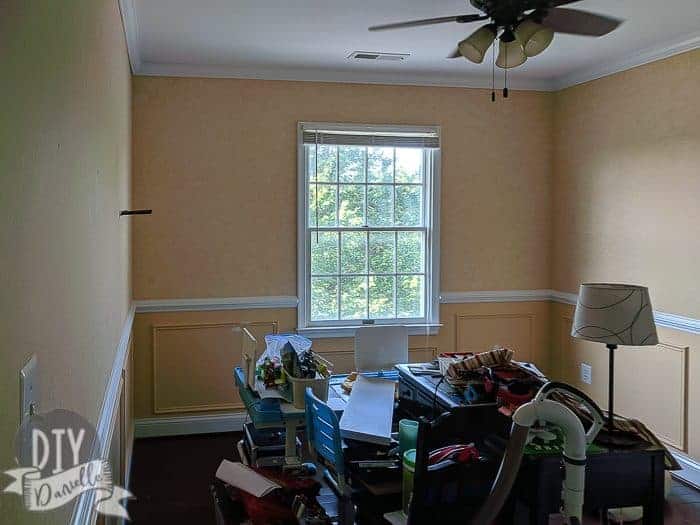
Here’s my tips for a successful paint job when you’re dealing with so much decorative moulding.
Prep Work for the Room
The first thing you NEED to get right is preparing the room. Move any furniture out (ideally) or into the middle of the room. Clear and clean the floors. Cover the floors with a quality painter’s drop cloth. I love a thick fabric drop cloth because it’s reusable, washable and durable.
Now you can wipe down all of the moulding and the walls. I had my son use a damp cloth to do the parts he could reach, then I did the top portion of the wall. This will keep you from having dust and debris in your paint job.
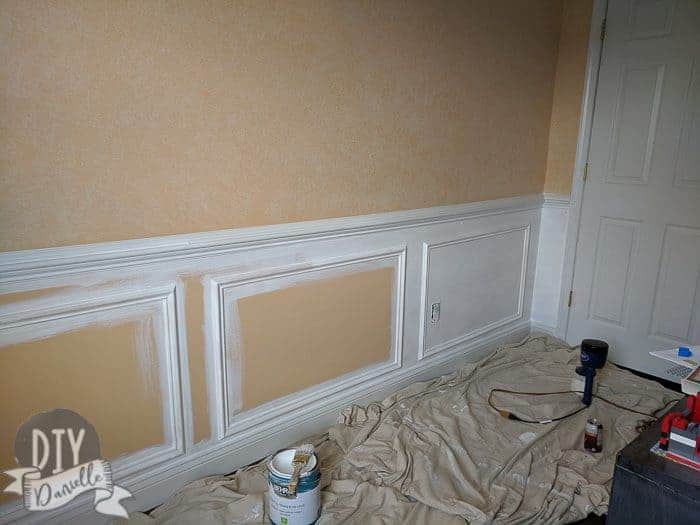
One thing that I needed to do was repair where some moulding popped off and where the previous owner didn’t caulk it. I am baffled that someone WOULDN’T do this when adding all of this detailing. My husband took out the heavy duty nail gun to attach the moulding properly.
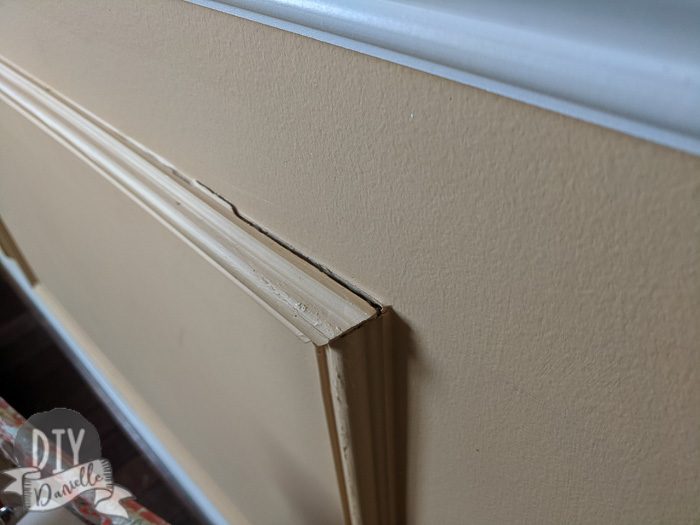
I did all of the caulking. In retrospect, I wish I’d done the caulking AFTER I’d painted. I may want to touch some of this up later.
All holes were also patched then sanded down properly.
Using the Right Tape for the Job
When FrogTape® contacted me about doing a post for them, I was so excited. This is my favorite tape brand to work with because I have seen what happens when I use the WRONG brand of tape.
This is one of those products that you need to get right when you are painting. You’ll spend a lot of time taping off the walls, moulding, etc. before you can get started… there’s NOTHING worse than ripping it off after and discovering that (gasp) the paint leaked through the tape. And that’s exactly what the cheap tape will do. It makes me irate to have to spend hours fixing a paint job because a product didn’t work properly.
Applied properly, FrogTape® Painting Tape won’t have that problem. I had no leaking on mine. Any issues I have with my paint jobs using this product are always areas where I didn’t place my tape properly… which happens.
While my least favorite thing about painting is bad tape, my MOST favorite thing about painting is peeling off GOOD tape. It’s so satisfying to rip it off and see the perfect lines (sqeeee!).
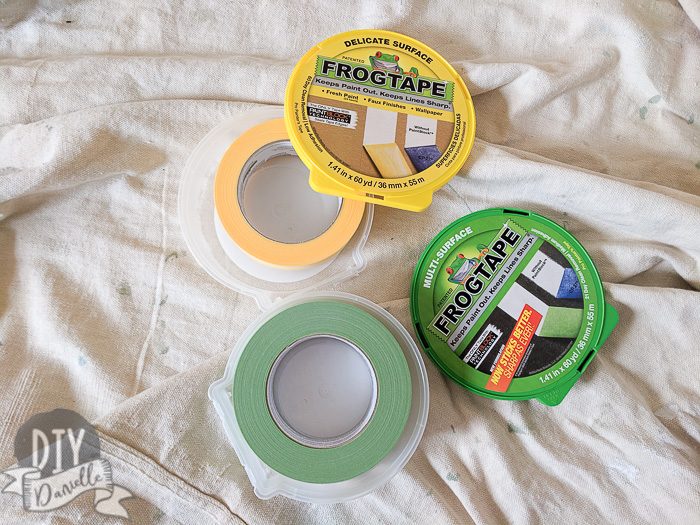
While the green FrogTape® is fantastic, I love FrogTape® Delicate Surface Painting Tape (yellow) best because I’m an impatient painter and like to peel as soon as humanly possible.
Using the Delicate Surface tape means I can safely remove the tape sooner. This works well for projects like this where I needed to move on and paint the rest of the wall too.
All FrogTape® brand painter’s tapes are treated with patented PaintBlock® Technology, a super-absorbent polymer that reacts with the water in latex paint and instantly gels to form a micro-barrier that seals the edges of the tape, preventing paint bleed and the need for touch-ups.
The main thing to remember is that FrogTape® painter’s tapes WILL block the paint from getting through. So make sure to get your placement right. I had to do some touch up on the top because my tape prevented me from seeing and painting some of the yellow paint from the previous paint job. I realized after that I might have been able to fix this without touching up the paint if I’d waited to caulk the trim after I painted. Alas… hindsight is 20/20!
Tips for Painting a Chair Rail and Wainscoting
The wainscoting and chair rail made it difficult to easily and quickly paint. A flat wall without a lot of trim is so much easier.
Here’s what I did to make things easier…
First, I knew that I wanted below the chair rail to be white. The chair rail and trim was already white so I went with a matching white for the wall.
I decided to try a paint sprayer to apply the white below the chair rail. I figured it would be most successful if I did this before applying the gray above. This allowed me to avoid taping at all initially, except for what I needed over the outlets. If the white sprayed above the chair rail, it wouldn’t matter because I’d eventually cover it up with gray.
Here’s some quick tips on how to open a can of paint.
The biggest priority was to make sure that the paint didn’t get on the floor. I should have used my green tape to hold the drop cloth.
I’ve never used a paint sprayer for an interior wall and this wasn’t the ideal one for the job, but it worked well for creating an even coat and going around all of the detailing. I did use a paintbrush to go around the edges first, just to make sure there was no yellow showing through.
I believe I used one or two layers of white. I usually pick out quality paint and primer so I don’t need to spend time doing additional coats.
Once the white spray paint coat dried, I used the FrogTape® Delicate Surface Painting Tape to cover the chair rail. I carefully applied it in small sections, making sure to run my finger over the edge so it was nice and neat.
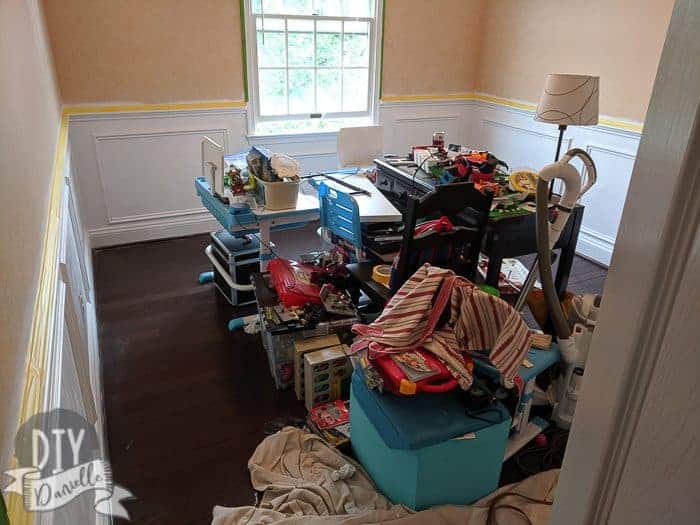
I used the green FrogTape® for the top moulding, but I think in the future I’d opt to stick with the Delicate because of the speed I work through my paint jobs. Of course, I could just wait longer to remove the tape.
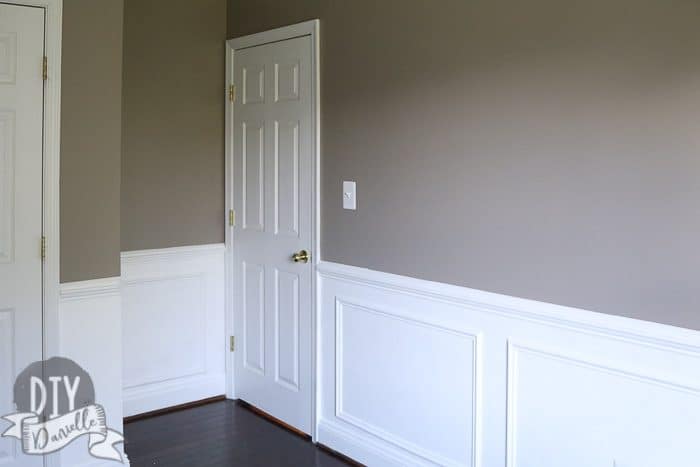
To finish, I just added gray paint using a paint roller above the chair rail. I always do my edges and along the tape with a paint brush so I can make sure to get good coverage for those spots. I think I used two coats of paint for the gray.
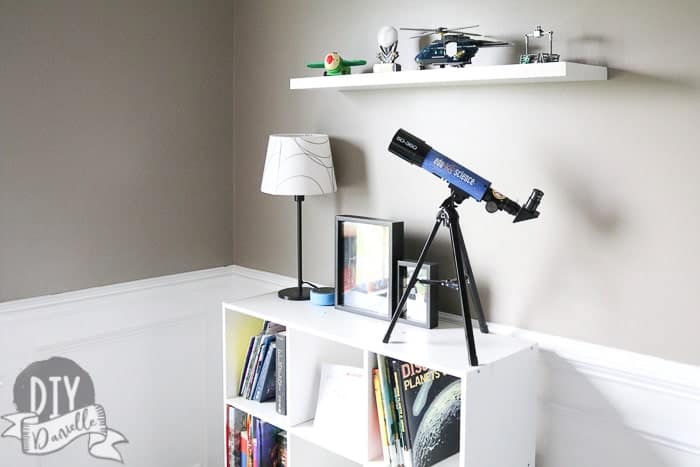
I LOVE how it came out. The room looks so neat and I hope my kiddo keeps it that way (a girl can dream). But honestly, there’s something about clean paint lines and a fresh coat of paint that really spruces up a room!
Please share and pin this post!
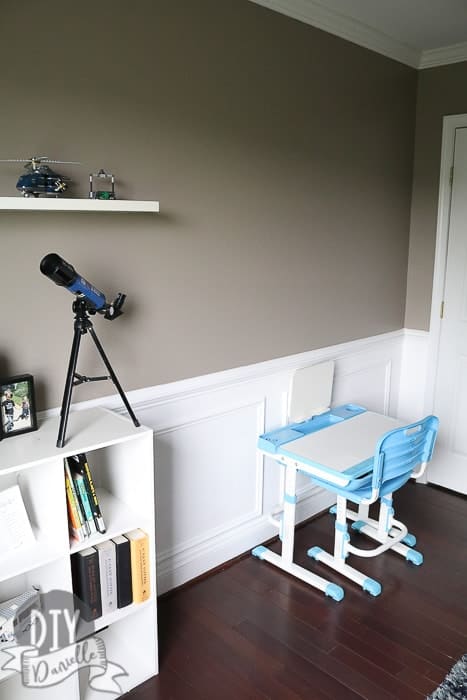
Here’s the wall once we added the desk, bookshelf, and shelf. I wish the photos could do this justice… nothing is quite as satisfying as watching the project in person to your own space.
What brand and exact color was the top wall? Its looks greyage. I love it!
Does the chair rail have to be white? I’m planning on the bottom section being a midnight blue and the top section a light taupe.
Would you advise the chair rail be blue or taupe?