Sharing is caring!
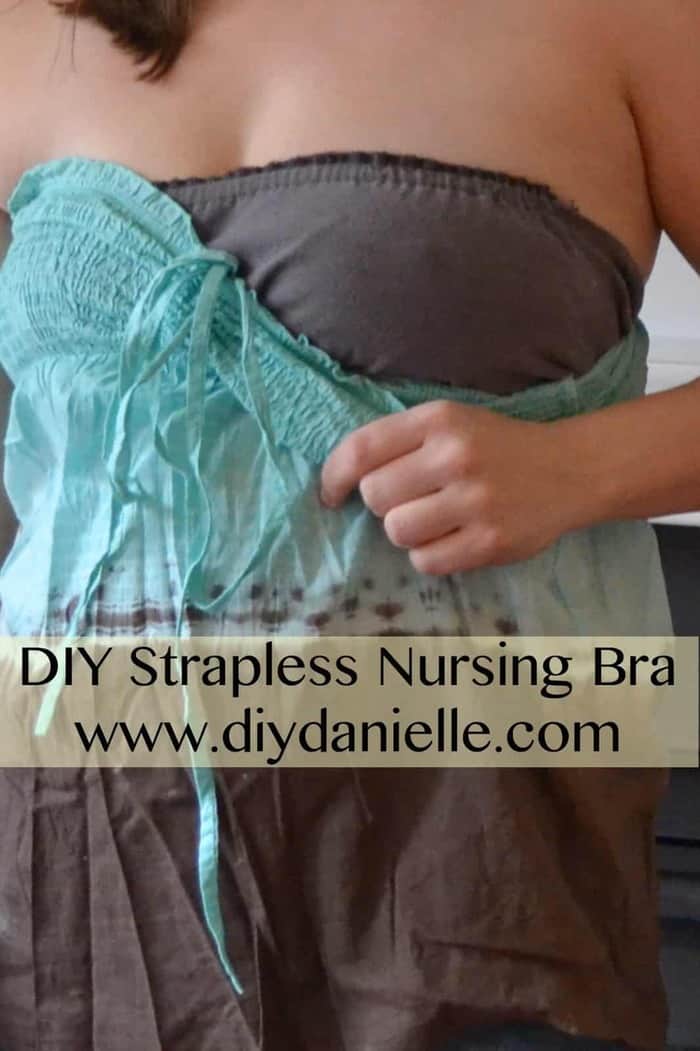
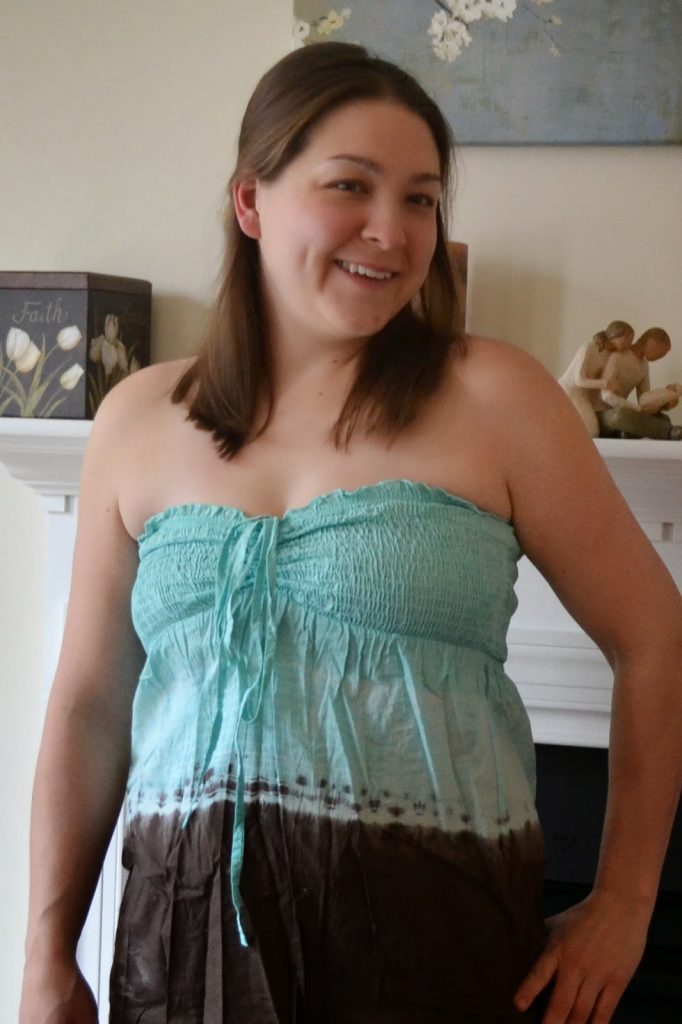
I was looking into buying a strapless nursing bra for the summer as I cannot get away with going bra less while nursing. I end up soaking wet.
I realized there wasn’t much to them- nor were there a variety of options- and I didn’t want to waste my money on something I could make with my ridiculously large fabric hoard. The ones I saw are only two layers of stretchy fabric wrapped around your chest. People complained they were too hard to pull on over their head which I know would be an issue for me. As such, I decided to use a clasp on the back… Or in this case, snaps. I didn’t want to buy the bra clasps until I worked out a design that would work for me first. I also opted to upcycle some tshirts to try these for the first time because they’re cheap, comfortable, and stretchy.
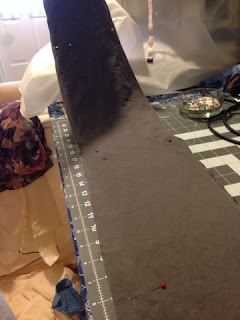
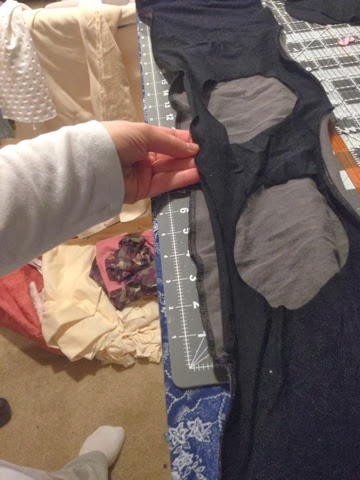
I measured around my chest. Then I added in my seam allowance for the length around 1″ total because I’d need seam allowance for both ends. For the height of it, I did 7″ or 8″ with the seam allowance added.
So for mine, I measured around 39″, add 1″ = 40″.
Then I cut out three rectangles that were the correct size (40″x8″).


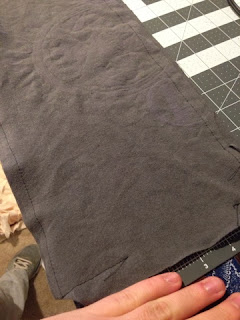
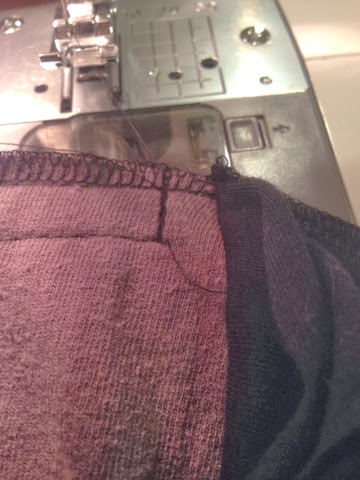
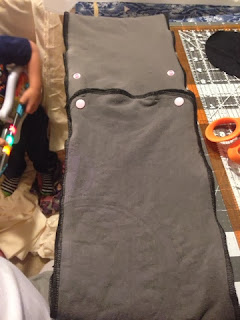
Pin and sew two of them together.. I sewed a straight stitch, then serged them together (not pictured).
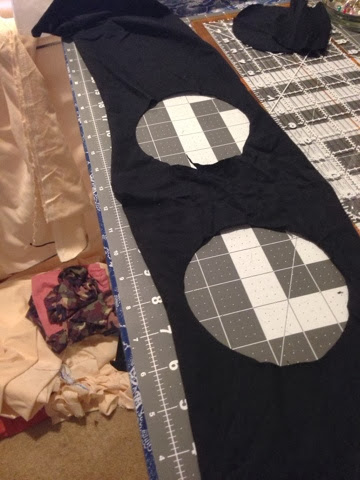
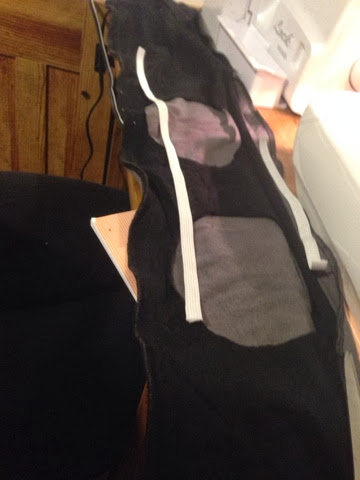
On the inner piece, I used a CD and rotary cutter to cut out circles for the boobs. I decided to do the circles 3″ apart so I found the center of the 40″ and cut the inner edge of each circle 1.5″ from it. I thought I might serge the holes but they’re knit so it’s not technically necessary as they shouldn’t fray.
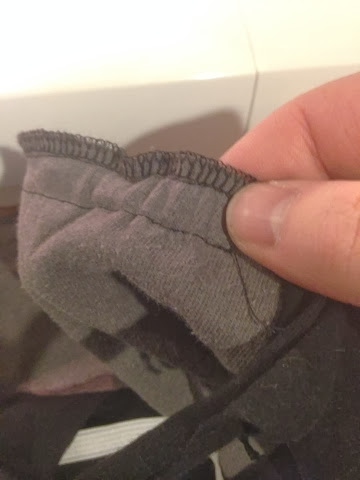
For neatness, you can serge one long side of the inside piece here. I didn’t because I didn’t think of it at the time. Serging afterwards was harder, but of course- again- it’s knit and won’t fray so it’s not REALLY necessary.
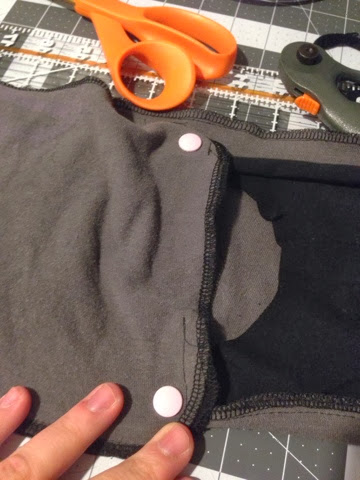
Then I serged the three pieces together (you can just sew if you don’t have a serger) and left the area near the boobs on one side open. If you don’t leave this open, you won’t have a functioning nursing bra. I did serge the inside piece. NOTE: It’d be easier not to serge one of the short ends until the very end.
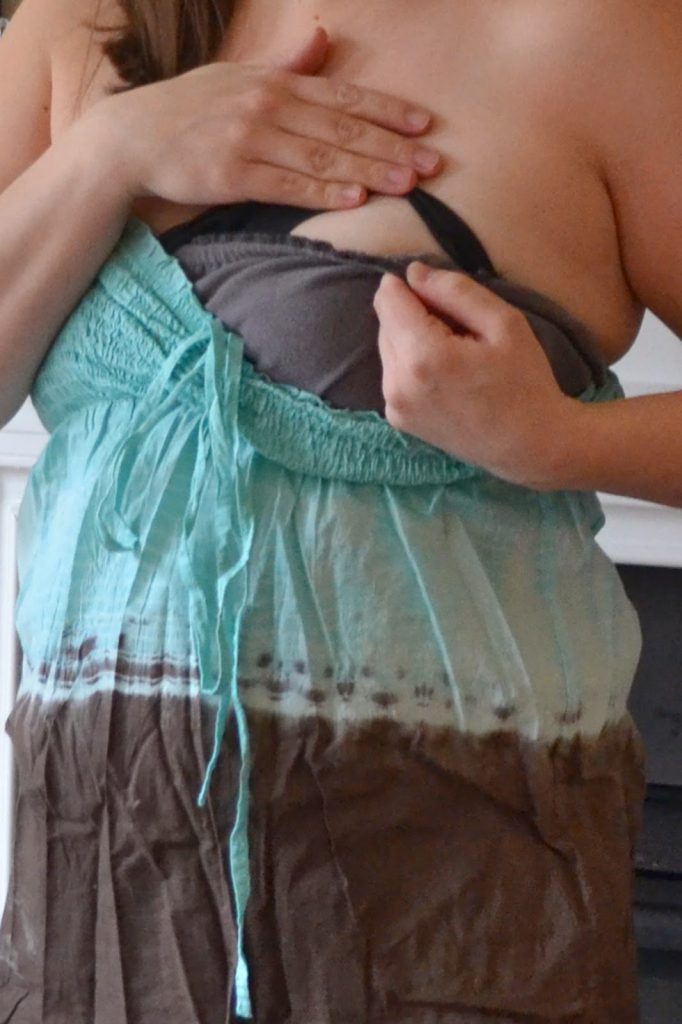
DO THIS STEP LAST: At this point I added snaps… It seemed like a good idea. Uhh… So I added a bunch and guess what! I realllllly needed elastic along the top to keep this on better.

For the elastic, this sorta determines whether you want to open this from bottom or top. You NEED the elastic on the top to hold it up better. I want to be able to do both so I can just flip the bra upside down for whichever is more convenient with my outfit. If you have a preference for one or the other, you can likely get away with just one elastic on the top. Regardless, it’ll be easier to have the opening at the bottom vs the top because there’s no straps to the bra.
I sewed an elastic casing across one whole long side (the one without the opening), then I sewed a casing along the outer piece for the side with the opening. You’ll need to open up (seam rip) one side of the nursing bra to fit your hand through to feed the elastic in- or you can be a normal person and wait to sew that side up- and wait to add the snaps.


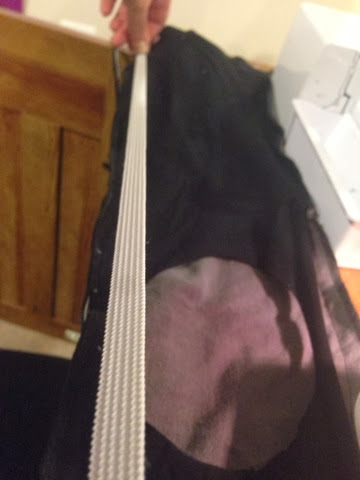
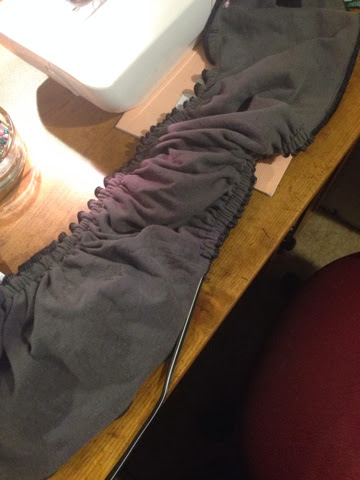
I stretched my elastic along the whole casing to decide on the length of the elastic for each casing. Then I cut the elastic and threaded it through (use a safety pin). I sewed down the one end of the elastic, finished bringing elastic through to the other side, sewed that down, removed the elastic.
This is it finished!
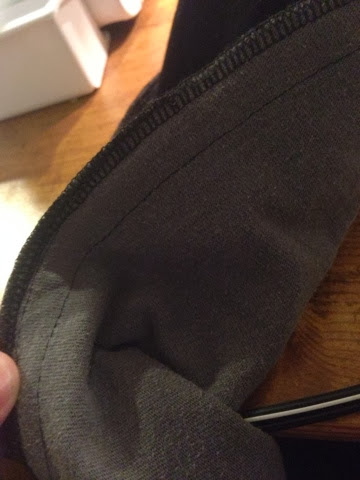
Sew the short end closed now (and add snaps if you were smart and waited)
Final Product
It doesn’t work for shirts with a low V because the bra WILL show, but I’m tempted to make another with some lace at the top edge. If so, it’ll show but it will look like I did it on purpose. Haha.
Sharing is caring!