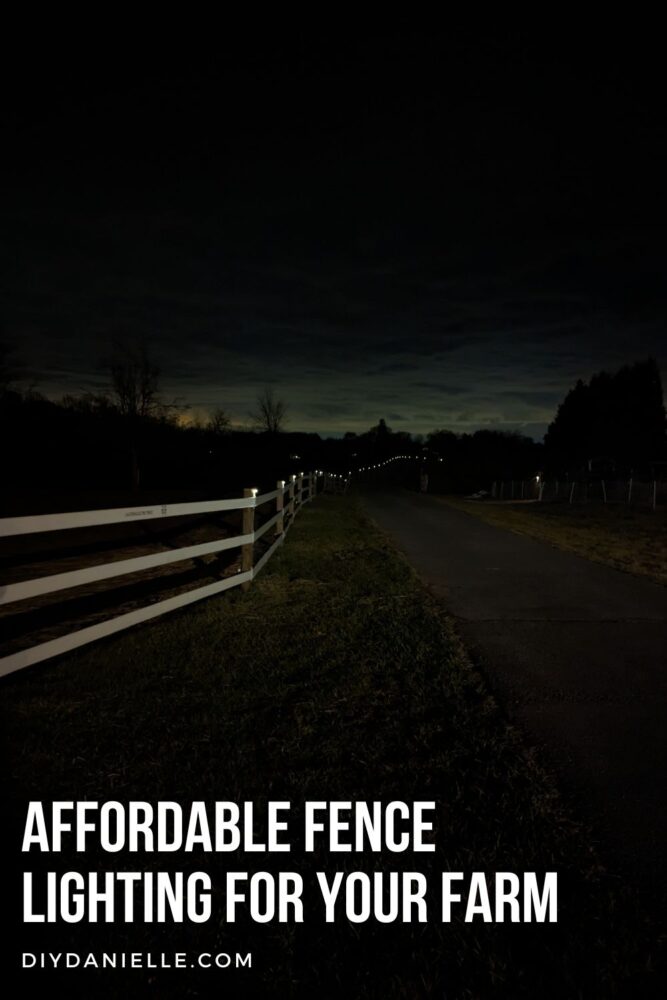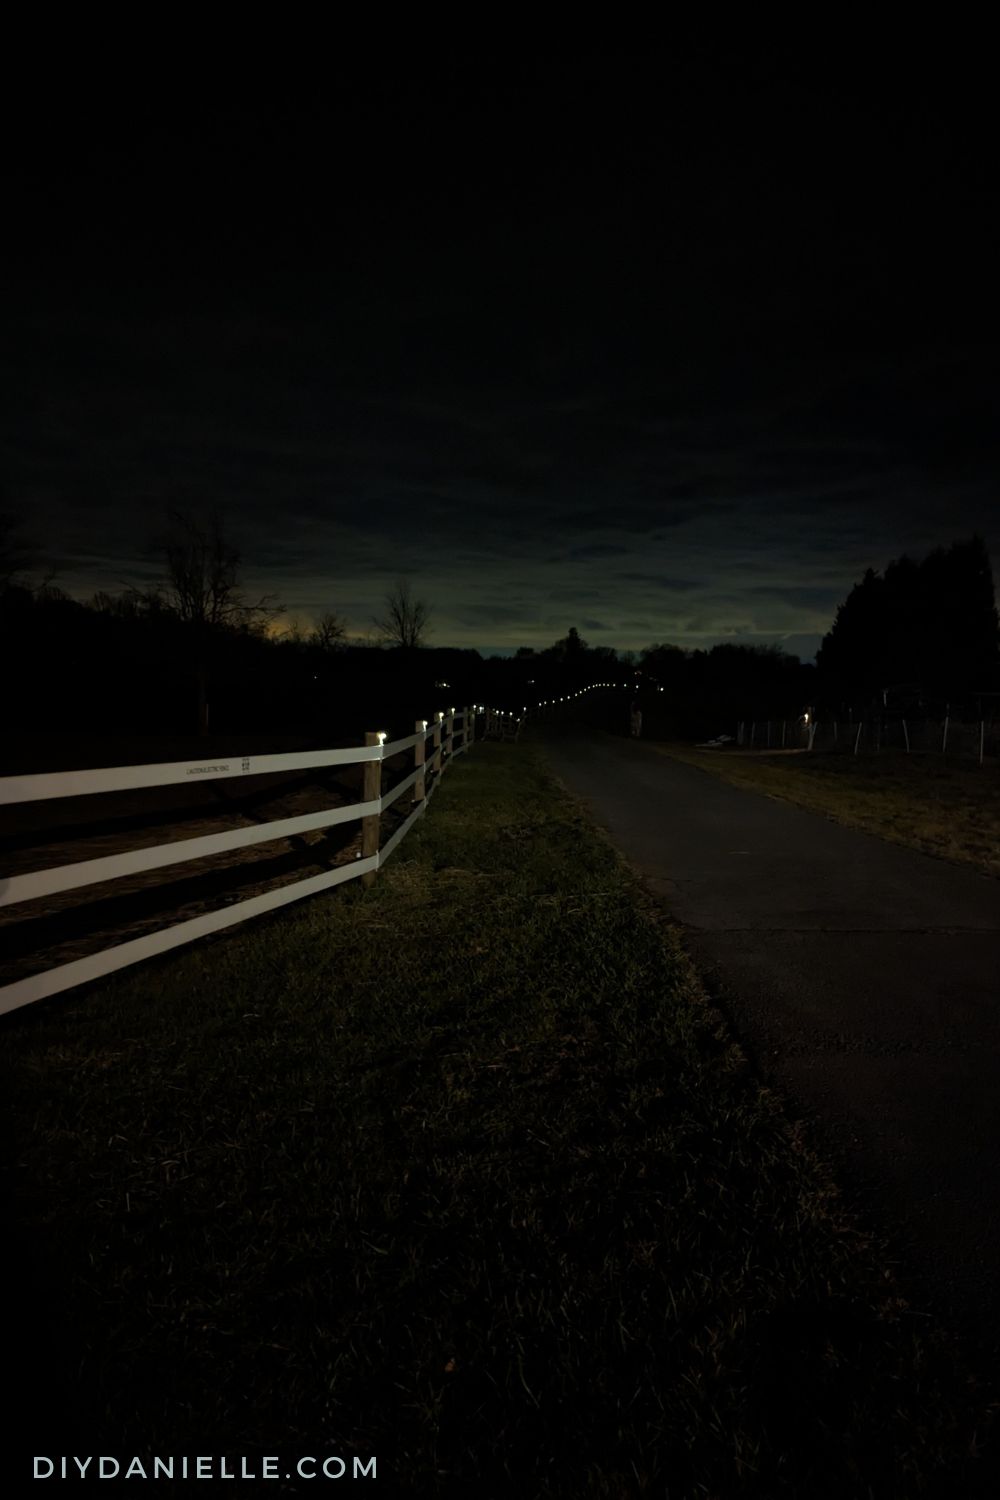
Easy to install solar fence lights for your farm fencing- for under $100! This convenient option gives off subtle lighting along a fence line.
I’ve been wanting solar lights for our fencing for a while. We have a long driveway and it’s SO DARK out in our rural area. And while I appreciate that darkness when star gazing, it’s nice to be able to see where the fencing and the driveway is. These easy to install solar fence lights are subtle enough to not cause issues when looking at stars through a telescope, but they still light our fence line well.
This post may contain affiliate links which may earn me commissions should you click through them and take certain actions. As an affiliate for Amazon, Cricut, xTool, Home Depot, and other sites, I earn from qualifying purchases. Please DIY carefully. View my full legal disclosures here.
The majority of my content is generated by me, as are 99% of the photos and videos, but I utilize technology for titles, descriptions, video editing out all of my ums, and occasionally for text overlay on images.
Please read the whole post so you don’t miss any important information!
How to Install Solar Fence Lights
Supplies
- 20-pack solar deck lights: https://amzn.to/3CvIuwv (I’ll likely need 4 sets, totaling a little over $100, but I’ve only needed 3 sets so far).
- Drill and Phillips head drill bit
Rather than use traditional fence lights, I wanted something that would predominantly be on the driveway side of the post— away from my horses’ mouths. I’m constantly surprised by what my horses will eat, despite their ability to nose around a pill in a handful of grain.
I initially purchased these solar post lights, but they didn’t fit the circular posts well and I was concerned the horses would eat them. Also, they were $29 for two which would make them VERY expensive for my entire fence line. I have about 35+ posts on each side of the driveway. I still haven’t figured out where to install them. I’m hoping they’ll fit on my backyard fencing because they’re lovely- they’re just not in my budget.
These are not particularly tricky to install, but save the stickers- they’re good for other stuff, but NOT for this. They WILL NOT stick to the fence post… not sure why I even tried, but I did test it out. Haha.
Step 1: Turn on every single light that you are going to install. There is a small switch under a plastic cover in the back. Once you’ve done this, cover the solar panel to test to make sure they work.
Sometimes the switch is tough to switch on and you don’t quite get it on. These ONLY WORK when it’s dark… but if you cover the panel, it thinks it’s dark and will light up.
Step 2: Once you’ve verified that the lights work, place them on the outside of your fence post, away from livestock mouths. This is tricky with a round post, but you have to center it so both screw holes are over the fence post. Sometimes you need to angle your screw a bit to hit the post.
Step 3: Screw in one light per post. You only need the included screws- no need for the drywall anchors. I’m not sure why they were included or when you’d need them for an outdoor project, but they’re unnecessary for a solid wood post.
If you’re on a budget, you can space these out every two or three posts. Just do the math in advance so it’s all even.
Step 4: Enjoy your work!
This saved us a lot of money… I’m hoping they’ll work for a long time. The solar options are getting better and better. Running electric down this fence line would have been quite expensive, not including the cost of lights for each post. The other consideration was trying to find the appropriate lights for the fence that wouldn’t lure the horses over to nudge and chew on them. This worked out so well.
I’m waiting to cut off the tops of the posts on the right side so we can install them on that side of the driveway too.
Please share and pin this post! You can also post your project and tag the DIYDanielle team on Instagram @doityourselfdanielle!