
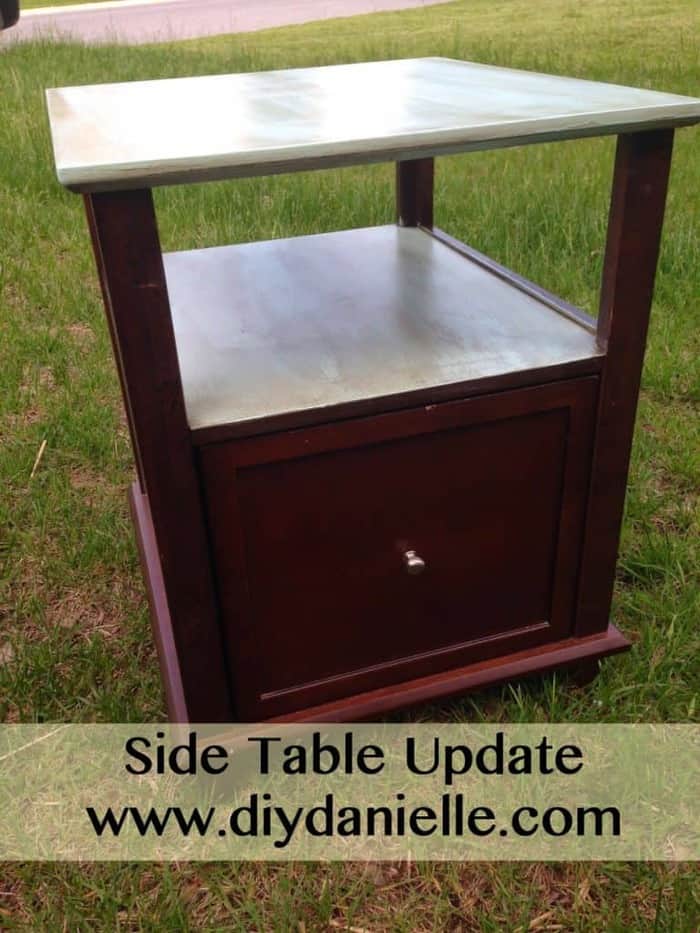
I’ve been distressing everything recently because the supplies were out and it’s fun. I originally had planned to distress this side table that I picked up at the thrift store and sanded the top, but then my mother-in-law pointed out it’s not real wood so it wouldn’t distress nice.
Discouraged, I’ve been using it as is – complete with the sanded surfaces. Yuck.
I decided to go ahead and distress it this weekend anyways though because it’ll look better than it currently does.
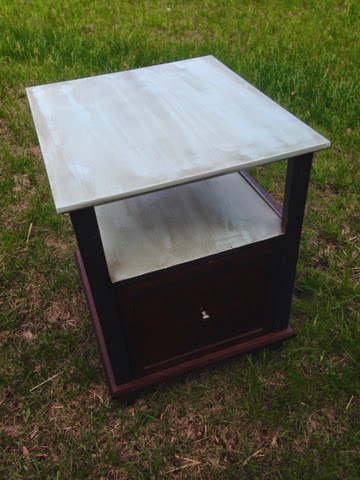
I only did the tops that I’d already sanded- and I REALLY like the look. I did this similar to how I did my other distressing projects (linked below), except I did not distress by sanding before putting the stain on. I skipped that part and just applied stain over the paint and wiped the stain off. Then I used polyurethane.
As this is a side table and will get a lot of use, I opted to do a few coats of poly… First coat on, let it dry, sand lightly, then apply one more coats- allowing them to dry in between of course. You may want to do three coats total, but I wanted this out of my garage so I stopped at two.I highly recommend taping off areas you don’t want to get paint on… I did not and you can tell, but I wasn’t super concerned seeing that I just wanted this project done and I couldn’t find the tape fast enough.
My other distressing projects:
Feel free to share your distressing projects by commenting below! I LOVE LOVE LOVE the look of distressed furniture. Plus it covers up the damage my toddler does to it. Ha.