

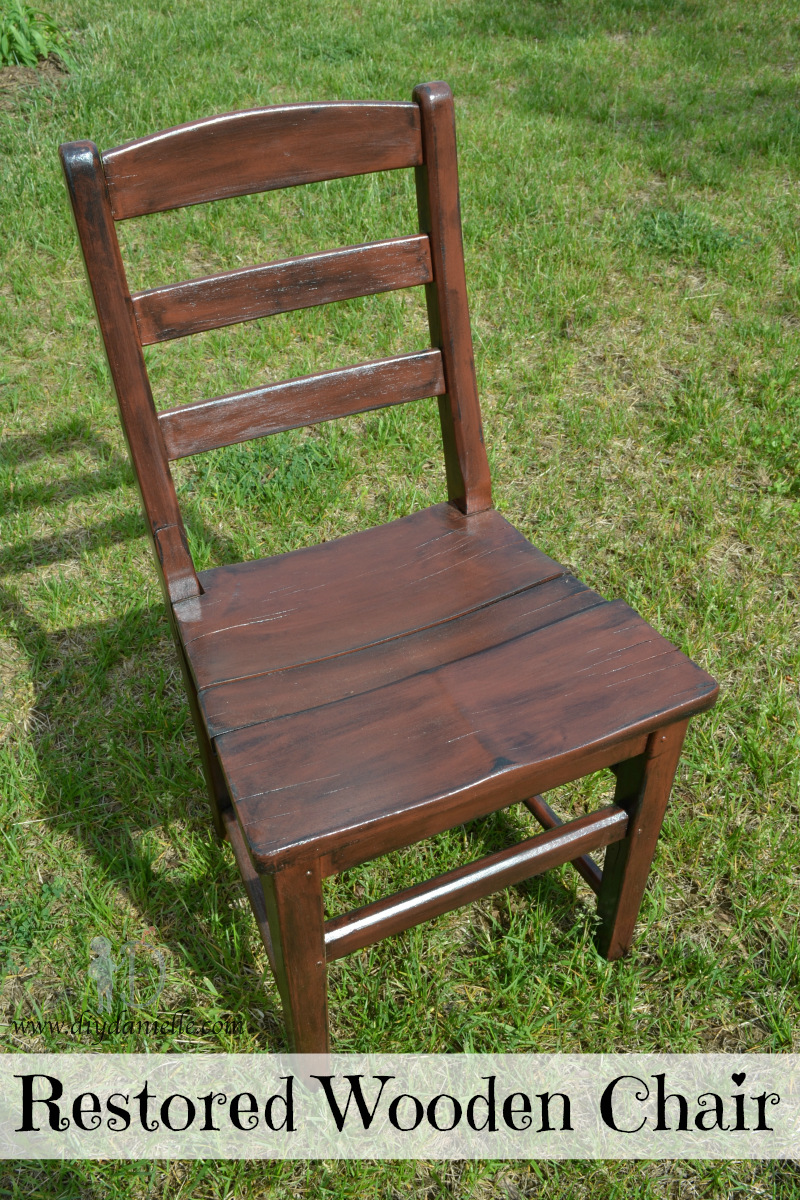
How to update an old wooden chair to be an attractive decoration for your front porch.
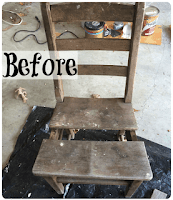
I’ve had this old wood chair sitting on my front porch forever. I wouldn’t throw it away and it looked AWFUL. My mom kept saying: “Danielle! Paint it and put a flower pot inside it!” Literally. For maybe two years straight. So here you go mom. Without further ado… my chair redo.
This wasn’t a very complicated project. I didn’t need the chair to be functional and I was back and forth about if I wanted to cut out an area for a plant or leave it all in one piece. I opted for keeping it in one piece because I haven’t had much success keeping plants alive on my covered porch. There was a piece of wood that had broken off on top… I just painted that as well and put it back on. Nothing fancy. I didn’t screw it or glue it on. There’s a lot more room for error when you’re using something for decor and not for actual use.
I went through my typical process to paint and distress the chair. I was able to get away with using only one of those sample containers of paint from Lowes. This worked great for me… I love those little containers so much. The paint was Valspar Chocolate Cherry and I used ebony stain. Then I used poly to finish it. I chose the Chocolate Cherry because my shutters are red-ish and I knew my ebony stain would darken the color… this ended up being a pretty good fit for color.

The video below shows my process, except on a different project: My Drab to Dreamy Lego Desk.
Here’s a picture of my chair painted. It definitely looked good as is, but I just love distressing things and seeing what color they end up as so I couldn’t resist doing so with this chair too.
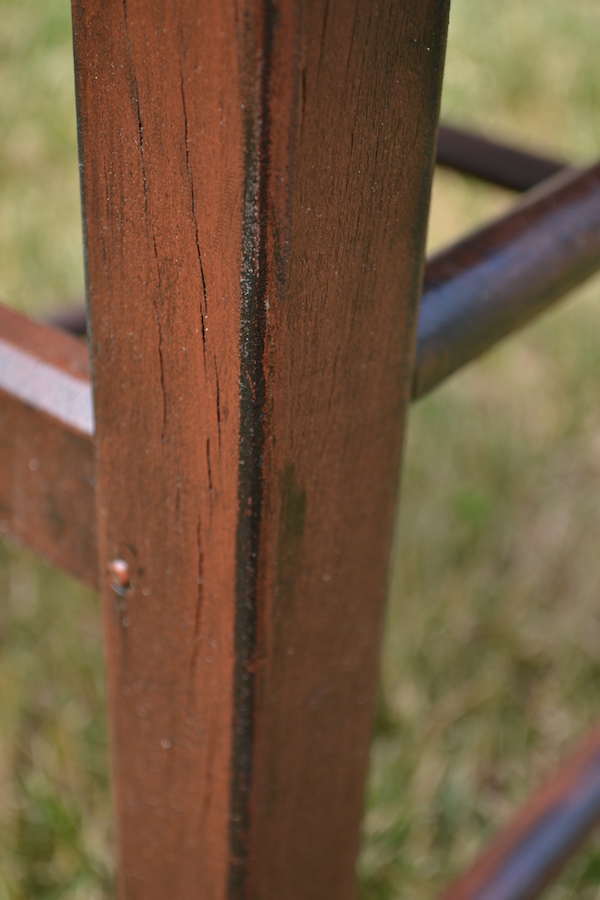
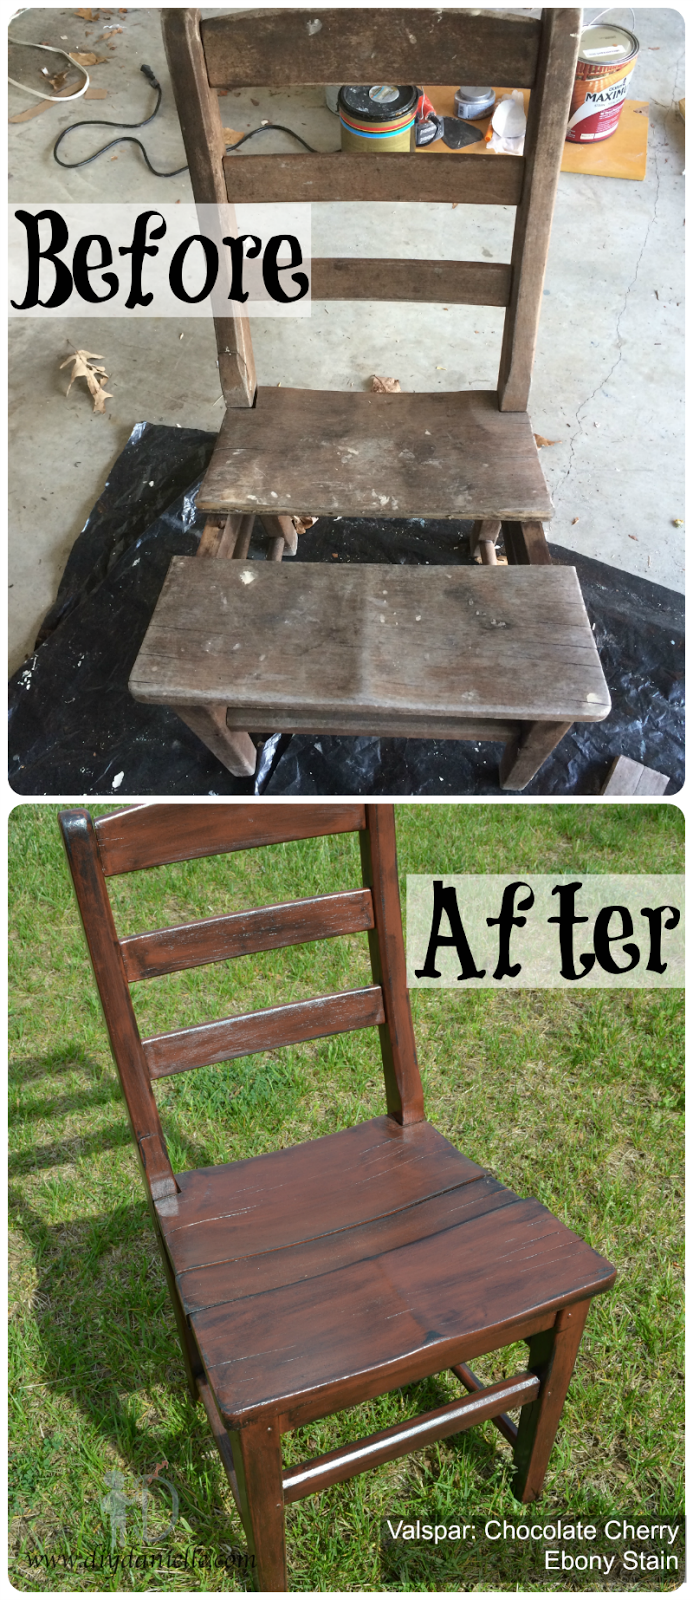
After I painted it and let that dry, I sanded lightly then used ebony stain over the paint, wiping it off with an old t-shirt rag as I went. Once I let it dry, I used a coat of poly and let that dry. Sometimes if something will get heavy use I do 2-3 layers of poly, but this was decoration so I didn’t put that much effort in. Below is the before and after! I hope you enjoy.
Here are a couple affiliate links to the supplies that I used (note: I actually used a non fast drying poly but I figured I’d link this one because fast drying seems like a way better idea):

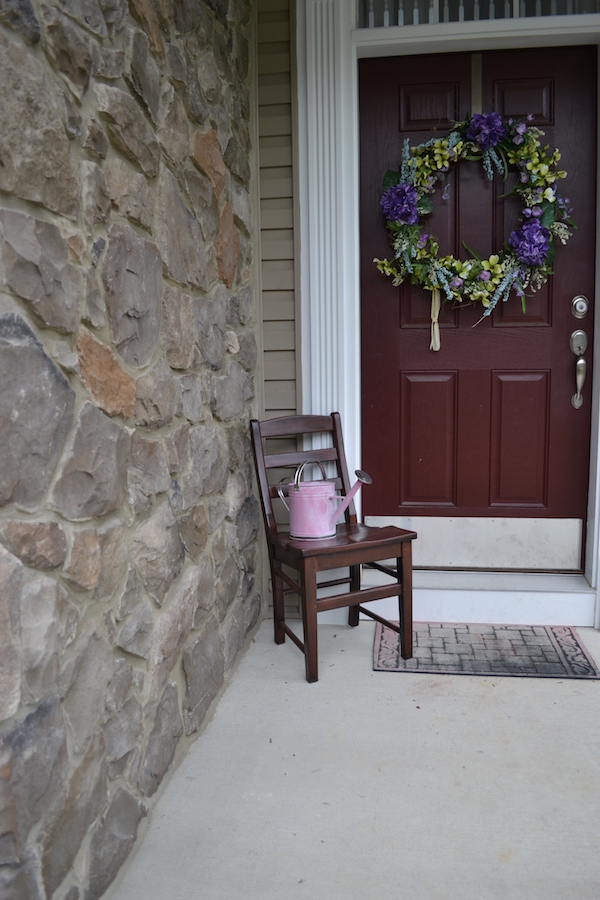
Now I just need to figure out how to use it to decorate my front porch… I need my mom to come decorate for me. Decorating is her skill… I just like to make things.
I’d love if you could pin the below image and share on Pinterest,
as well as other social networking sites!
So pretty–you totally brought it back to life!
Thanks so much!
That's quite the transformation! It looks so nice and I really like the colour of the stain you chose. Thank you for sharing at the Handmade Hangout!