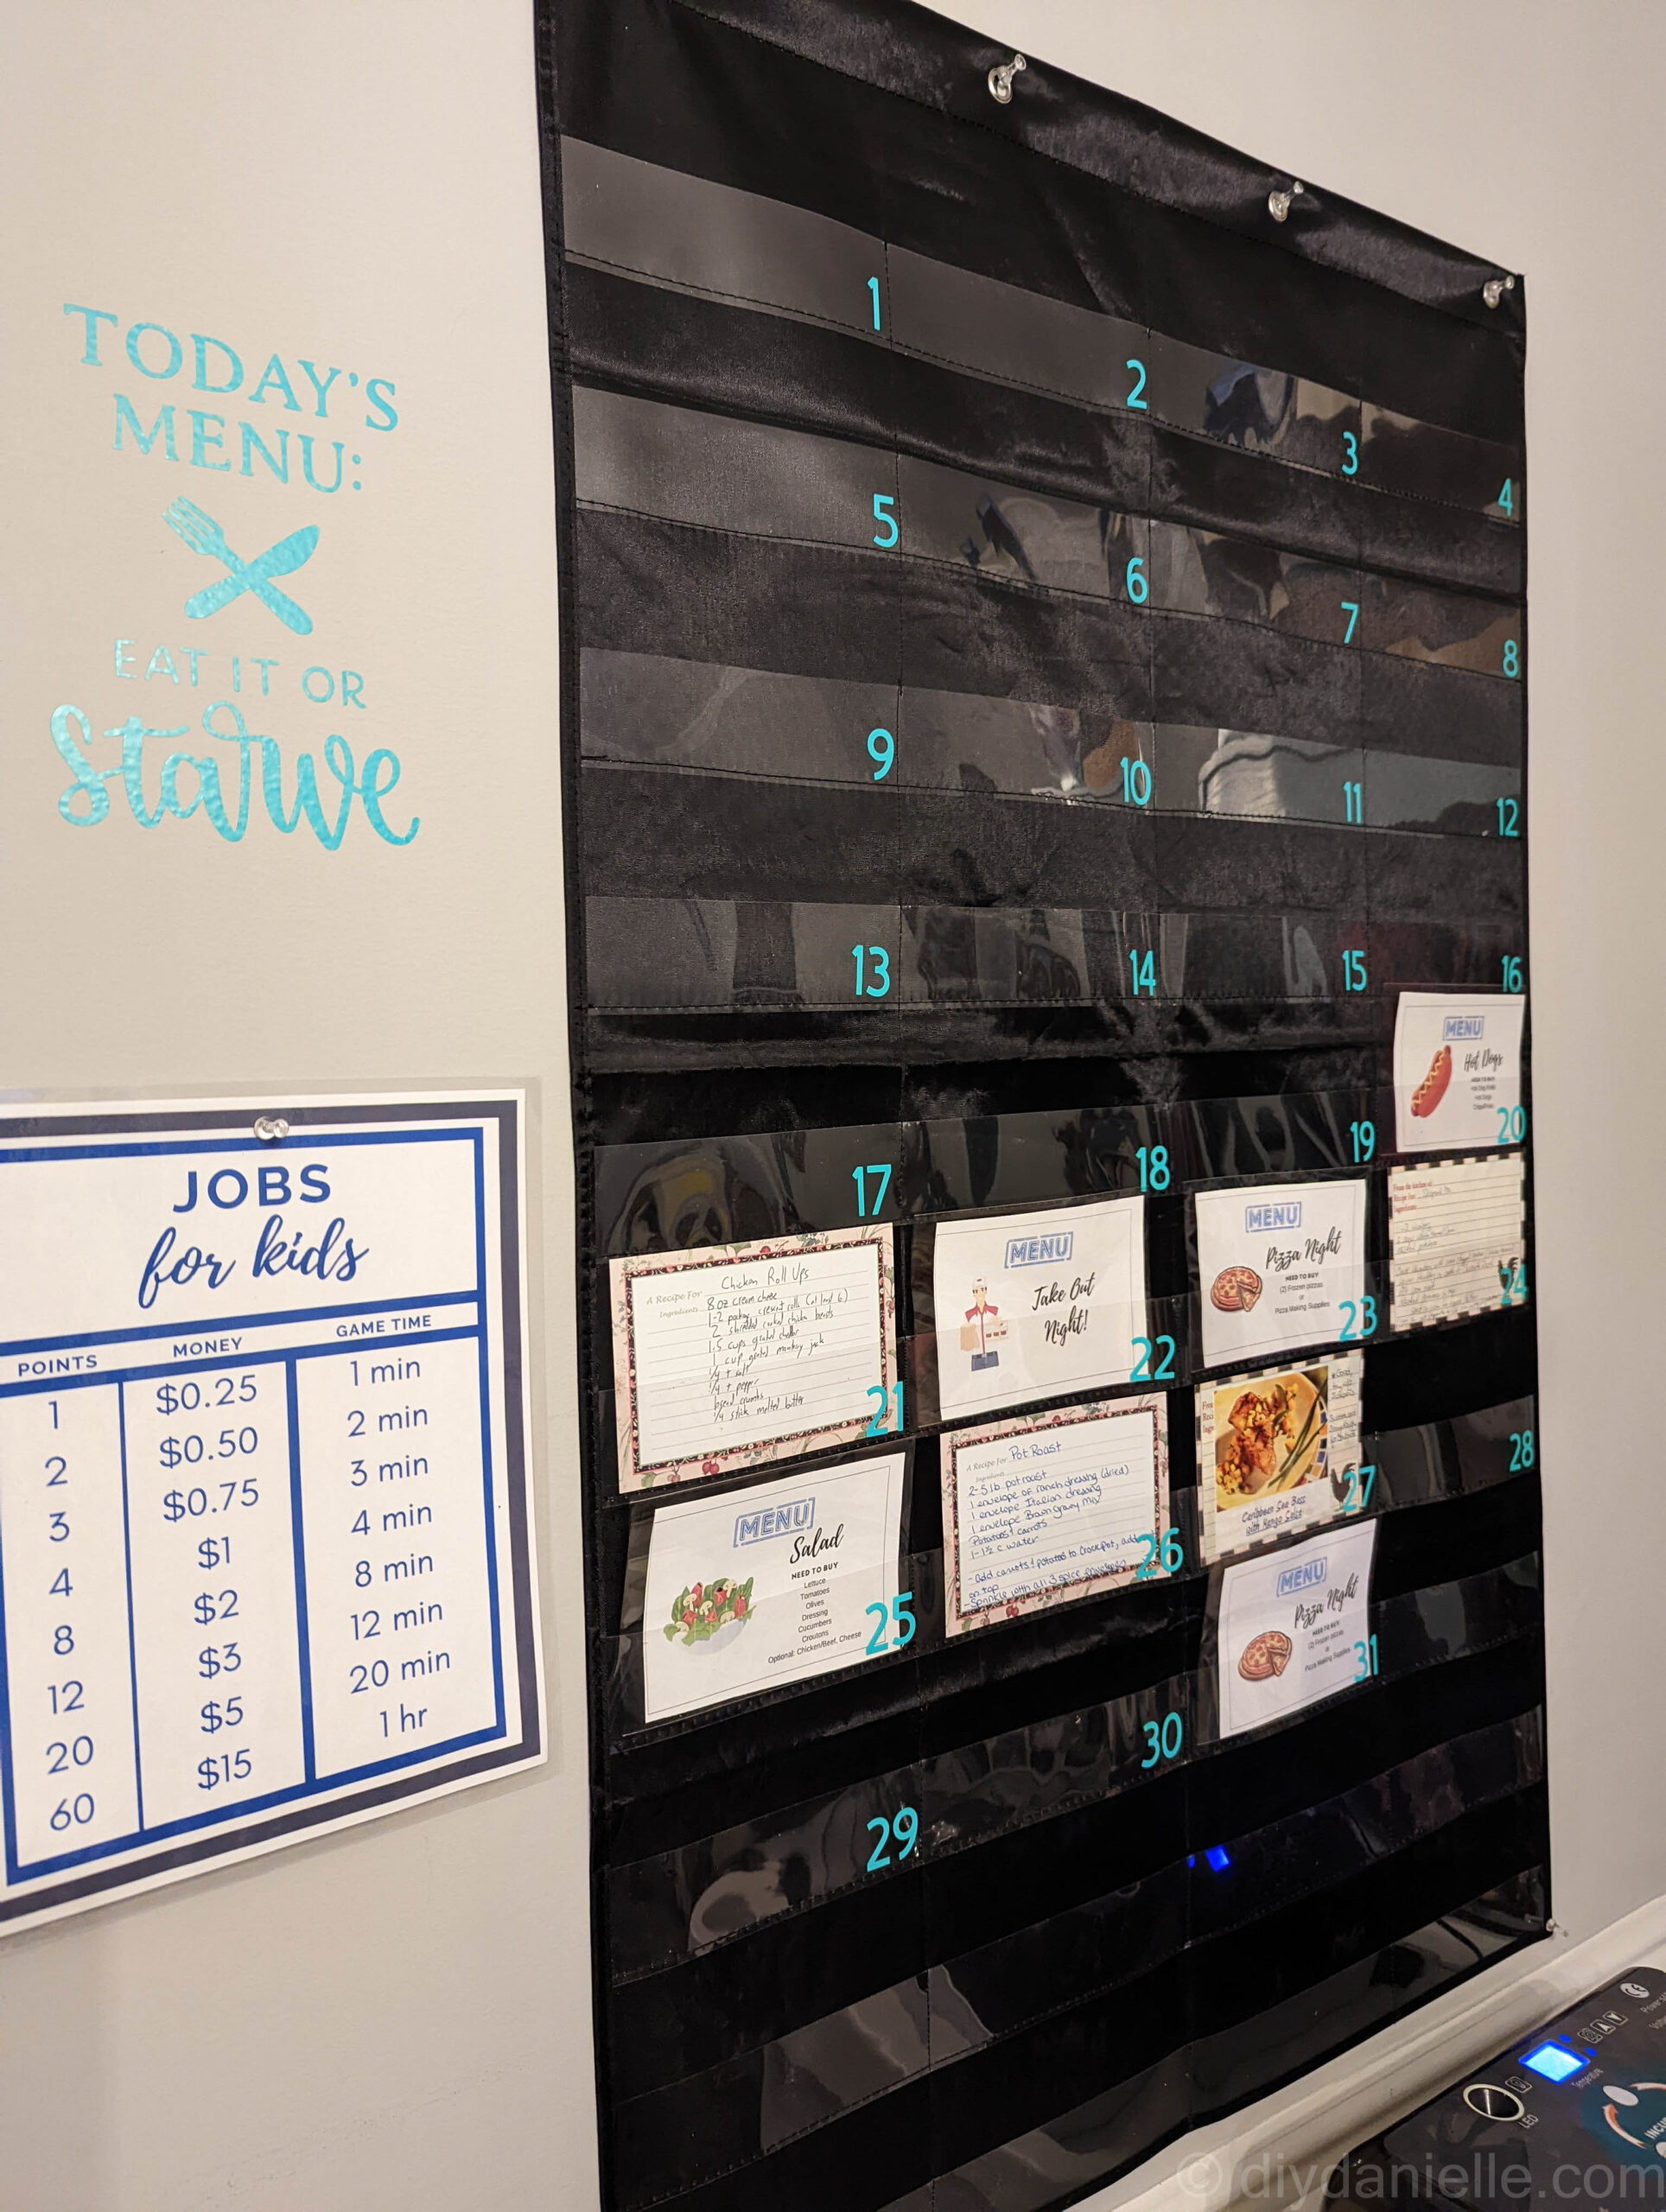
Meal planning can be overwhelming. Create this easy menu planner to hang up. It is PERFECT for planning meals for the month.
I really love to eat, but I’m a bit more meh about cooking. Part of my problem is that I NEED to be organized about meal planning, or it’ll be 5pm and I’ll have 1/2 of the ingredients for any meal I could possibly hope to make. We usually end up throwing in some pizzas and calling it a day.
We’ve been doing this a LOT.
Given how dysfunctional this has become, I decided to create a monthly meal planner for our wall. In the past, I had this free printable meal planner, but I needed something that was easier to use and more practical.
I set this meal planner up to be SUPER EASY to use AND to grocery shop from. Here’s how to make your own, and how to use it!
This post may contain affiliate links which may earn me commissions should you click through them and take certain actions. As an affiliate for Amazon, Cricut, xTool, Home Depot, and other sites, I earn from qualifying purchases. Please DIY carefully. View my full legal disclosures here.
The majority of my content is generated by me, as are 99% of the photos and videos, but I utilize technology for titles, descriptions, video editing out all of my ums, and occasionally for text overlay on images.
Please read the whole post so you don’t miss any important information!
This meal planner is made in much the same way as my DIY Chore Chart for my kids. There are just some differences to make it work better with recipe cards. Using recipe cards for the meal planner is the PERFECT WAY to make your monthly chart. You don’t need to print anything new. You don’t need to write down your groceries separately. You can just grab your recipe cards for the week to make your grocery list, or grab the day’s recipe card to make your meal. It’s easy to swap cards around if something comes up.
The only thing that isn’t accounted for is sides. This is a bit problematic for me, but I may try to make small cards to put inside the pockets with information about that day’s vegetable. I’m trying to make our meals healthier and more well rounded this year.
Easy Meal Planner
Supplies
- Pocket Chart: 43”H x 28”L
- Free Canva template for the easy meals
- Cricut Design: If you don’t have a Cricut, you can buy 1″ stickers like these.
- Sewing machine (if you don’t have one, I have a few ideas for you) and black thread
- Tailor’s Chalk
- Printer
- Optional:
- Removable or Permanent Vinyl
Use the Discount Code DIYDANIELLE on cricut.com for 10% off any cutting machine or heatpress (no minimum). Excludes: materials/accessories/mystery boxes/etc. Applies to US/CA only, code expires 12/31/23.
If you want to skip doing the individual pockets, you can use the pocket chart as-is, just adding the numbers! If you do this, skip Steps 1-3.
Step 1: Draw the Columns
When you lay out your pocket chart, you’ll notice that the pocket is just one long pocket for each row. I wanted to have (4) separate pockets, each big enough to hold a recipe card.
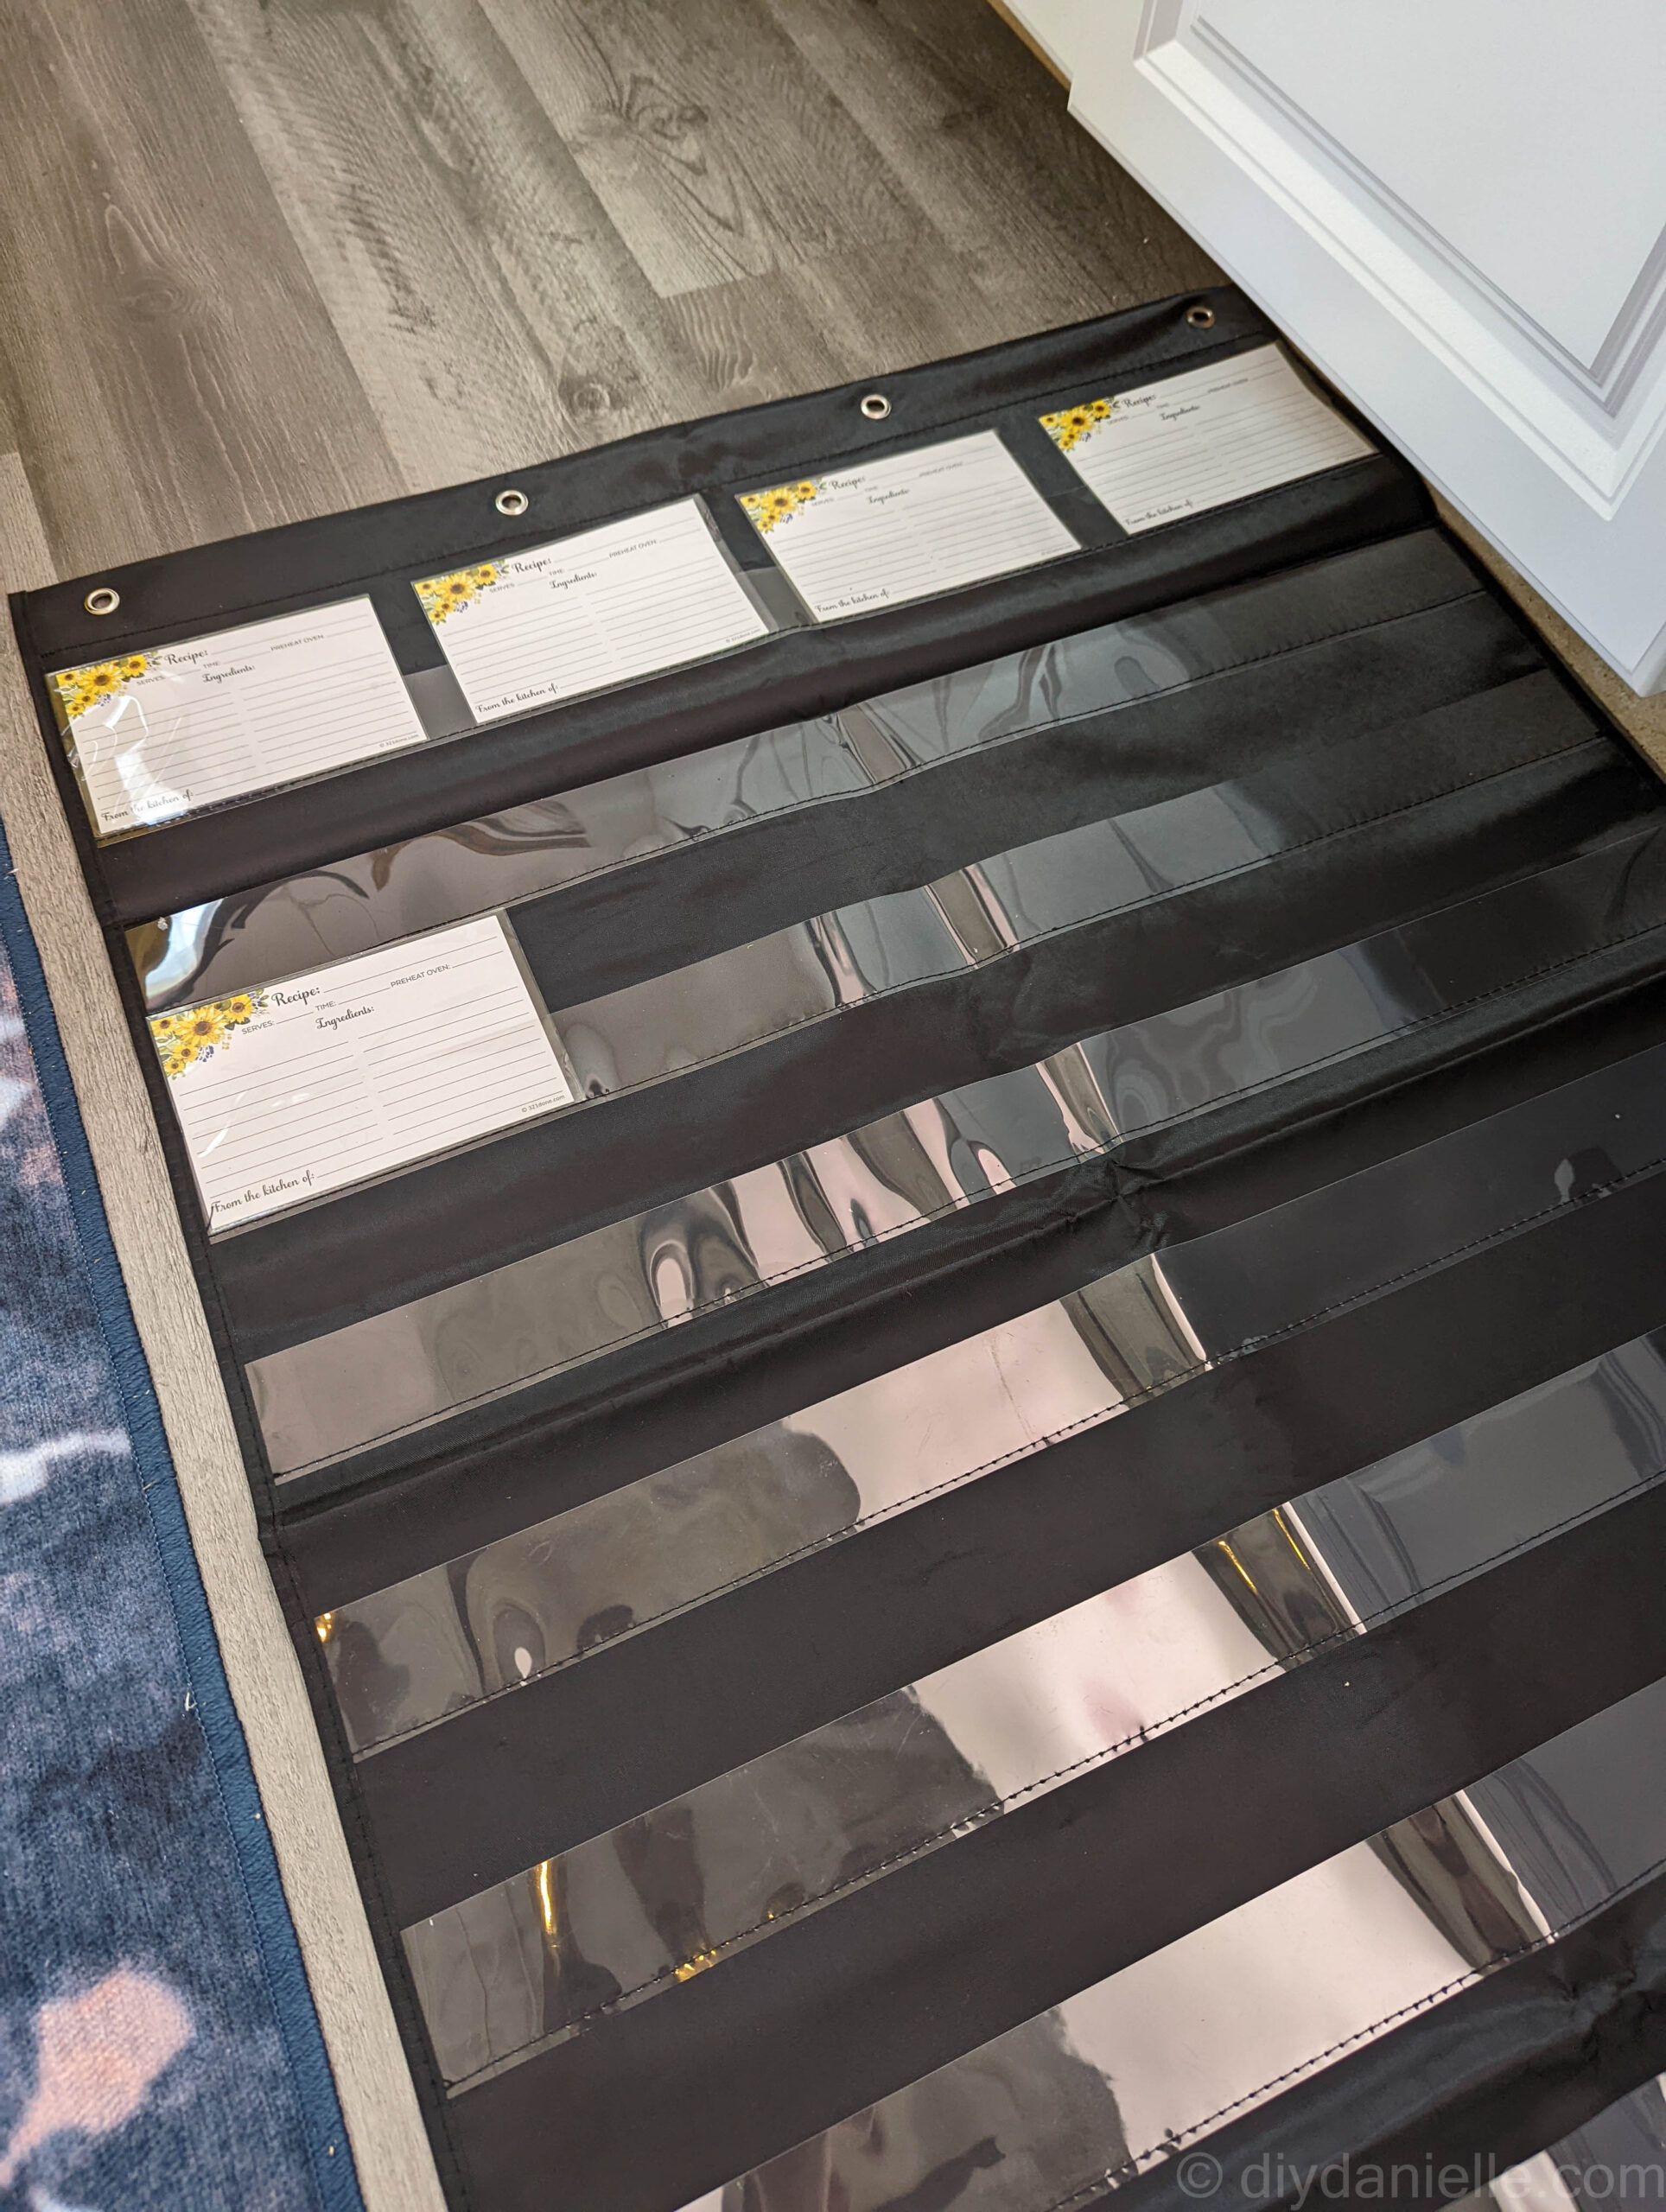
To make this, I needed to sew columns. First though, I put recipe cards into the pockets and figured out the spacing. I used tailor’s chalk to draw the line for the columns. Tailor’s chalk will wipe off easily so it won’t permanently damage your chart.
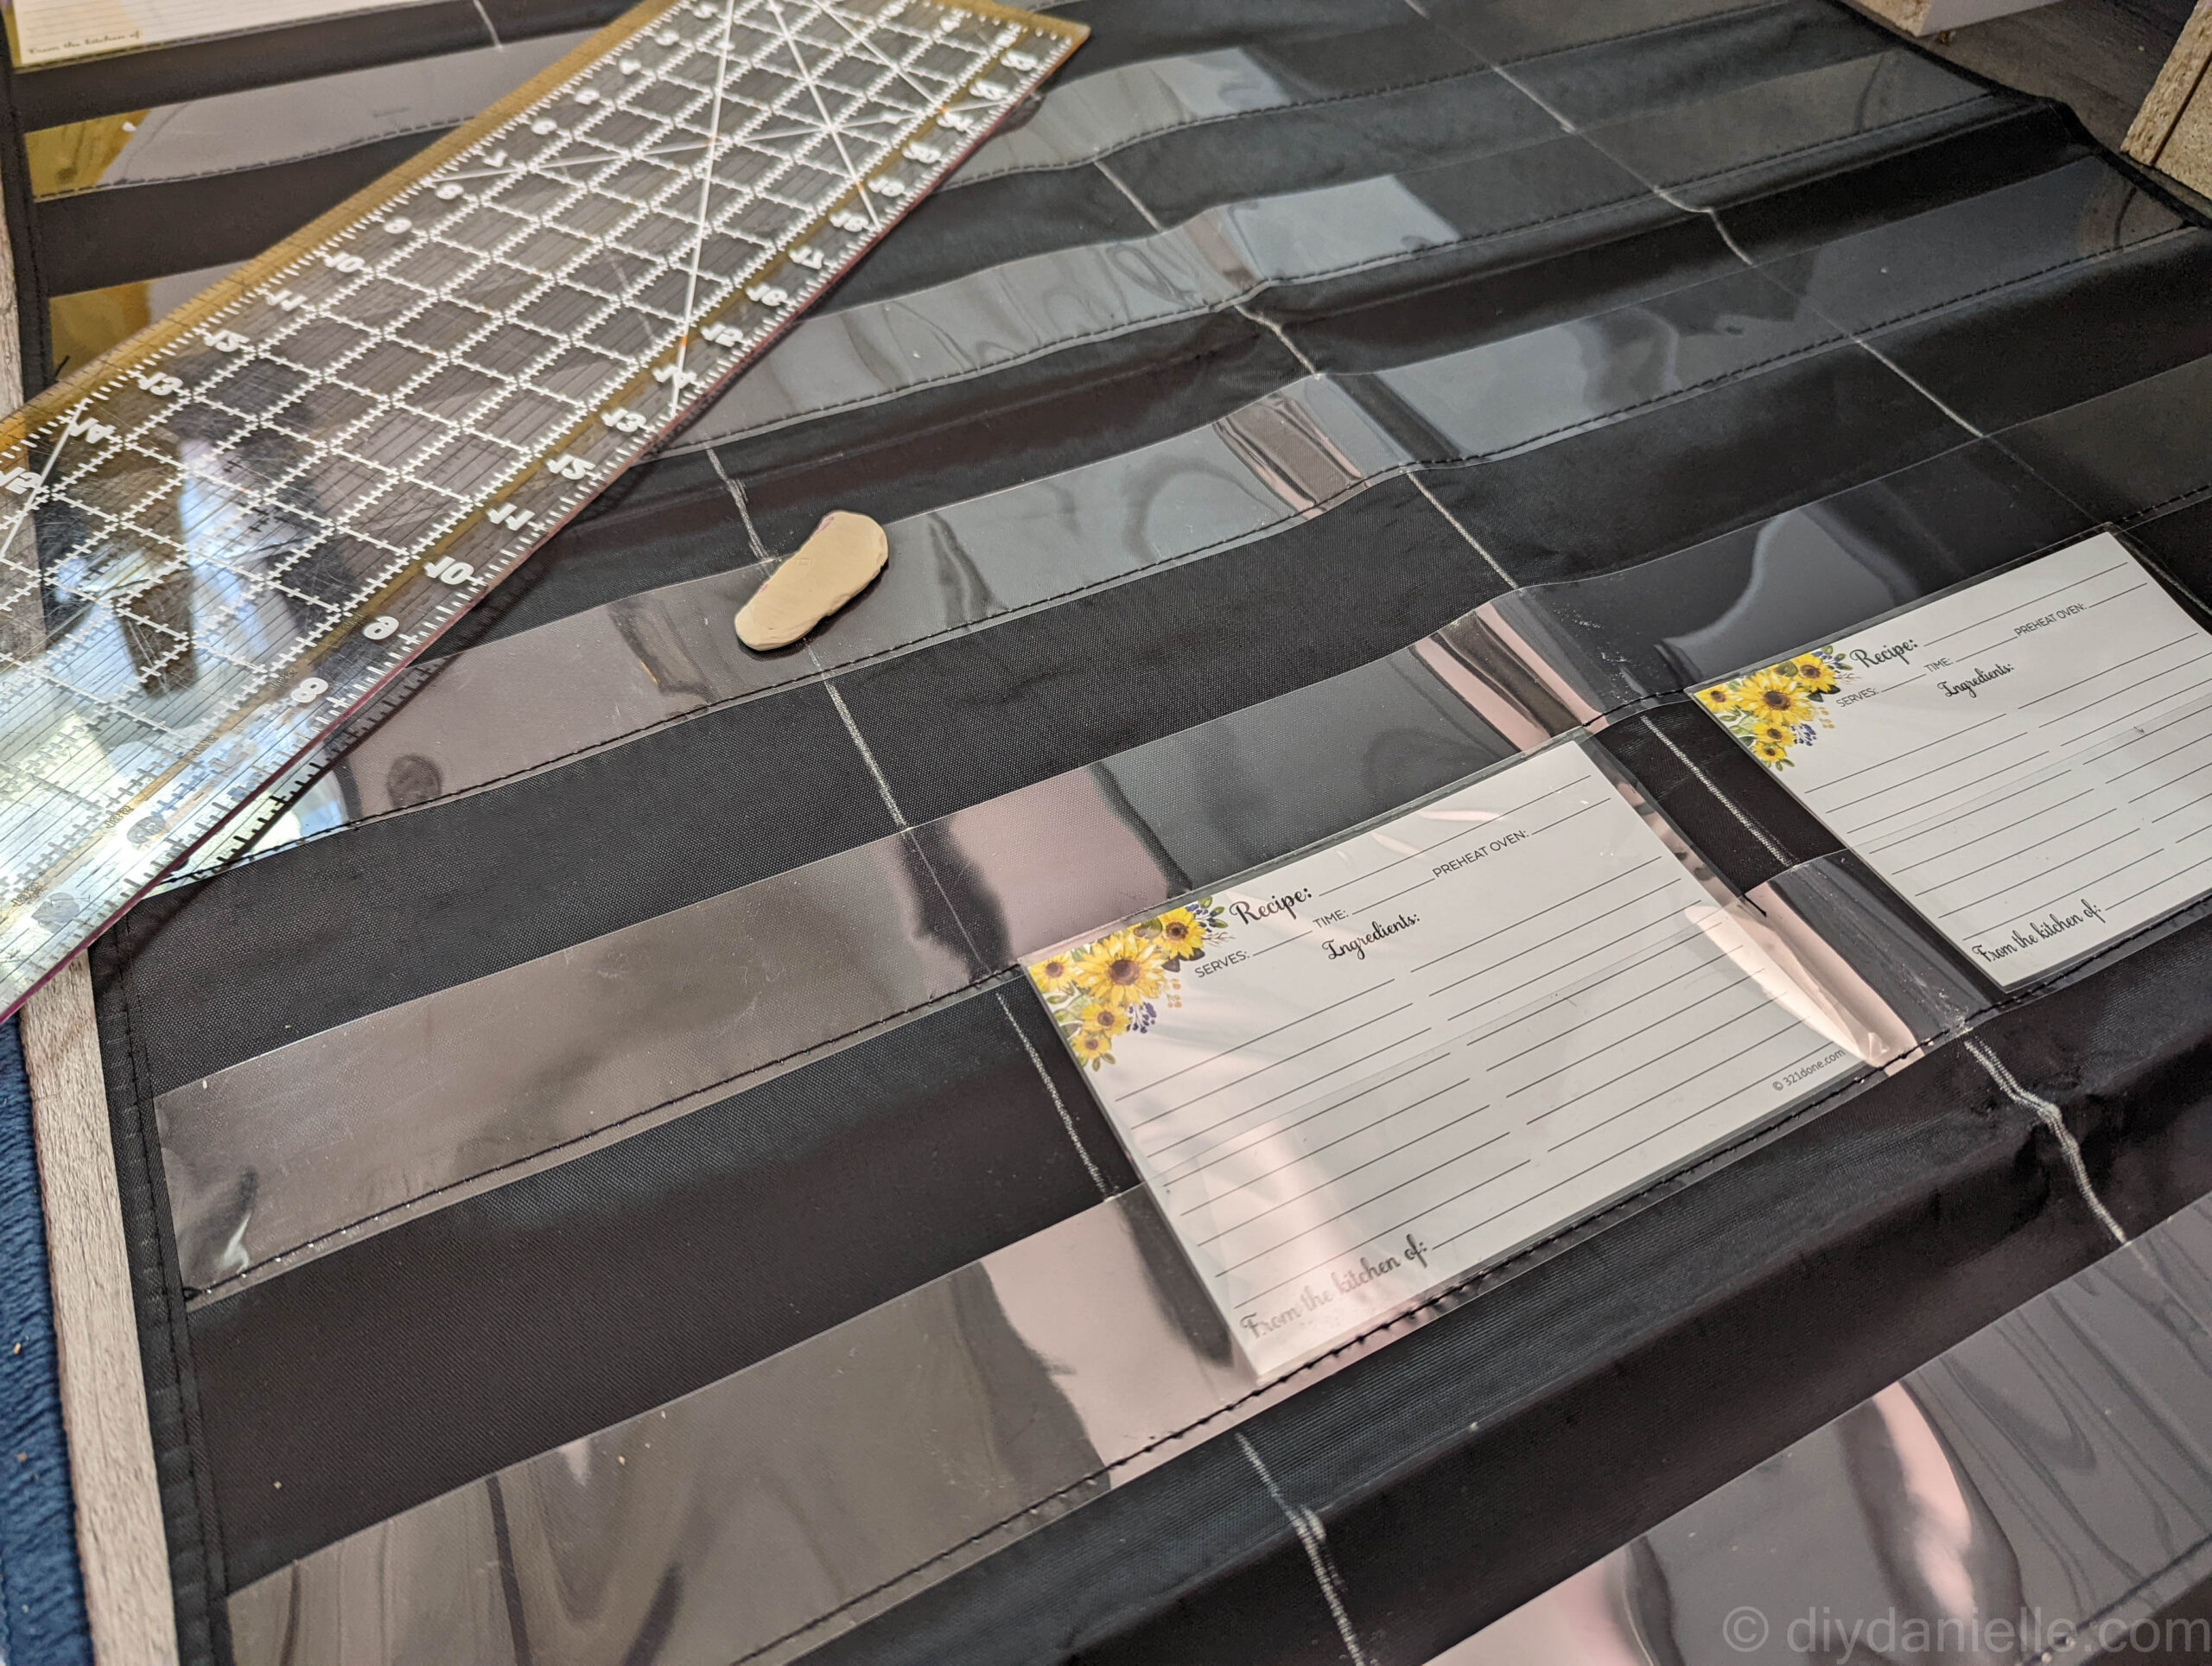
Step 2: Sew the Columns
I used my sewing machine and black thread to sew along the chalk lines. For this sized pocket chart, I had four columns which meant I needed to sew three straight lines.
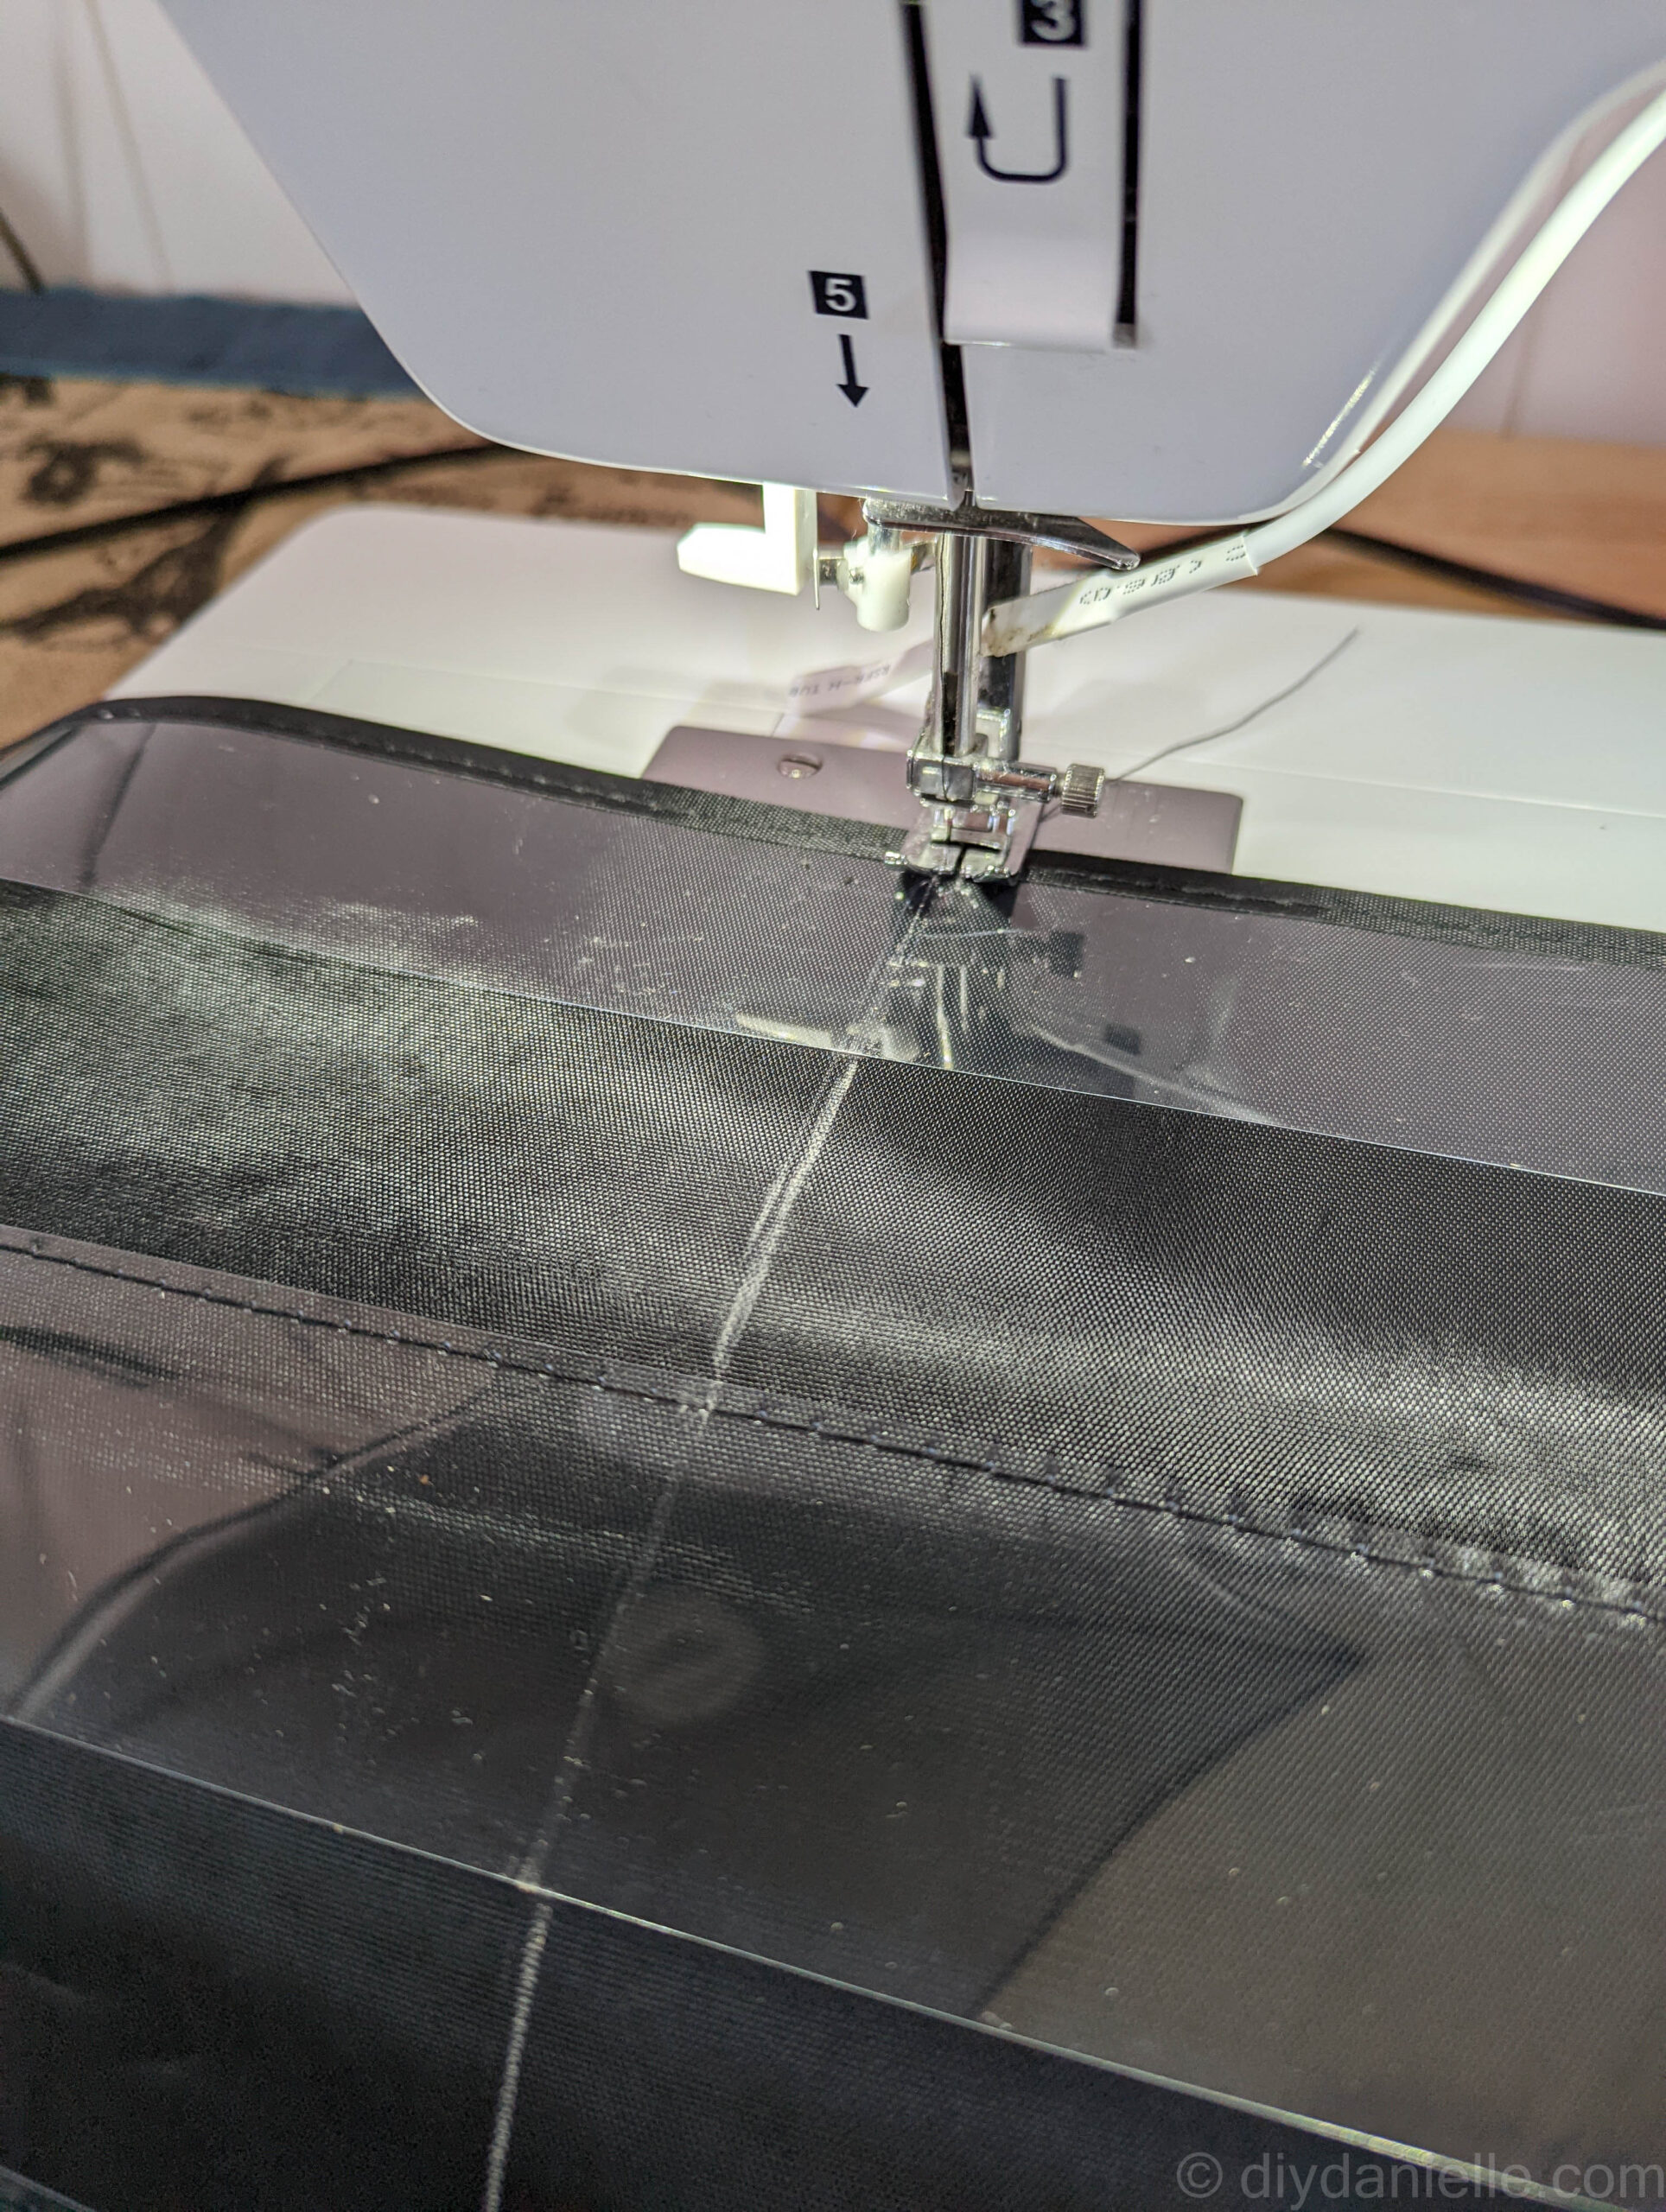
BACK STITCH at the beginning, the end, and the top of each pocket. These areas will get a lot of wear and tear as cards get pulled in and out of them.
If you don’t have a sewing machine: You could easily hand sew the pockets or possibly use glue to create the columns. Or you could just skip this and keep the long rows!
Step 3: Wipe off the tailor’s chalk
Take a moist sponge and wipe the tailor’s chalk off. This is quick and easy.
If you don’t have a Cricut or know someone who does, it’s not a big deal! You can just buy buy 1″ stickers like these and use them instead. If you go this route, skip to Step 5.
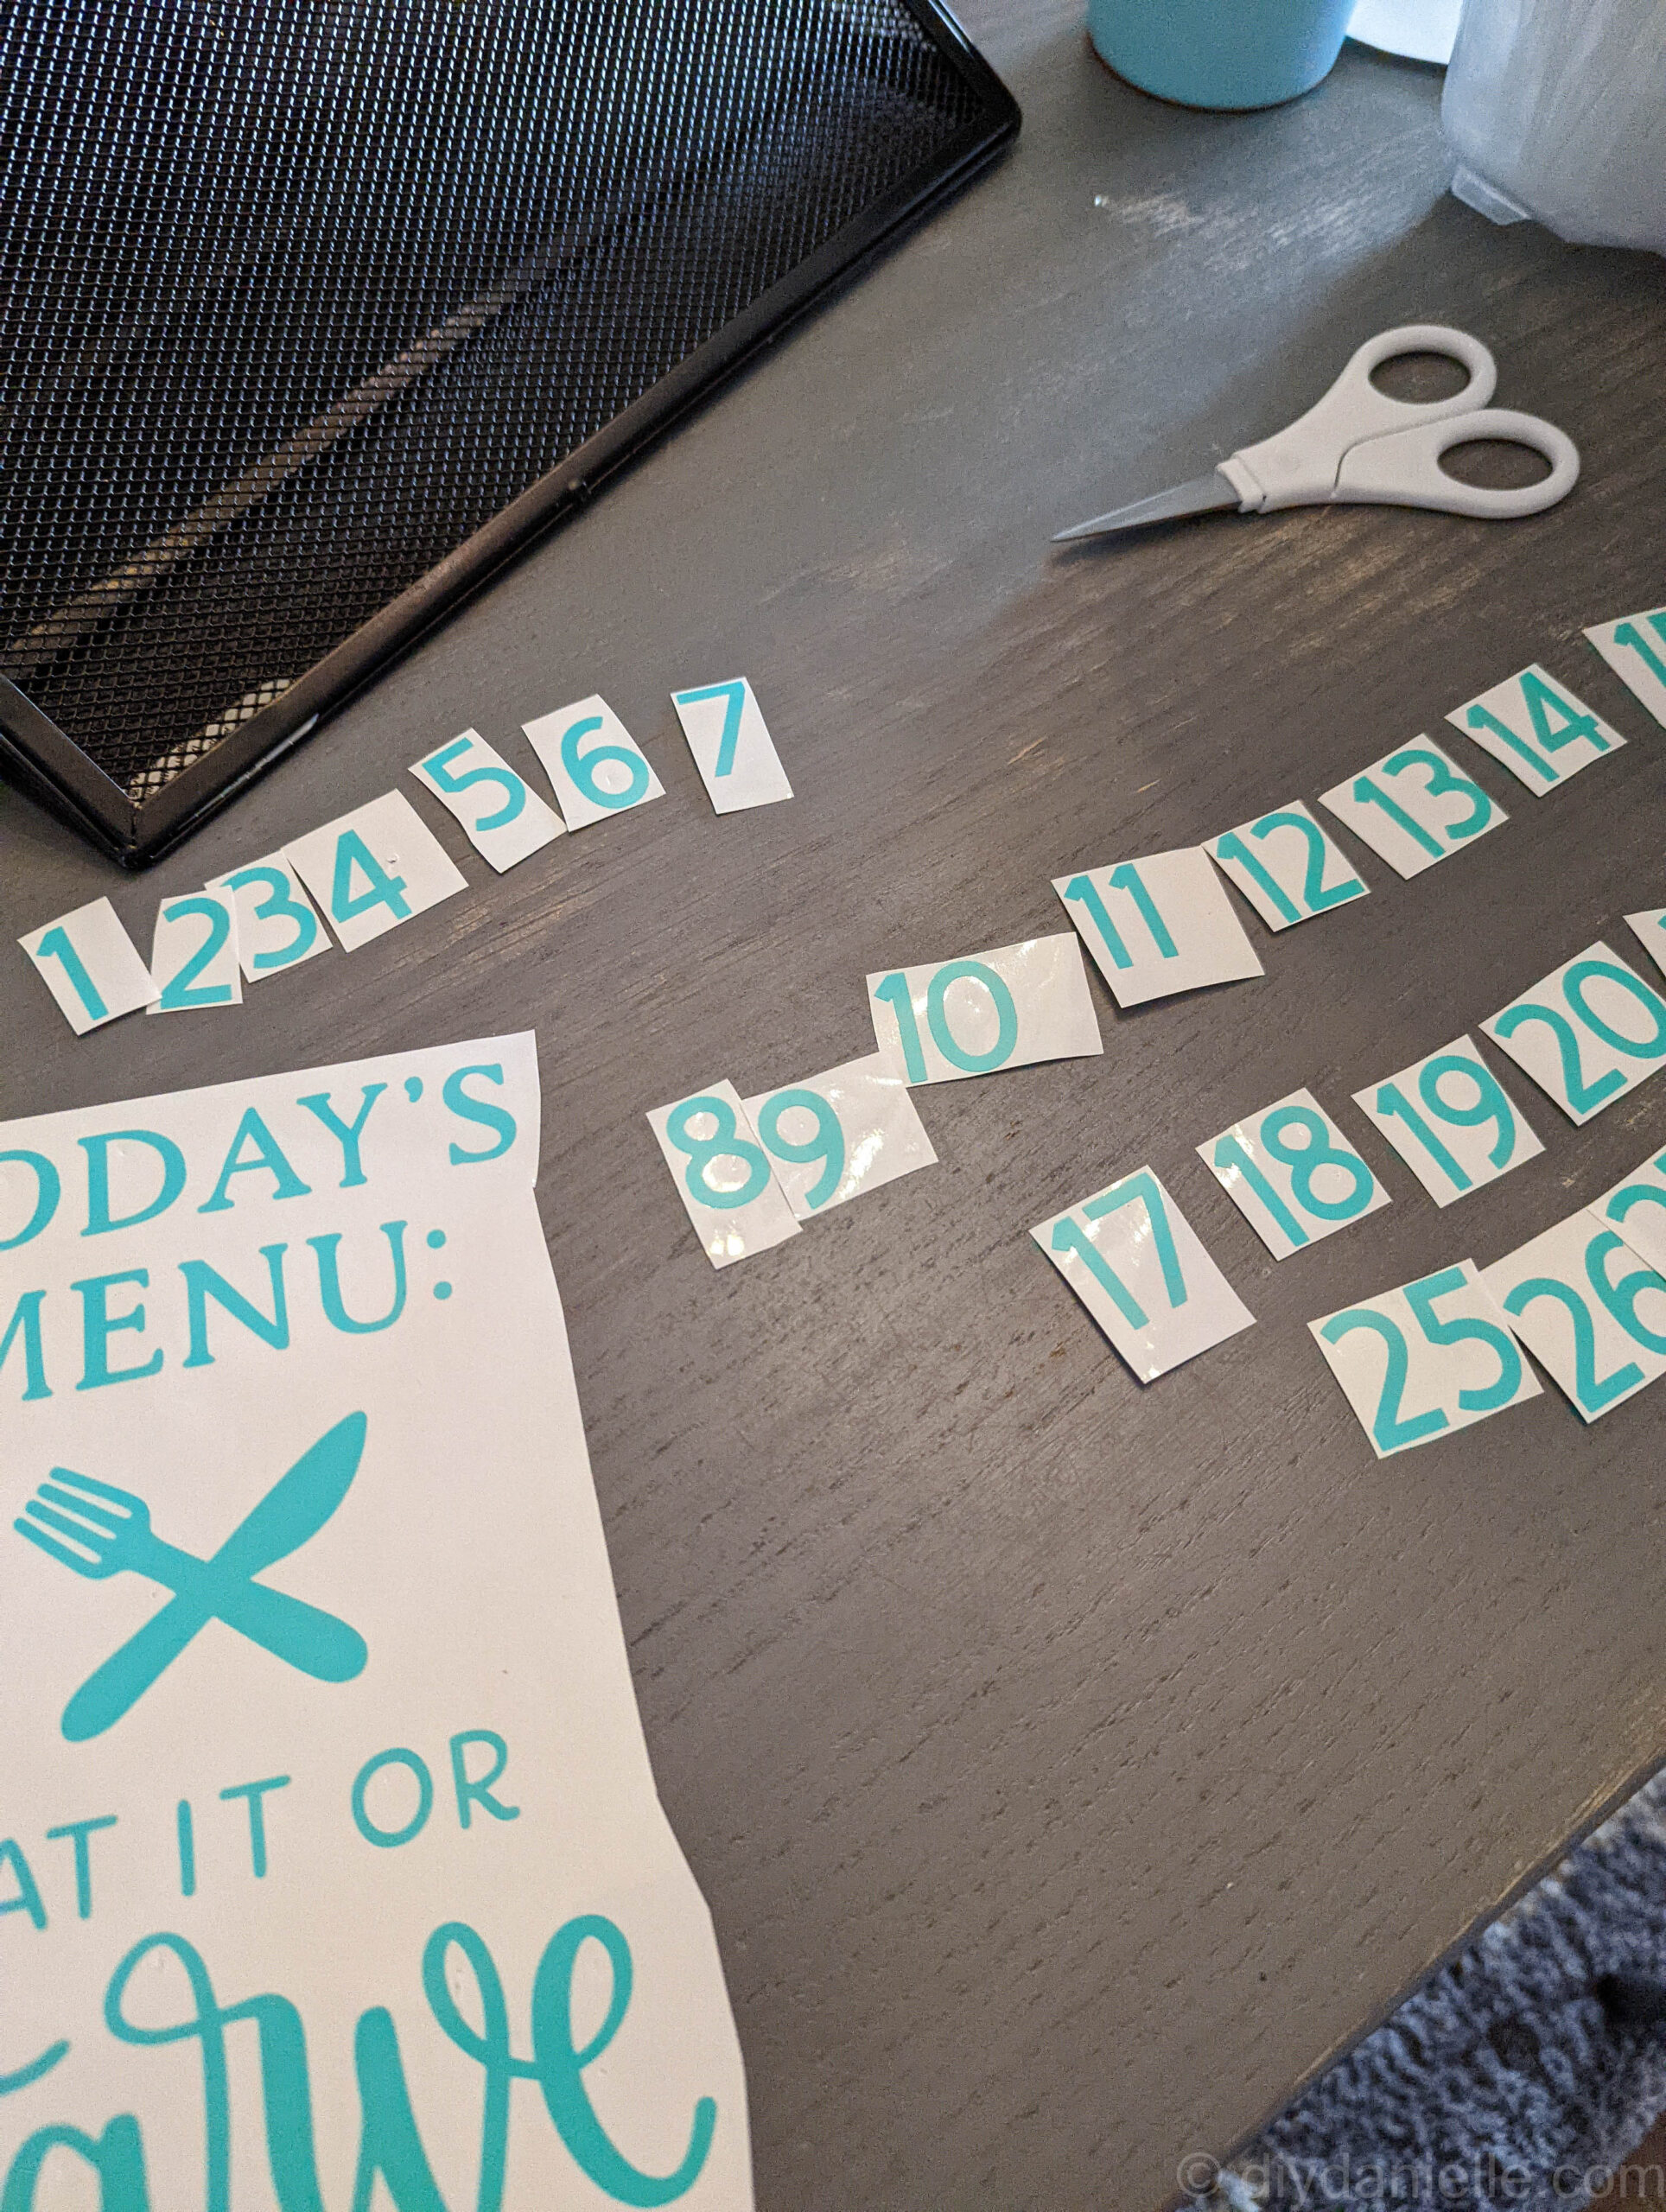
Step 4: Cut the Cricut Design
Cut the Cricut Design on removable vinyl or permanent vinyl. I used removable vinyl because I was also cutting the wall decal for next to the chart. Permanent vinyl can damage a wall so I wanted removable for that.
Weed your design: weeding means that you take off any part of the cut vinyl that isn’t part of your design.

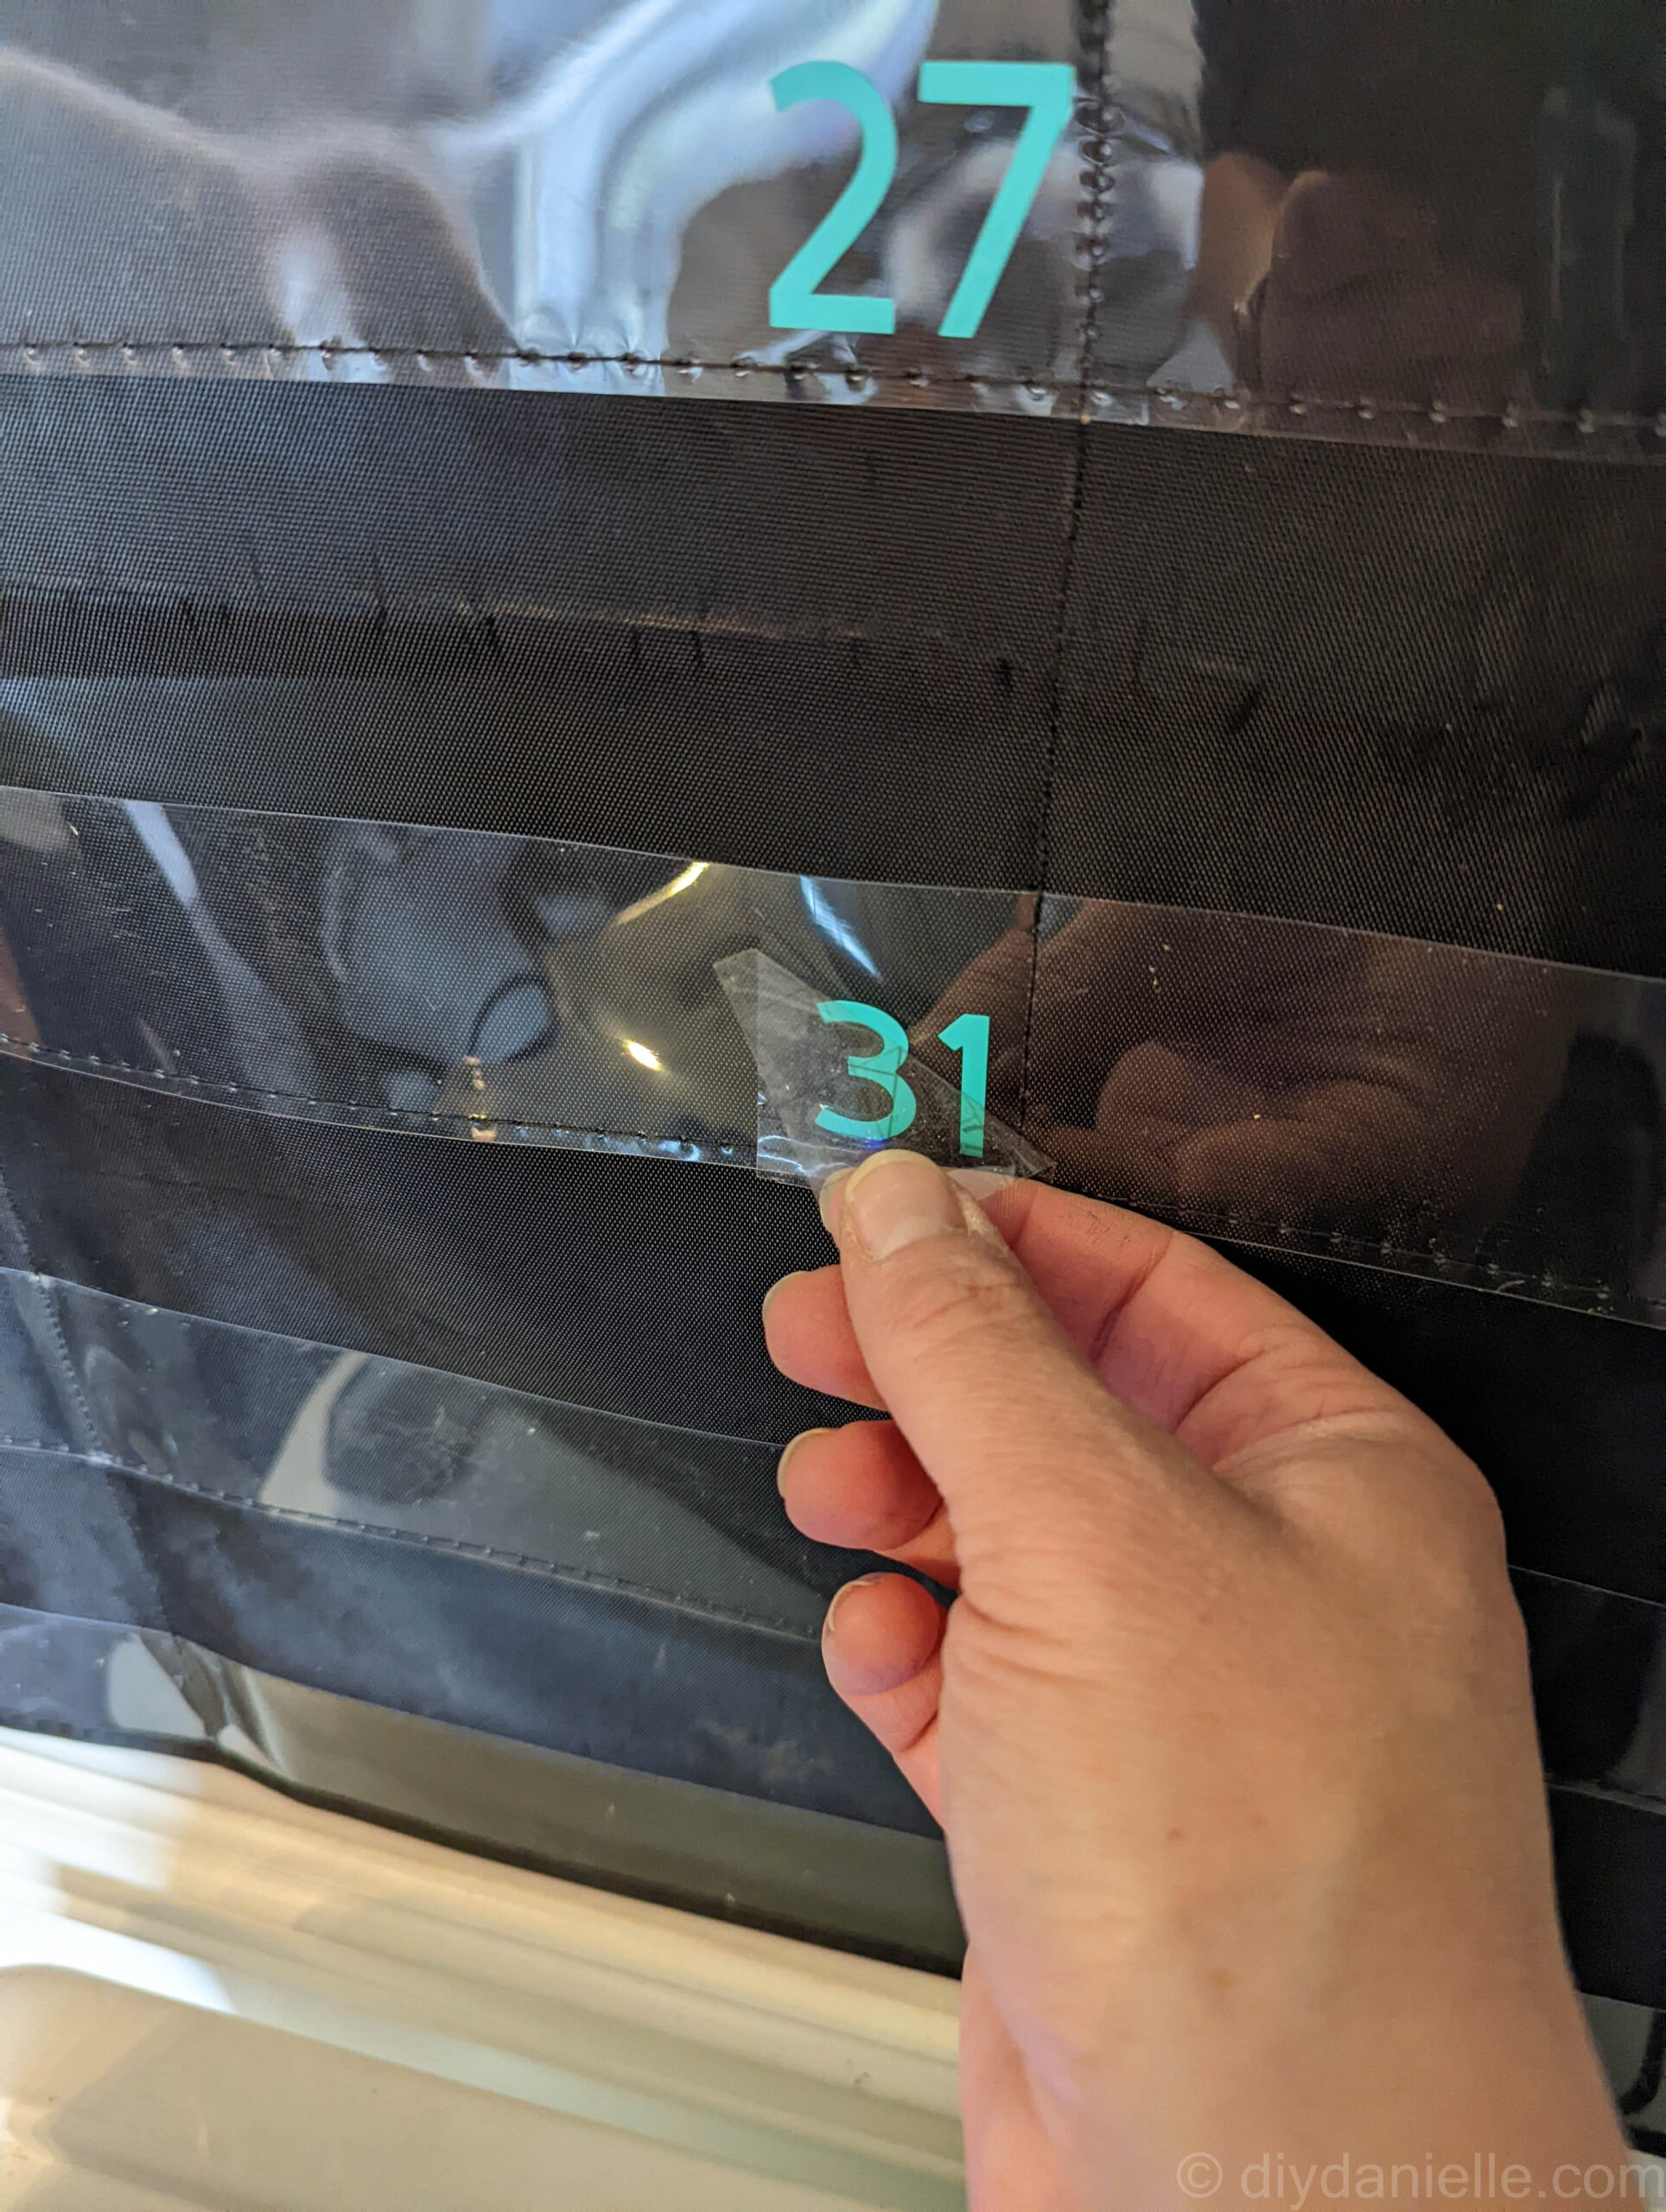
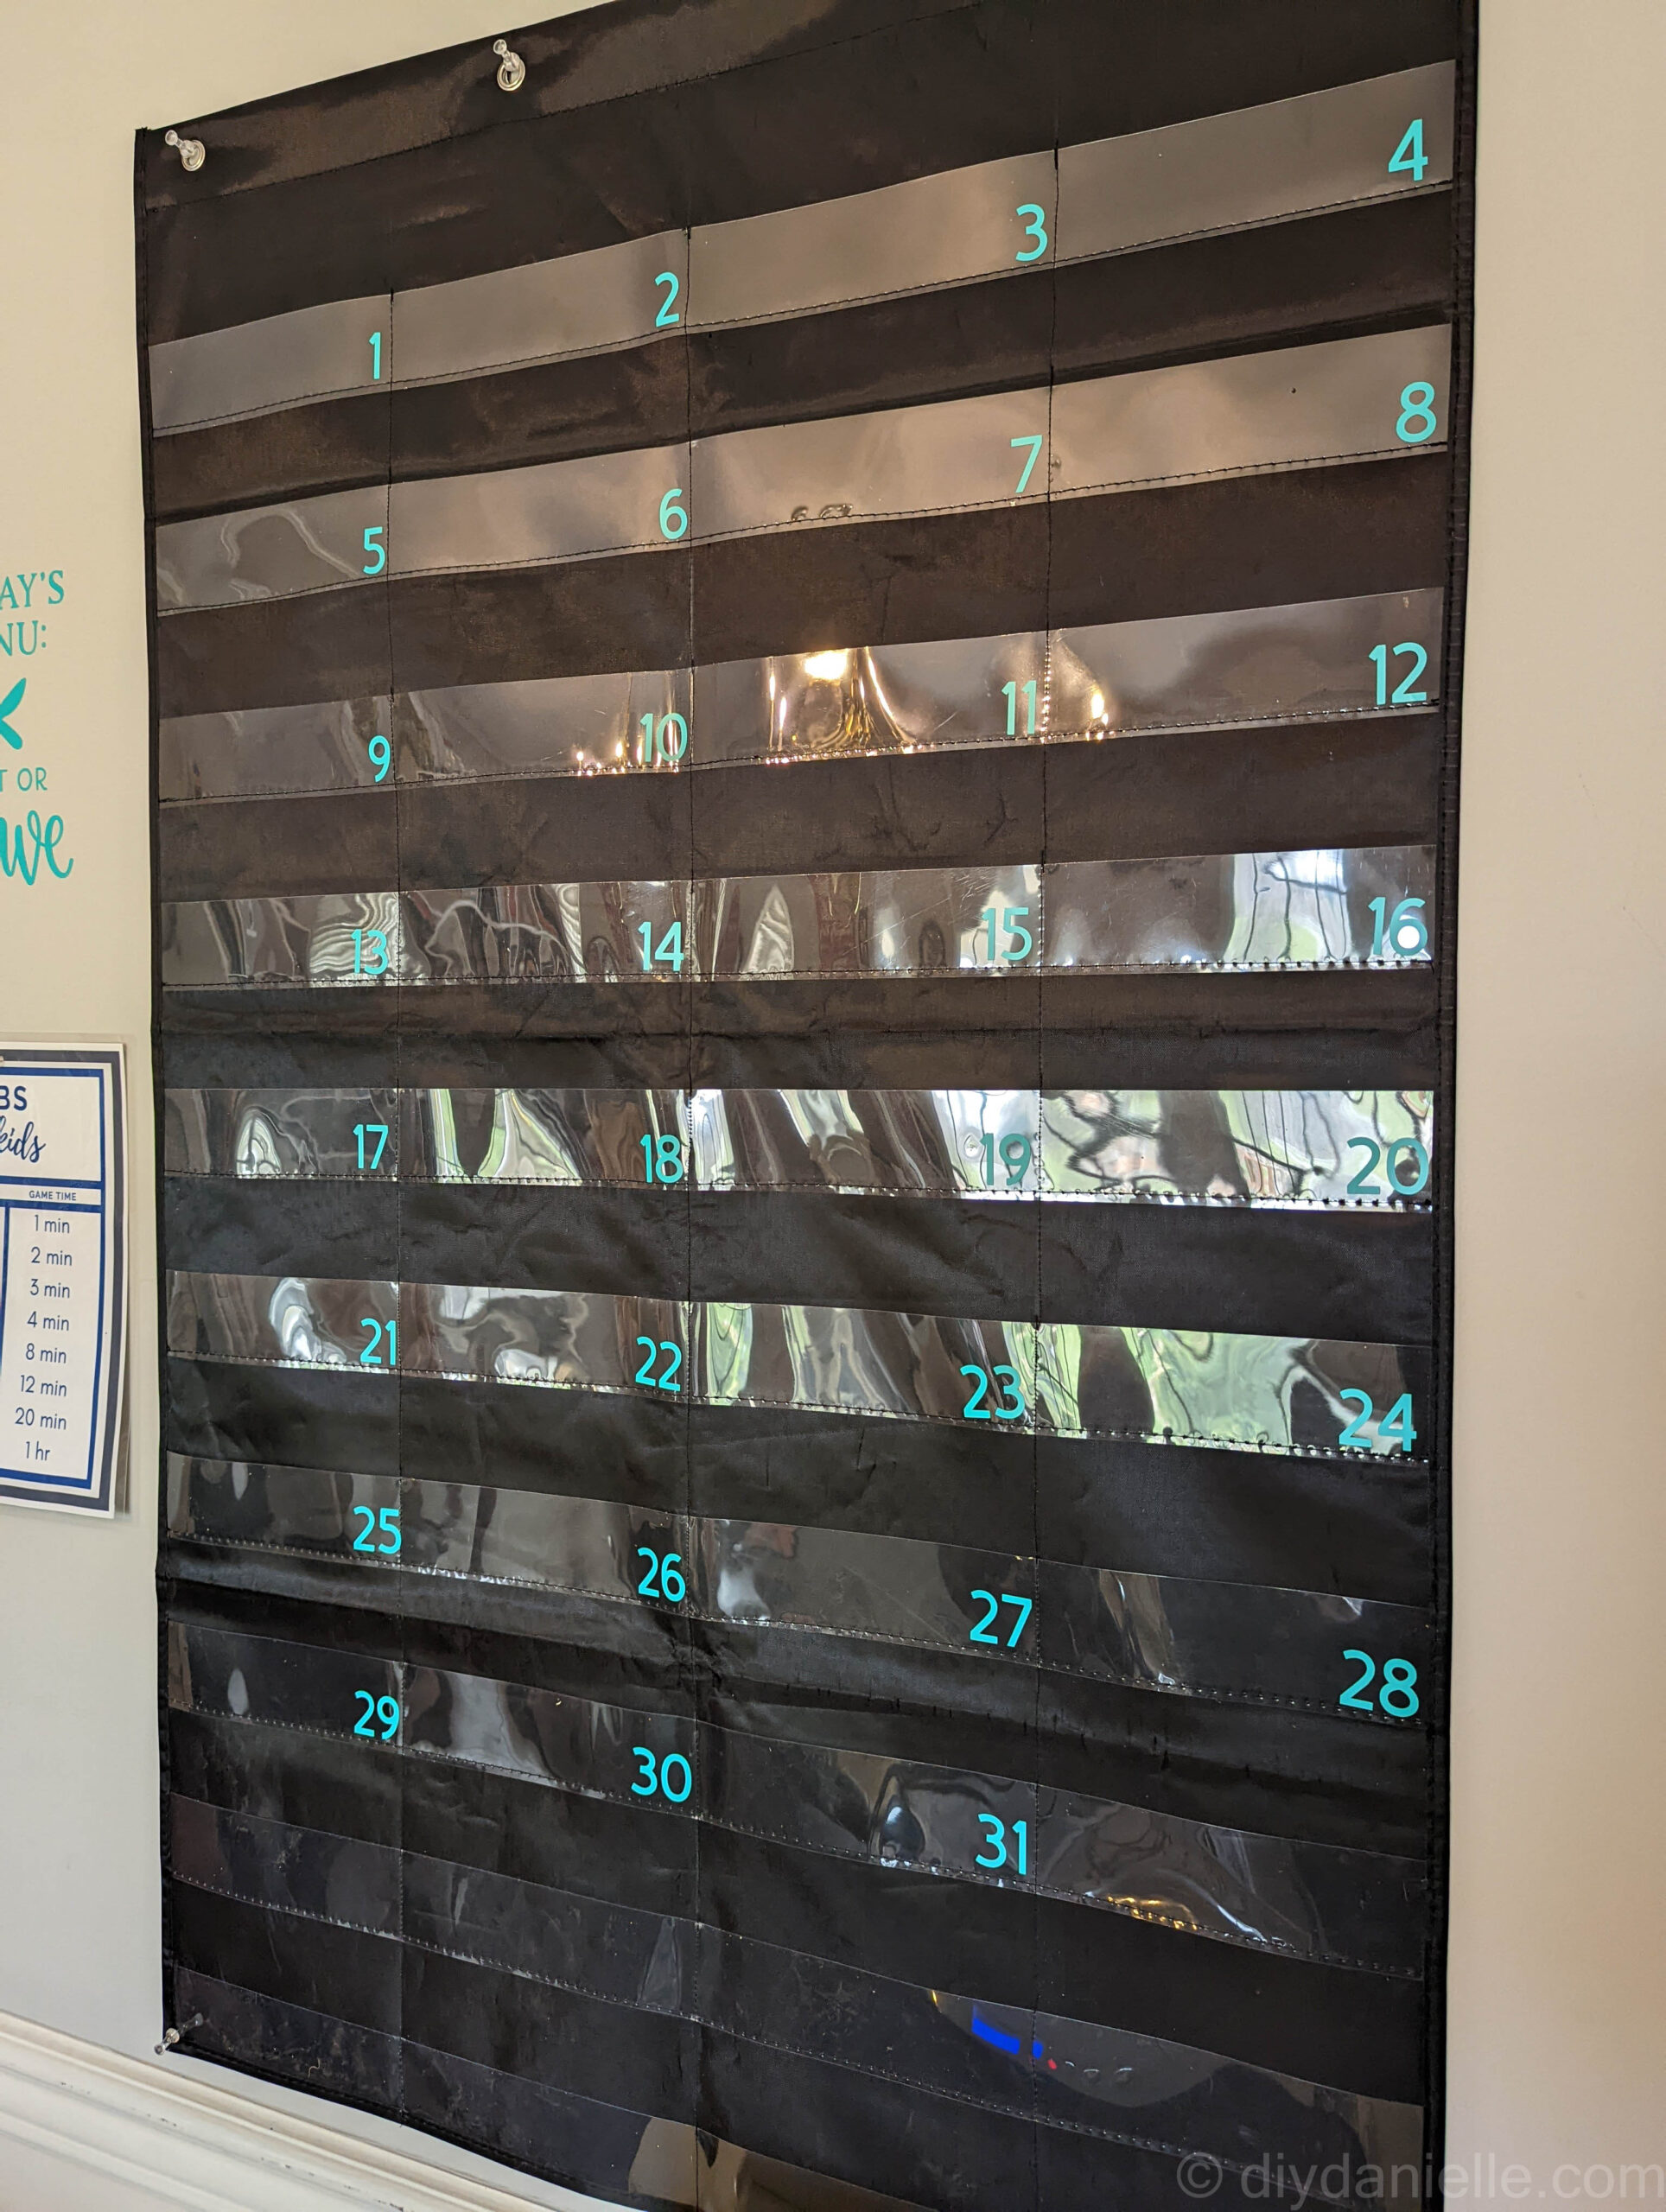
Step 5: Transfer the numbers to menu planner pockets
Each number should be transferred to the planner pockets. For Cricut designs, you use transfer paper to move the design onto the plastic pocket. I always separate my designs out and lay them out in order first.
I placed mine on the bottom right of each pocket that I created.
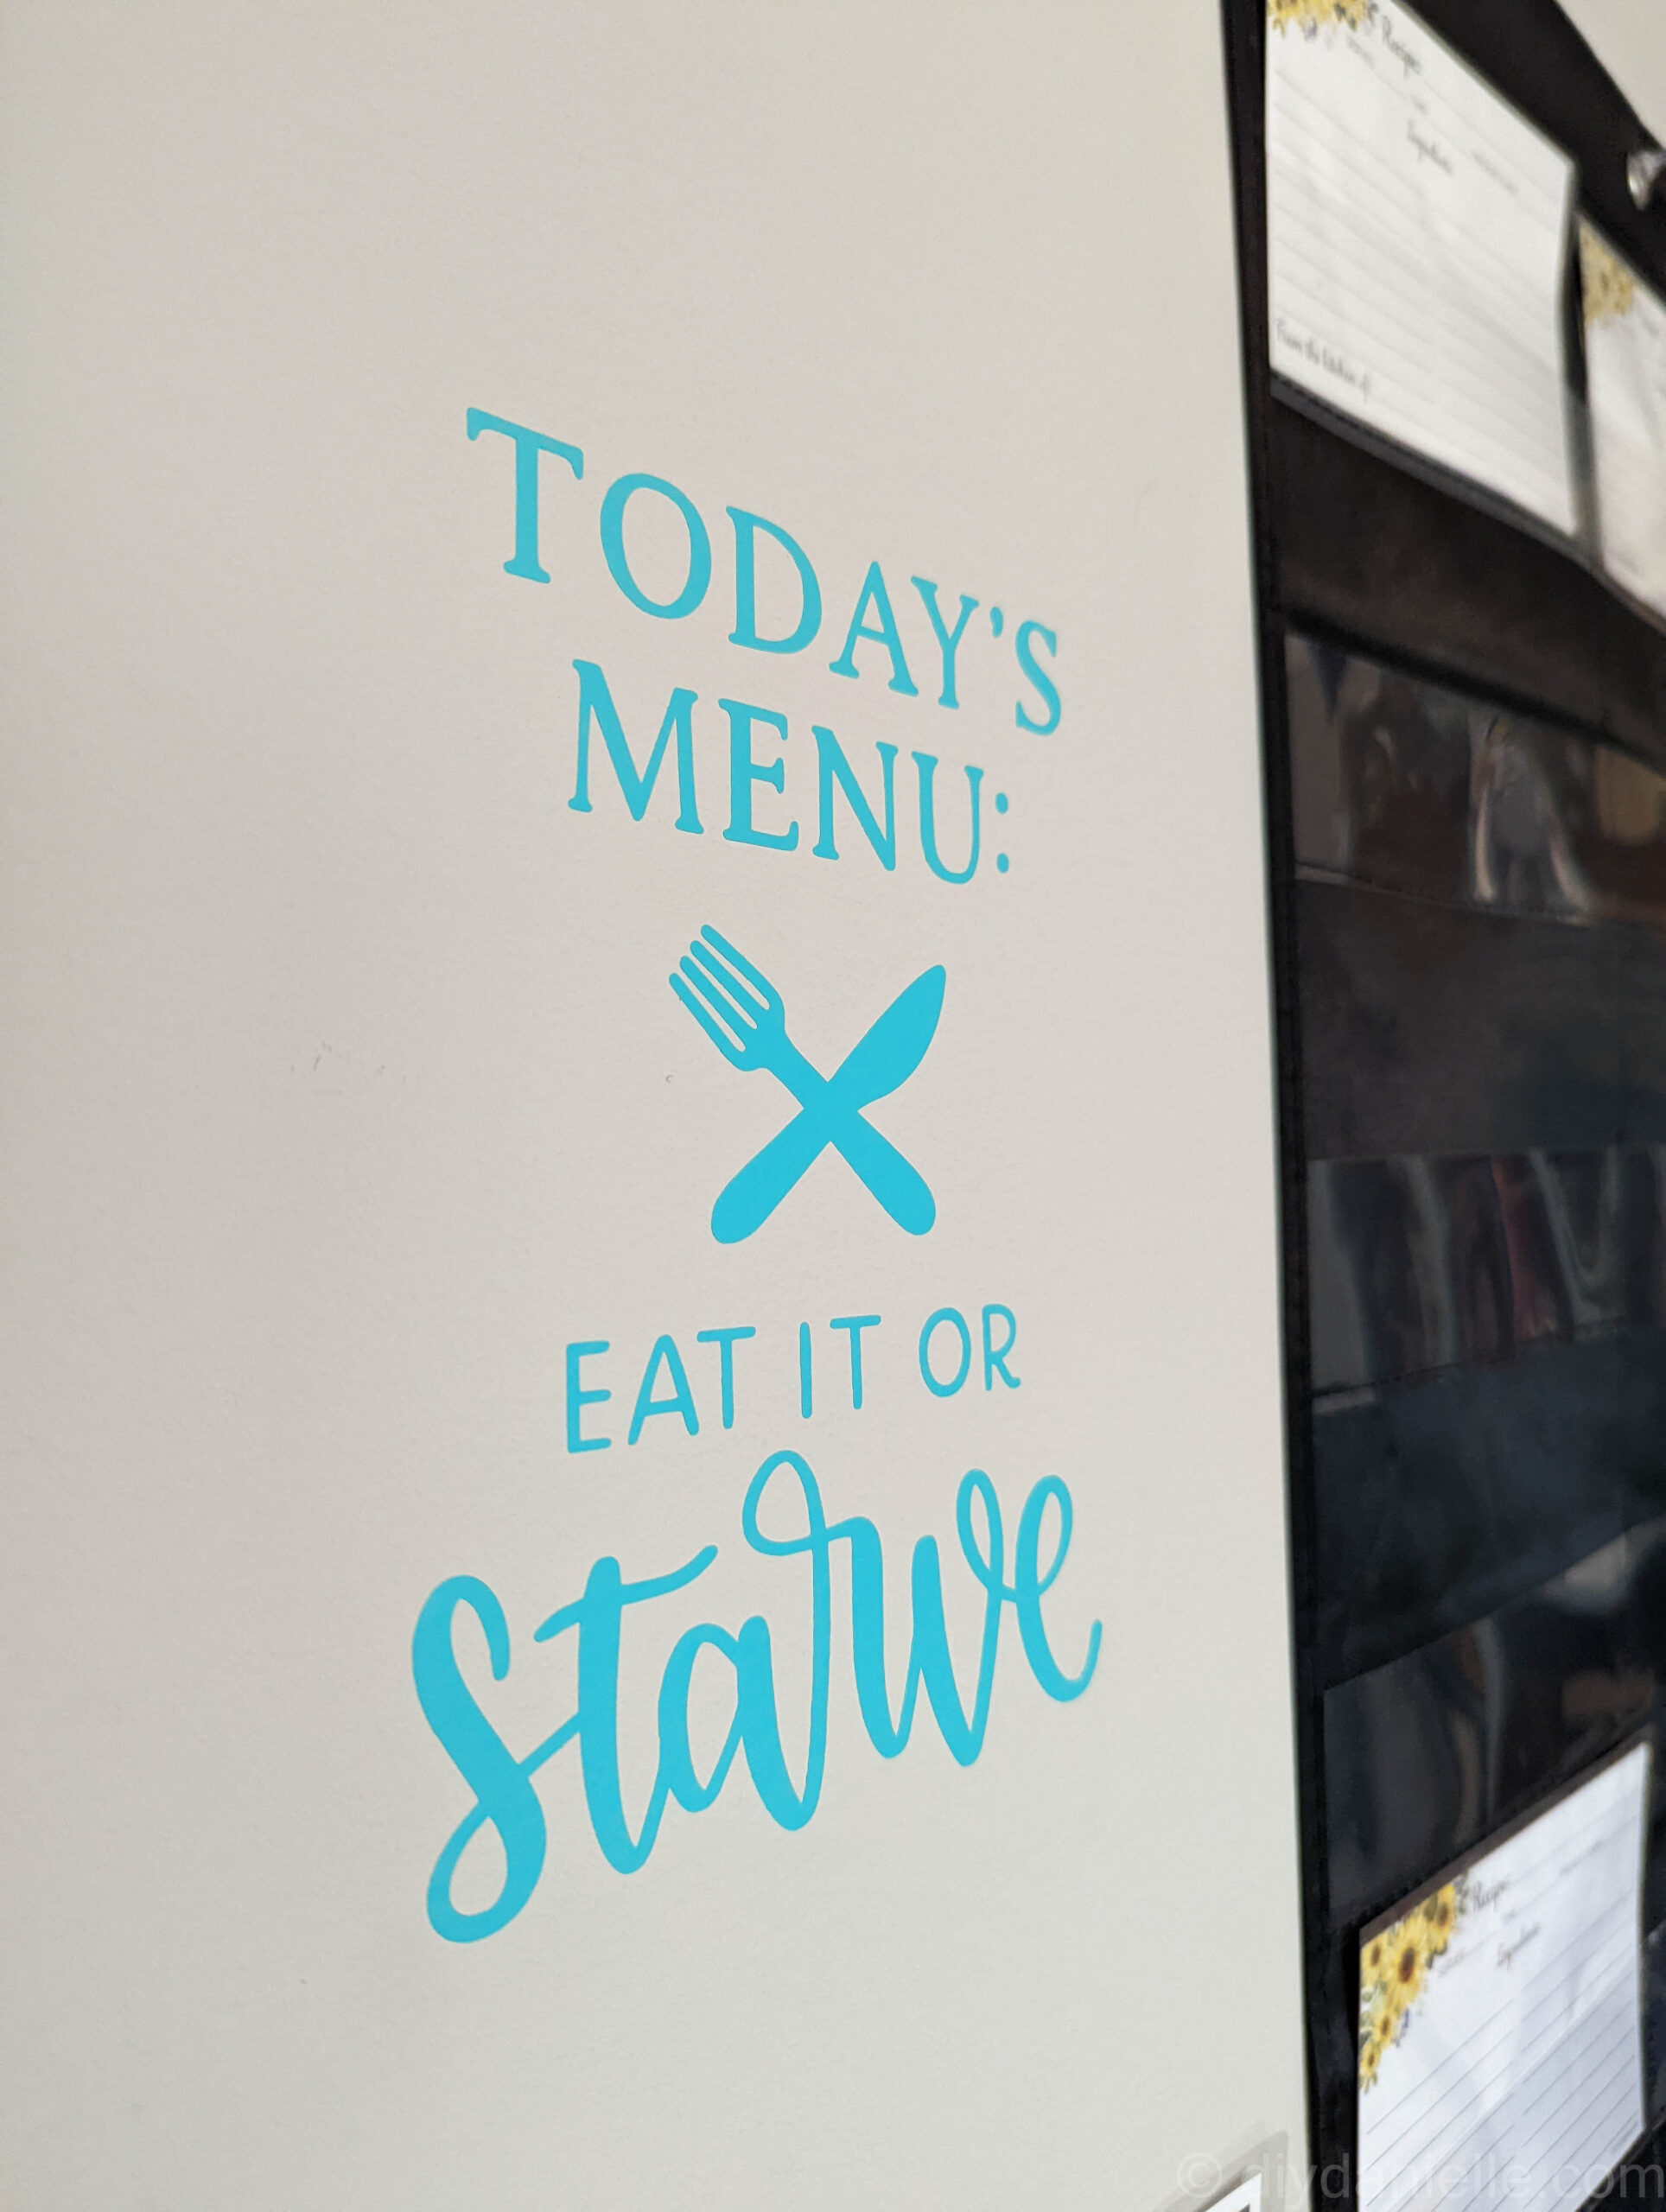
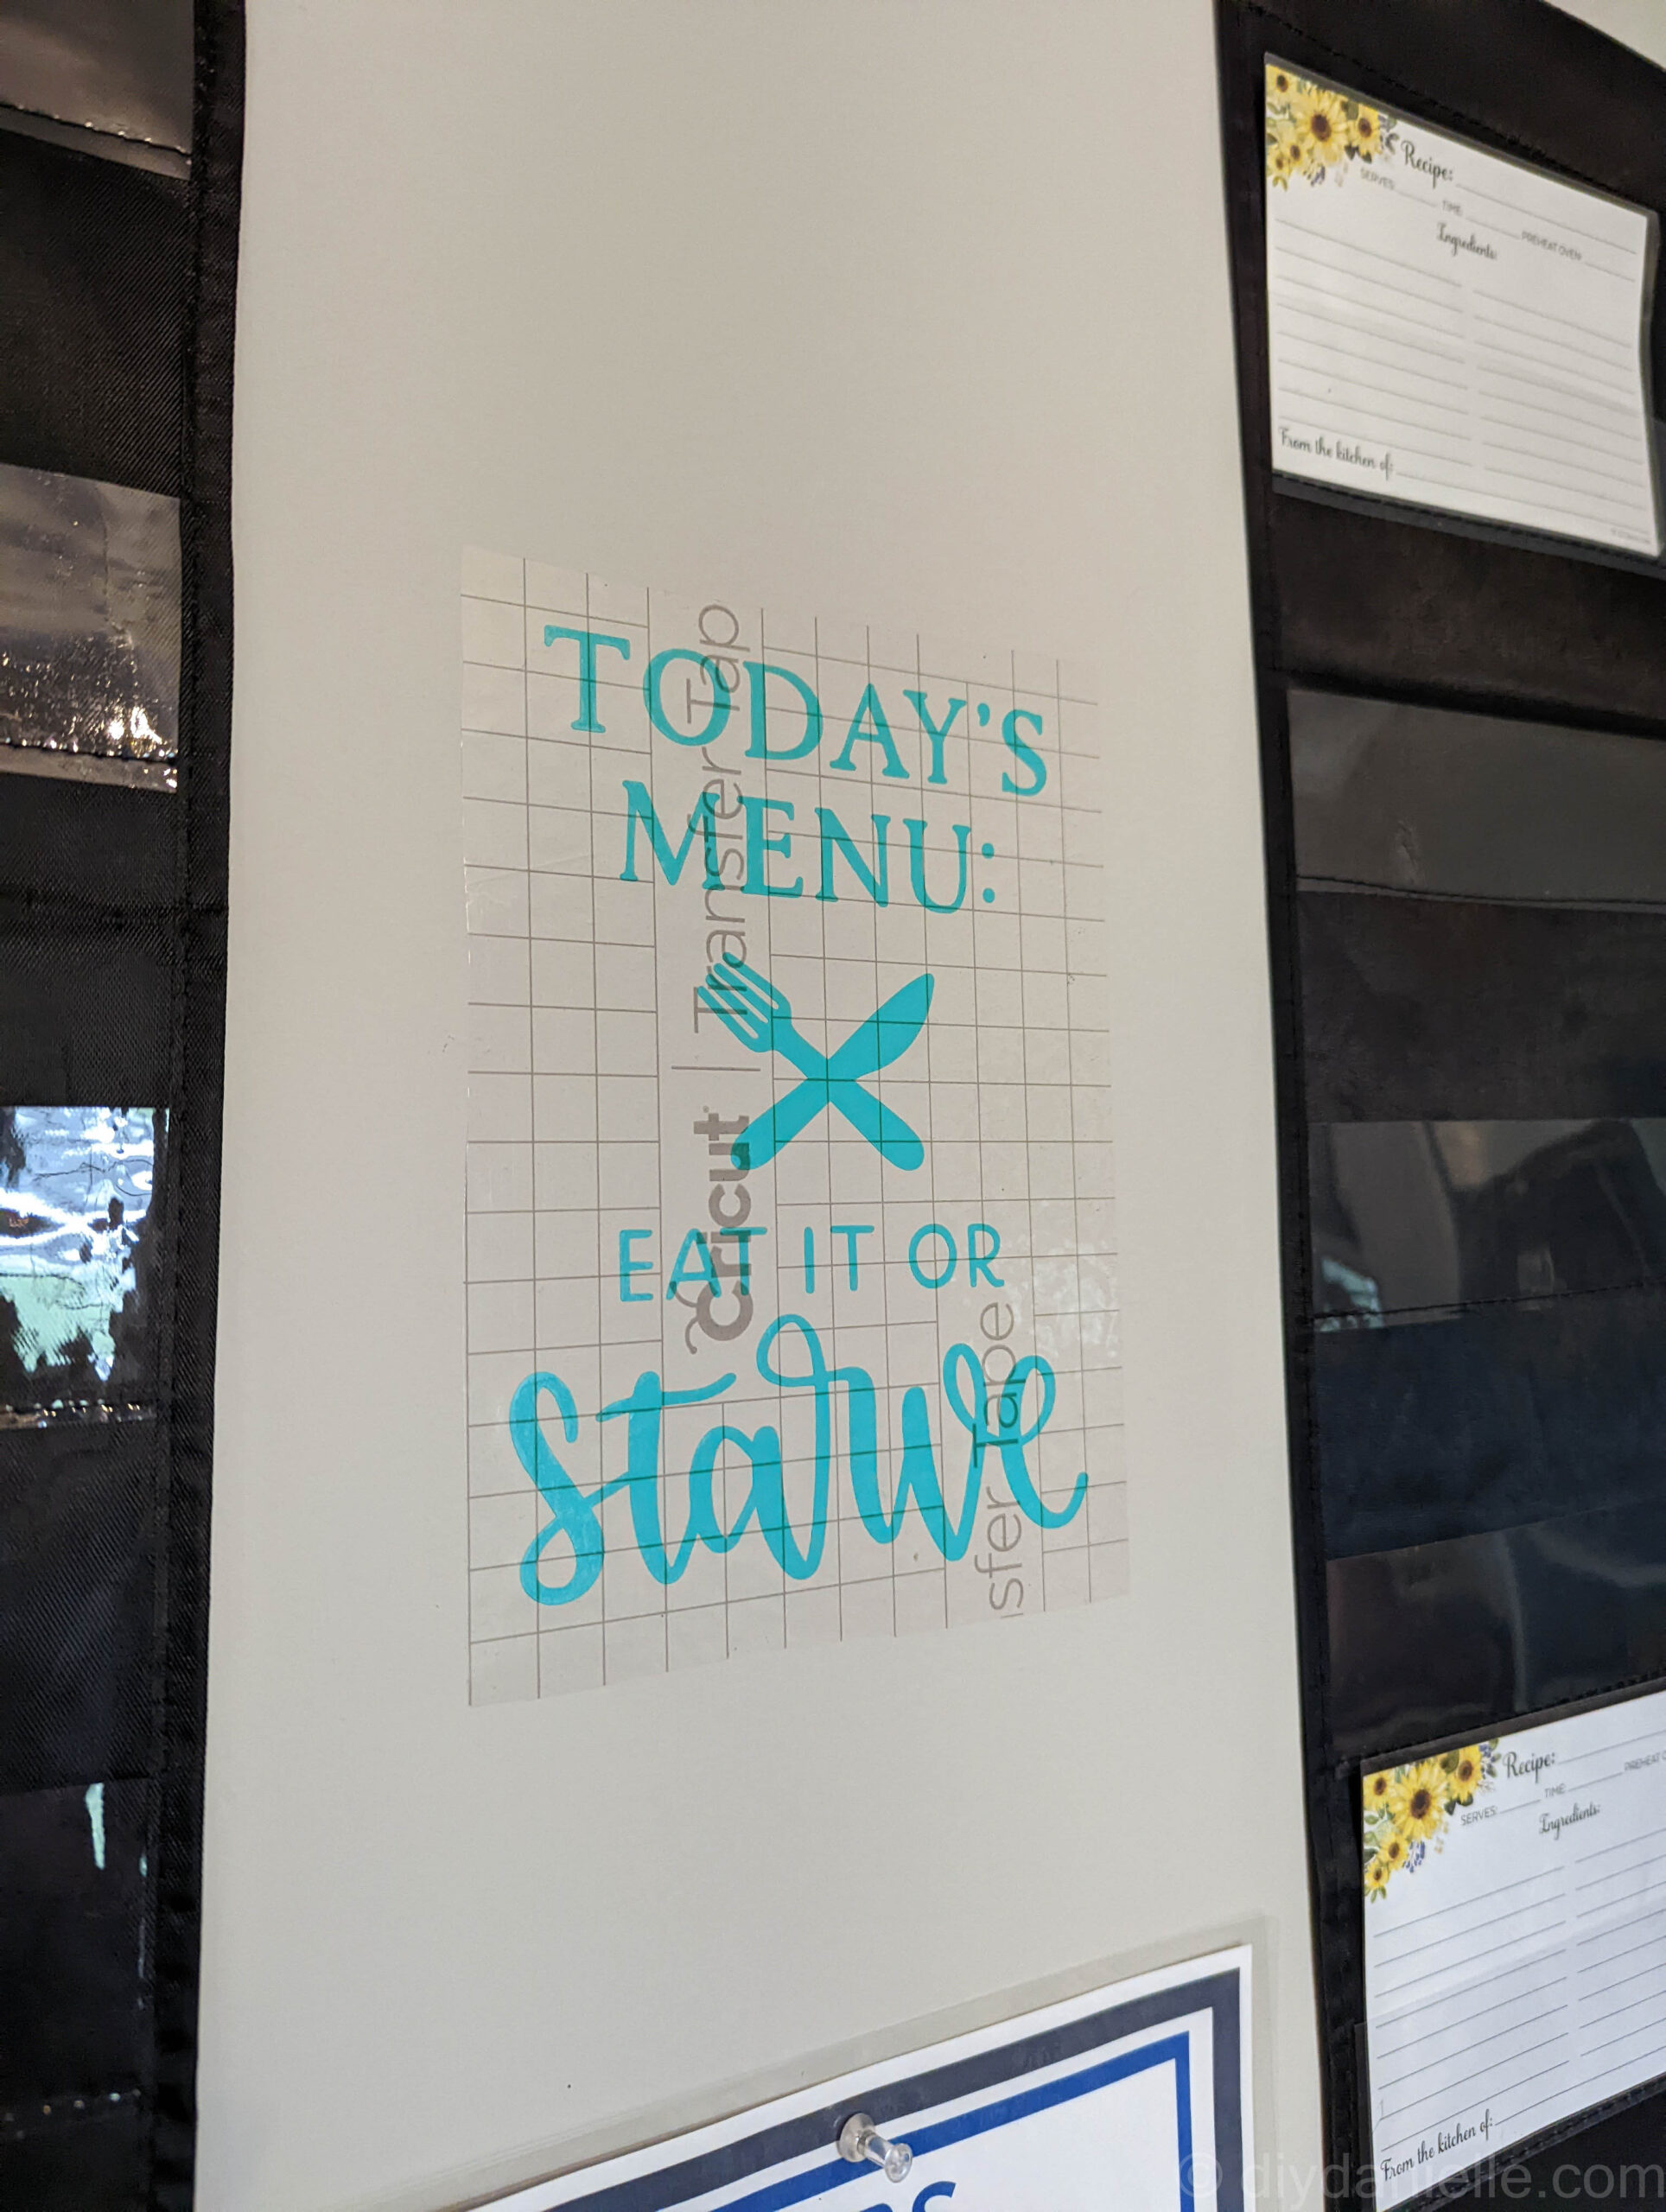
I also transferred my “Today’s Menu” Design. It fit best between the two charts and I didn’t have a better spot for it above the chart. I’m not LOVING that I put it in the middle, but it make sense, at least for now.
Step 6: Setup your recipe cards!
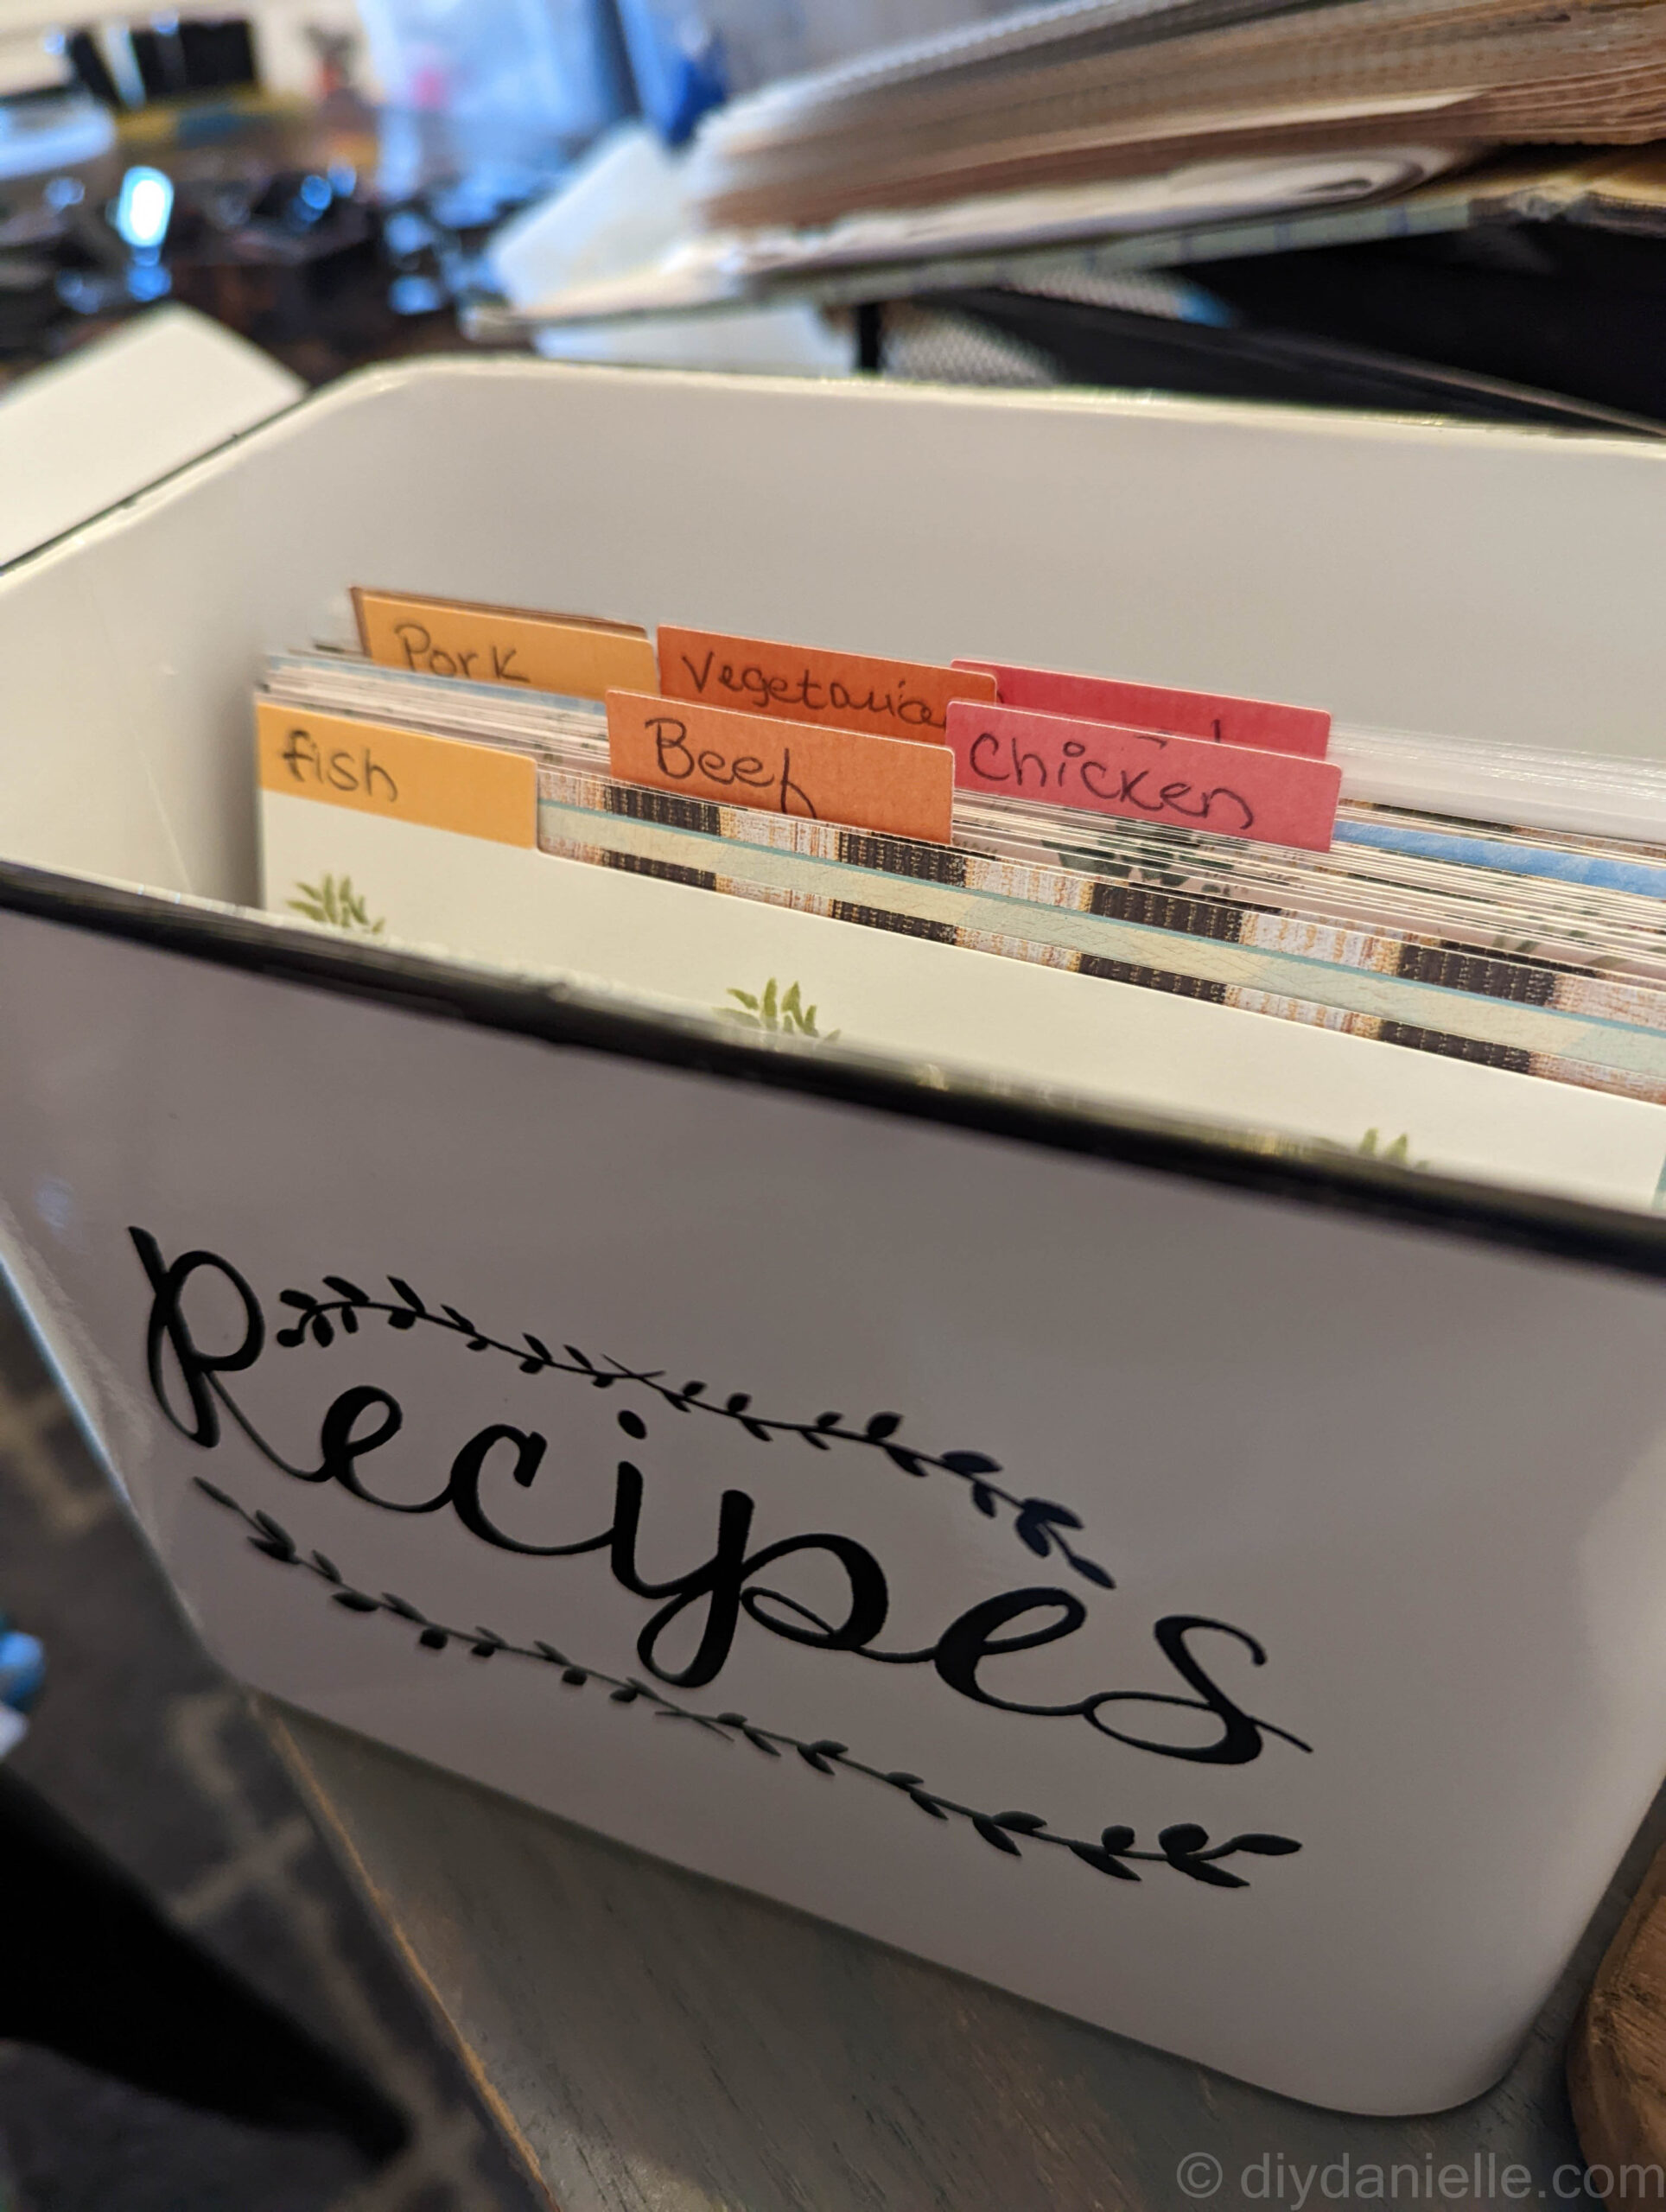
This will be super easy if you already have a bunch of recipe cards. I bought a cute Recipe Box so I could ditch my recipe books. They’re taking up a lot of space in my cabinets and I almost never look through them. I’ll keep one for sides, desserts, etc. but I want all of my main meals in the recipe box.
My recipe dividers are setup like this:
- Fish
- Beef
- Chicken
- Pork
- Vegetarian
- Frequent/Easy Meals
- Other Meat
This setup allows me to plan meals for each week so we will mix up our menu and not have chicken every night. I’ll browse through the divided sections and pick one from each category for the week.
I decided to buy Recipe Card Covers to cover my recipe cards, just to make sure they don’t get ruined.
If desired, you can print the “Easy Meals” cards that I made, which are available on Canva. It’s one of my favorite apps for doing easy graphic design.
How to Meal Plan for the Month
Each month, I setup my monthly calendar first. This allows me to look at the dates and plan meals accordingly.
Busy days are pizza or takeout days. Otherwise, I try to pick (1) fish meal, (1) beef meal, (1) chicken meal, (1) vegetarian meal, and then mix in other options. I’m trying to limit how many meals we serve that are ‘fast food’ (ie. hot dogs, pizza, etc.). It’s REALLY HARD as a parent because kids complain so much less when you spend less time cooking… there’s no reward to making an elaborate meal.
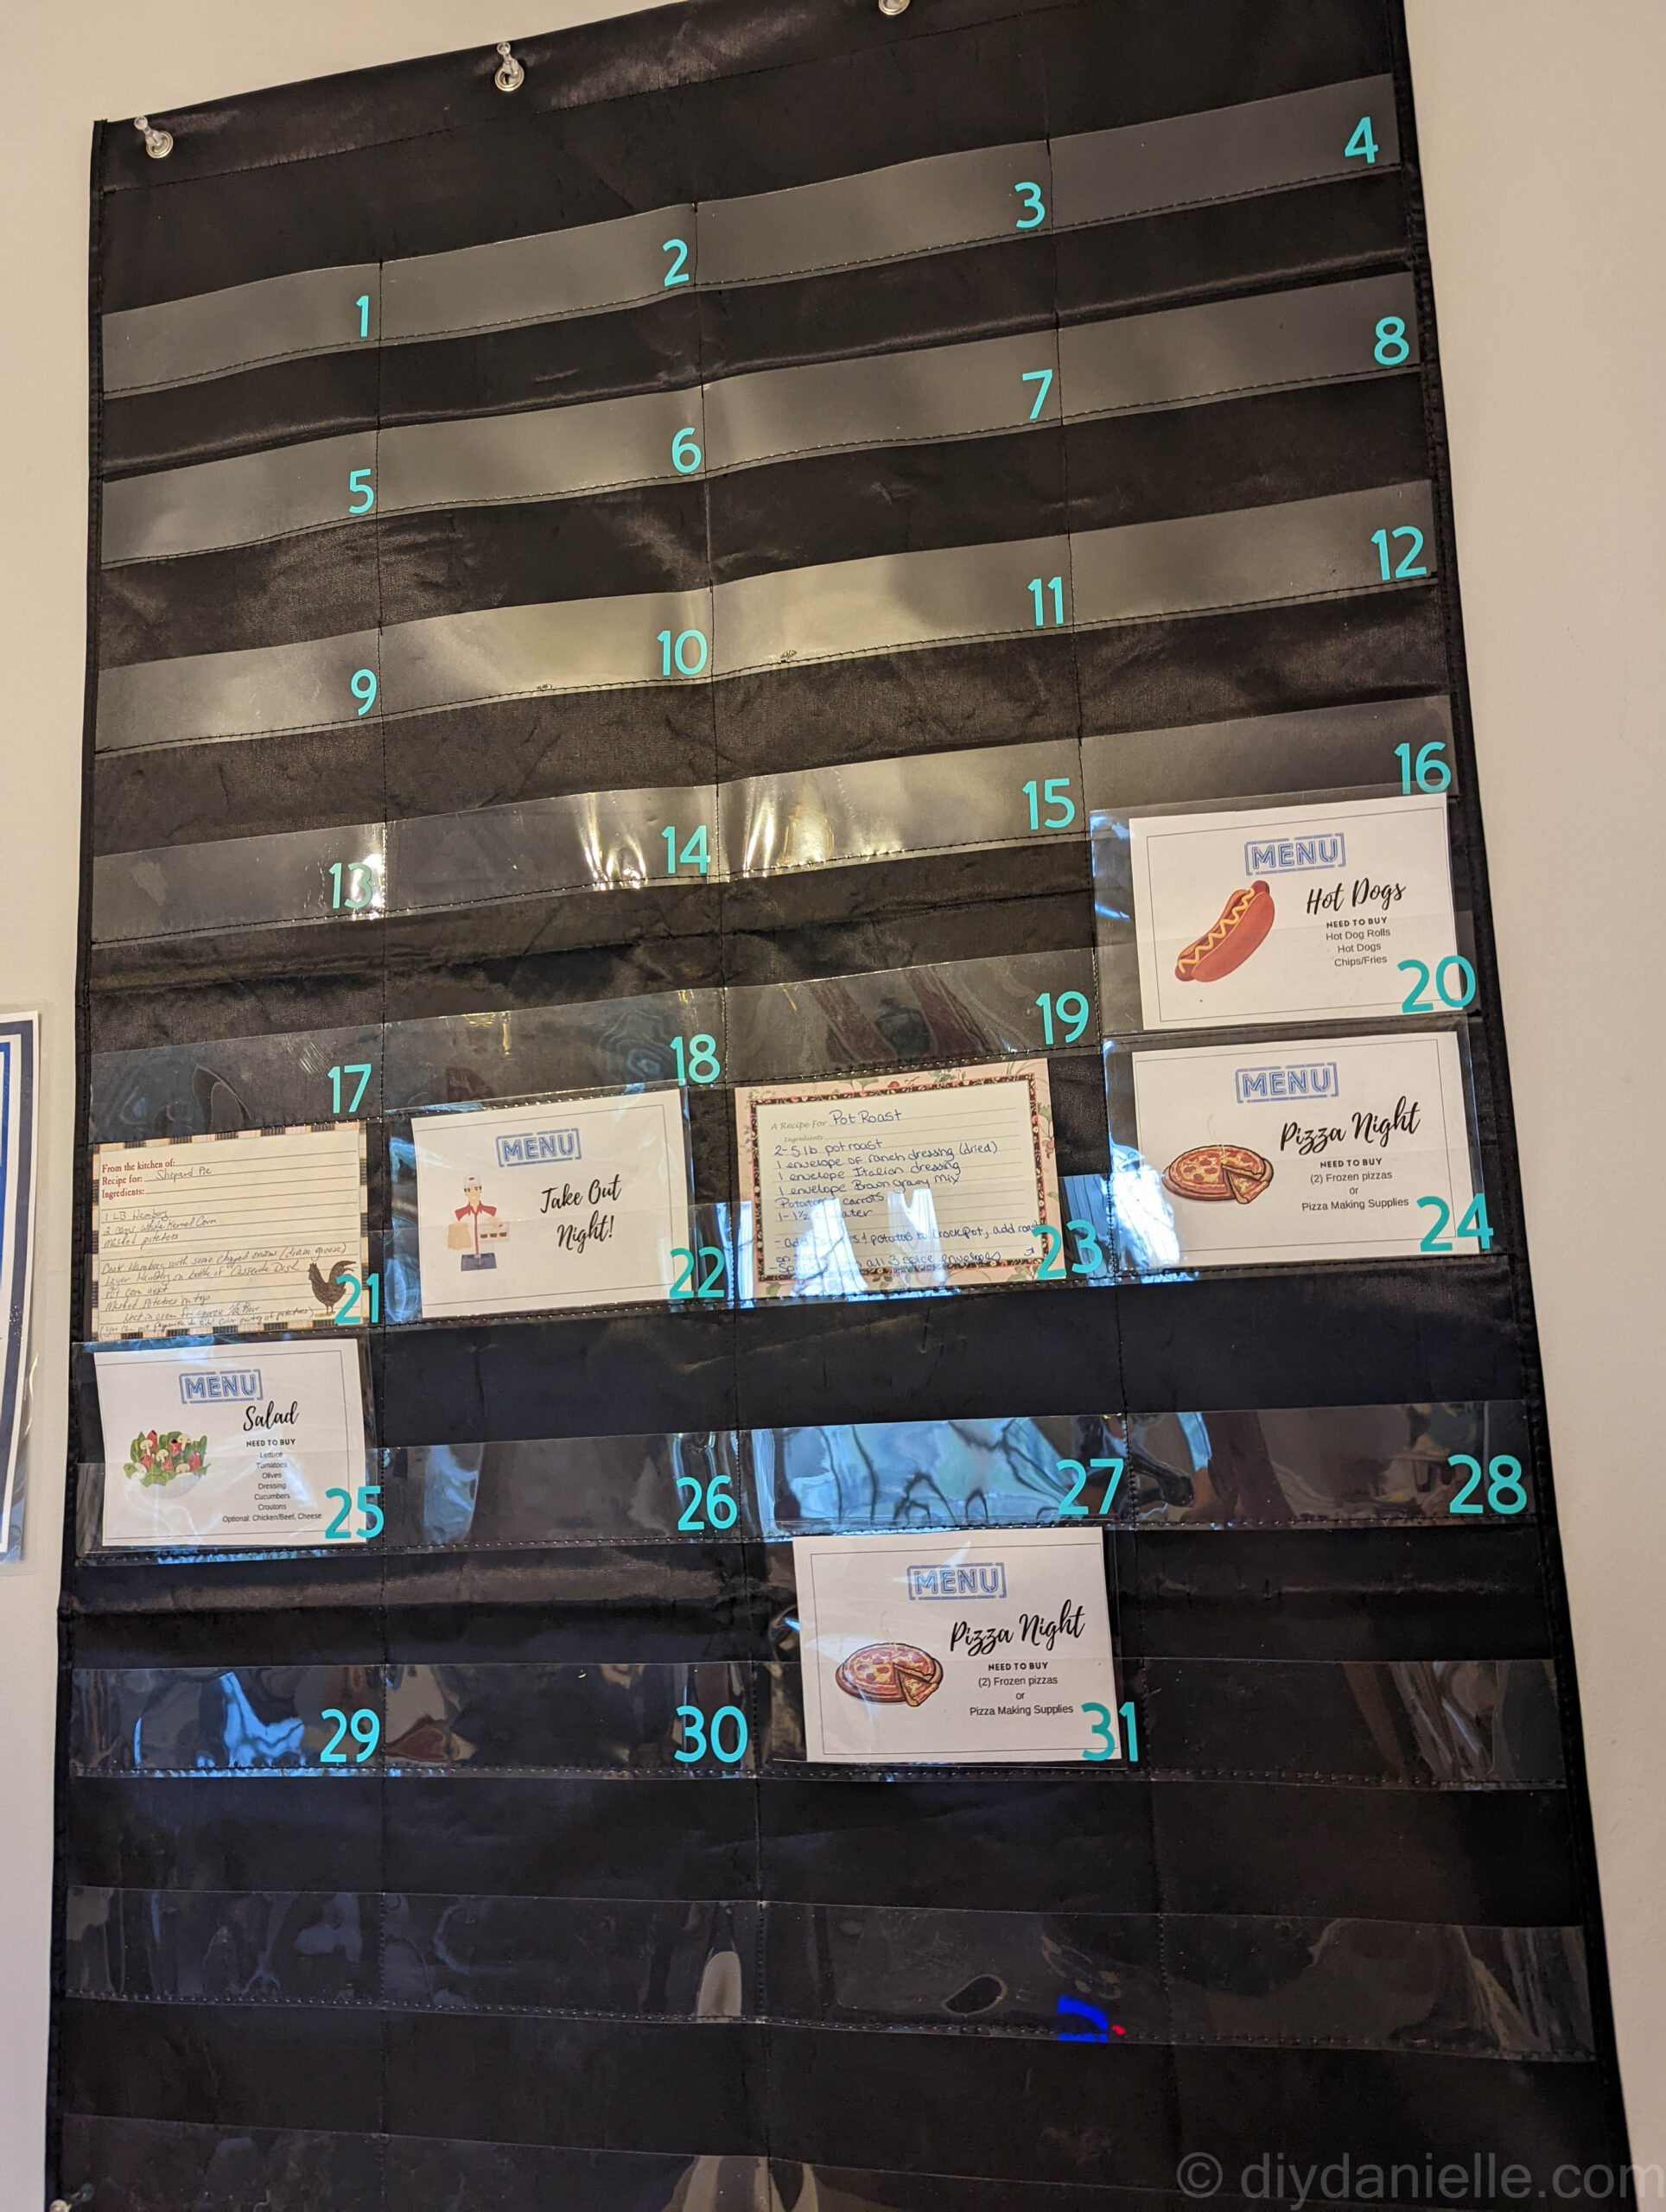
When it’s time to cook, I can just grab the recipe card to bring into the kitchen with me. Afterwards, I can put it back in the box or return it to its spot on the menu planner. The protective film keeps the recipe card from getting ruined if I spill stuff on it.
At the end of the month, I can put all of the cards back in the recipe box and schedule my next month’s worth of meals.
If I need to run to the grocery store and haven’t made a list, I can grab the recipe cards quickly and take them with me as a reminder— as long as I don’t forget to put them back! Usually I know if I have recipe ingredients like salt and pepper, soy sauce, etc., but I know I need to pick up items like ground beef, pork tenderloins, etc.
I LOVE that I’ll be able to plan an entire month at once. I’m much better at a monthly task than doing it each week.
I’m going to try this for a month and see how it goes. If it’s working well for us, I may add secondary cards for the daily side dish/veggie in the pocket too.
What do you think? Would this work well for you?
Please share and pin this post! You can also post your project and tag the DIYDanielle team on Instagram @doityourselfdanielle!