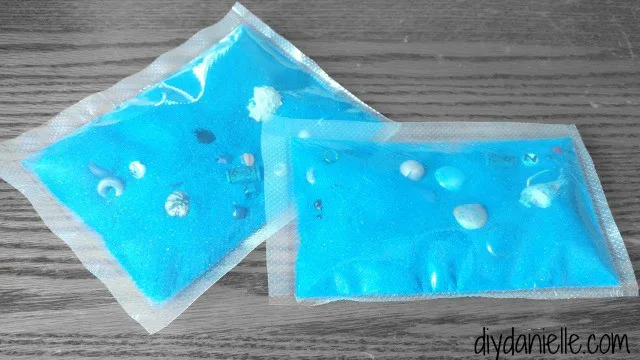
How to make an easy “I spy” bag with your vacuum sealer. This is much easier than sewing a bag or worrying about a zipping bag opening up.
This post may contain affiliate links. Using these links helps support my blog. Thank you!
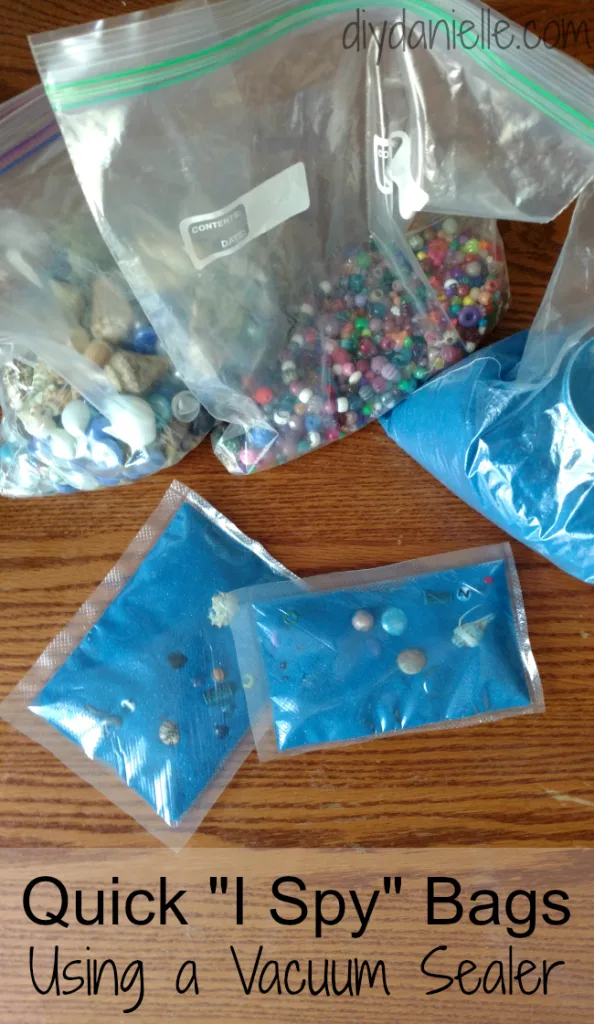
I was in charge of our MOPS crafts last year and wanted to make little “I spy” bags one week. I decided that using a vacuum sealer would be an effective way to make these and it worked really well. I also love the textures of the vacuum sealer bags I use… it’s rough on one side and smooth on the other. Super sensory friendly.
Supplies
Supplies listed below may include affiliate links to the products.
- Vacuum sealer bags: I use these ones because I can cut the plastic into the shape that I want.
- Vacuum sealer
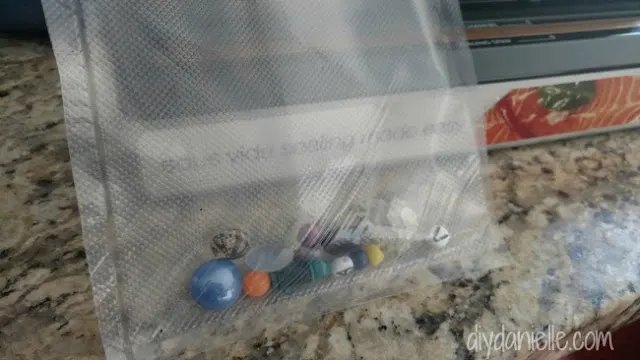
- Items for inside the bags: I used colored craft sand, beads, letters, and seashells.
Tutorial
Seal three of the four sides. Insert your items (beads, seashells, etc).
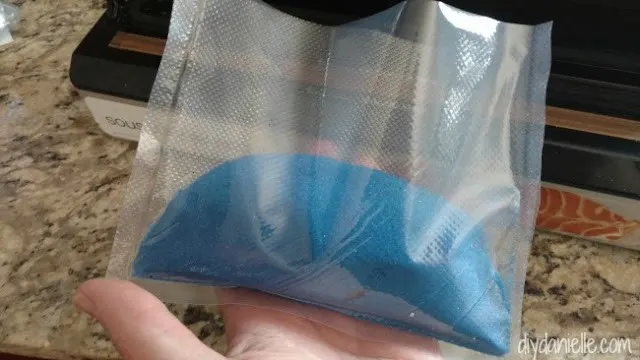
Add your sand. Don’t overfill it. You want there to be plenty of room to squish the sand and items around.
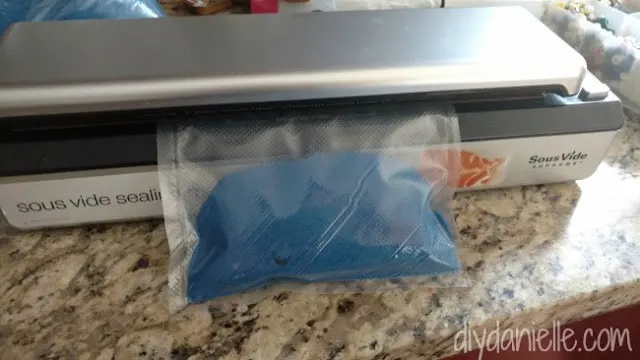
Seal. Note: You DO NOT use the vacuum part of the sealing process. You just want to seal the bag.
And you’re done! It made a quick craft for my moms’ group which was perfect. And it’s functional to keep the kids entertained on trips to the doctor’s office or in the car. Small enough to slip in your bag. Good stuff!


Unknown
Sunday 31st of July 2016
Cute idea - thank you for sharing at #HomeMattersParty
JulieLiveFromJuliesHouse.com
Sue @ Frugalgifts2give
Friday 29th of July 2016
Very clever! I love I Spy games! Thanks for sharing on #FoodieFriDIY!
Erlene - My Pinterventures
Monday 25th of July 2016
My kids would have loved this when they were younger. Thanks for sharing on Merry Monday. Pinned.
Cari Dunn
Thursday 21st of July 2016
I love this idea!! How sturdy are they? My son picks at his fidget toys and they always break. Would this be stronger than one of those jellyfish squishy things?
Danielle
Thursday 21st of July 2016
They're pretty sturdy! You need to make sure the sealer does a good job, of course.