
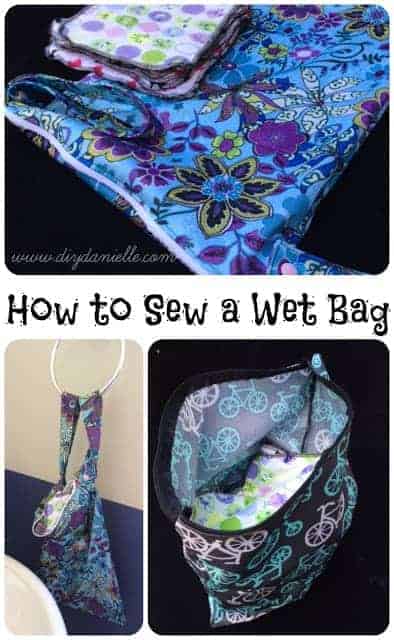

How to make wet bags easily and quickly. These make great baby shower gifts and are a must have for parents!
I LOVE (affiliate link) wet bags. If you aren’t familiar, wet bags are a great way to store items that are wet or dirty. They have a lining of PUL which holds in the wetness… this is great when transporting items like dirty cloth diapers, wet bathing suits, etc.
It’s not 100% waterproof- if you’ve got a soaking wet bathing suit then it WILL leak through eventually- but if you wring it out first, then you’re golden. I use wet bags for everything- we keep one in the kitchen for dirty rags, in my purse for diapers, and in our bathrooms for diapers and wipes too.
I’ve made them a couple times, but I needed more for on the go. I also wanted a couple for gifts for friends.
I found this great tutorial on how to make a simple wet bag easily so I used it to put these together.
A couple of changes I made while sewing them:
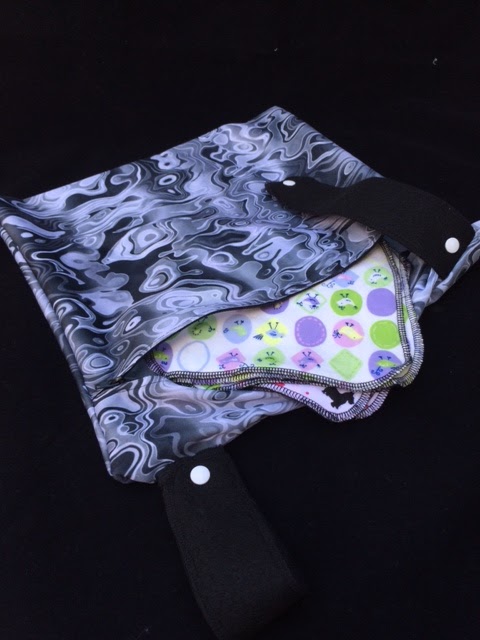
- I cut 4×16″ strips of fabric for straps and folded them in half… for some of the bags I added two straps, one strap, or no strap. I recommend using at least one. You add snaps to the ends of the straps so you can easily snap them around a towel rod or such. I actually like to bring one to the grocery store and stuff my wallet inside… then I can snap the strap around the front of the shopping cart for easy access to my stuff.
- I sewed a straight stitch around the wet bag when I sewed the sides using a walking foot. The slippery side of PUL is kind of a pain to sew so serging ended up being worthless. The walking foot made it faster and easier with minimal pinning. I think you’ll also have less issues with leaking with a regular straight stitch- lots of holes doesn’t make for great waterproofing.
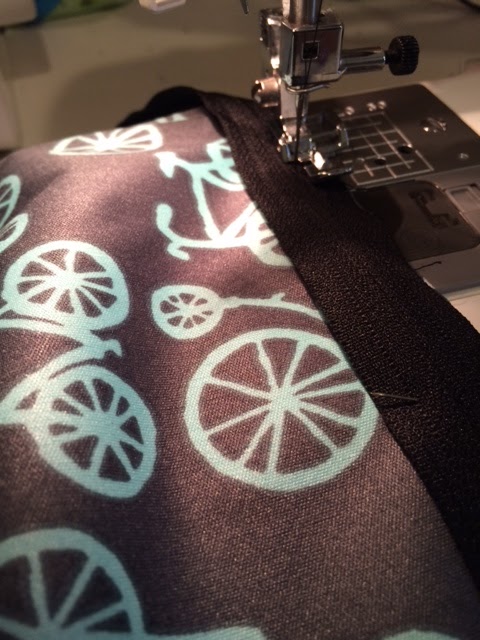
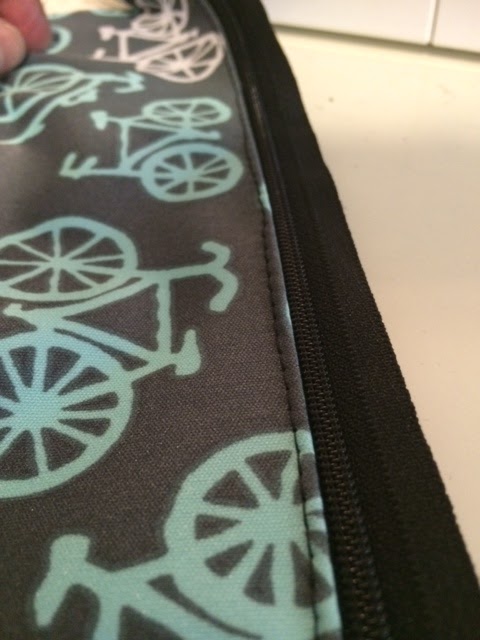
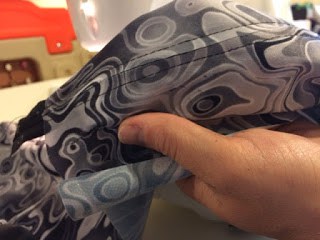
- Again, I don’t like working with the shiny side of the PUL so I tweaked the instructions so I didn’t have to worry about it. Seeing I couldn’t use my walking foot for the zipper area and I needed to use my zipper foot, I got around the issue by making sure that the pretty side of the PUL was face up. Then I faced the zipper down on top of the PUL and sewed it on (left). Once that was done, I top stitched the zipper onto the PUL (right).
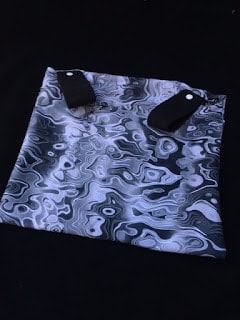
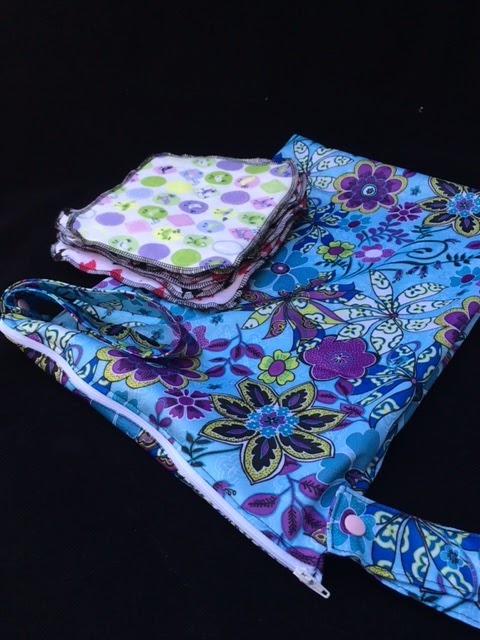
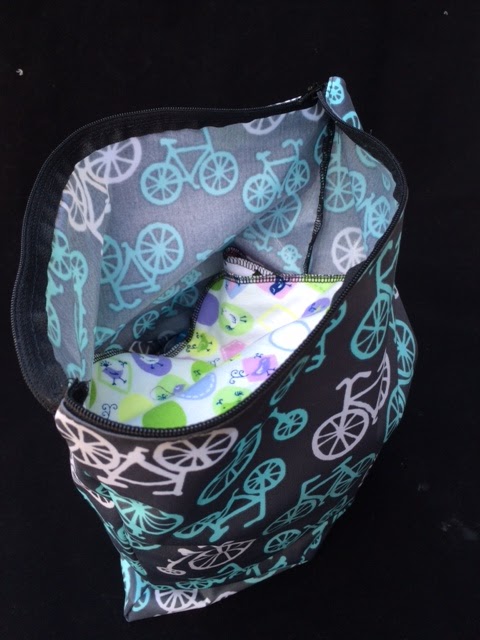
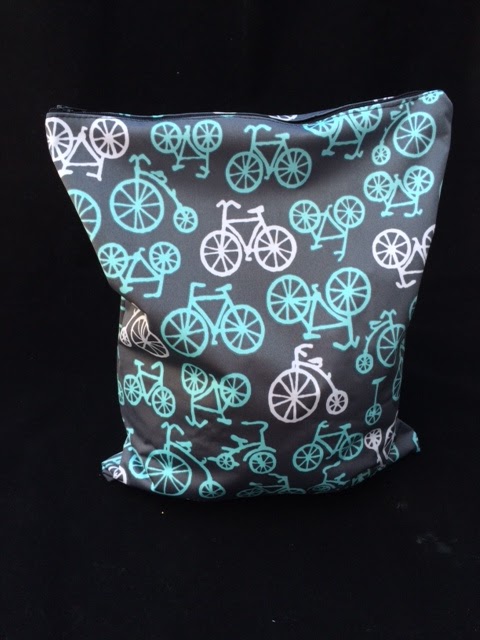
Here are some final pictures:
Are you considering switching to cloth products? Do you love cloth diapering? Curious about cloth products such as cloth menstrual pads, wet bags, and unpaper towels? I just released a fantastic book that is ALL about using, laundering, and sewing reusable cloth products. It even includes instructions on this project! Pick up “The Complete Guide to Using, Laundering, and Sewing Reusable Cloth” today and get started saving money and the environment!

Disclosure of Material Connection: Some of the links in the post above are “affiliate links.” This means if you click on the link and purchase the item, I will receive an affiliate commission. Regardless, I only recommend products or services I use personally and believe will add value to my readers. I am disclosing this in accordance with the Federal Trade Commission’s 16 CFR, Part 255: “Guides Concerning the Use of Endorsements and Testimonials in Advertising.”
This is adorable! I am a nonsewer, but I think I could pull this off! Thanks for sharing!
Great project! I can think of so many uses!
I'm starting swimming today right after work this would be great to have now. Too bad I'm afraid I sew my fingers together on a sewing machine
I usually only sew my fingers together when hand sewing. 😉 The machine makes it a bit more difficult to get your finger caught under the needle I think.
Famous last words of course….
I love these! I was just thinking of making these and now I know how! Btw…love so many of your posts 🙂
Stephanie @ Managing a Home
Thanks so much! I appreciate the kind words 🙂
Wet bags are amazing. I think I have 4 little ones in use, and 4 big ones. Oh wait… then 2 more fleece ones, and one in kitchen for linens. #imighthaveaproblem
Where did you find these PUL fabrics, I’m finding it harder & harder to find PIL. Thank you very much