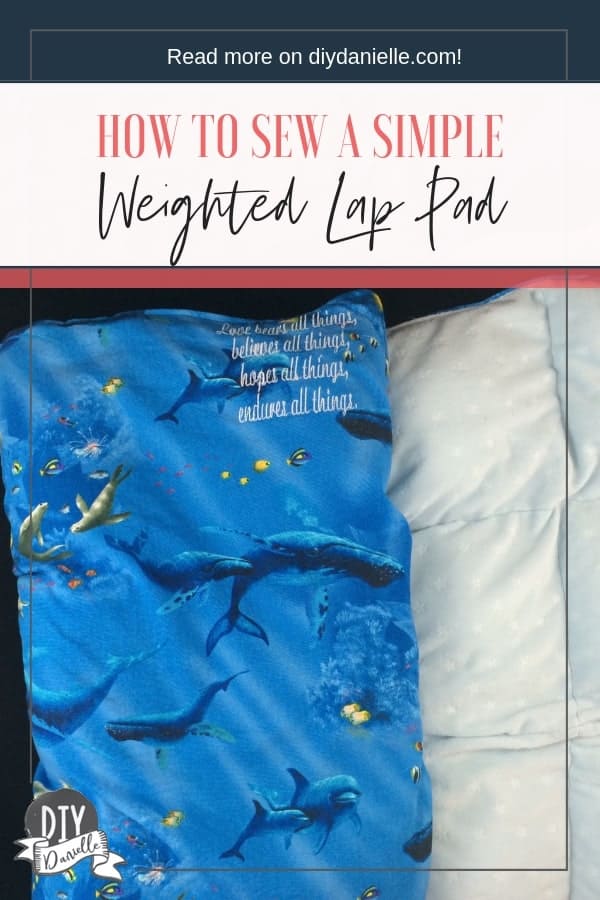
Weighted lap pad DIY. Sew your own weighted lap blanket without breaking your needle.
This post may contain affiliate links which may earn me commissions should you click through them and take certain actions. As an affiliate for Amazon, Cricut, xTool, Home Depot, and other sites, I earn from qualifying purchases. Please DIY carefully. View my full legal disclosures here.
The majority of my content is generated by me, as are 99% of the photos and videos, but I utilize technology for titles, descriptions, video editing out all of my ums, and occasionally for text overlay on images.
Please read the whole post so you don’t miss any important information!
Recently we had a friend of the family who had a loss and I wanted to send her something to help her through this difficult time. I wasn’t quite sure what would be helpful, but I decided to send her a weighted lap blanket.
Weighted blankets are heavy blankets and are thought to help with sensory issues, sleep, stress, and anxiety. They usually have some different types of fabric (like a softer fabric) and the pellets used inside them are special pellets that are safe to be washed.
I made a big weighted blanket for my son and I also wrote a tutorial on how I converted his normal blanket to a weighted blanket. He really loves sleeping with it, although it took him some time to adjust to having the weight on him.
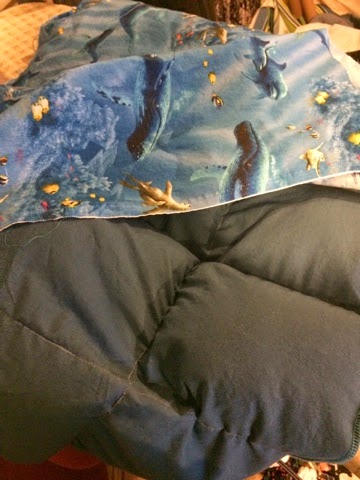
Weighted Lap Pad DIY
3 Cuts of Fabric: 36″ x 21″
- 1: Back, soft fabric (ie. minky)
- 1: Whatever you want as it will be hidden (if you don’t think it’ll show through).
- 1: Front fabric
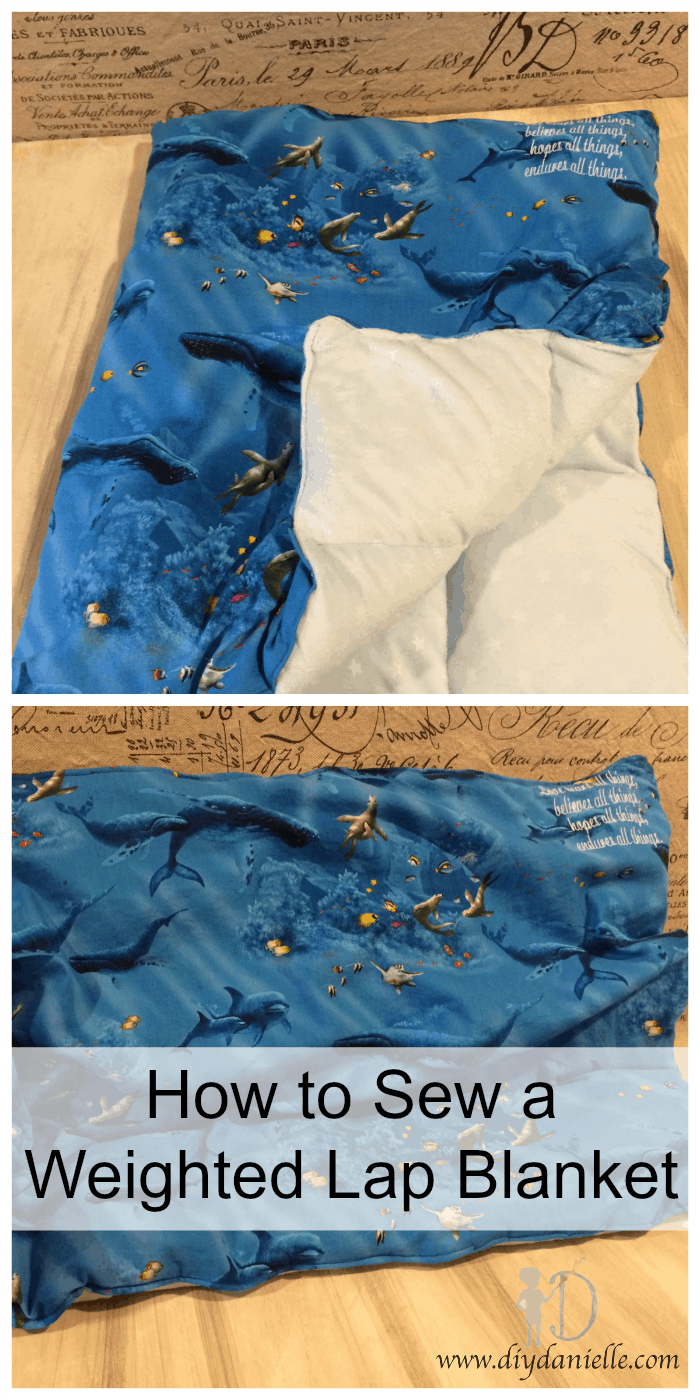
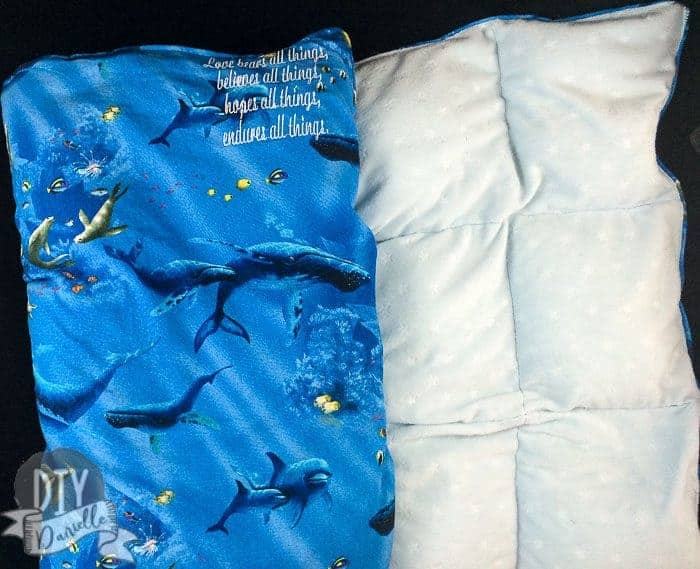
Embroider the front fabric as desired.
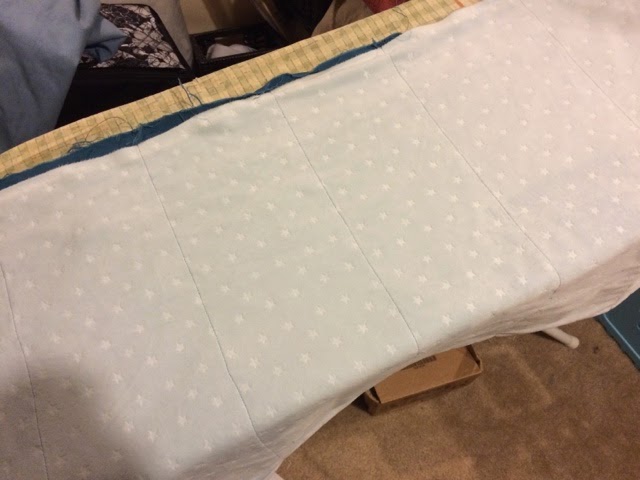
Serge together the back fabric and the scrap fabric along one long side and both short sides. They can be right sides out. Leave one long side open. Now mark where your pockets will be. I drew where I needed to sew for both the vertical and horizontal lines. This made it easier once I was sewing to stay on track. I needed six 6″ sections (5 lines) along the long way. There will be three 7″ sections (two lines) along the short way.

Sew along the five lines.
This gives you 18 pockets total. Divide the weight you want into those 18 pockets. I had 10 lbs so each pocket had WEIGHT 10 lb/18=160 oz/18= 8.89 oz each pocket

Fill each column with amount of pellets for one pocket. You can also add a little fiberfill to each pocket if you want.

Sew along first horizontal line.
Continue this process for each row. Once at top, sew closed. Don’t hit the beads with your needles. The needle WILL break if you do. In fact, you’re likely to break a needle or two the first time you try to make one of these so you may want to make sure you have extra needles on hand. I broke like 10 needles when I made my first weighted blanket. Now you’re going to attach the front fabric to this. Again be carefully not to hit beads.
Two options here-
- You can use binding
- You can sew right sides together, turn, and top stitch. I used this method.
Overall this project is pretty time consuming and takes some precision and patience. It’s not unmanageable, but not a good beginner project in my opinion. The actual sewing wouldn’t be difficult by itself- those beads are just HARD to work around. Video for how to sew weighted blankets without hitting the pellets and breaking needles:
Please share and pin this post!