Sharing is caring!
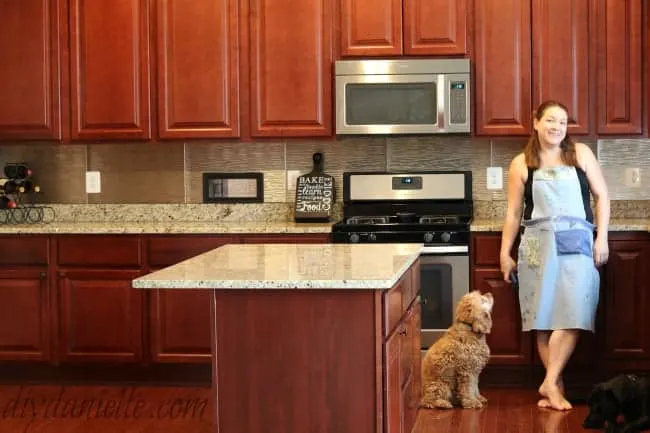
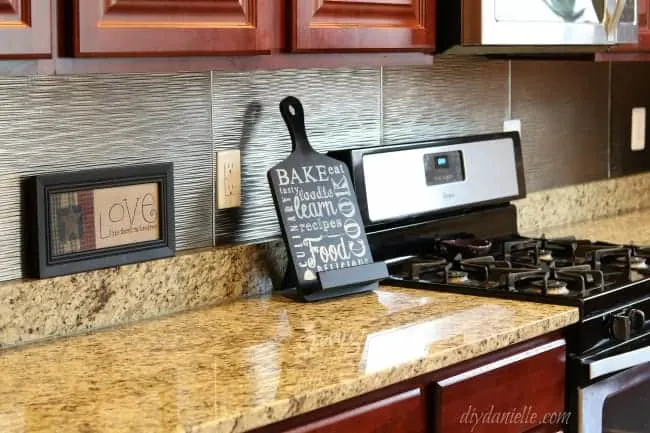
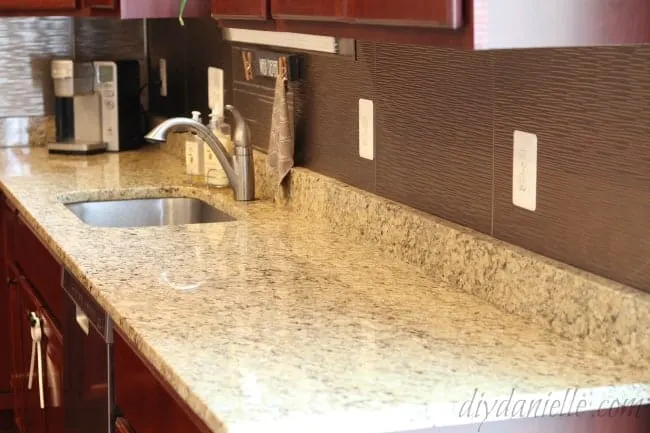
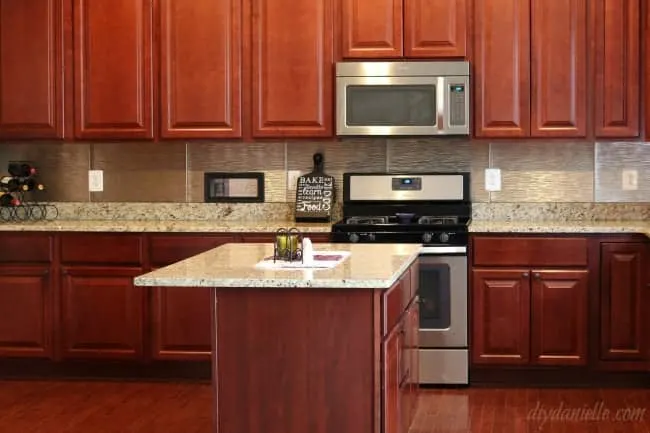
How to install an easy backsplash without a wet saw (tile cutter). This brushed nickel was the perfect match for cherry cabinets and granite counters.
The DIY Decor Store provided the supplies for this project. This post may contain affiliate links. Using these links helps support my blog. Thank you!
I have been itching to put up a backsplash in my kitchen, but the idea of renting and using a wet saw was intimidating. It just seemed like a lot of extra money to rent or buy the equipment for one time use… particularly when there is the potential for a learning curve when initially using new equipment. So I gave up on the idea.
When I attended the Haven Conference last year, I was introduced to easy to cut backsplash such as the Fasade panels that I found from Fasade Ideas. They can be cut with tin snips or a good utility knife which is ideal. They’re also lightweight and less work than installing lots of small tiles.
I love how these came out. I wasn’t sure what would match well with our cherry cabinets and weird multi color granite countertops. And cherry floors. The brushed nickel matched well with the stainless steel appliances and wasn’t too “busy” against the countertops.
Supplies Supplies listed below may include affiliate links to the products.
Tutorial
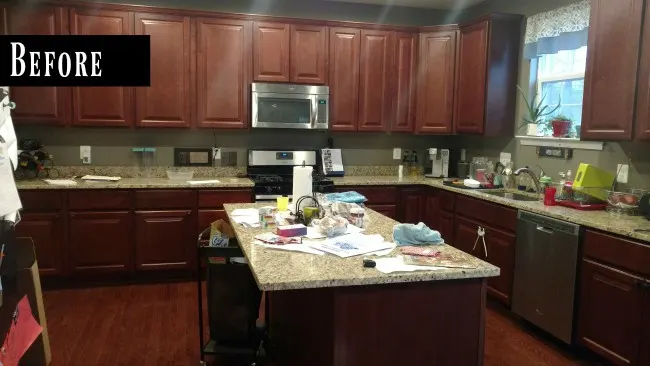
Here’s the before picture of our kitchen…
This project is pretty simple and
Fasade Ideas offers a lot of tutorials on installation.
You start by cleaning and sanding your wall. Remove all of your outlet covers.
Next measure your wall space, mark, and cut your panels to fit. You will also need to make cut outs for the outlets. I started from one wall to the other, but I have also heard to start from the mid point on the wall (or a main focal point) and work out from it. That will create a more centered look.
Like sewing, measure twice, cut once… you can’t put it back together once it’s cut.
We did not use trim along the top or the bottom (under the cabinets) as we tried to make it fit perfectly. We may opt to use silicone sealant or caulking along the edges at some point, but we left it as is for now as it’s a good fit.
Once your panel has been cut to fit and you’ve placed it to ensure everything is correct, you can apply construction adhesive on the back of the panel and put it in place. Press to adhere for a moment.
Move on to your next panel.
There is a flat edge on your panels. That is the area you want to overlap with your next panel. You’ll continue this process around your kitchen wall.
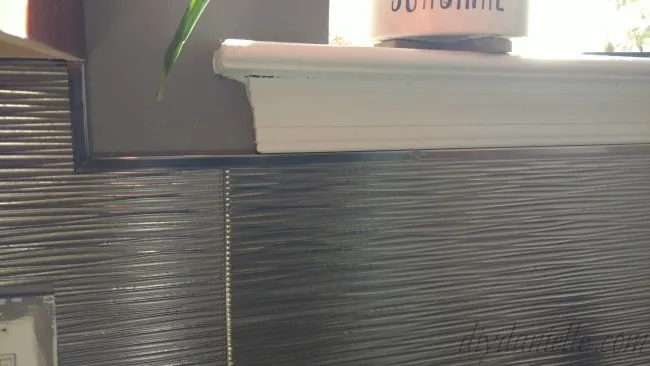
We had a couple of weird areas, like around our window (above the sink). We opted to do our panels like this for that area:
It was easier to install this way and we used the J-trim to cover the raw edges. My husband had lofty goals to cut the J-trim with his miter saw for perfect angles but it didn’t work well with the blade we had. The tin snips worked fine for it.
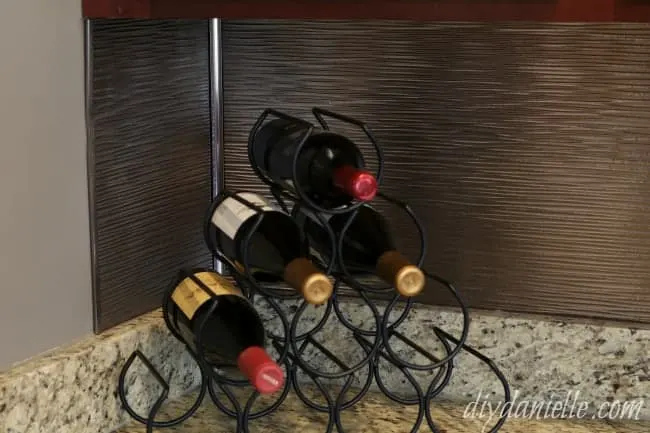
The corner trim went into the corners of the kitchen. The corner trim has a slot in it that you can slide the panel from each side into.
Once you’re finished, remove the plastic covering the panels (if you haven’t already) and replace your outlet covers. The outlet covers can be made to match the panels if you use the Fasade Outlet Cover Laminate in Brushed Nickel, but we didn’t do this.
Very easy project, although it requires careful measuring and cutting. The backsplash is easy to wipe down and matches well with my cherry cabinets and stainless steel appliances. The seam lines took some time for me to get used to but they’ve grown on me and now I think it really looks good.
Quick Video of the Process
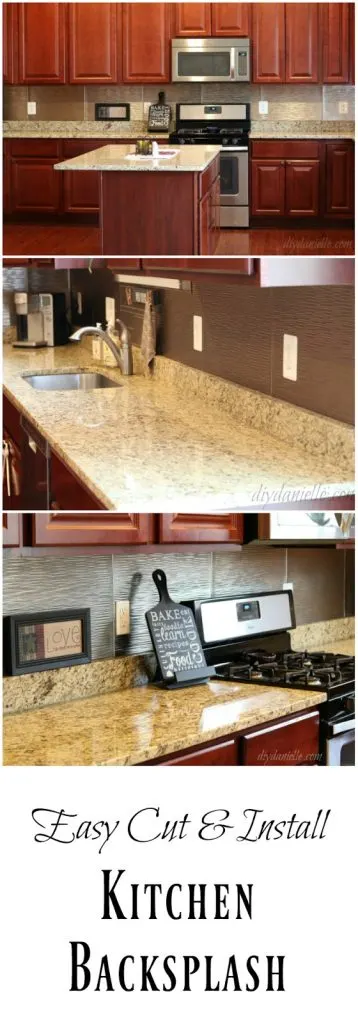
Love it? Pin it!
Thanks for taking the time to read this post! I really appreciate the time you’ve taken. Please share, like, and pin my post if you enjoyed it. Follow me on social media and subscribe to my email list to keep up to date on all of my latest projects!
Disclosure of Material Connection: The supplies for this project were supplied by DIY Decor Store. Some of the links in the post above are “affiliate links.” This means if you click on the link and purchase the item, I will receive an affiliate commission. Regardless, I only recommend products or services I use personally and believe will add value to my readers. I am disclosing this in accordance with the Federal Trade Commission’s 16 CFR, Part 255: “Guides Concerning the Use of Endorsements and Testimonials in Advertising.”
Sharing is caring!
