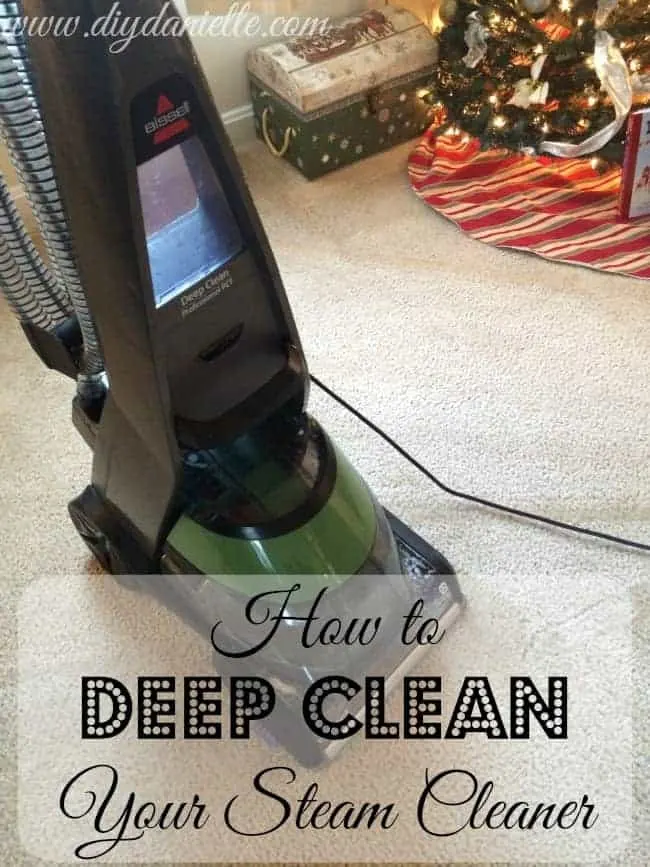
How to deep clean your Bissell steam cleaner- for pet owners.
I’m not sure how dirty a steam cleaner gets if you don’t have pets (or long hair), but we’ve got two dogs, me with long hair, and two toddlers so ours gets absolutely filthy very quickly. It’s nice to take some time and do a good job cleaning these machines out. We do a basic cleaning after every use- which is why I try to do most of the house in one go. If you do a good job maintaining your machine then hopefully it will last longer and work better for you. My main “thing” is sewing and the one thing sewing has taught me is that maintaining machines is VITAL for keeping them in working order.
Supplies
Supplies listed below may include affiliate links to the products.
- Time
- Bissell Pet Steam Cleaner
- Toothbrush
- Screwdriver
- Long stick (I used spare kebab stick which was a bit too thick to get all the way in, but it did a decent job)
- Big sink (I used my kitchen sink. You could try a shower, but it’d be helpful to have a sprayer that comes off if you do that).
Tutorial
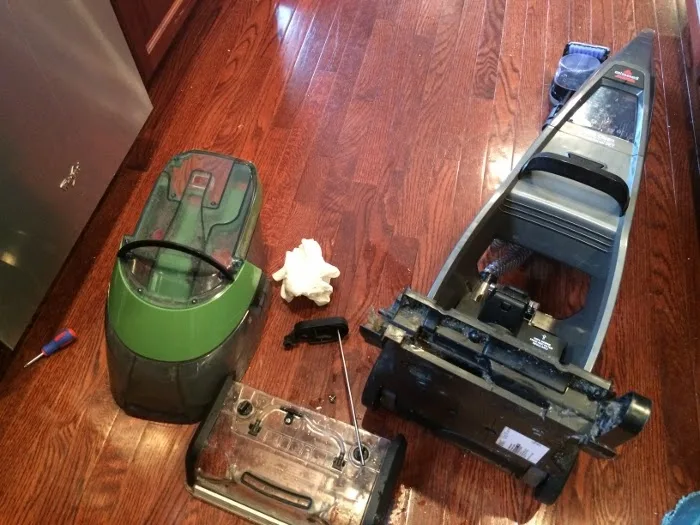
Unplug your machine. Remove the tank of dirty water and the guard in the front of your cleaner. For our Bissell Pet steam cleaner, you just turn the little black knobs on the top and it pops right off. In the picture below, I’ve removed the brushes too but ignore that for now- that’s the DEEP deep cleaning portion.
Pour out the dirty water and rinse.
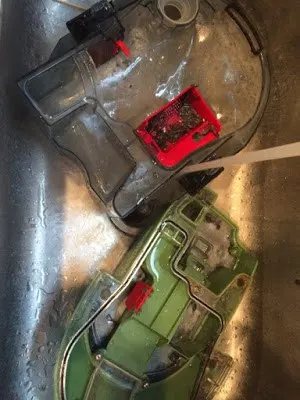
I take the shield and use the kabob stick again, along with running hot water, to push the hair through. Dispose of hair. This is such gross work, but I find it really satisfying, haha.
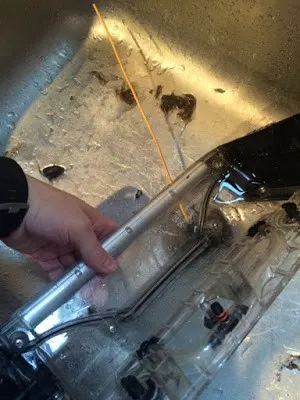
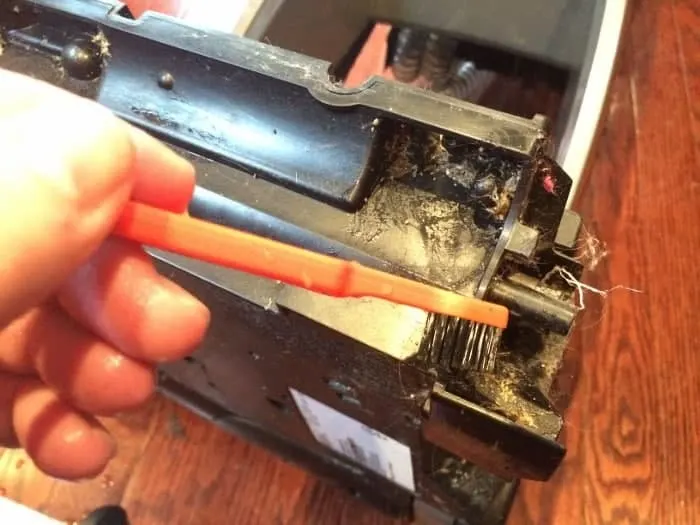
If you don’t want to remove the screws, you can still use a toothbrush to get into some of the hard to reach areas and pull out any hair that’s gotten stuck if it’s easy to reach.
Then you can screw the screws on either side of the brushes. Pop out the black end pieces and save the screws somewhere safe. Make sure not to lose the bands- those are important and make the brushes spin to clean your carpet. I rinsed the black pieces out, then I soaked the brushes in the sink.
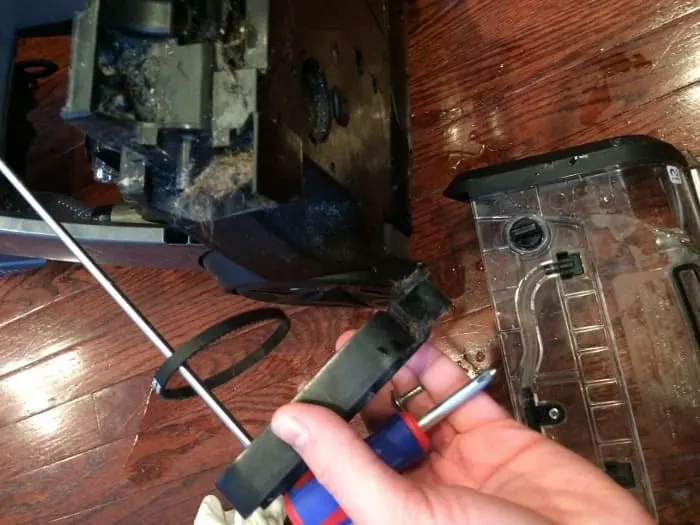
I also used a toothbrush to clean all of the harder to reach areas in the front of the vacuum where the brushes go. YUCK.
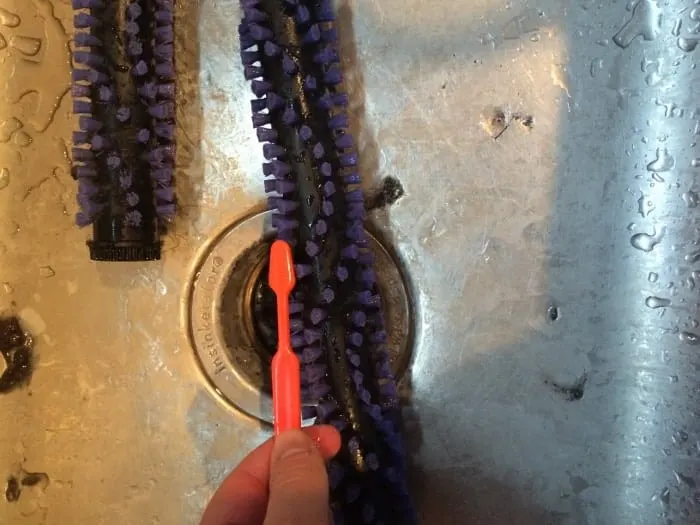
Once everything is clean, I put it all back together. My husband needed to help me put the screws back in… the bands that turn the brushes kept falling off as I tried to get it all back together so he was able to hold part of it while I got the rest. They HAVE to be in the correct position or your machine won’t work properly.
After you just replace the front shield and the tank. Done. Clean steam cleaner- just like new. Yay! I feel so satisfied after cleaning this thing!
Thanks for taking the time to read this post! I really appreciate the time you’ve taken. Please share, like, and pin my post if you enjoyed it. Follow me on social media and subscribe to my email list to keep up to date on all of my latest projects!

