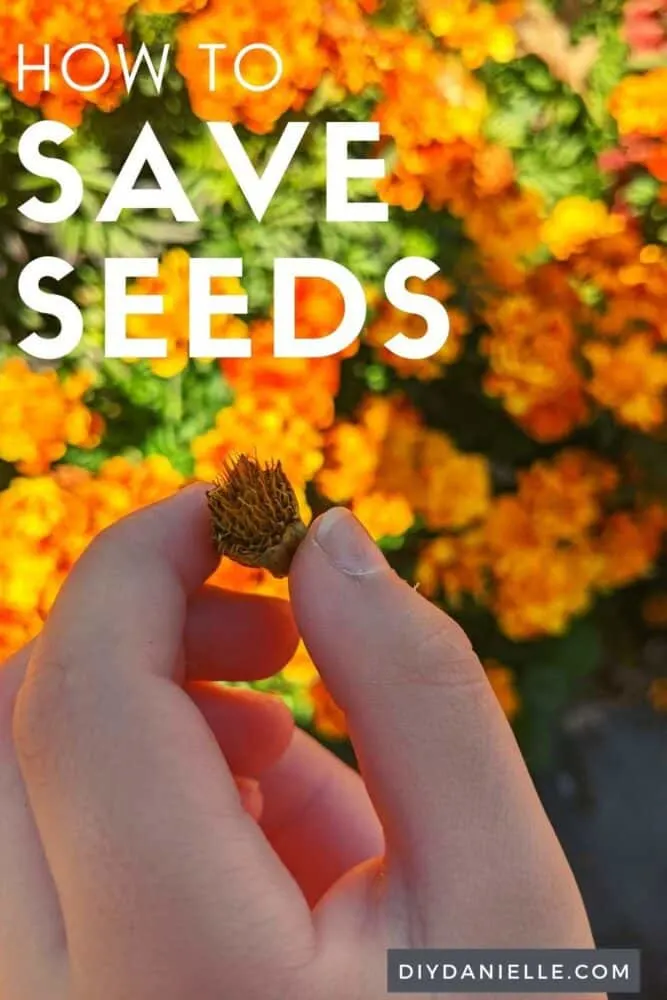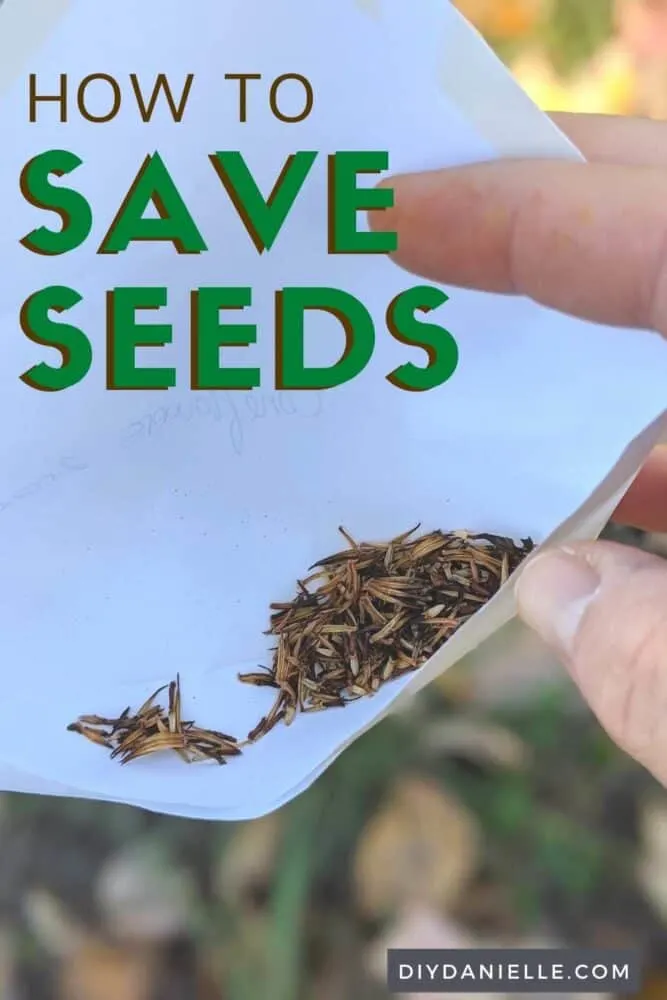
How to collect, dry, and save seeds (and why you should). Everything you need to know about harvesting seeds from flowers and vegetables!
This post may contain affiliate links which may earn me commissions should you click through them and take certain actions. As an affiliate for Amazon, Cricut, xTool, Home Depot, and other sites, I earn from qualifying purchases. Please DIY carefully. View my full legal disclosures here.
Please read the whole post so you don’t miss any important information!
I love gardening, but buying seeds each year can be expensive. I often save leftover seeds from packets and use whatever is left, but they do tend to expire. Usually you’ll get lower germination rates each year following collecting the seeds.
The best option is to collect seeds from your flowers and other plants each year. This allows you to store a fresh batch of seeds from your healthier plants.
You can swap extra seeds with other local gardeners each year, rather than storing older seeds.
Table of contents
How to Harvest Seeds
You can harvest seeds from many things planted in your garden. Nature, on its own, will ensure that your plants self-sow in order to perpetuate the species. However, much more reliable results can be gained when you harvest seeds and save them yourself.
Saving seeds gives you the opportunity to take control over where your plants grow.
Tip: When looking to save seeds, annuals are probably the easiest to grow. But perennials, bulbs, and even shrubs and trees can be equally as rewarding.
Heirloom Plants vs. Hybrid Plants
When you buy seeds or seedlings for your garden, you’ll likely find that they’re either hybrids or heirlooms. Ideally, you want to only save seeds from heirloom plants.
Hybrids are created from crossing two different varieties (types) of the plant… the initial plant they produce may be superior in some ways to the heirloom alternative, but the seeds from the mother plant aren’t likely to produce seeds that will be worth saving.
I usually try my best to only buy seeds and seedlings that are heirloom so I can save seeds for the following year. I am sure I have accidentally saved and planted hybrid seeds, however, as well.
Seed Saving Techniques
Pick a dry day, and preferably a day with no wind. Begin to look around your garden for a healthy plant that is disease and pest-free. Search for seedpods that look like they’re about to split.
Once found, cut off the entire seed head.
Turn it upside down, and put it into a paper bag. Close the bag but be careful of not crushing the seed head, and then label that bag with the name of the plant you’ve removed it from.
Place in a dry place and wait for seeds to ripen.
Make sure to check the ripening progress often. When you find that most seedpods have opened up, tip out your saved seeds and separate them from any bits of seed head still attached.
You can also wait until you’ve had a span of dry days, once the head of the flower is super dry, and harvest directly from the plant.
Store your cleaned saved seeds in a small dry envelope, and seal. Then keep in a dry, cool, and airy place until you’re ready to replant.
How to Save Seeds from Squash, Pumpkins, and Melons
I often use pumpkins and other types of squash for cooking. I love homemade pumpkin soup. Saving seeds from large melons and squash is easy because the seeds are so large… it’s certainly hard to miss them! When you go to scoop out the guts of your squash, melon, or pumpkin, you can simply grab the seeds out, wash them off, and let them dry.
How to Save Lettuce Seeds
Lettuce is a plant that has to ‘go to seed’ in order to produce seeds. You don’t see seeds on a head of lettuce. When it gets hot in the summer, lettuce will ‘go to seed’ and ‘bolt.’ It sends up a shoot and this will flower to produce seeds. If you harvest the lettuce during this period, it WILL NOT taste good. But you can happily save the seeds for a Fall lettuce harvest, or for the following Spring.
Essentially, lettuce has to over ripen to produce seeds. The same is true of other plants, such as broccoli.
How to Save Tomato Seeds
You’ve probably seen (and eaten) tomato seeds… instead of eating them, however, you can scoop out the seeds and place them on a paper towel to dry. Let them dry for a few weeks, then save them to plant next year.
Potential Problems with Saved Seeds
Harvested seeds can save you money and allow you to select the best plants each year to grow seeds from. However, that’s not to say you might not run into some problems along the way.
● Plants can experience exhaustion during seed production. You’ll find that some years will be amazing for harvesting, and some simply won’t. This could be due to unfavorable weather conditions, or perhaps due to late frost or drought.
● Viability isn’t great – The viability refers to the length of time your seed stays alive, and is able to germinate. If your saved seed is sown but is unable to germinate, it comes to suggest that it was not viable. This all depends on the condition of your saved seed when you first store it, how long you stored it for, and what type of seed you’re keeping. Your soil and seedling care after planting will also impact germination rates.
● You can’t find seeds to collect – When plants are sterile, they cannot set seed. When you try to save seeds from such a plant, you’ll only be able to find disappointment. Some plants like holly will carry female and male flowers on separate plants, so males will never bear seed.
● Some plants are simply better and easier to grow from a cutting or bulb. It’s generally not easy to grow an apple tree, for example, from an apple seed.
Strategically Saving Seeds
So there you have it! You now know how to harvest seeds. Keep in mind that the more generations of plants you manage to grow from your very own seed stock, the better chance you have of showing improvement in your final plants. You can select the best plants that grow each year to harvest seeds from: you want to chose seeds from strong, healthy, and disease resistant plants.
Don’t forget to share your saved seeds with your friends, family, and other gardeners. When you share your saved seeds around your local area, it provides a source of improved seed that has adapted to the local climate and soil.
Learn how to STORE your seeds.
Please share and pin this post! If you make this project, share it in our Stuff Mama Makes Facebook Group. We have regular giveaways for gift cards to craft stores. You can also tag me on Instagram @doityourselfdanielle; I love seeing everything you make!

