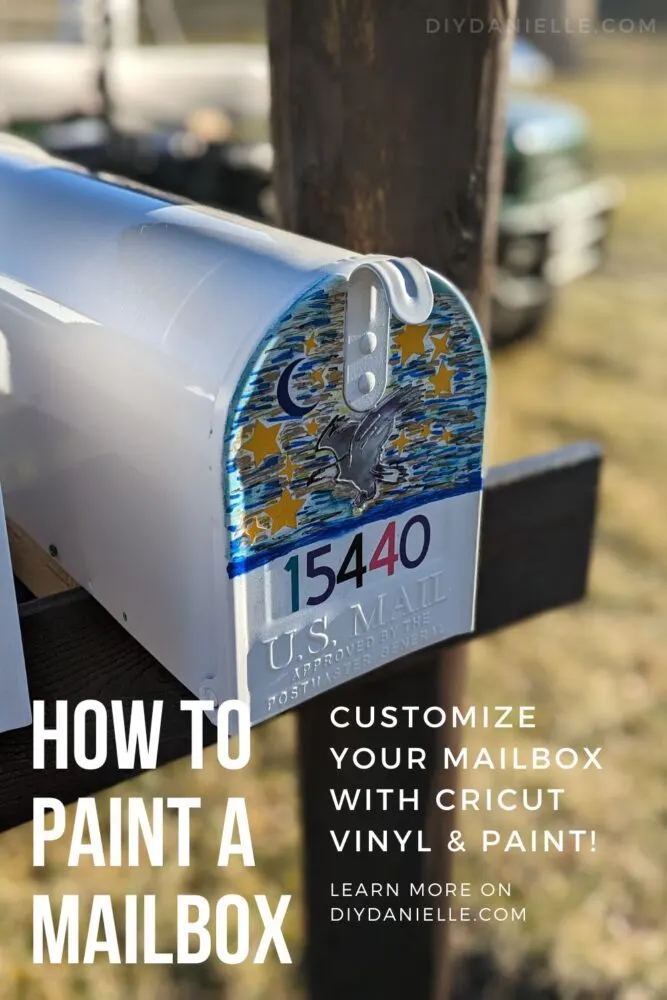
Want to customize your mailbox? Here’s a tutorial on how to paint a mailbox to refreshen its look or to help it stand out!
Not all mailboxes are created equal, and you might have a hard time finding one that fits your personality exactly. This is where a few DIY skills can come in handy! In just a few steps you can completely customize a mailbox using paint. Here’s an easy-to-follow guide on how to paint a mailbox so you can decorate yours exactly the way you want!
This post may contain affiliate links which may earn me commissions should you click through them and take certain actions. As an affiliate for Amazon, Cricut, xTool, Home Depot, and other sites, I earn from qualifying purchases. Please DIY carefully. View my full legal disclosures here.
Please read the whole post so you don’t miss any important information!
I recently had to upgrade our mailbox because the hinge was broken. The mailman WILL NOT close it if it’s not easy which could lead to mail flying away or mail theft. I purchased a new, plain white mailbox and decided to keep the old mailbox to use in the garden to hold small gardening tools. Technically the mailbox works, it just needs to be closed carefully. But our au pair mentioned that it would be fun to paint the mailboxes to customize them! I thought that was a fun idea and decided to give it a try.
Here is a tutorial on how to prep and paint the mailboxes, along with some information on changes you may need to make if the mailbox is metal or plastic.
Prep
Whether you’re repurposing an old mailbox or customizing a brand new one, you’ll want to start by cleaning the mailbox off. If it’s been previously used (either outdoors or indoors), it will likely have accumulated signs of wear and residue from everyday use.
If it’s brand new, it may have some dust or remnants of debris from the manufacturing process. You can prep your mailbox for sanding and painting in three easy steps:
- Remove or cover hardware that you don’t intend to paint with tape or newspaper.
- Wipe it down inside and out with a mild cleaning spray that’s appropriate for the material. You’ll scrape off or cover any stickers.
- Use a heavier cleaner like dish soap or Goo Gone for any hard-to-clean residue.
After you’ve cleaned it up, you can give it a light sanding with fine-grit sandpaper to give the paint something to stick to, especially if your mailbox is made of a smooth material. If you’re painting any of the additional hardware, follow the same cleaning and sanding protocol.
Prime
Once you’ve cleaned off your mailbox and let it dry completely, use a brush, roller, or spray primer to cover the previous paint color with primer. This will help the new color last longer and create a blank canvas for the color to show up against. You may have to do two coats (letting the primer dry between coats) to completely cover the original material.
Paint
Types of Paint for a Mailbox
Choose a paint that’s meant for the material that the mailbox is made from, and consider the purpose it will serve once it’s done. Will it be kept indoors or outdoors? Will the mailbox be used to collect and store your mail or are you remodeling it for a kids’ play project? Keep these in mind when picking out your paint!
As most mailboxes are outdoors, you want a paint that is durable and will not chip off. If you’re painting a metal mailbox, you want to use a paint that is made for metal. Likewise, there are paints intended for painting plastic.
These tutorials may help you when you’re deciding on what type of paint to use, or how to use it.
My personal favorite paint is Rustoleum 2x Painters Touch and it works on wood, metal, or plastic.
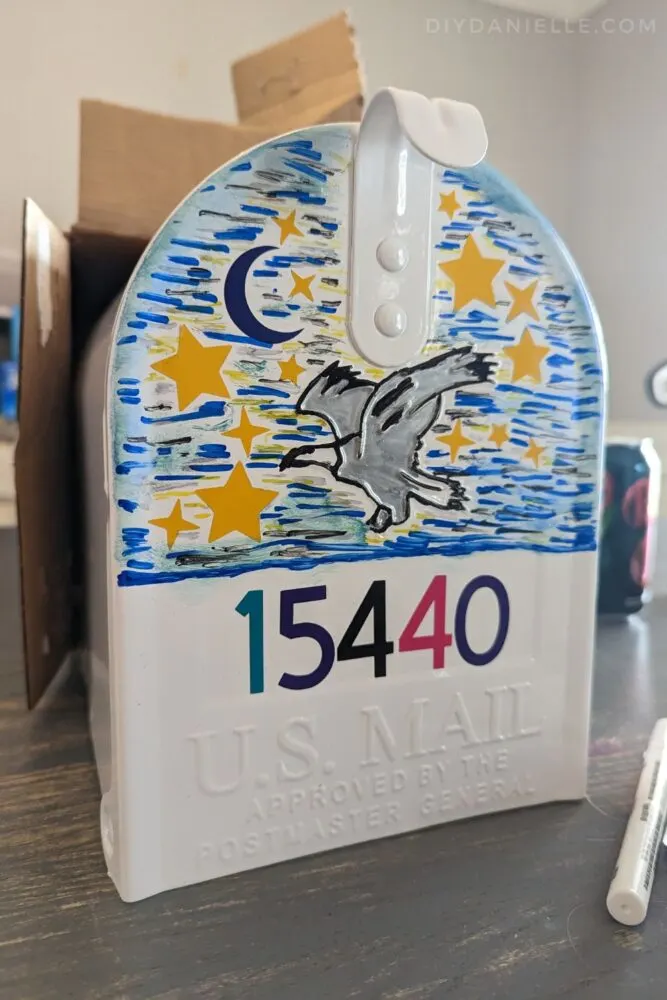
If you want to hand paint on a design, however, you can use outdoor acrylic paint made for metal (or plastic) to paint the design on. I’d be tempted to see if I could find any paint markers that would work as well, or you could try one of these multi color Sharpie marker packs!
How to Paint the Mailbox
Now you’re ready for the exciting part: painting! You can use a brush, roller or spray paint to coat the mailbox. Some people find it easiest to use spray paint for a smooth, even coat, but it’s not always the best fit for some types of mailboxes.
If you use a brush or roller, you may want to gently sand the mailbox between coats to smooth out brush strokes and give it a perfectly smooth finish–just make sure to use a very fine grit and a light touch to prevent completely removing paint. Use a damp cloth to wipe away dust for your next coat.
Make sure you let the paint dry completely between coats. 2-3 coats are generally best for things like spray paint (depending on the color and type of paint you use) but you may be able to completely cover your mailbox with just one coat if you’re using a high-coverage paint.
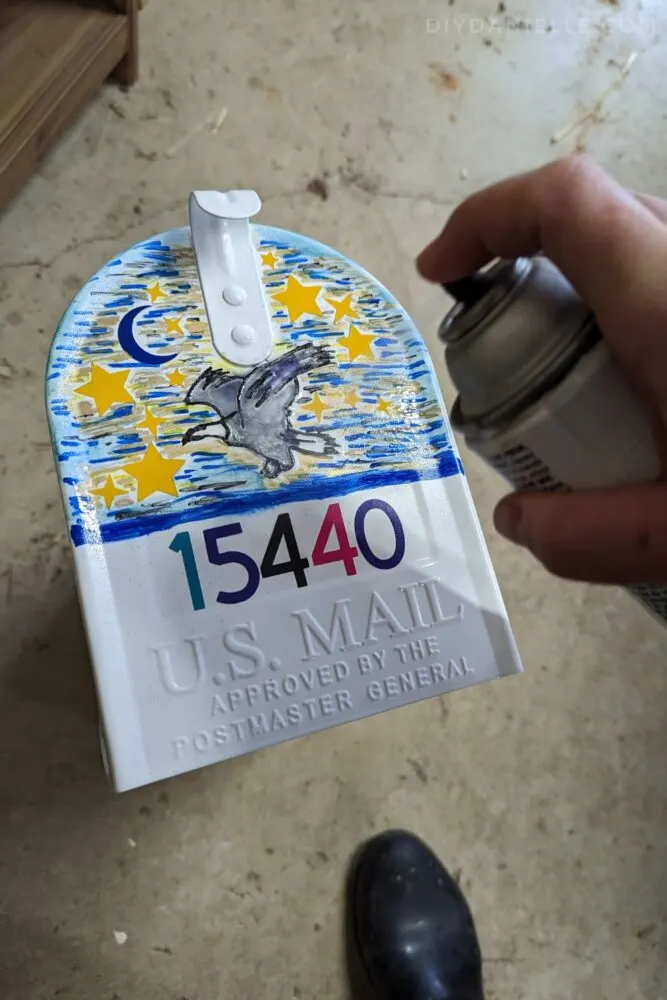
If you’re adding designs, you can add them right before the top coat.
Protect
The last thing you’ll want to do is to protect your paint job. Some paints will have built-in anti-chip or scratch-proof properties, but others may benefit from a clear top coat to make your hard work last longer so you can admire it for years to come!
Other Options to Customize Your Mailbox
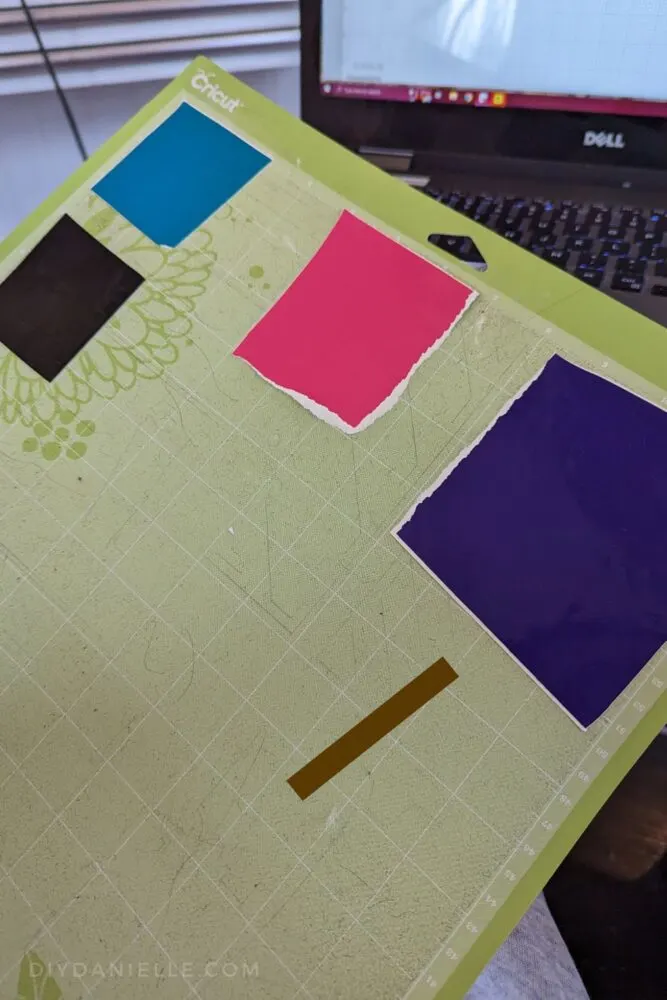
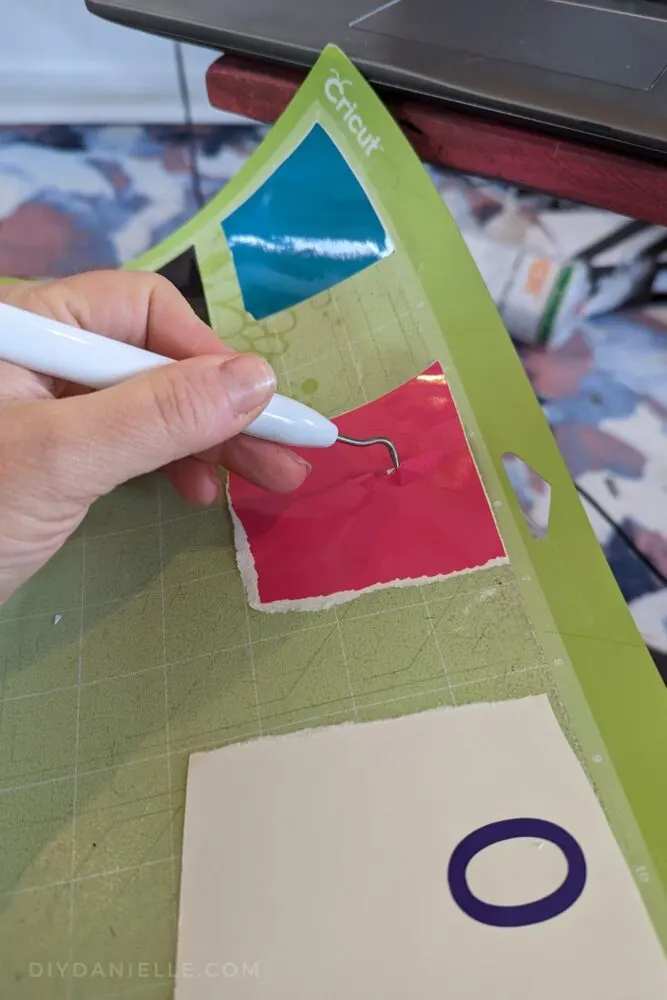
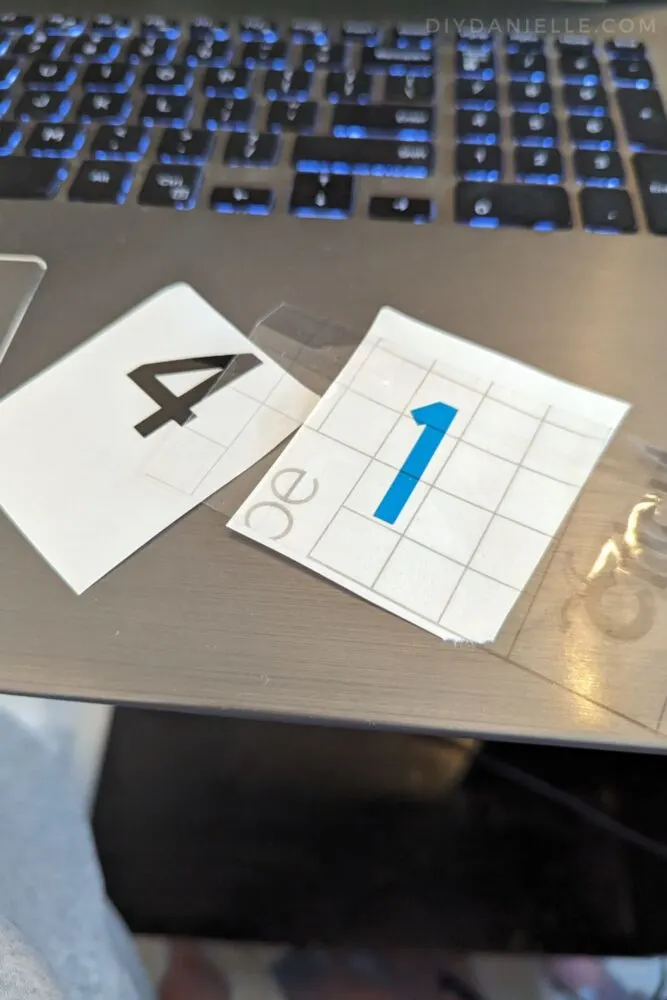
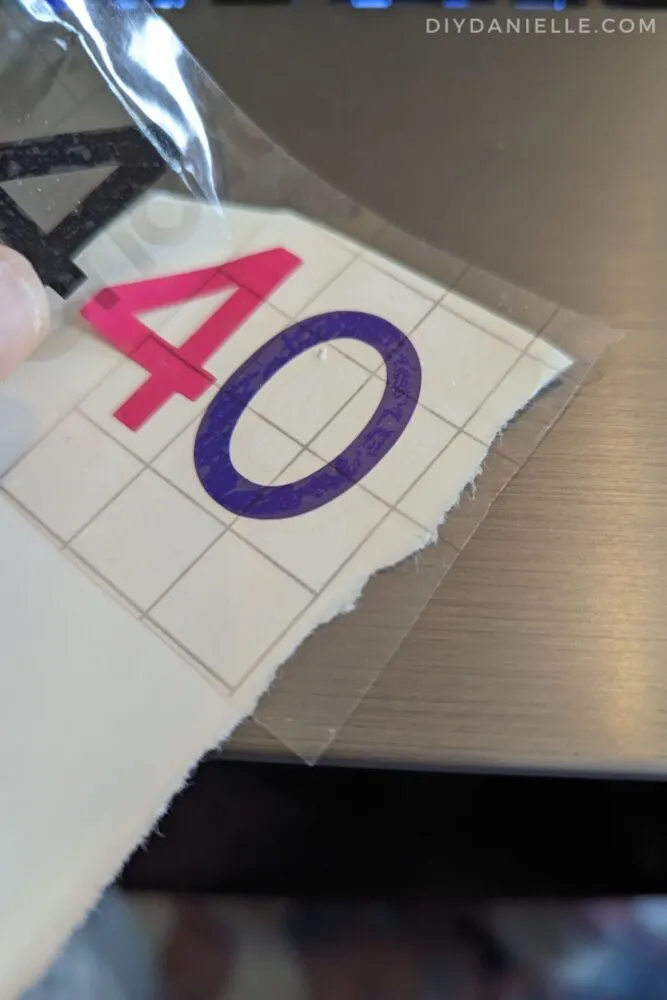
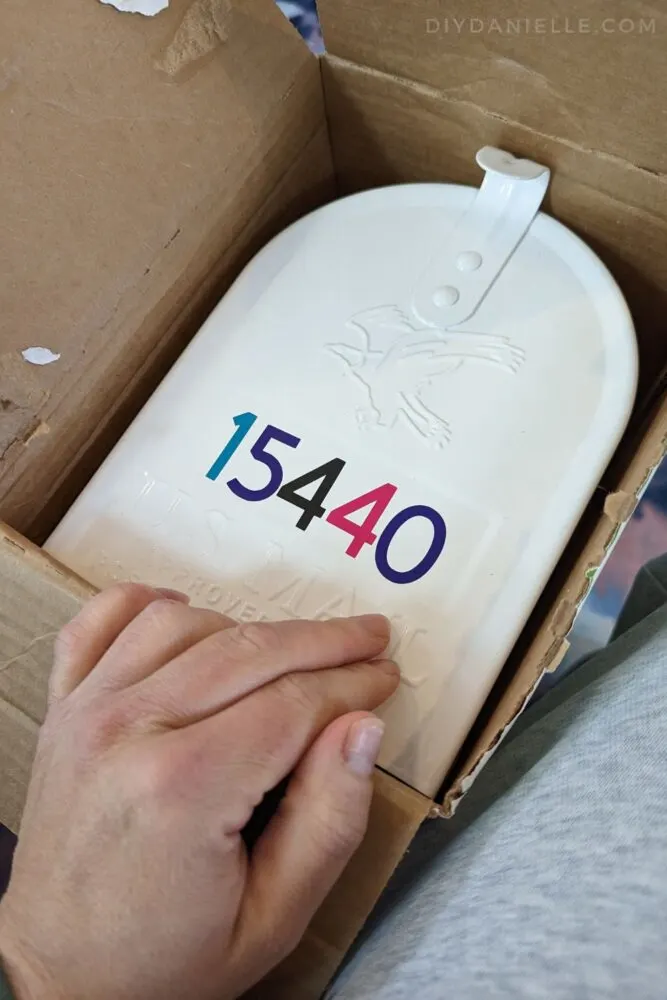
You do have some other options available to customize your mailbox! Vinyl cut with the Cricut works very well to add mailbox numbers and designs to your mailbox.
I used my Cricut Maker to add Permanent Vinyl with our house numbers on it.

Use the Discount Code DIYDANIELLE on cricut.com for 10% off any cutting machine or heatpress (no minimum). Excludes: materials/accessories/mystery boxes/etc. Applies to US/CA only, code expires 12/31/23.
Looking for more DIY painting projects like this guide on how to paint a mailbox? I have a whole collection of painting projects for everything from kids’ furniture to crafts and even how to remove paint from wood. Happy crafting!
Please share and pin this post! If you make this project, share it in our Stuff Mama Makes Facebook Group. We have regular giveaways for gift cards to craft stores. You can also tag me on Instagram @doityourselfdanielle; I love seeing everything you make!
