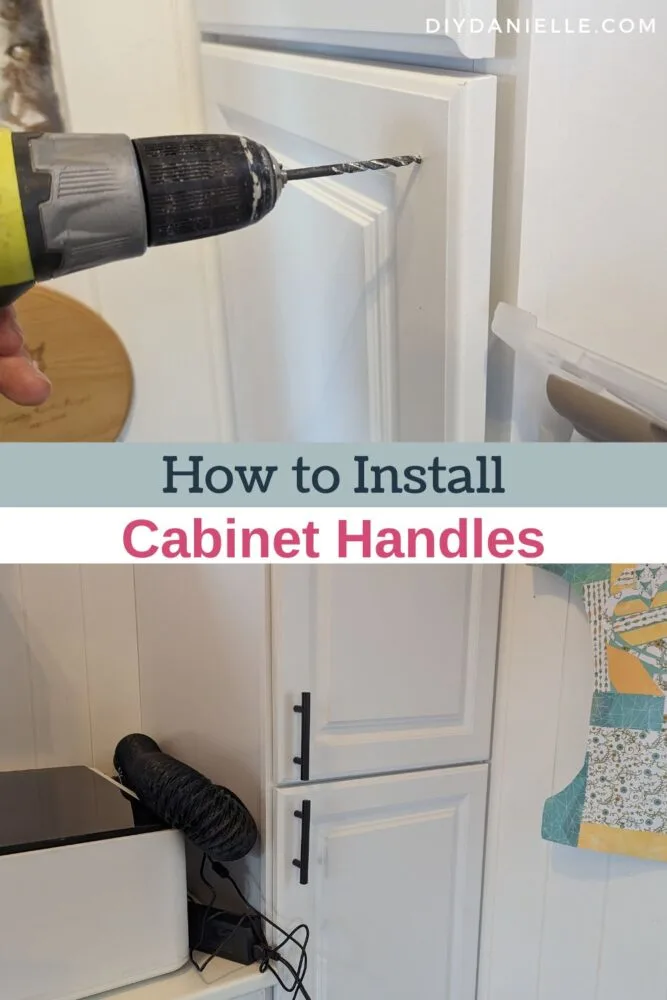
How to install cabinet handles in a new cabinet. This is an EASY project that will take 15 minutes with the right tools!
As usual, this is one of those embarrassing projects that took me a year to do, but ended up only taking 15 minutes to complete. Cabinet handles- or cabinet pulls- are VERY easy to install with a cheap template. You can make your own template, but I highly recommend buying one because it will make the job a LOT faster.
My she shed cabinets needed handles on them. I have been sticking my fingers into the gaps between the doors and (shudder) for some reason that’s a feeling like nails on chalkboard to me.
This post may contain affiliate links which may earn me commissions should you click through them and take certain actions. As an affiliate for Amazon, Cricut, xTool, Home Depot, and other sites, I earn from qualifying purchases. Please DIY carefully. View my full legal disclosures here.
Please read the whole post so you don’t miss any important information!
How to Install Cabinet Handles
Supplies
- Ryobi Drill with Battery
- 3/16″ Drill Bit (per my cabinet handles)
- 30 Pk of Black Cabinet Pulls
- Cabinet Door Template for Installing Cabinet Handles
- Pencil
Tutorial
Step 1: Use your template to choose a position for your cabinet pulls. Mark the position for each screw hole (two in this case) with a pencil. Hold your handle up to the markings to ENSURE that this is correct and where you want the handle.
Step 2: Repeat with your other cabinet doors.
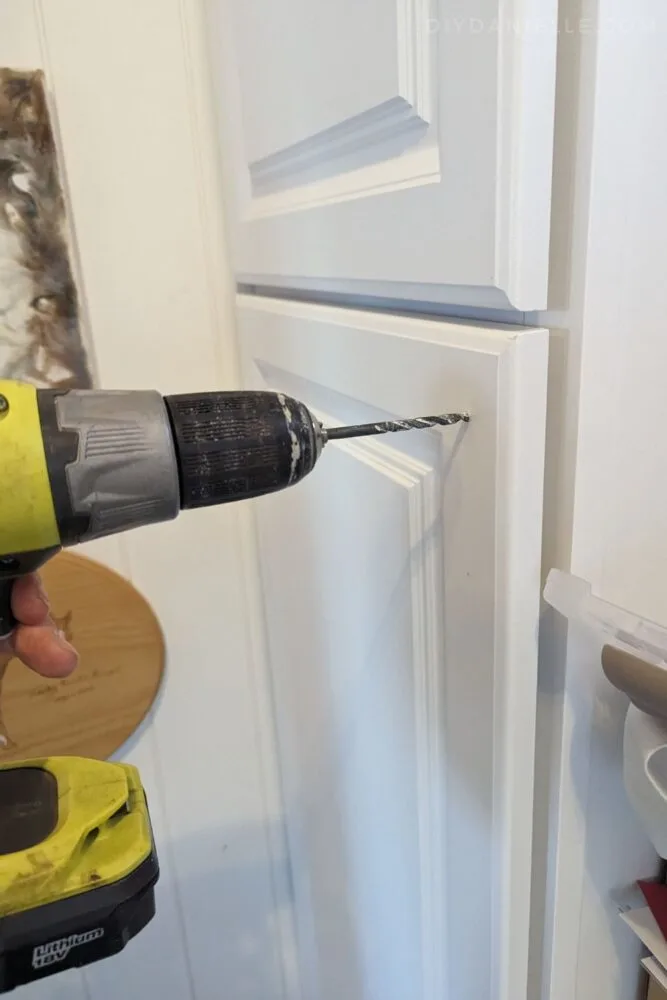
Step 3: Use a drill bit per the handle manufacturers sizing (ours was 3/16″ drill bit), and drill a hole in each spot you marked.

Step 4: Put your screws through the hole in the inside of the drawer.
Step 5: Place your handle on the opposite side and screw in the screws to the drawer pull.
Please share and pin this post! If you make this project, share it in our Stuff Mama Makes Facebook Group. We have regular giveaways for gift cards to craft stores. You can also tag me on Instagram @doityourselfdanielle; I love seeing everything you make!

