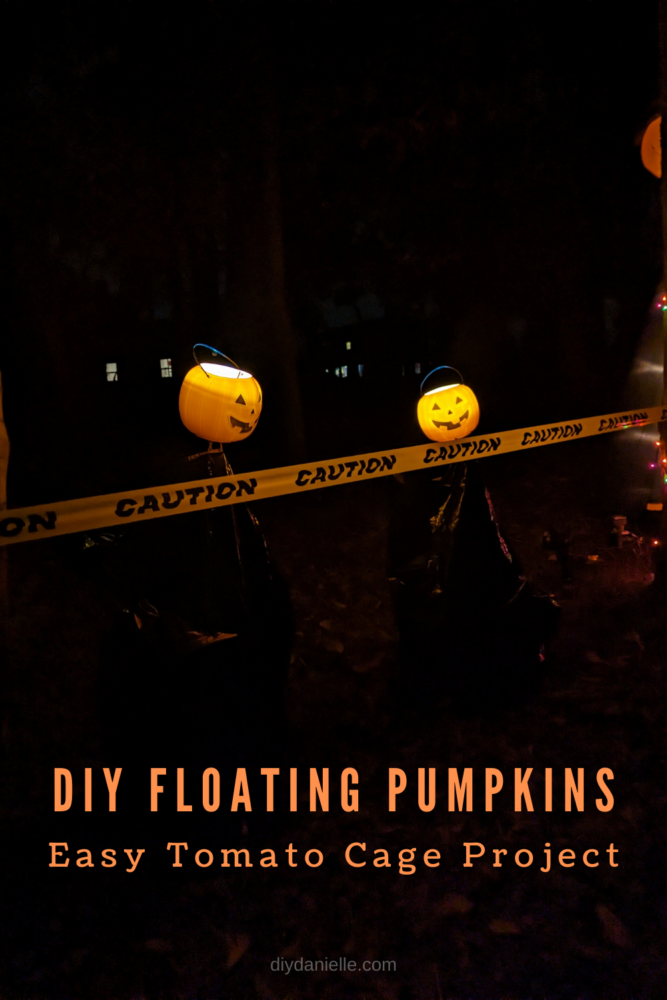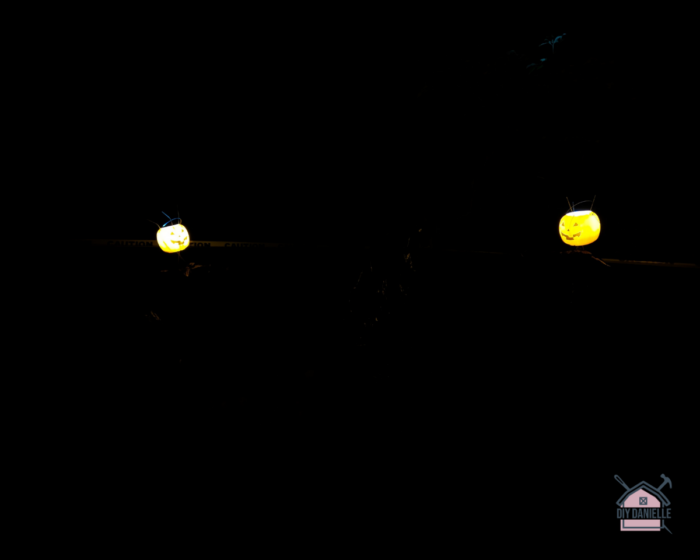
How to make some simple floating pumpkins as an outdoor Halloween decoration. These look really cool on a dark night!
We were planning to make tomato cage ghosts but they weren’t coming out how we wanted so we ended up doing these floating pumpkin heads with the tomato cages instead. I LOVE how they came out and they were perfect for our annual Halloween trail.
This post may contain affiliate links which may earn me commissions should you click through them and take certain actions. As an affiliate for Amazon, Cricut, xTool, Home Depot, and other sites, I earn from qualifying purchases. Please DIY carefully. View my full legal disclosures here.
The majority of my content is generated by me, as are 99% of the photos and videos, but I utilize technology for titles, descriptions, video editing out all of my ums, and occasionally for text overlay on images.
Please read the whole post so you don’t miss any important information!
Floating Pumpkin Heads Decoration
Supplies
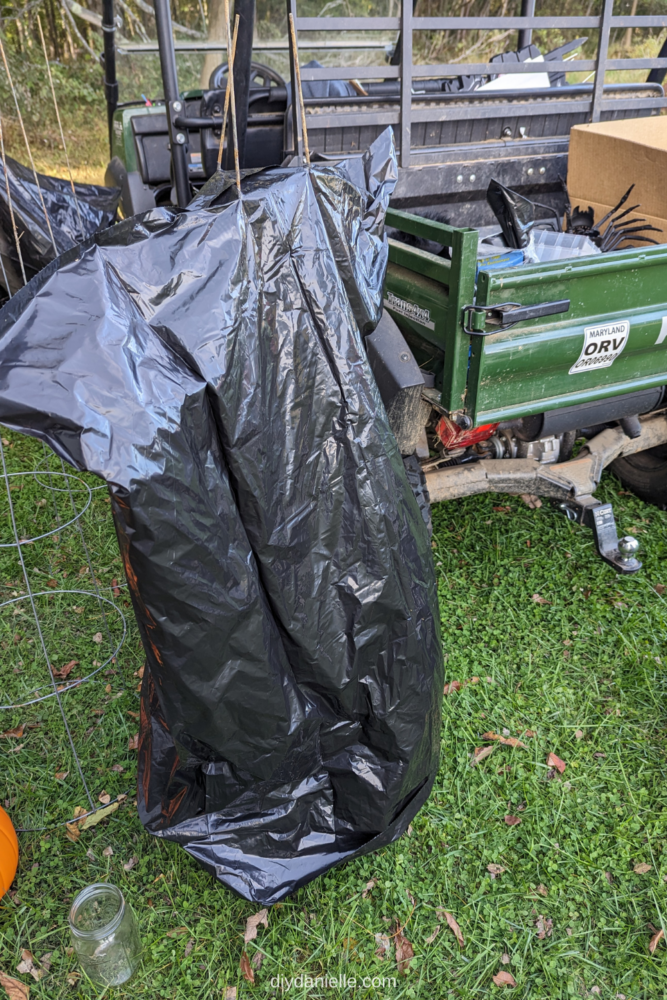
- Black garbage bags
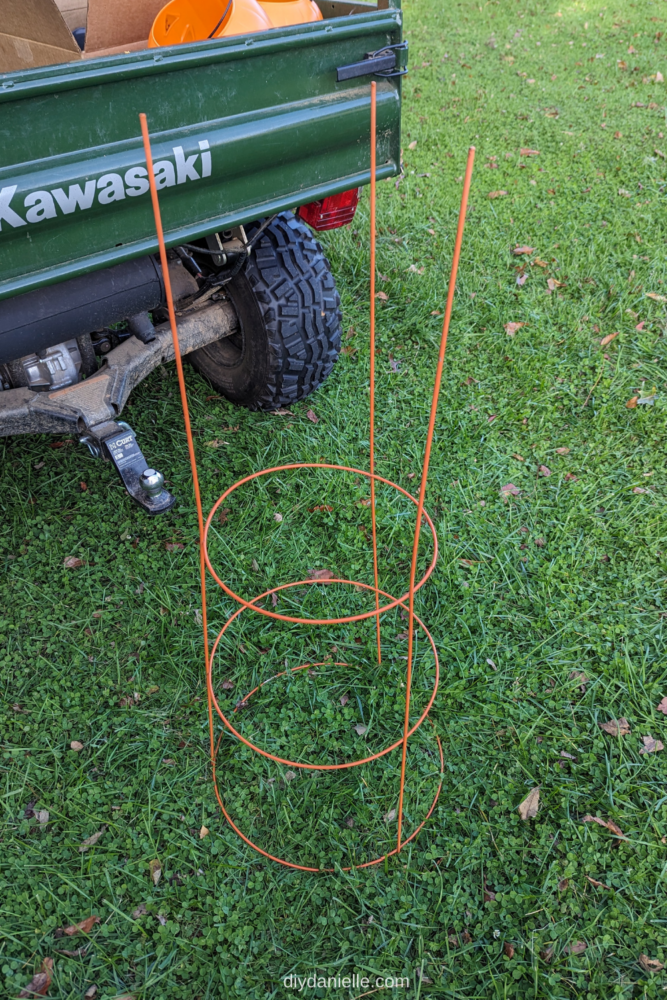
- Tomato Cages
- Puck Lights: I prefer mine with a remote when I’m making items for our trail so everything is easier to turn on. But these aren’t waterproof so you need to take them inside when it rains.
- Cheap Plastic Pumpkins: These are $2 each or so most places (Amazon had them marked way up)
- Drill & Drill Bit
- Optional: Black pipe cleaners
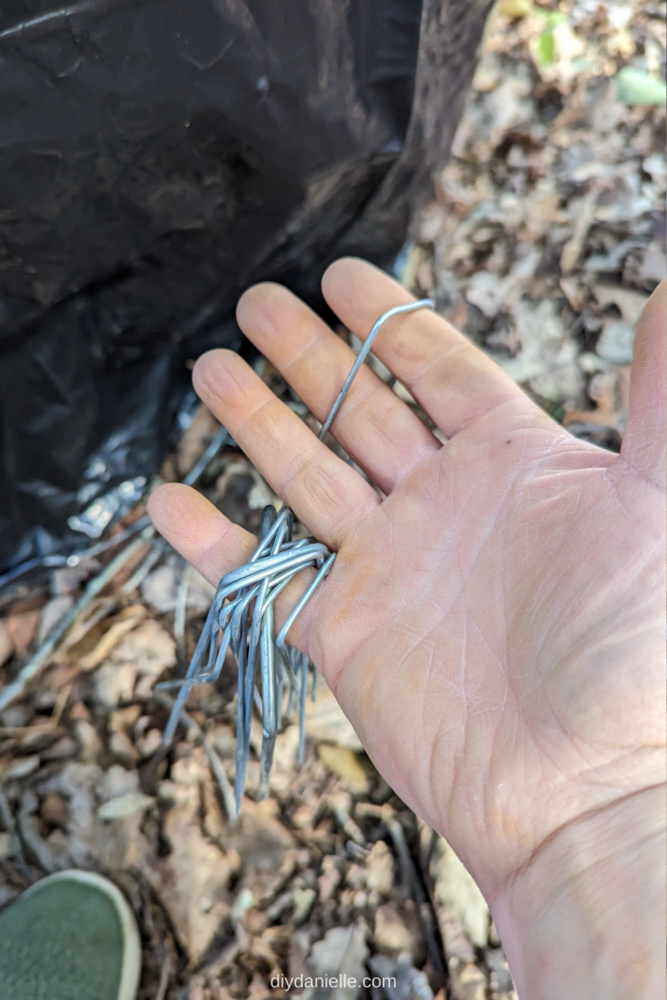
- Landscape Staples
Tutorial
Step 1: Use a drill to drill three holes in the bottom of your plastic pumpkin. You may need to enlarge the holes with a knife if your drill bit is too thin… but you can play with what works. I prefer the hole to be JUST the right size so the pumpkin doesn’t slide up and down on it easily. You’ll also want to remove the handle.

Step 2: Flip your tomato cages upside down.
Step 3: Take a black garbage bag and pull it down over the tomato cage. You’ll poke the sharp ends of the tomato cage through the bottom of the garbage bag. I tied the bag in the back to make it stay on better.
Step 4: Put the sharp ends of the tomato cage through the holes in the pumpkin.
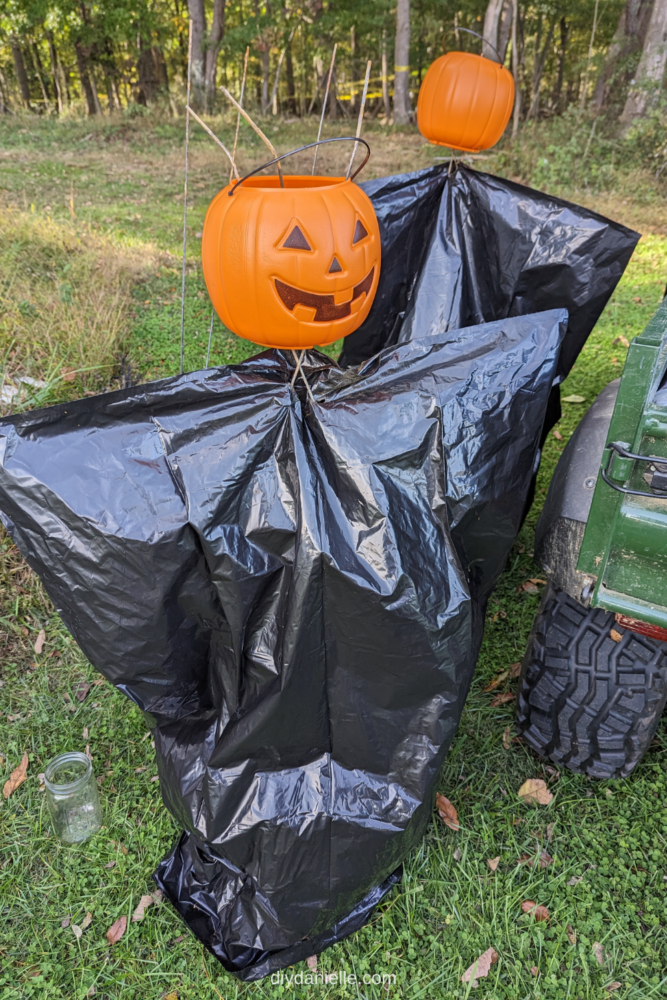
Step 5: Add a puck light to the pumpkin.
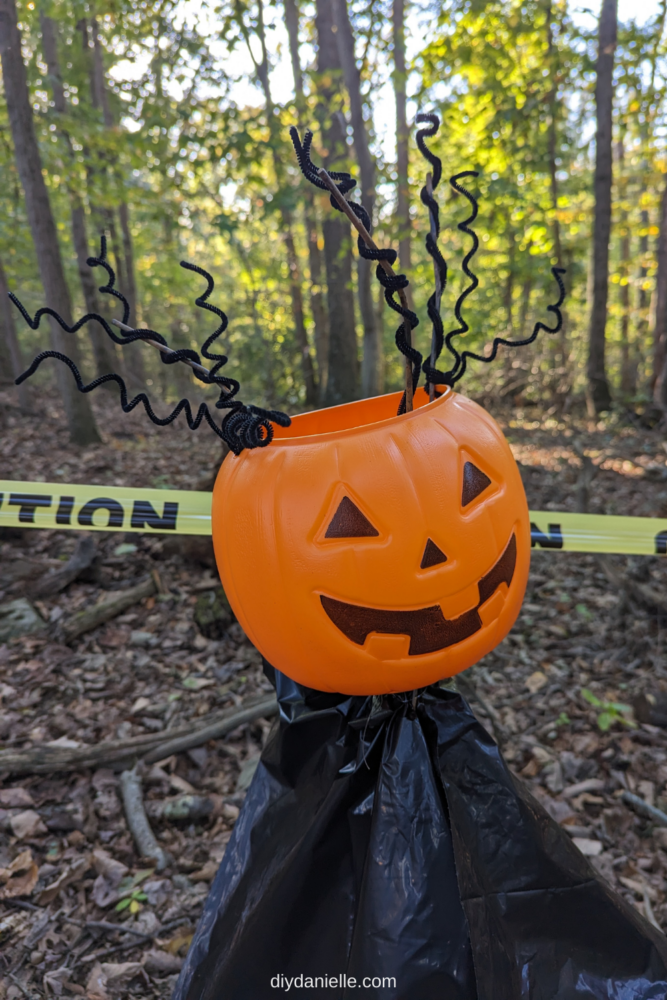
Step 6: For some, if the sharp ends of the tomato cage stuck up above the pumpkin head, I added black pipe cleaners to the end and curled them to look like hair. If you don’t like this look, you can just bend the ends of the tomato cages in so they don’t poke up.
Step 7: Place the tomato cage and use landscape staples to hold it down.
Please share and pin this post! You can also post your project and tag the DIYDanielle team on Instagram @doityourselfdanielle!