
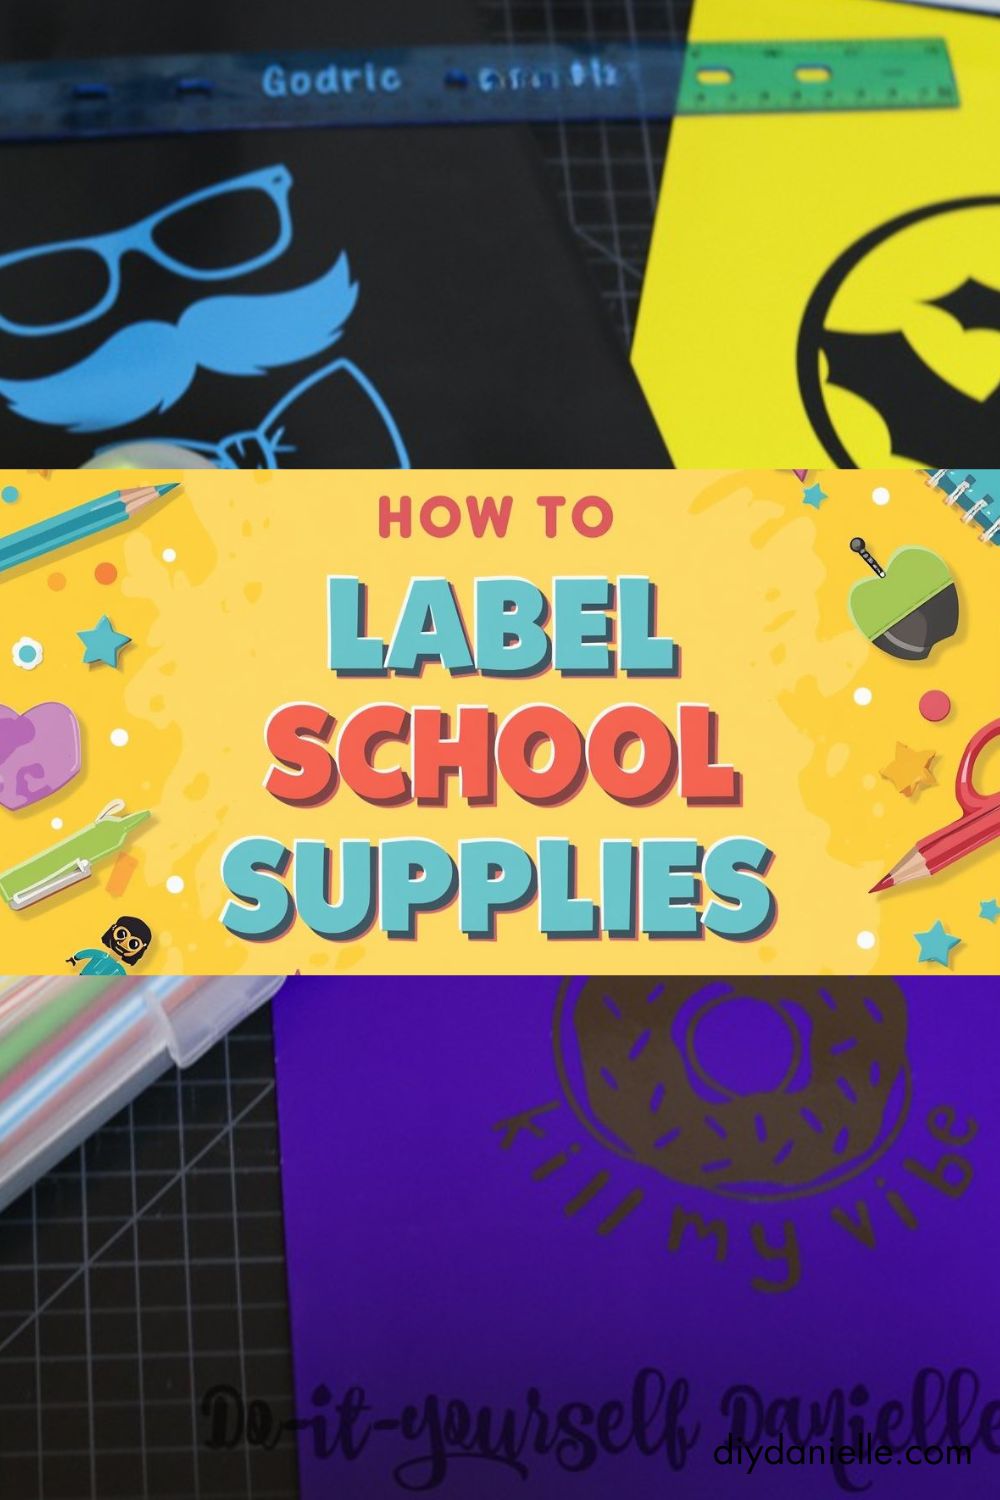
Need to label school items? These easy labeling ideas help keep supplies, clothes, and gear from getting lost all year long.
Learn how to label school items for the school year and decorate notebooks, folders, and other supplies. This simple project can be completed using a Cricut Air 2 to create custom vinyl labels, or by purchasing durable pre-made name labels such as Mabel’s Labels using the available free shipping coupon code.
This post may contain affiliate links which may earn me commissions should you click through them and take certain actions. As an affiliate for Amazon, Cricut, xTool, Home Depot, and other sites, I earn from qualifying purchases. Please DIY carefully. View my full legal disclosures here.
The majority of my content is generated by me, as are 99% of the photos and videos, but I utilize technology for titles, descriptions, video editing out all of my ums, and occasionally for text overlay on images.
Please read the whole post so you don’t miss any important information!
Labeling items may not feel essential in early preschool years when children bring fewer belongings, but as activities expand, the risk of lost items increases. Summer programs, swim days, and shared storage areas make it easier for towels, clothing, backpacks, and lunch gear to get mixed up.
As children move into kindergarten and elementary school, labeling becomes even more important. Many students may have identical backpacks, water bottles, or school supplies, making clear name labeling a practical way to prevent loss.
Custom labels can be created quickly with a Cricut using adhesive vinyl. For a no-DIY option, durable name labels such as Mabel’s Labels provide a convenient alternative. Decorating school supplies with vinyl decals or stickers can also make items easier to identify while adding personality.
Whether using a cutting machine or pre-made labels, taking time to label school supplies helps keep belongings organized throughout the school year.
Supplies
Supplies listed below may include affiliate links to the products.
- Hair straightener or iron
- Cricut Machine: https://cricut.pxf.io/GjNaNm
- Smart Iron On Vinyl: https://cricut.pxf.io/JrN5ke
- Piece of scrap fabric or Teflon sheet
- Smart Vinyl, Permanent: https://cricut.pxf.io/15NEG6
- Transfer Tape https://cricut.pxf.io/QOQVK9
- Alternative to using a Cricut, Mabel’s Labels: https://tidd.ly/4aTtBEU
Things to Label
- Backpack
- Pencil case
- Lunchbox
- Jackets
- Blankets and cot sheets
- School
- Water bottles
How to Label School Supplies with the Cricut
Labeling school supplies with a Cricut Air 2 is a quick and customizable way to keep items organized throughout the school year.
Start by determining the surface you are labeling. Adhesive vinyl works well for notebooks, folders, binders, pencil boxes, and water bottles. For fabric items such as backpacks, lunch bags, or clothing, use heat transfer vinyl (HTV).
Select simple graphics or name designs from the Cricut Design Space library, then resize them to fit the item being labeled. Cut the design on permanent adhesive vinyl for hard surfaces. Weed the excess vinyl and apply transfer tape to move the design onto the notebook or folder. Smooth firmly to ensure proper adhesion.
Names can be cut in coordinating vinyl and layered with decorative elements for easy identification. This method creates durable, custom labels that hold up well to daily school use while adding a personalized touch to supplies.

For backpacks and other fabric items, use heat transfer vinyl (HTV) to create durable name labels. Position the design, then apply heat with an iron or heat press according to the vinyl manufacturer’s instructions.
When applying HTV to items with synthetic materials, such as padded straps, use caution. Direct heat can melt or damage certain fabrics. Placing a Teflon sheet or protective pressing cloth between the iron and the item helps prevent scorching or melting.
Allow the vinyl to cool as recommended before peeling the carrier sheet. Proper heat application ensures the label adheres securely and holds up to daily school use.
For preschool use, items such as blankets, cot sheets, and towels often require clear labeling. Heat transfer vinyl (HTV) can be applied to these fabric items to create visible, washable name labels.
A heat press is typically preferred for consistent pressure and long-lasting adhesion. When using a household iron instead, results may vary depending on temperature control and fabric type. Following the vinyl manufacturer’s recommended heat settings and pressing time helps improve durability, especially for items that will be washed frequently.
Properly applied HTV labels can provide a practical solution for keeping preschool belongings organized and easy to identify.
Creating multiple labels at once can streamline the process, especially for families with more than one child. Using a last name instead of a first name on certain shared items allows supplies to be reused as children grow. This approach works well for backpacks, lunch gear, sports equipment, and other frequently shared belongings.
One advantage of using heat transfer vinyl (HTV) on fabric items is that it can often be removed later with proper techniques. This makes it easier to donate or pass down clothing and other items without permanent personalization.
Labeling School Supplies with Mabel’s Labels
For those without a Cricut or Silhouette cutting machine, ordering pre-made labels such as Mabel’s Labels is a convenient alternative. These durable name labels are designed to withstand daily use.
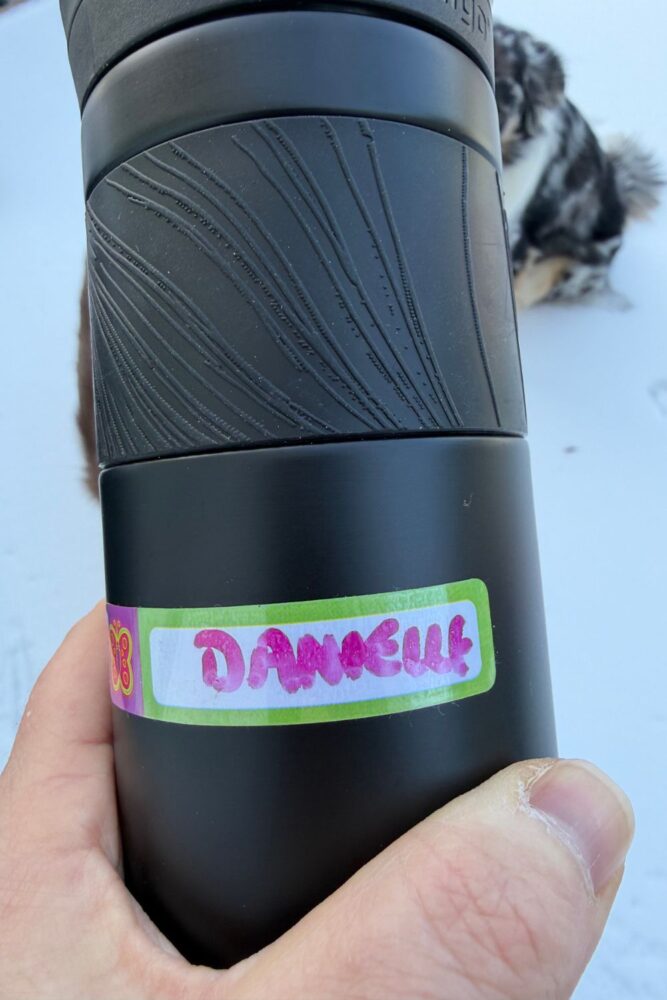
Many options are dishwasher safe and adhere well to water bottles, lunch boxes, and food containers. They are built to hold up through repeated washing and regular wear and tear. Iron-on label options are also available for fabric items, providing another solution for labeling clothing and school gear.
Using high-quality pre-made labels can save time while ensuring school supplies remain clearly marked throughout the year. Be sure to use the available coupon code for free shipping when ordering.
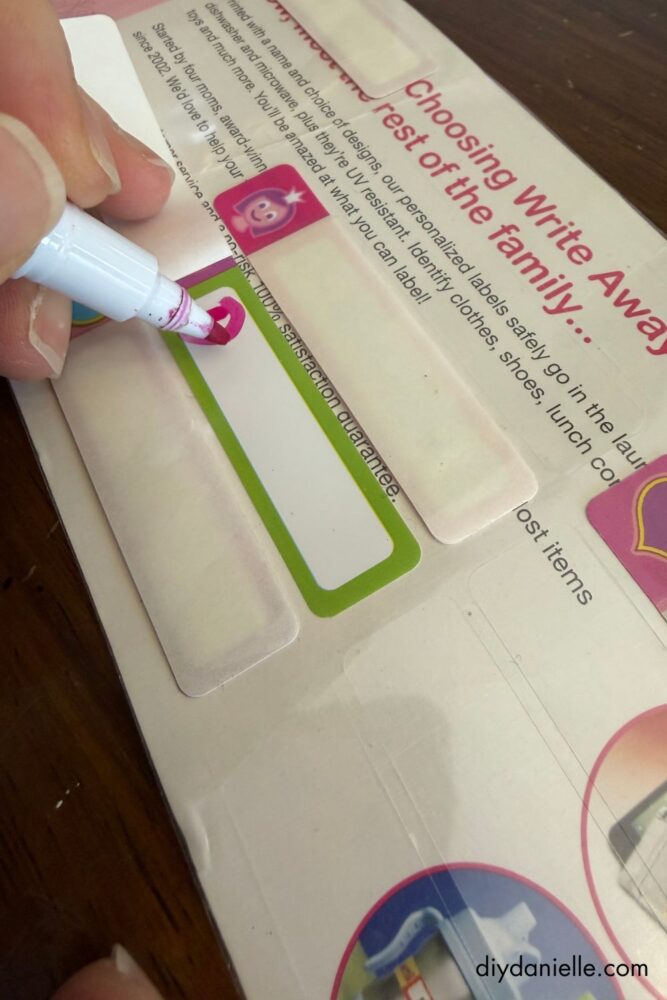
Mabel’s Labels are designed for durability and ease of use. Each label includes an adhesive backing that sticks directly to the item being labeled. The top layer features a clear protective film that is not initially sealed.
To use, apply the base sticker to the item. Lift the clear film and write the name with a permanent marker.
Remove the backing from the clear layer.
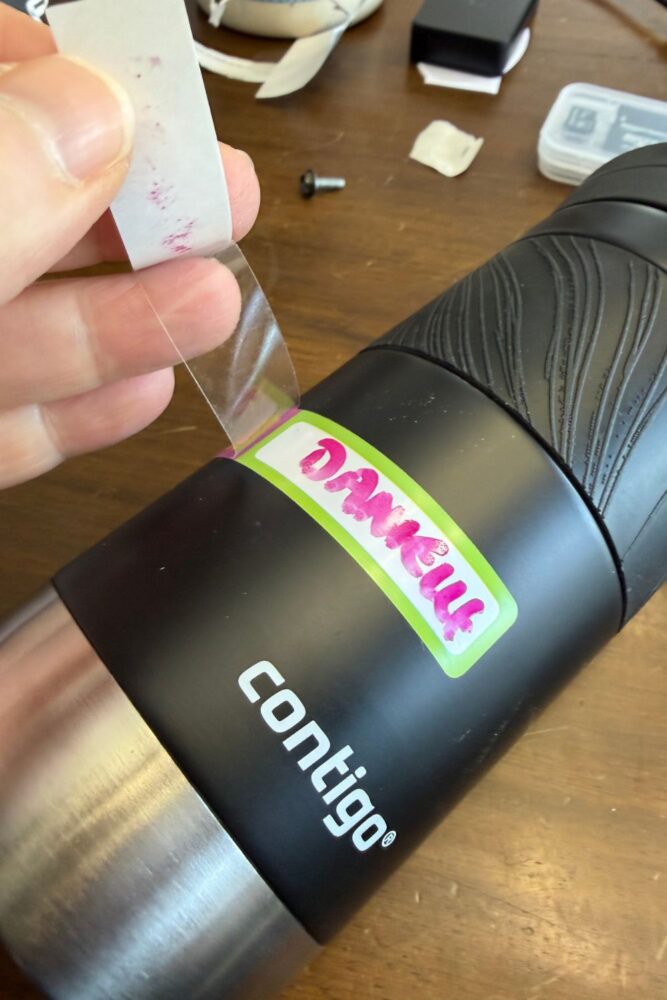
Smooth the film over the labeled area to seal it in place. This protective layer helps prevent fading, smudging, or erasing, even through dishwasher cycles and regular wear.
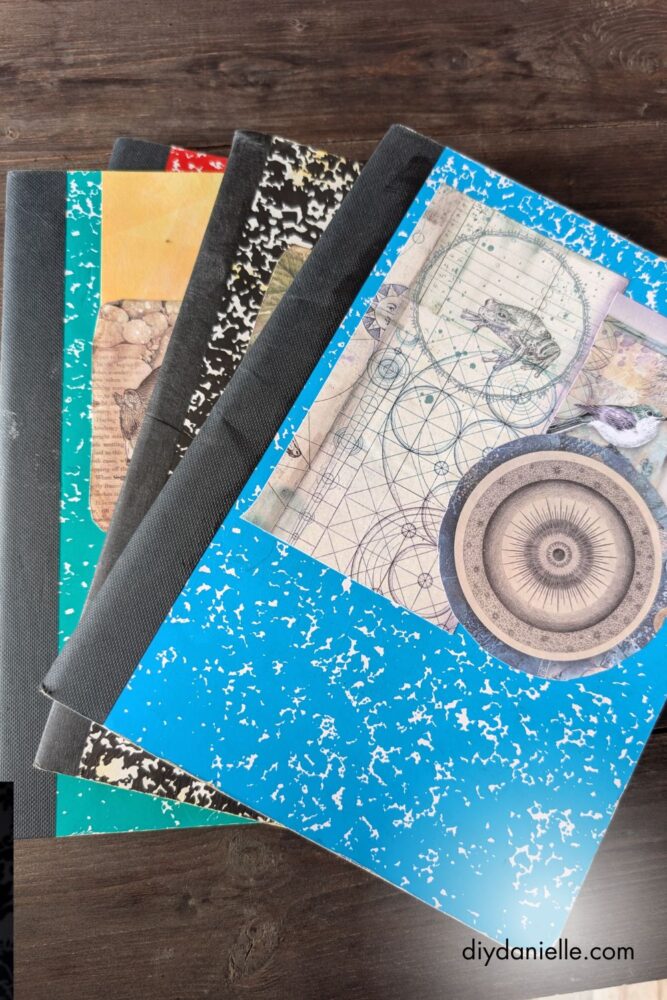
If you’re interested in other ways to decorate your child’s binders, check out these notebooks that I redid with scrapbook paper and mod podge!
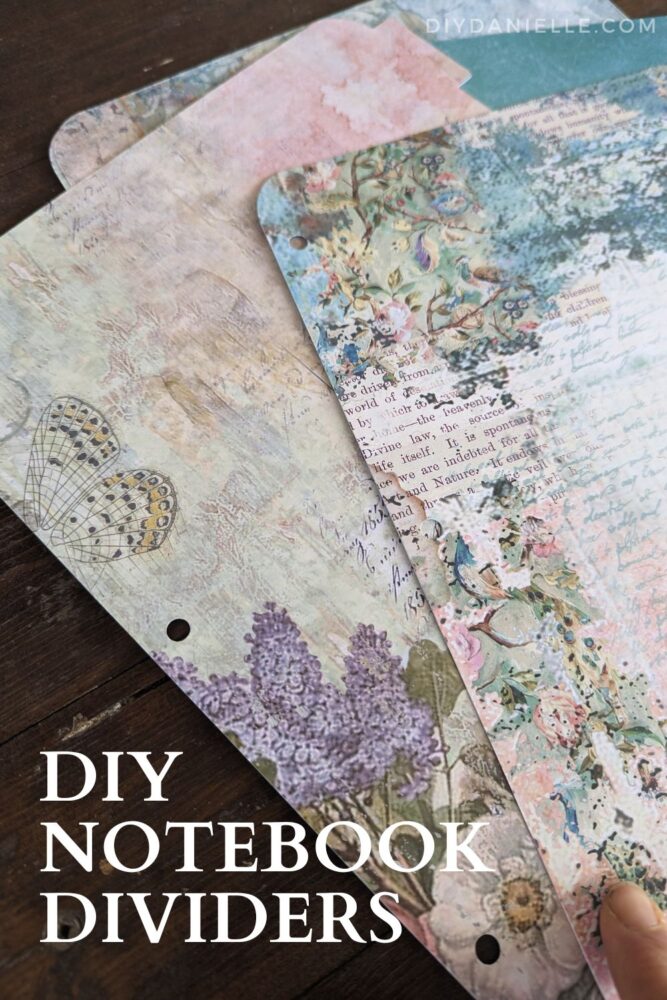
For inside your three ring binders, you can also make custom notebook dividers like these!
Love it? Pin it!

Thank you for reading this guide to labeling school supplies for the school year. Clear, durable labels can help prevent lost items and keep backpacks, lunch boxes, and clothing organized all year long.
If you found this tutorial helpful, please consider sharing or pinning it for others who are preparing for back to school. Follow along on social media and subscribe to the email list for more DIY projects, organization tips, and school year ideas.
Good article, you sharing is awesome, love it!
My daughter starts school this year and I was wondering or to label socks and best way to do pens it’s all new to me, this is brilliant Danielle thank you.
I've seen people label pens and pencils! You might need a blade that cuts smaller though for those. 🙂