Sharing is caring!
Our screen door has taken a beating between the two dogs and our 2.5 year old so we needed to replace the screen for fear of stink bug invasions (shudder). And also, it’s driving me nuts that both the kid and the dog have been using the broken screen as a fun way to get in and out of the house- rather than opening the door. We were about to buy a new door, thinking we had to, until one of our friends mentioned it is really easy to replace. Yay for easy DIY projects.
Supplies… this was all in one kit that I ordered. Read the reviews… some are apparently easier to install than others. I also saw some really expensive screening that is supposed to work better for pets. I didn’t want to spend that much on my first attempt fixing this.
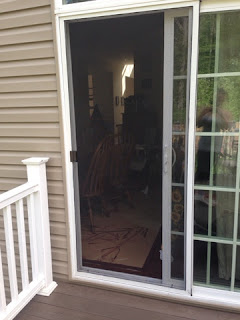
To remove the screen door from track we had to unscrew the black pieces on the bottom. Apparently not everyone has those on their doors. Then we wiggled it off. We did need to use a screw driver to get it off because it didn’t come off as easy as it does when my toddler throws it open- of course.
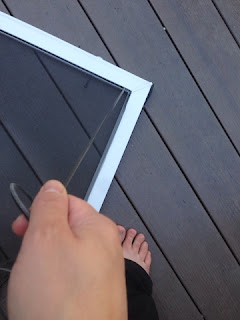
I had to take the spline (black piece) out that was currently in and as I pulled that off, the screen came right out. I put both to the side because I decided they might be worth upcycling. I ended up tossing the splining because I had zero ideas for it. Kept the extra screen.
I got to the area where the handle is- you need to unscrew the handle and remove it until you’re done.
After this, I wiped down the door.
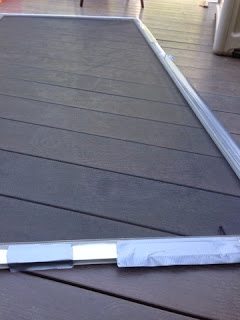
Then I got out my new screen and unrolled it, making sure it was positioned evenly over the door. I taped it down on two sides (one short and one long side). Make sure you have a decent amount left on each end, otherwise you’ll have to start over with a new piece of screen. My first attempt, I cut the screen… then ended up not having enough length wise. Eek. So second attempt, I just left roll uncut.
Cut angle for each corner. I did the end with the roll once I got to it as I installed splining/screen.
Tape screen down on two sides… one long side, one short side.
This is the big part to do… I started at the long end that wasn’t taped (close to the roll) and worked towards the tape. Push a piece of splining into groove to start it and use the roller to push it in the whole way around. Corners are a bit tough to get around, but sorta just shove it in there. I realllllllly thought this part was a lot of fun… it went in fairly easy, but tightly. When you get to the roll (last short end), I just cut the screening off the roll and cut the corners at 45 degree angle like I’d done with other end. When you get to last corner, you cut splining so it meets corner you started in.
Cut off excess screen using your utility knife. My husband did this part because I’m dangerous with sharp objects.
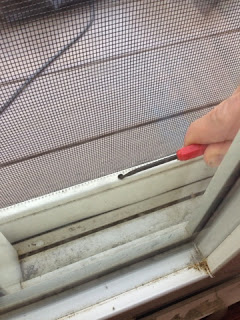
We realized after that spline was now in the way of the screws so we couldn’t put screws through. My husband used a small tool to poke through the hole and nudge spline out so there was room for the screws to go in. Then we screwed them in. Apparently some people install spline with the screws still in.
Once you’re done, put aside the rest of your screening supplies that was leftover to use the next time the toddler/dog goes through the screen. Or give it to a friend. Figure out what upcycle project would be perfect for the old screen.
I know, I need to clean this… maybe… later.
Finished… and I labeled my original box with the extra screen, spline, and equipment for the next time I need to do this.
Sharing is caring!


