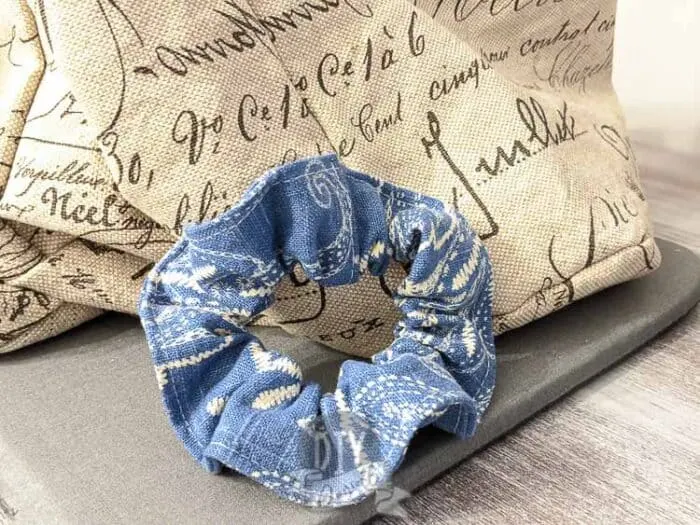
How to make a scrunchie with NO hand sewing involved- just your sewing machine!
This post may contain affiliate links which may earn me commissions should you click through them and take certain actions. As an affiliate for Amazon, Cricut, xTool, Home Depot, and other sites, I earn from qualifying purchases. Please DIY carefully. View my full legal disclosures here.
Please read the whole post so you don’t miss any important information!
I’ve been wanting to make some scrunchies for my friend Scottie’s sweet daughter, Gracie. I can’t help but giggle that the 80’s/90’s trends are coming back! It’s fun, even though I WILL NOT be wearing big hair EVER AGAIN.
For those of you who are new here, I am NOT a girly girl. I don’t like makeup and most of the time I’m running around in a tank with sweatpants (seriously, check out all of my videos on YouTube. Tank. Sweatpants). But my mom made sure I had perms and bras and those crazy socks that bunched up at your ankles when I was a kid.
I was trying to find a good photo to humiliate myself give you a laugh… this is the best I found quickly…
Despite not being girly, sometimes I miss out on making girly things, having three sons. And honestly- scrunchies were always kinda fun. So I couldn’t pass up the opportunity to whip up some quick scrunchies for Gracie.
Here’s a quick tutorial on how to make your own scrunchies WITHOUT hand sewing (woot woot).
Here are some products in my store that you might be interested in! Keep scrolling for the tutorial!
DIY Scrunchies without Hand Sewing
Supplies
- Fabric
- Elastic or hair elastics
- Thread
Equipment
- Sewing machine
- Scissors or rotary cutter/cutting mat
- An iron and ironing station
Here’s a video tutorial n how to make them! Scroll down further if you just want the quick photo tutorial.
First you need to start by cutting your fabric. You’ll want a strip of fabric 20″ long by 4″ wide. You also want to cut an 8.5″ long elastic or you can use a good quality hair elastic/hair tie. Make sure it’s not the thin elastics that snap easily!
You start by folding over each long edge by 1/4″ or thereabout and pressing them flat.
If you want to make it a REALLY fast job, you can buy this Dritz EZ-Hem template which allows you to fold over the edges and iron. It’s a nice way to be exact about hems, but honestly this doesn’t need to be ABSOLUTELY perfect.
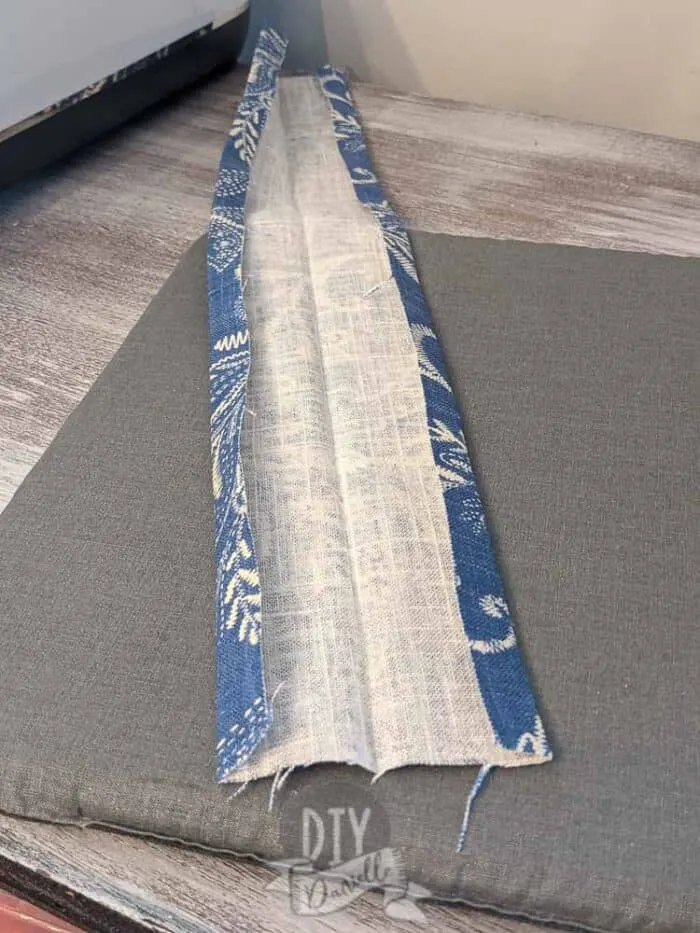
Now you can fold the fabric wrong sides together in half, lining up the edges. Press.
The “right” side of the fabric is the pretty side of the fabric. The “wrong” side is the back of the fabric.
Open your fabric back up, but keep the first two small folds. Fold the 20″ long strip right sides together, matching up the short ends. Sew across the short ends so you create a circle.
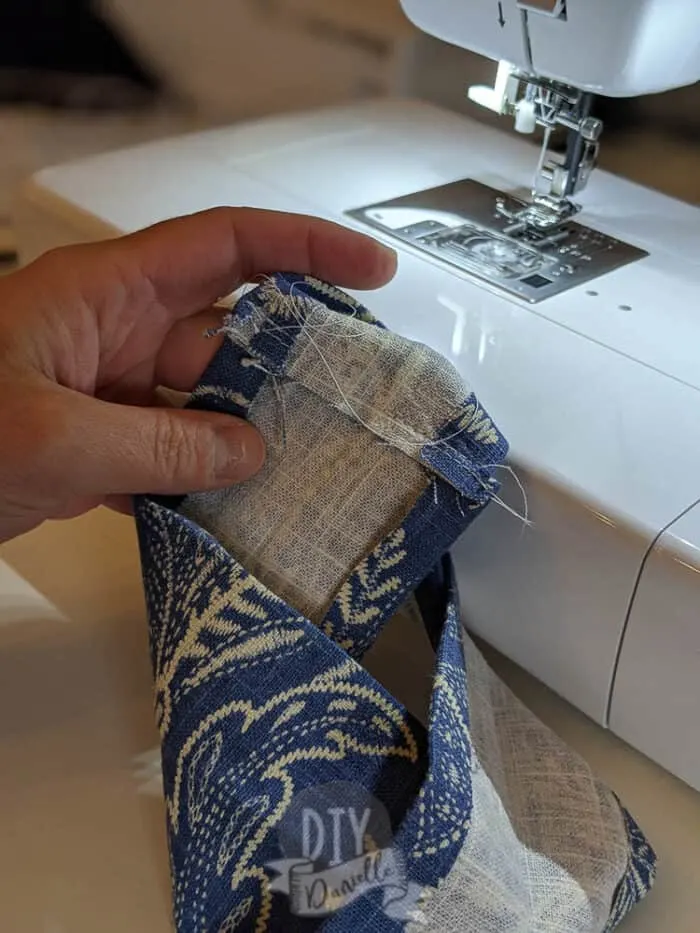
Turn and top stitch this seam if you want.
If you are using regular elastic (rather than an elastic hair tie), you now sew the ends together to create one loop.
This is where it’s nice to have an “arm” on your sewing machines- I believe most machines allow you to remove the piece around the bobbin/sewing needle area to give yourself a thinner arm to work with.
I started by sliding my elastic around the arm.
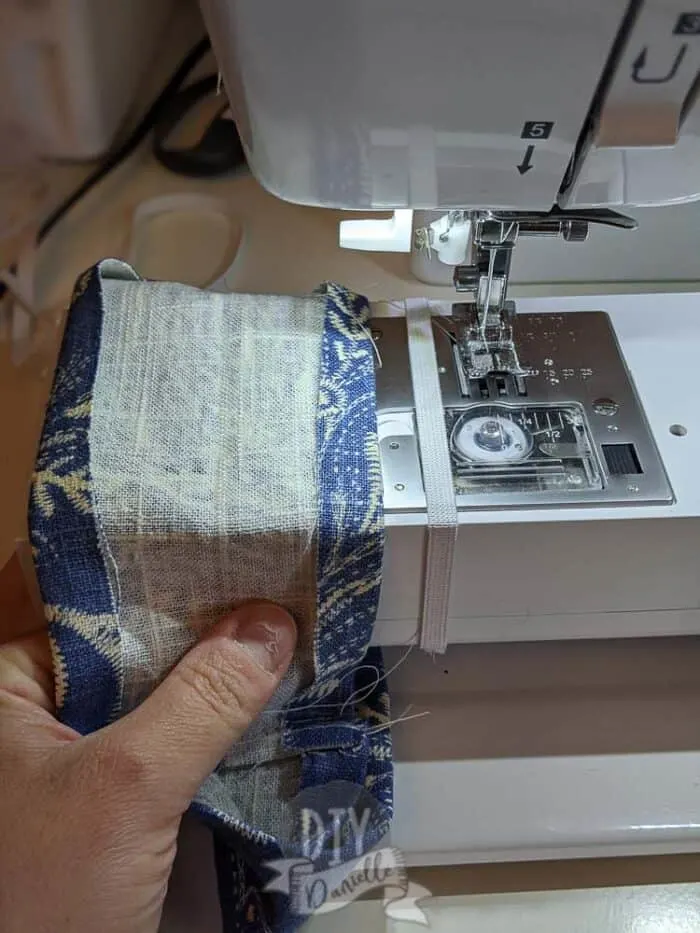
Then I open up my loop of fabric and slide it under the elastic.
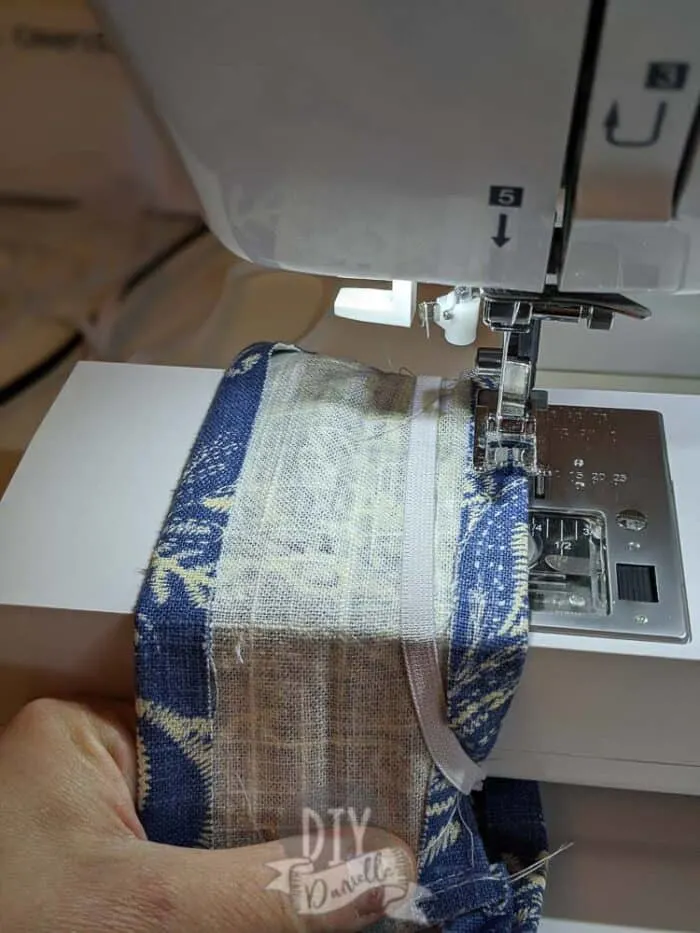
At this point I can fold my fabric over the elastic and sew the scrunchie closed. You have to keep pulling the elastic into the scrunchie as you work.
DO NOT sew the elastic down. You are just sewing the two folded edges together. The elastic remains loose into the fabric so it can stretch as needed.
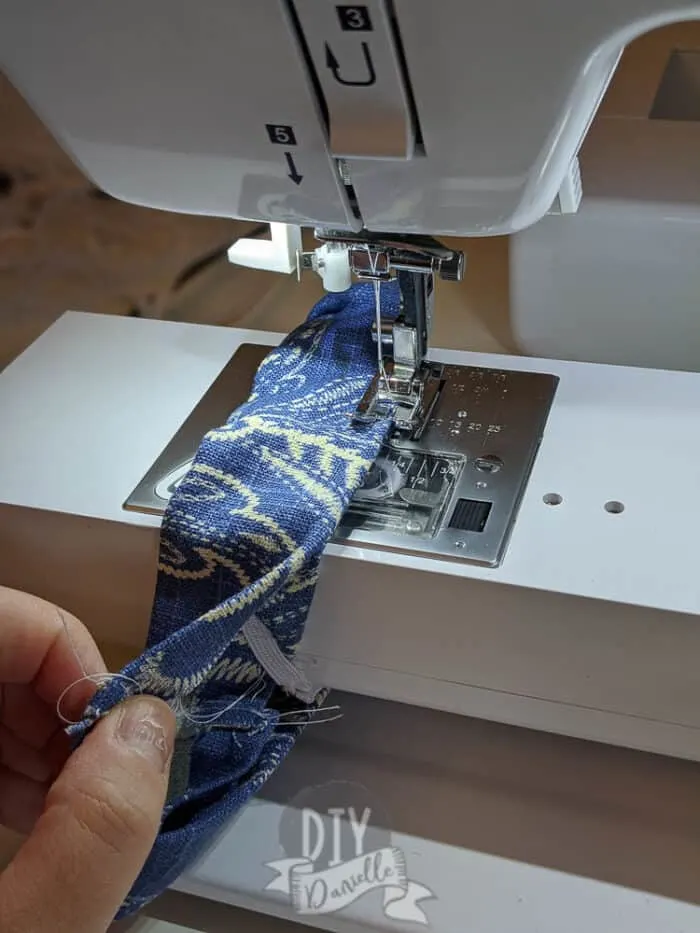
When you’re sewing and pulling the elastic tight, you’ll notice that the scrunchie starts to bunch up- just like it should!
And that’s all there is to it! What do you think? Easy peasy?
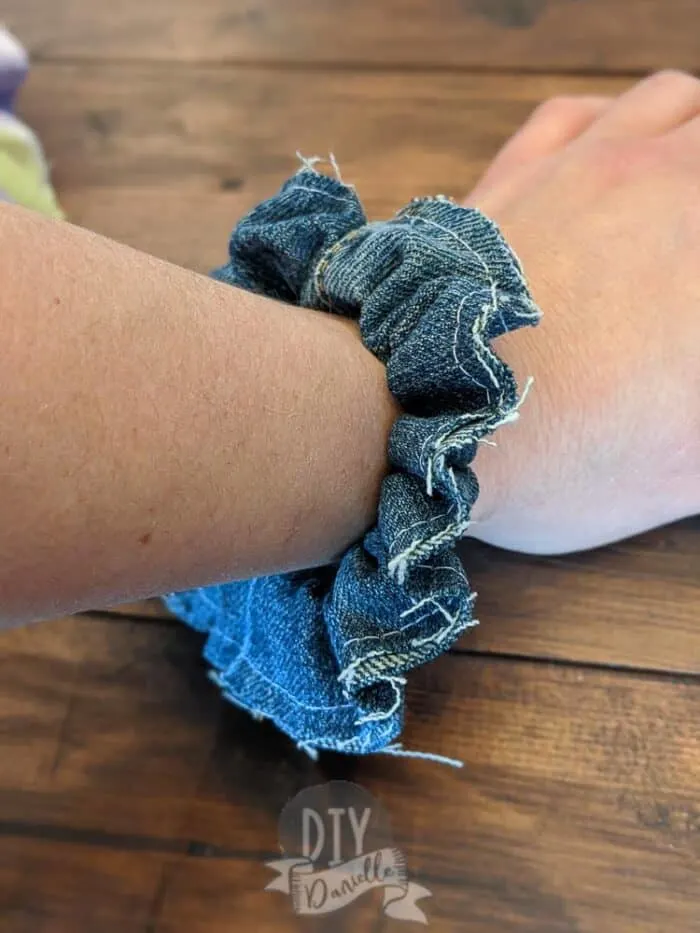
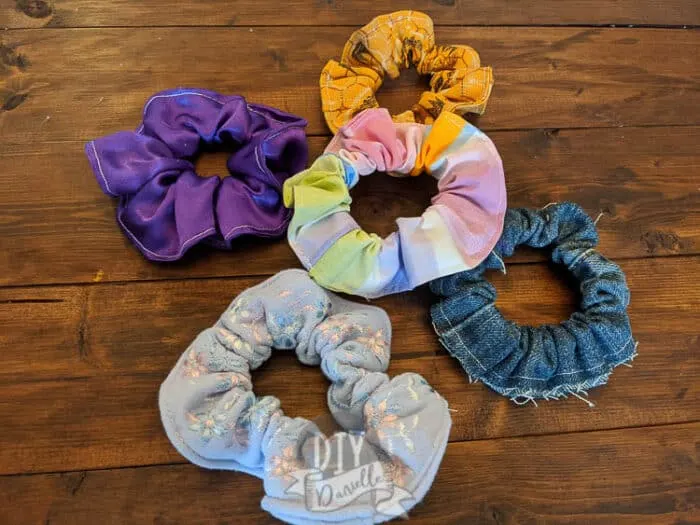
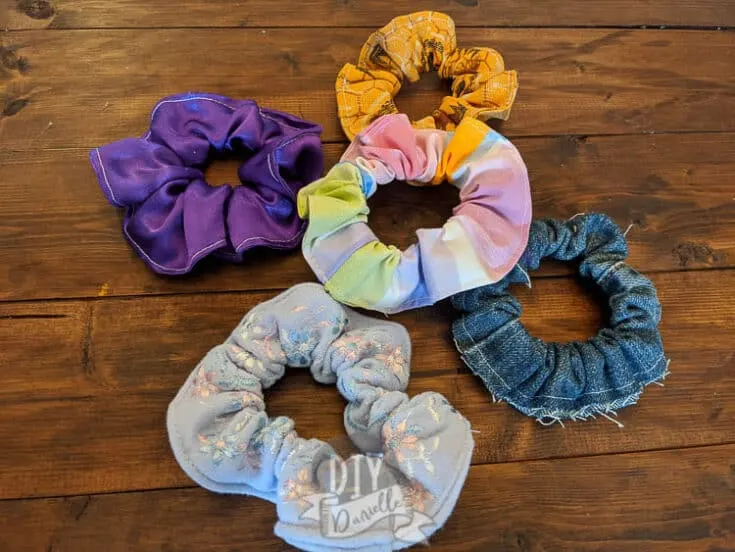
Here’s a bunch that I made…. I keep making them, it’s a fun use for scraps! The first one is from a leg I cut off a pair of jeans (so I didn’t have to sew the loop)… I kept the edges raw instead of folding them over.
Here’s a bunch of them that I made… I wish I’d gotten a better picture of the bee one (top orange/yellow one). I loved that the best. The silk (purple) was a PITA. The bottom one with embroidery was actually a ribbon that I made work- it’s super soft!
And below is the one in the video! Check out my quick Google Web Story about Making Scrunchies.
Please share and pin this post! If you make this project, share it in our Stuff Mama Makes Facebook Group. We have regular giveaways for gift cards to craft stores. You can also tag me on Instagram @doityourselfdanielle; I love seeing everything you make!
How to Make a Scrunchie with NO Hand Sewing
Make your own DIY scrunchie without any hand sewing. You can make up a bunch of these quickly.
Materials
- Fabric
- Elastic or hair elastics
- Thread
Tools
- Sewing machine
- Scissors or rotary cutter/cutting mat
- An iron and ironing station
Instructions
- Cut your fabric into a strip 20″ long by 4″ wide.
- Cut a 8.5″ long elastic.
- Fold over each long edge by 1/4″ pressing them flat.
- Fold the fabric wrong sides together in half, lining up the edges. Press.
- Open your fabric back up, but keep the first two small folds.
- Fold the 20″ long strip right sides together.
- Sew across the short ends so you create a circle.
- Turn and top stitch this seam.
- Sew the ends together to create one loop.
- Slide the elastic around the arm.
- Open up the loop of fabric and slide it under the elastic.
- Fold the fabric over the elastic and sew the scrunchie closed.
- Keep pulling the elastic into the scrunchie as you work.
Recommended Products
As an Amazon Associate and member of other affiliate programs, I earn from qualifying purchases.
Google Web Story: DIY Scrunchie-no hand sewing


Judi
Friday 19th of January 2024
If I use the good elastic hair ties I have that measure at 6 inches rather that 8 1/2 inches as you mentioned. This will change the fabric measurements, correct? What measurements do you suggest I use for my fabric?
Jenni
Thursday 16th of March 2023
Danielle,
This scrunchie idea is epic!! Took only a few minutes. Thanks for this wonderful shortcut.
Gemma
Tuesday 3rd of March 2020
These scrunchies are so cute! I can't believe they've come back into fashion. I remember wearing neon ones in the 90s! I would so wear all of these, the print on the denim effect one is lovely xx
Danielle Pientka
Wednesday 4th of March 2020
Thank you so much! They're fun to sew too! I WISH I had known how to sew back then!