
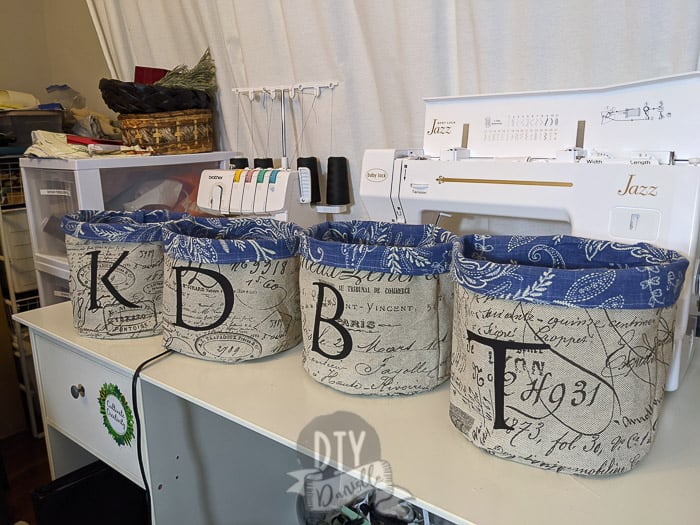
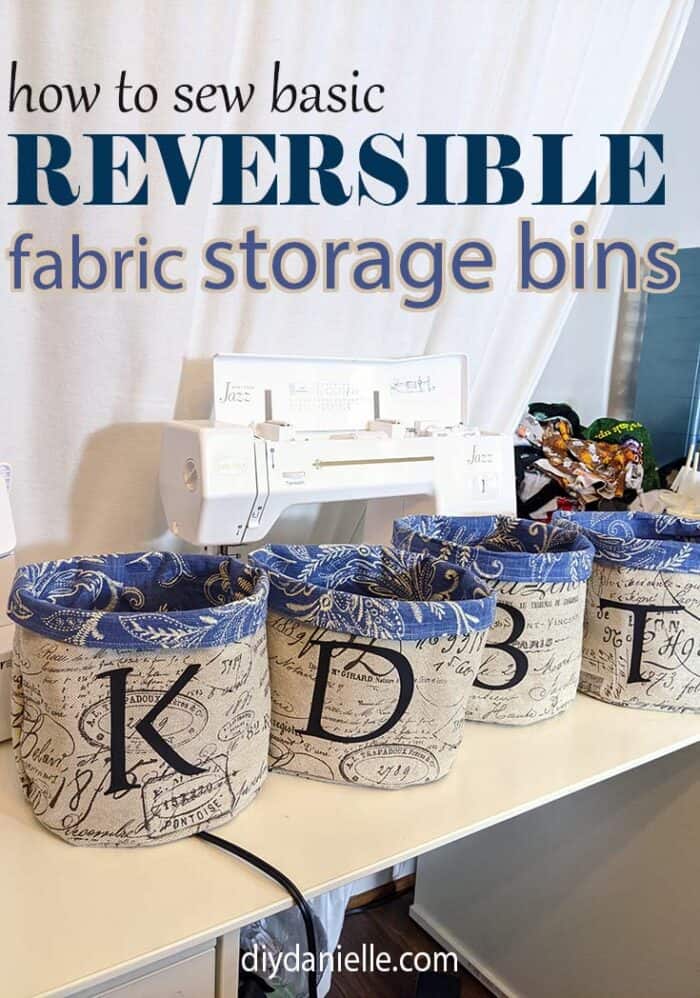
How to sew round fabric bins. I made these for storing socks on a shoe shelf by our mudroom door. They’re attractive and reversible so you can change the look of your room!
This post may contain affiliate links which may earn me commissions should you click through them and take certain actions. As an affiliate for Amazon, Cricut, xTool, Home Depot, and other sites, I earn from qualifying purchases. Please DIY carefully. View my full legal disclosures here.
The majority of my content is generated by me, as are 99% of the photos and videos, but I utilize technology for titles, descriptions, video editing out all of my ums, and occasionally for text overlay on images.
Please read the whole post so you don’t miss any important information!
I have been renovating our laundry room and building some shelves. This has been SUCH a passion project for me because I spend SO much time in that room.
On the right side of the room, where we enter from the garage, I built shelves to hold shoes. We keep our socks with our shoes so I decided we would have a small bin in the front for each person’s socks. This would allow the shoes to be hidden behind the bin.
The trick was finding the PERFECT sized bin. I couldn’t find one easily so I decided to make them! Ps. Don’t forget to check out my DIY mudroom renovation!
Supplies
- Two coordinating fabrics: I like using a heavier fabric for stability.
- Stabilizer, if desired
- Fiskars Circle cutter
- For the letters: Cricut Maker™, Cutting mat, Weeding tool, Cricut EasyPress™ with the Pressing Pillow Underneath, Teflon Sheet or scrap cotton fabric, Iron On Vinyl
Use the Discount Code DIYDANIELLE on cricut.com for 10% off any cutting machine or heatpress (no minimum). Excludes: materials/accessories/mystery boxes/etc. Applies to US/CA only, code expires 12/31/23.
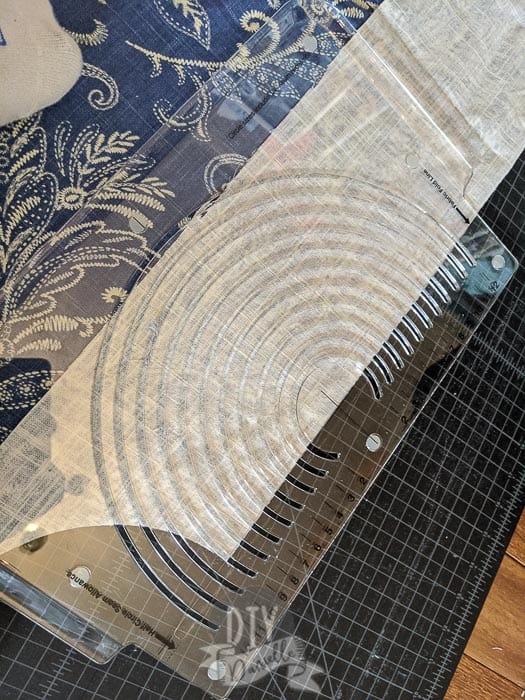
Your first step is to cut out the circle for your bottom. I measured the area where I wanted to place my bins to decide on the size. The width of the area was the diameter (the width of the circle) of the circle for my bottom.
I got this really nifty tool for cutting perfect circles for Christmas. It worked like a CHARM. You line up the marks for the fold on your fold line. Then you use this special rotary cutter to follow the line for your circle size.
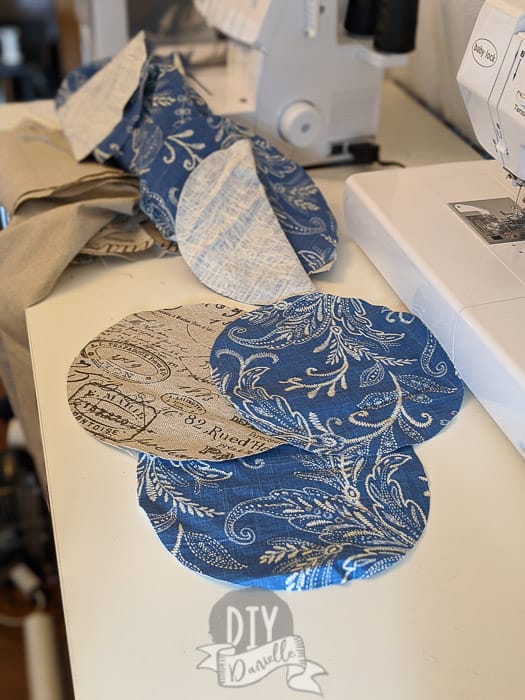
I had to cut out a total of ten circles- I needed 5 bins and each bin needed a circle of the interior fabric and a circle for the exterior fabric.
If you’re using stabilizer, you’ll want to cut one per bin for that too. I did not add stabilizer because I felt the thickness of the fabric would help keep it upright… this was technically accurate, but my kids and husband keep pushing the bins down. I may seam rip and add stabilizer to my sides.
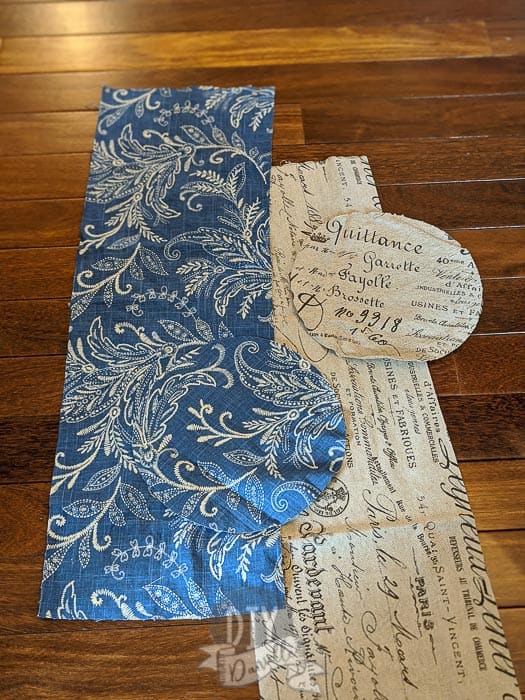
Now you need to cut two lengths of fabric, one interior and one exterior, for the sides.
- The length of your side should be the circumference (the measurement of your circle exterior) of your circle + your seam allowance.
- The height of your side should be the height you want to make your walls (+ seam allowance).
I decided to make mine tall enough to fold over the edge. This provides additional stability around the top edges and you get to see both pretty fabrics!
As mentioned at the top, these bins are reversible because of how I sewed them. So I can flip them over to get a new look if I get bored with them! Only one side has the letters though!
You need to fold each side piece right sides together, short ends touching. Sew using your included seam allowance.
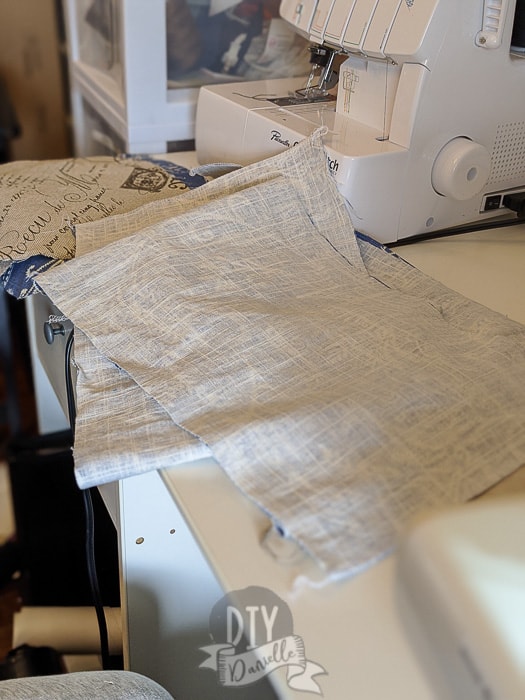
I used my serger on these.
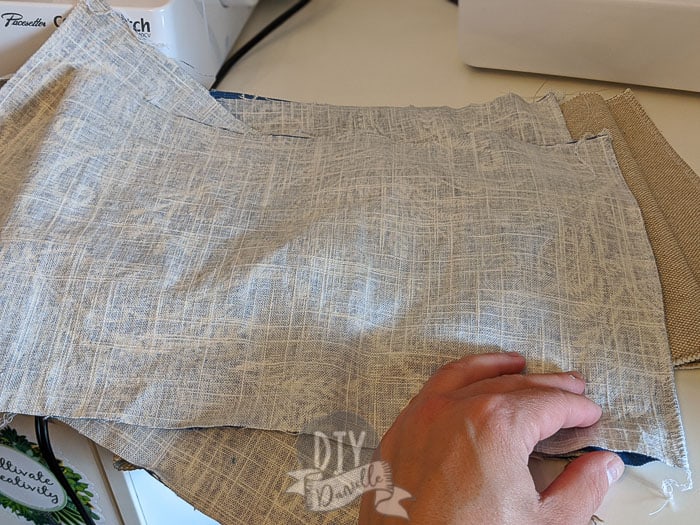
Now you need to pin the coordinating fabric circle to the bottom. Sew around. I NEVER get the measurements quite right here. Haven’t quite puzzled out my problem. But I sew the bottom to the side right sides together.
Repeat with the other fabric pieces.
Now you have a finished bin with the interior fabric and one with the exterior fabric.
Place them right sides together by turning one right sides out and tucking in INSIDE the other bag. Line up the top edges. Sew right sides together, leaving a gap to turn.
Turn. Press the edges. Top stitch.
If you want, you can add a letter for each person’s first name using your Cricut and iron on vinyl. This is a great way to keep track of whose bin is whose.
And you’re done!
Here’s the video tutorial:
Please share and pin this post! You can also post your project and tag the DIYDanielle team on Instagram @doityourselfdanielle!
Google Web Story: How to Make Fabric Storage Bins
I really am the type of person who likes organizing stuff and this is BRAVO! Your reversible fabric storage bin tutorial is a real winner and I can easily make the sewing patterns at home. I just wish you make a bigger version but I’ll just make a bigger one at home. Anyway this is a brilliant and the fact that I can switch up the look is just cute!