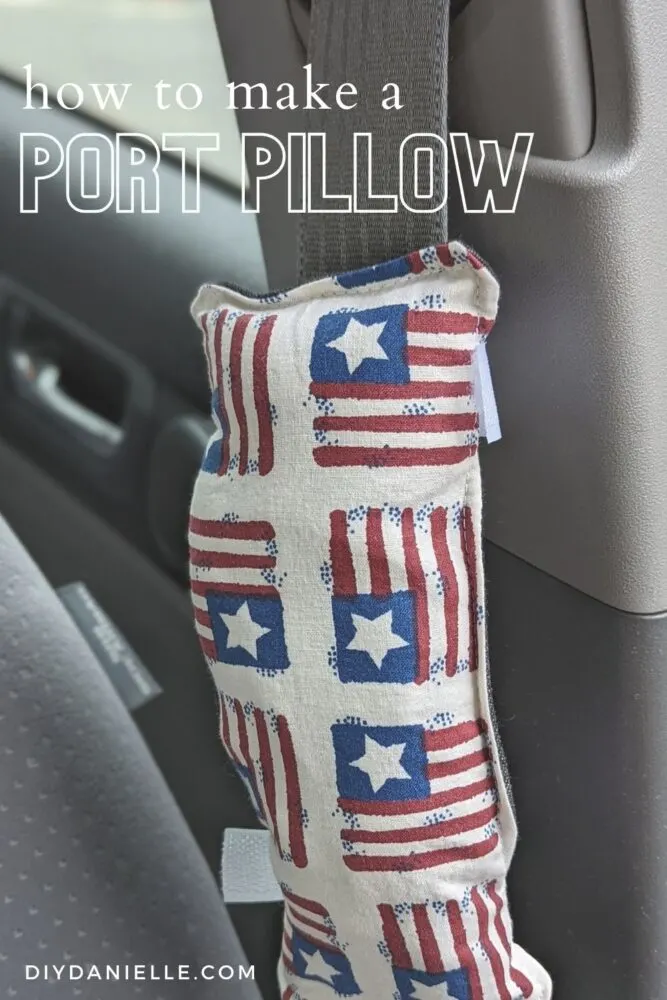
How to make a DIY port pillow for a seat belt. Port pillows help protect the port from rubbing against the seatbelt when you’re in the car.
Ports are something that is placed for patients who will be going through chemotherapy. The port allows the doctors to give the chemo without poking the patient with new needles each visit. Unfortunately, these can be uncomfortable when they rub against the car seatbelt. A port pillow attaches to the seatbelt over the port area. It’s really easy to make and a great use for scrap fabric. Make a bunch of them and donate them to your local cancer center!
This post may contain affiliate links which may earn me commissions should you click through them and take certain actions. As an affiliate for Amazon, Cricut, xTool, Home Depot, and other sites, I earn from qualifying purchases. Please DIY carefully. View my full legal disclosures here.
Please read the whole post so you don’t miss any important information!
How to Make a Port Pillow for a Seatbelt
Before getting into the tutorial, I do want to be clear- this is not an approved medical device, nor is it compliant with any rules by your car/car seat belt’s manufacturer. I don’t know if it would impact how the seatbelt works, should the person get into a serious car accident. However… I have seen other people sewing similar items for chemo patients so I think it’s a matter of weighing comfort vs. the unknown safety issues. Proceed at your own risk.
Supplies
- Fabric: Cotton, jean
- Sewing machine & thread
- Hook and loop: What is Hook and Loop?
- Pins or clips
- Fiber Fill or cut up foam from a memory foam pillow
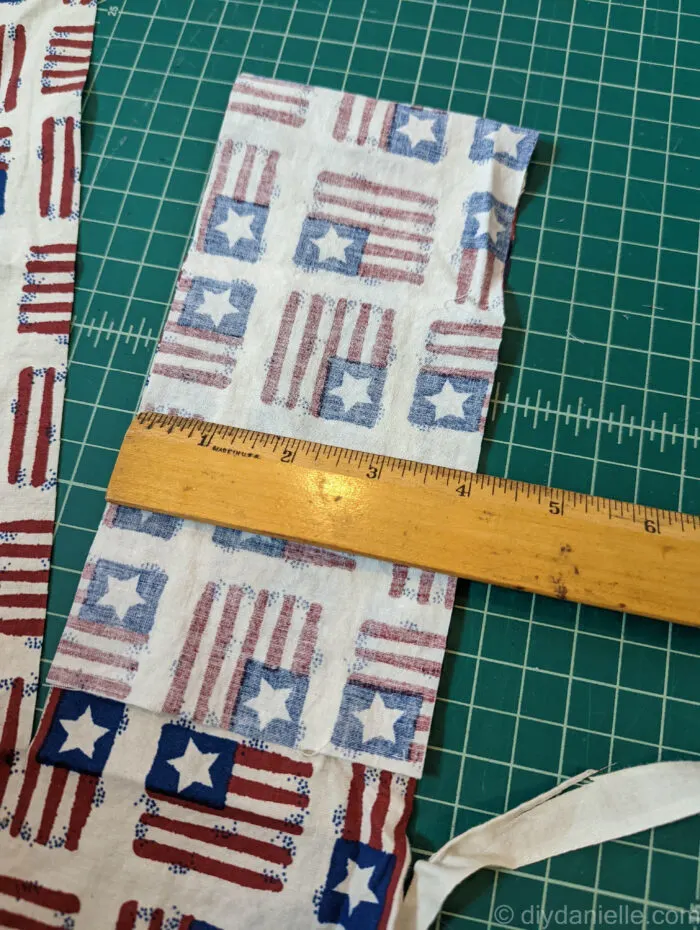
Step 1: Start by cutting your fabric into a 4″ x 16″ long.
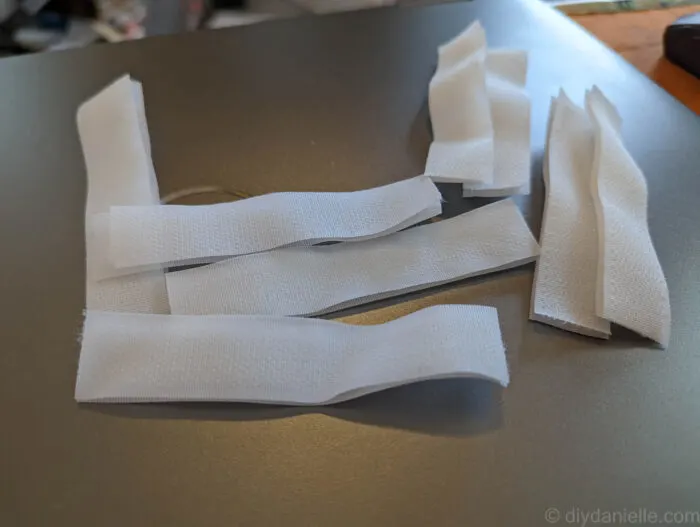
Step 2: Cut (2) sets of hook and loop strips, 3.5″ long each. I cut multiple sets as I wanted to make a bunch of these all at once. These are great to donate to the cancer center.
Step 3: Fold your 16″ fabric length in half, right sides together.
Step 4: Sandwich your hook and loop pieces between the fabric, pin or clip in place. Put one set at each end, making sure they’re faced in the correct direction so they hook together correctly once your set is turned right sides out.
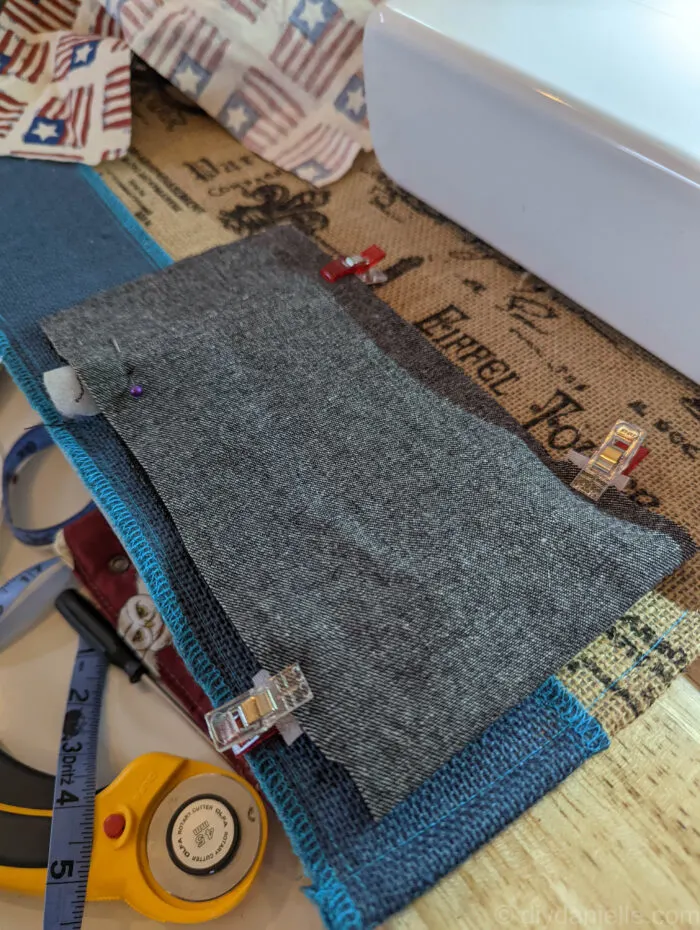
Step 5: Sew a straight stitch around, leaving a small place to turn the fabric right sides out.
Step 6: Turn right sides out.
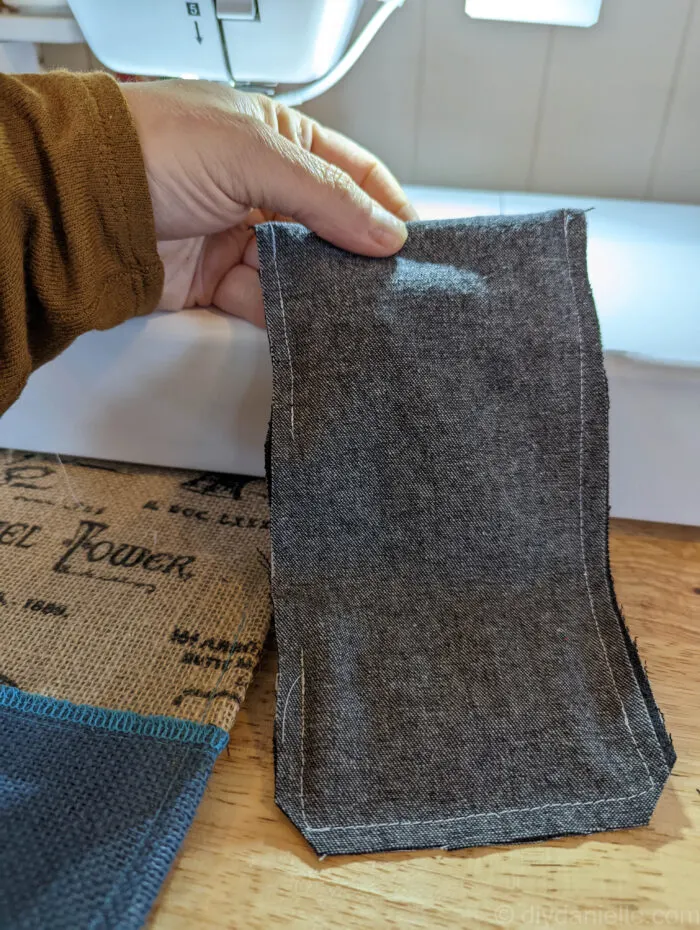
Step 7: Top stitch, leaving the small hole open still.
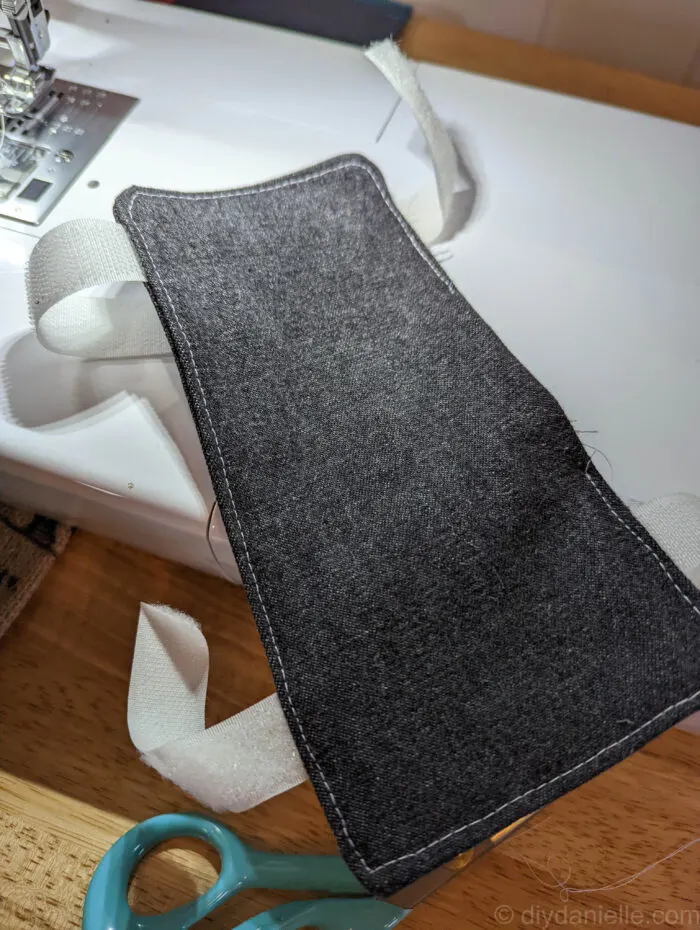
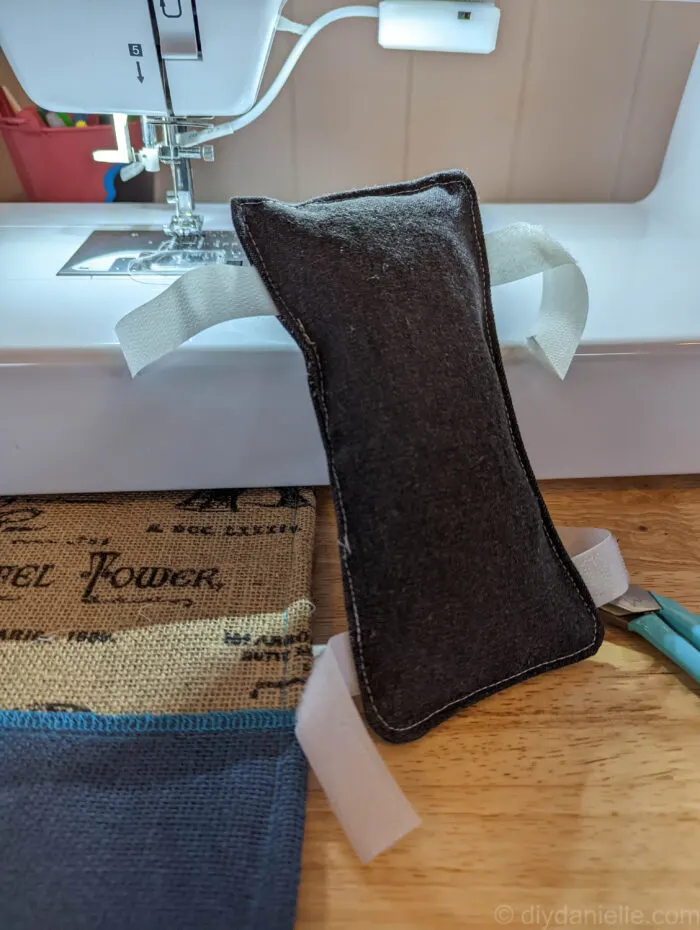
Step 8: Stuff in fiber fill or cut up memory foam pieces until the pillow is full.
I had a bunch of foam left over from cutting apart a memory foam pillow to make a DIY shredded memory foam pillow so I used that. It’s super soft and cushy compared to fiber fill.
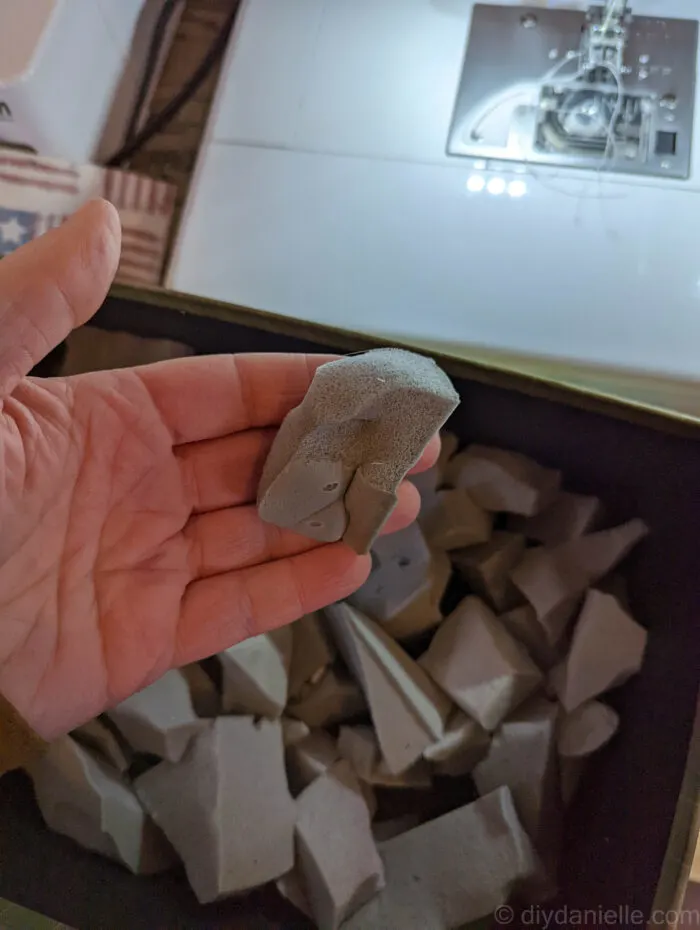
I cut it into small enough pieces to shove in there, then filled it up. I wanted it full enough to provide some cushion, but I didn’t want it to be overly full either.
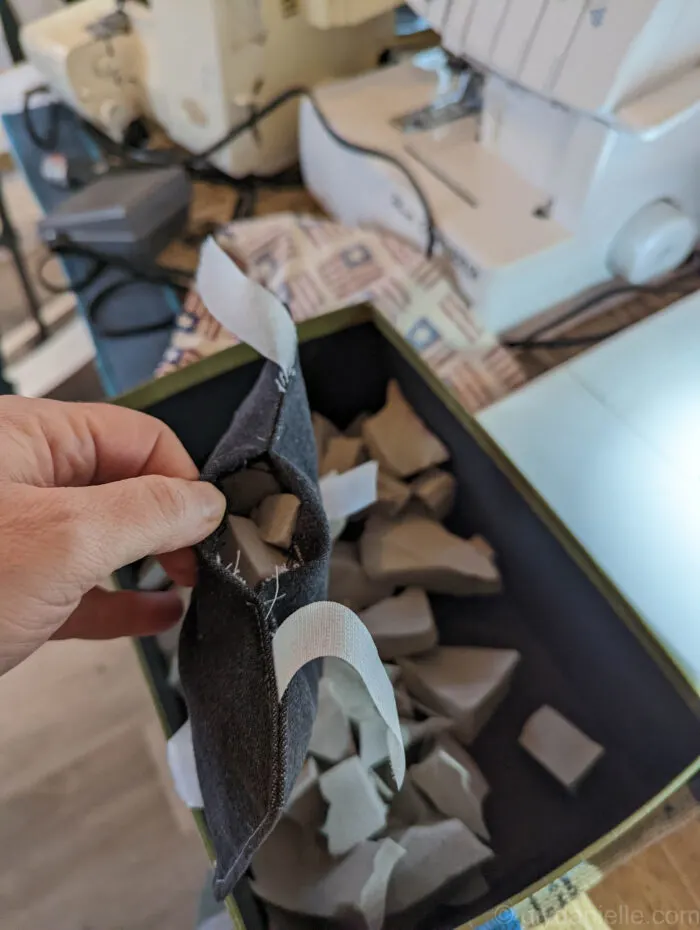
Step 9: Finish top stitching your port pillow.
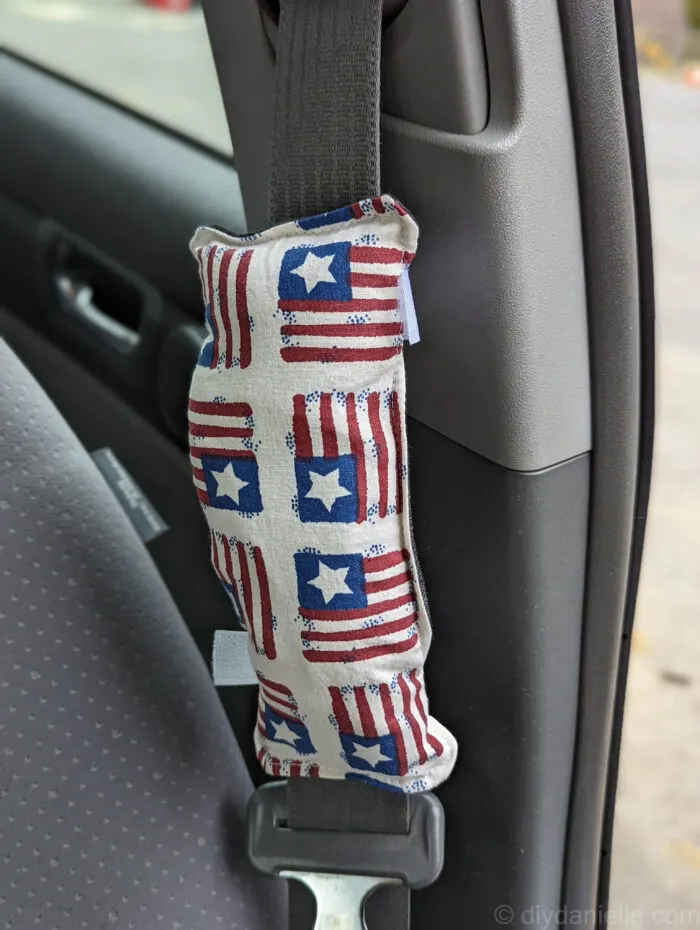
This is what it looks like on the seat belt. The pillow should be flipped to face the person’s chest/port area.
The hook and loop faces away from the person.
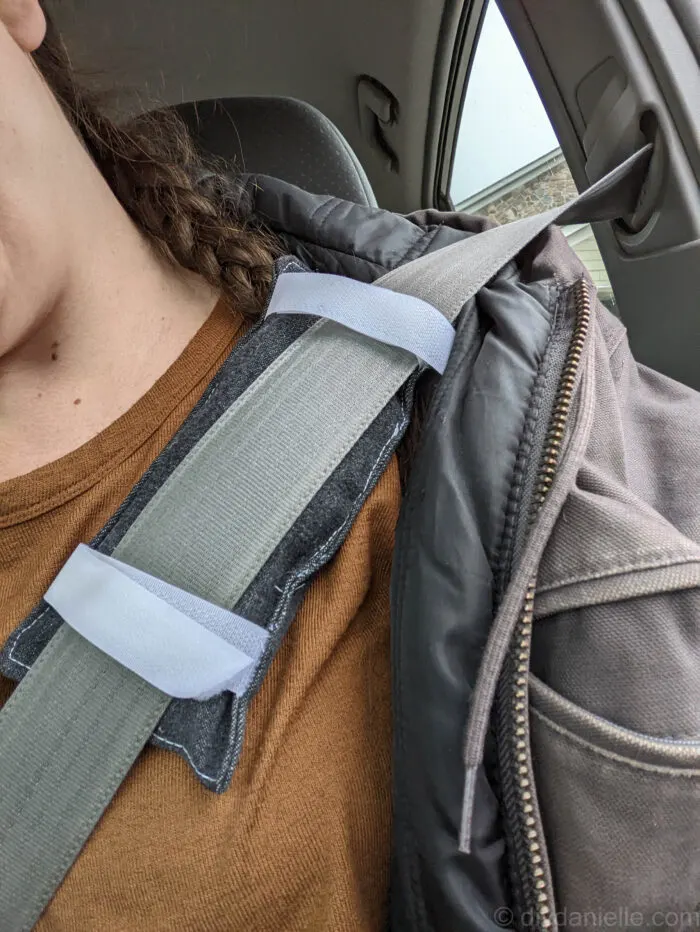
I’m hoping it’ll make his chemo a little bit easier to have these. I’m also putting together a chemo care kit for him as well, using some SVGs that I made. You can pickup the SVG bundle in my store and I’ll be donating 100% of the earnings from that bundle to Dana Farber and/or American Cancer Society.
Please share and pin this post! If you make this project, share it in our Stuff Mama Makes Facebook Group. We have regular giveaways for gift cards to craft stores. You can also tag me on Instagram @doityourselfdanielle; I love seeing everything you make!
