How to upcycle a frame and make your own DIY frame mats so you can add multiple photos to a large frame.
This post may contain affiliate links which may earn me commissions should you click through them and take certain actions. As an affiliate for Amazon, Cricut, xTool, Home Depot, and other sites, I earn from qualifying purchases. Please DIY carefully. View my full legal disclosures here.
The majority of my content is generated by me, as are 99% of the photos and videos, but I utilize technology for titles, descriptions, video editing out all of my ums, and occasionally for text overlay on images.
Please read the whole post so you don’t miss any important information!
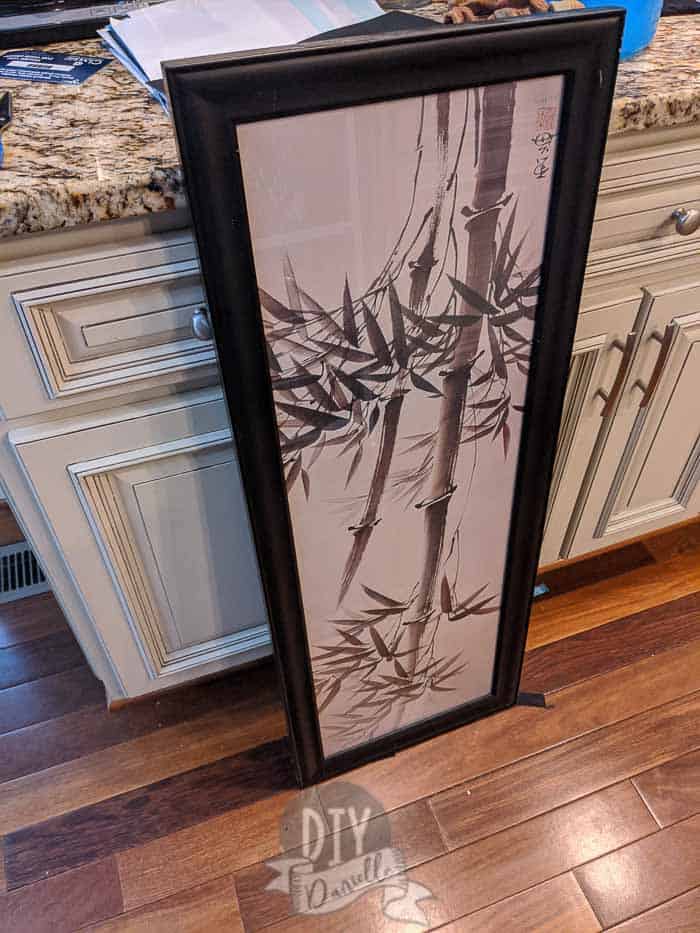
We’ve had these two frames for a while and I thought I would sell or donate them. The prints didn’t fit with our farmhouse style home. But we REALLY need more photo frames— I love taking photos of the kids and we have frames everywhere.
And hey frames are EXPENSIVE new.
So I decided to upcycle these frames… a year or two ago. And I finally did it! Better late than never?
DIY Custom Frame Mats for a Large Frame with the Cricut
I used my Cricut to cut out mats for these from scrapbook paper… while I could have used something thicker, this did the trick and I didn’t feel the need for a three dimensional feel to the mat. But you could ABSOLUTELY do that with your Cricut if you wanted that look!
Supplies
- Scrapbook paper 12×12 or bigger
- Scotch tape
- Photos
- My Cut File from Cricut Design Space
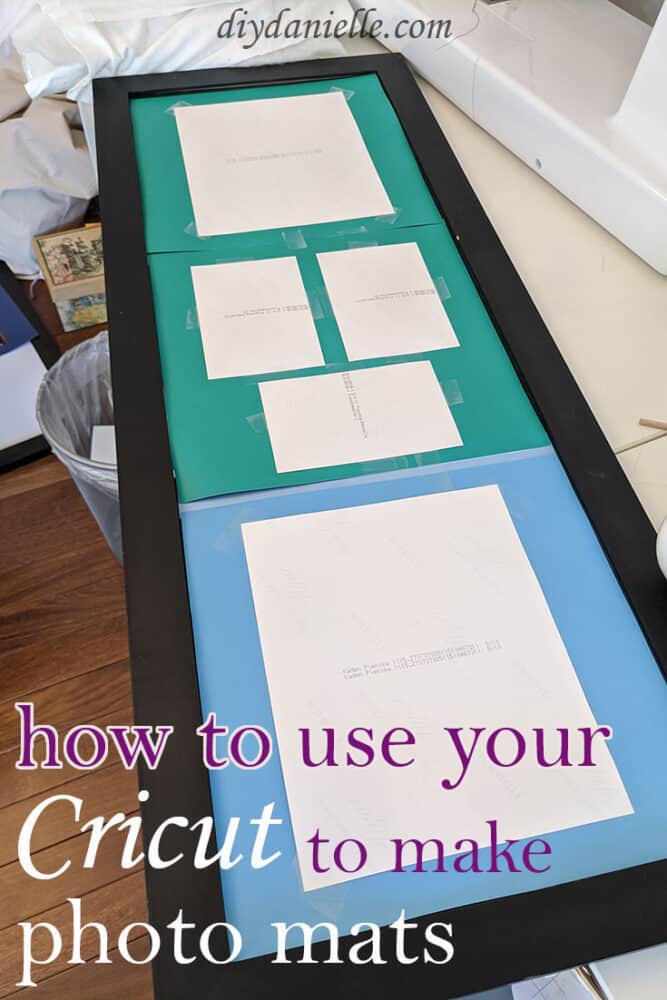
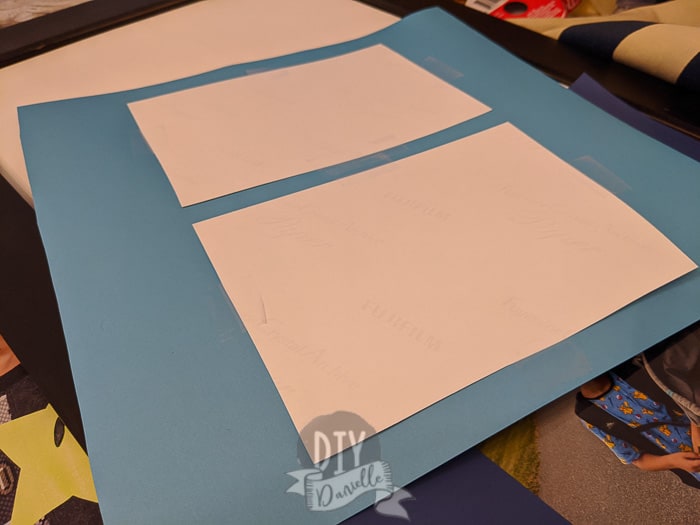
First you need to plan out your photo positions. This will help you decide where to place which gaps. The cut file is just the cuts for the gap itself for different photo sizes. You’ll need to place those cut outs where you want them on the 12×12 sheet of scrapbook paper.
The one thing to remember is that you probably won’t be able to do this easily with more than a 12″ wide frame… although I suppose you could cut the gaps out using your Cricut and use them as a template to hand cut large sheets of paper or cardboard for larger frame sizes.
I didn’t get a video of my screen for the process, but essentially I looked at my Cricut Design Space screen and dragged the cut I wanted to where I wanted it on 12×12 size sheet. Then I placed any other cut outs that I wanted to fit on that scrapbook paper. I attached them together then I cut them with my Cricut using the option for scrapbook paper. Very simple.
Once everything was cut, I cut off the white ends to my scrapbook paper.
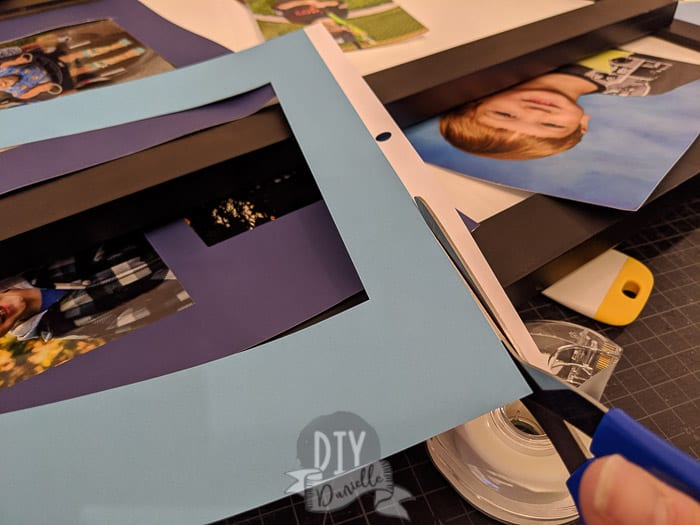
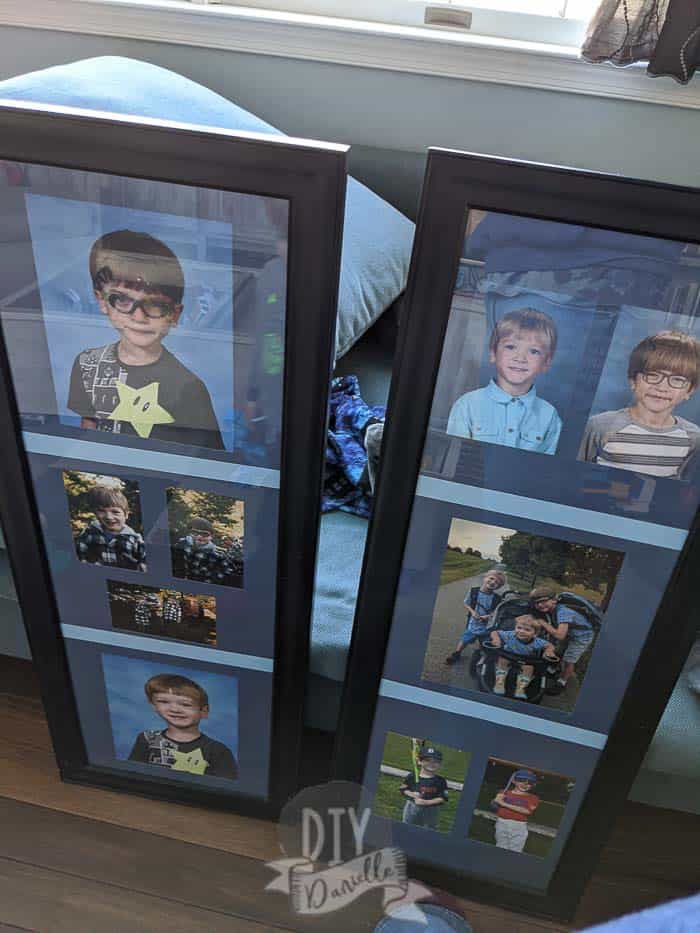
I placed my photos on the mats and taped them in place (this is double sided scrapbook paper but the correct color is on the bottom).
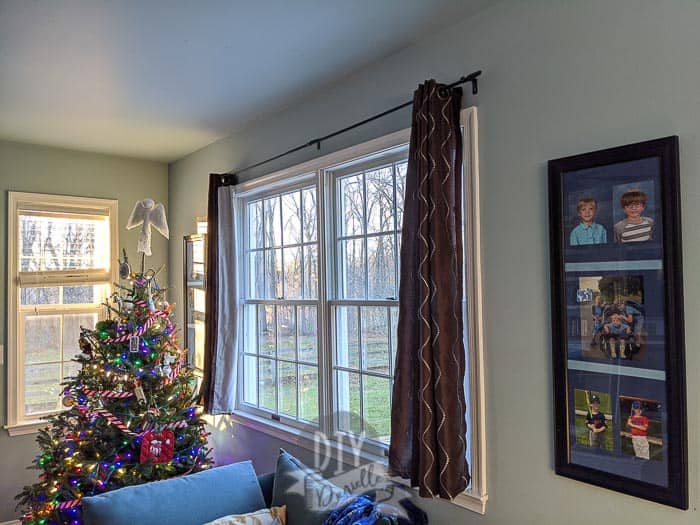
Then I lined up all of my sheets for the large frame. I needed three pieces of scrapbook paper “mats” for each frame.
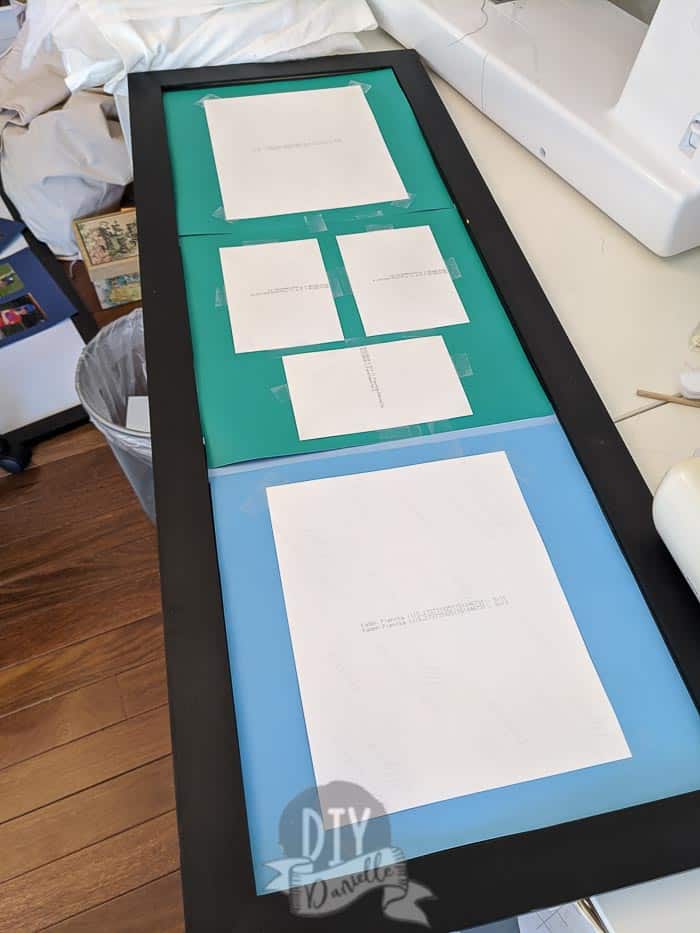
I made sure to tape the scrapbook papers to each other to hold everything in place. After, I jammed the original cardboard and print behind the photos to hold everything tight. Once it was all closed back up, they were ready to hang! Perfect!
As you can see in the photos below, I used a small strip of coordinating scrapbook paper between each 12×12 sheet. This just hid the slight gap between scrapbook paper pieces.
Please share and pin this post! You can also post your project and tag the DIYDanielle team on Instagram @doityourselfdanielle!