
How to make folding gift tags with your Cricut. This easy project includes a link to a free Cricut cut file that you can use.
This post may contain affiliate links which may earn me commissions should you click through them and take certain actions. As an affiliate for Amazon, Cricut, xTool, Home Depot, and other sites, I earn from qualifying purchases. Please DIY carefully. View my full legal disclosures here.
The majority of my content is generated by me, as are 99% of the photos and videos, but I utilize technology for titles, descriptions, video editing out all of my ums, and occasionally for text overlay on images.
Please read the whole post so you don’t miss any important information!
Designing this was fairly simple, but I’m going to give you the link to the ones I made so you can use those. You just will need to add names if you plan to use the Cricut to write the names… or write the names in by hand (these would be great to keep blank).
This is a great way to keep a bunch of tags on hand for gifts throughout the year, and you can use lots of fun scrapbook paper to make tags for every season!
DIY Folding Gift Tags with Cricut Maker
Supplies
- Free design
- Cricut Maker and Essentials
- Cricut pens
- Cardstock/scrapbook paper with white back and design on front: I made these to fit on 8.5×11 paper
- Light grip mat
- Standard blade
- Scoring wheel “blade”
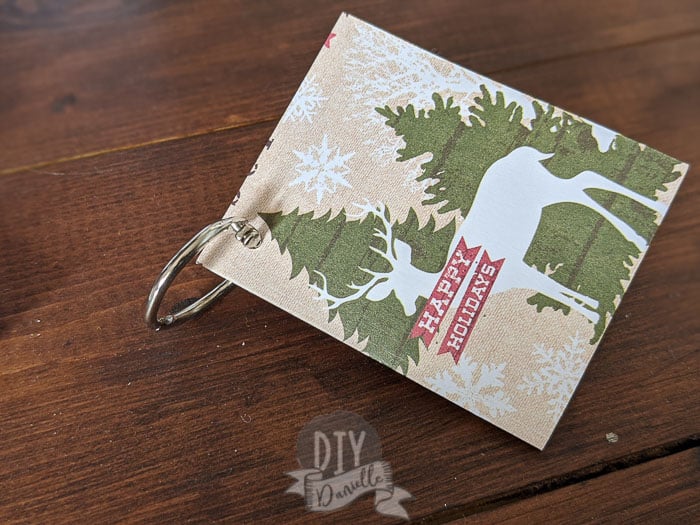
- Options for hanging: Use tape on back to stick to a wrapped gift, use twine or ribbon to hang from the cut out hole, or use binder rings like I did.
Use the Discount Code DIYDANIELLE on cricut.com for 10% off any cutting machine or heatpress (no minimum). Excludes: materials/accessories/mystery boxes/etc. Applies to US/CA only, code expires 12/31/23.
How to Make Your Folding Gift Tags
Start by placing your patterned scrapbook paper face down on the LightGrip Mat. You COULD use the regular mat, but you might have issues removing the paper after, including possible issues with tearing. The LightGrip seems to work better for this type of project.
You want to load your Cricut Pen (color of your choice) and your Scoring wheel “blade” into your machine. The pen goes in the left slot and the scoring wheel on the right. Make sure they’re all the way in and clamp shut to hold the items in place.
Load your mat. Pull up the project in Cricut Design Space and select the materials option for scrapbook paper.
Hit the Cricut button to go, once cued on your Cricut app.
The machine will begin by scoring all of the folding lines, then it will write the “to” and “from” with the pen. The writing is the most time consuming step so you can load another mat or clean your craft room or whatever while you wait.
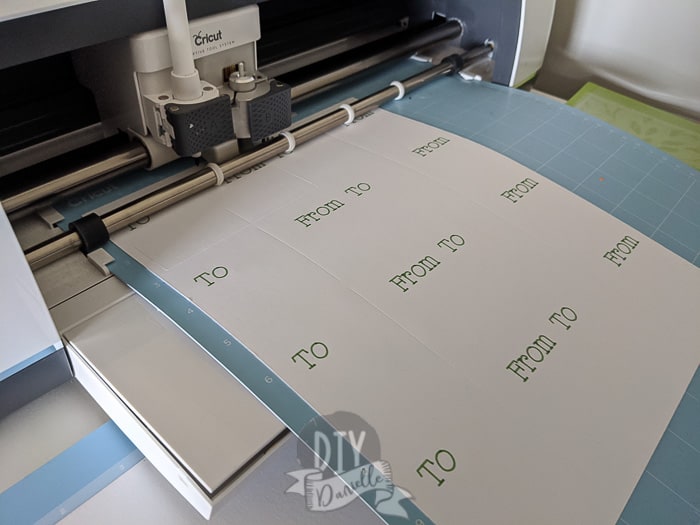
Once it’s done this, Design Space will notify you to swap out the scoring wheel for your regular blade. Do so, then hit the Cricut GO button when you’re ready.
It will finish cutting pretty quickly.
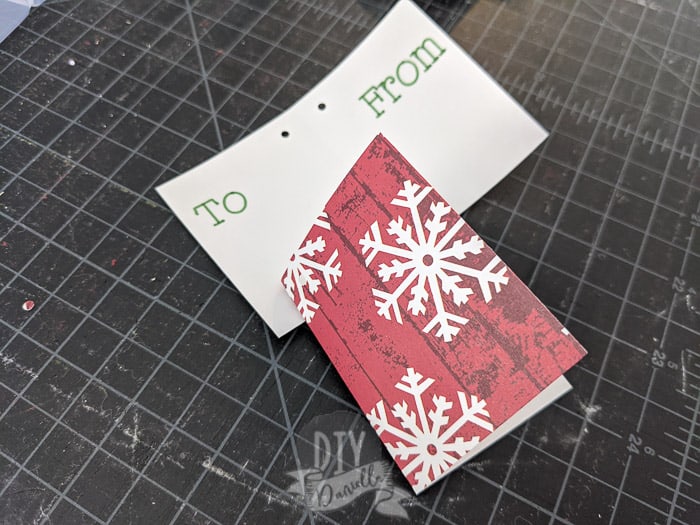
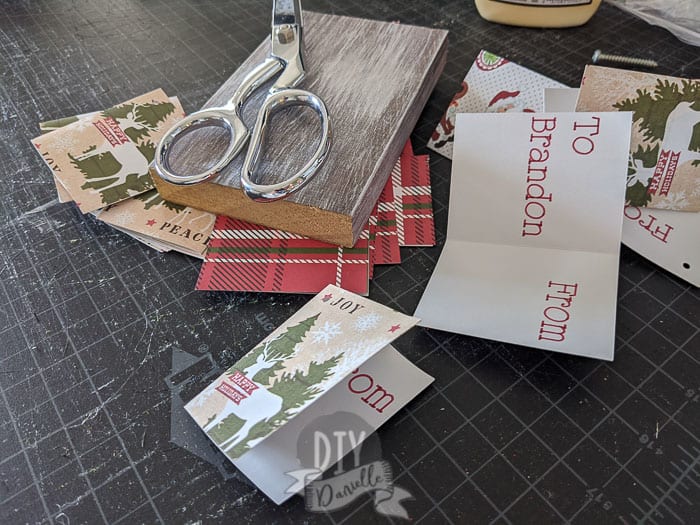
Remove the excess pieces of paper from around your tags. Now you need to flip your mat upside down and peel the mat away from your tags. This helps keep your tags from curling.
Fold.
I put something heavy on top of them to help the fold stay in place.
These are nice because we use reusable gift bags so we can’t just tape on a tag or piece of paper. Make sure to check out the Santa bags and non folding tags that I make with my Cricut too!
Here’s a quick video tutorial…
Please share and pin this post! You can also post your project and tag the DIYDanielle team on Instagram @doityourselfdanielle!

Web Story: DIY Gift Tags with Cricut