


Make custom basketball jerseys with the Cricut Maker. Get organized with this easy tutorial. Get your team dressed up for game day in style!
I’m on the PTA. I am an absolute sucker for being asked to do things… although I’ve certainly gotten better at saying no in the past few years. Three kids, three businesses, and a pandemic will do that to a person. This year our PTA decided to hold a big basketball game fundraiser with our school staff playing the Harlem Wizards. It was a LOT of fun to watch- but behind every magical school event is about 10 women working their butts off. And yeah, I ended up being one of those women. Our original order for custom basketball jerseys was canceled (and SO expensive) so another mom and I were voluntold to make custom jerseys with our Cricut machines. It was pretty easy- but I’ll give you some tips to make it easier. Working smarter, not harder.
This post may contain affiliate links which may earn me commissions should you click through them and take certain actions. As an affiliate for Amazon, Cricut, xTool, Home Depot, and other sites, I earn from qualifying purchases. Please DIY carefully. View my full legal disclosures here.
The majority of my content is generated by me, as are 99% of the photos and videos, but I utilize technology for titles, descriptions, video editing out all of my ums, and occasionally for text overlay on images.
Please read the whole post so you don’t miss any important information!
Custom Sports Jerseys with Cricut Maker
Supplies
- Cricut Maker 3: https://cricut.pxf.io/GjNaNm
- Cricut Roll Holder: https://cricut.pxf.io/qnj9LN
- Cricut Heat Press or EasyPress https://cricut.pxf.io/a1XyXR
- Bright Pad https://cricut.pxf.io/BXMjMy
- Smart Iron On Vinyl in black, white, or the color of your choice.
- Sports Jerseys
- Painters Tape
Use the Discount Code DIYDANIELLE on cricut.com for 10% off any cutting machine or heatpress (no minimum). Excludes: materials/accessories/mystery boxes/etc. Applies to US/CA only, code expires 12/31/23.
Tips for Success
- Get organized. If you’re making jerseys for an entire team, you want a spreadsheet organized with everyone’s name, size, and number. This is VITAL.
- Plan your supplies. For this project, we used cheaper HTV from Amazon. It worked fine, but I had to buy new mats because mine were worn and I needed to do something like 20 mats worth of cutting. BUY SMART VINYL if you have a Cricut Maker 3 or any other machine that uses it. You will WEAR OUT mats making this many jerseys- it’s worth buying the more expensive iron on for this project. I highly recommend doing the numbers/names in black or white because Cricut sells bigger rolls in those two colors- this means less loading and unloading of iron on vinyl.
- We offered sponsor spots on the jerseys: this brought in additional income for our PTA.
- I did a total of 16 jerseys and the other mom did the other half. This is a GREAT activity to get help on… an additional heat press is really helpful.
Tutorial
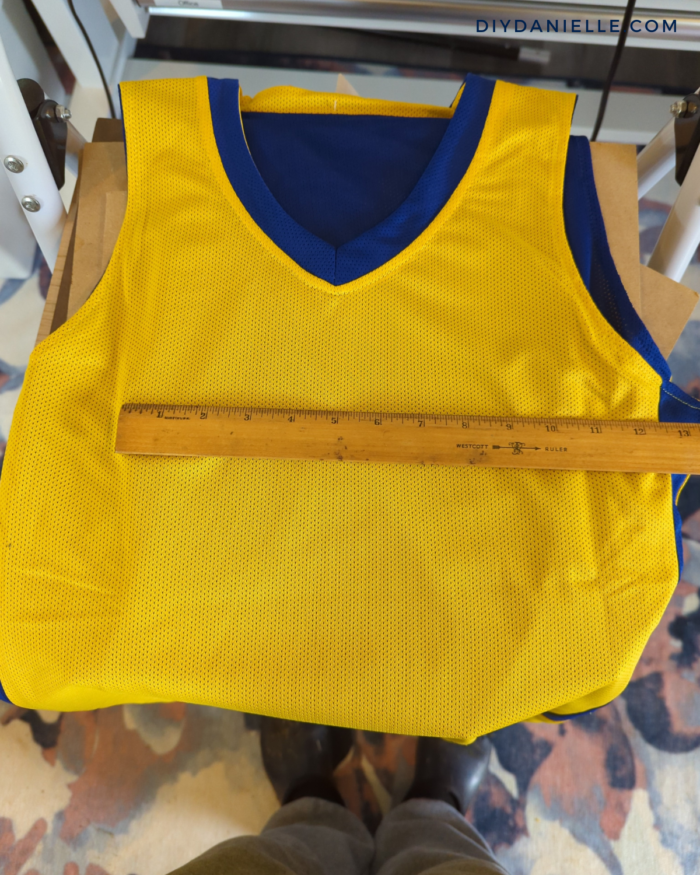
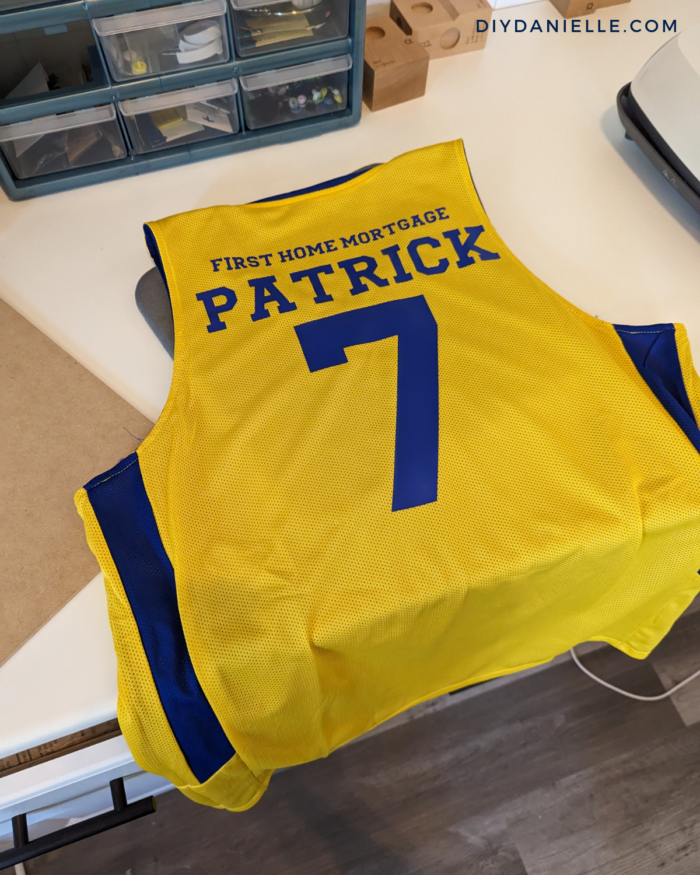
Step 1: Design your numbers and names in DesignSpace. An XXL jersey will hold bigger text than a Small so you may want to resize numbers/names based on the jersey size it will go on- that’s what I did. But you could also just size everything to fit a small.
- Font: Extreme Fonts Little League
- Size: For the XXL shirts, I was using 11.5″ width, I believe. But you’ll want to measure your jerseys and decide for yourself. You DO NOT want the text going from arm pit to arm pit though. Text needs to be centered on the chest.
- How Many? I did two of each number, one of each name, and one of the team name. We also had one sponsor name per sponsor per jersey. These were easy because we could just copy and paste enough for all the jerseys.
Step 2: Click MAKE IT, MIRROR each mat, select your material type. I like to arrange all of my designs so they’re close together and waste the least amount of vinyl.
Step 3: Once your designs are ready for cutting, DOUBLE CHECK EVERYTHING. The downside to using a big roll of iron on vinyl is that if you accidentally forget to mirror the design, you could ruin a big roll of vinyl. So DOUBLE CHECK— is the iron on vinyl loaded shiny side down? did you load iron on vinyl or regular vinyl? is your design mirrored? did you select the correct settings?
If all is good, let your Cricut work!
Step 4: Cut your designs to separate each number and name.
Step 5: Weed each design.
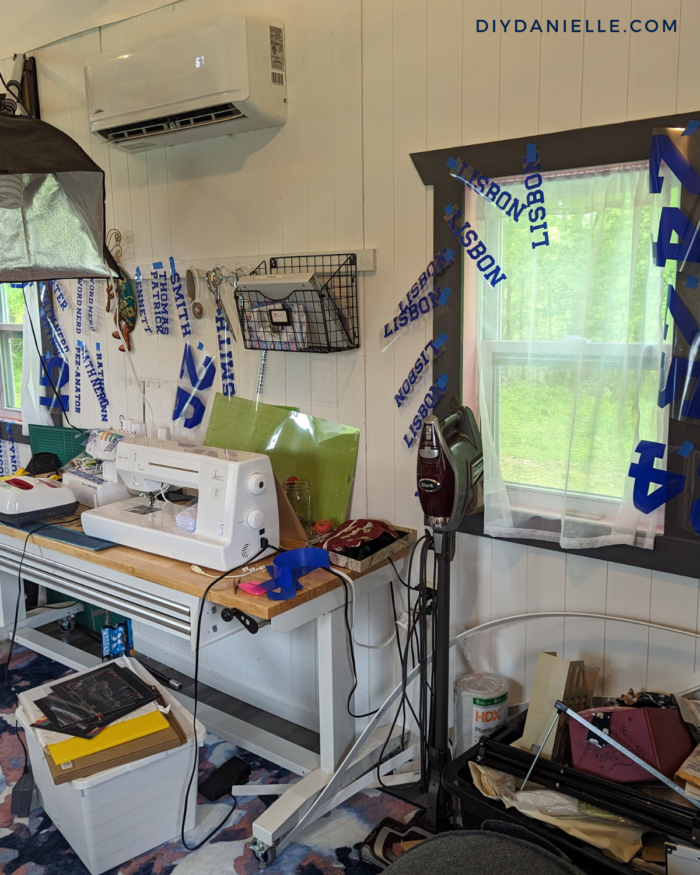
Step 6: As you weed designs, stick them to the wall using painters tape with their matching counterparts (ie. the name, numbers, and sponsor). This allows you to make use of wall space to organize this many shirts without getting dirt and dog hair on the backing.
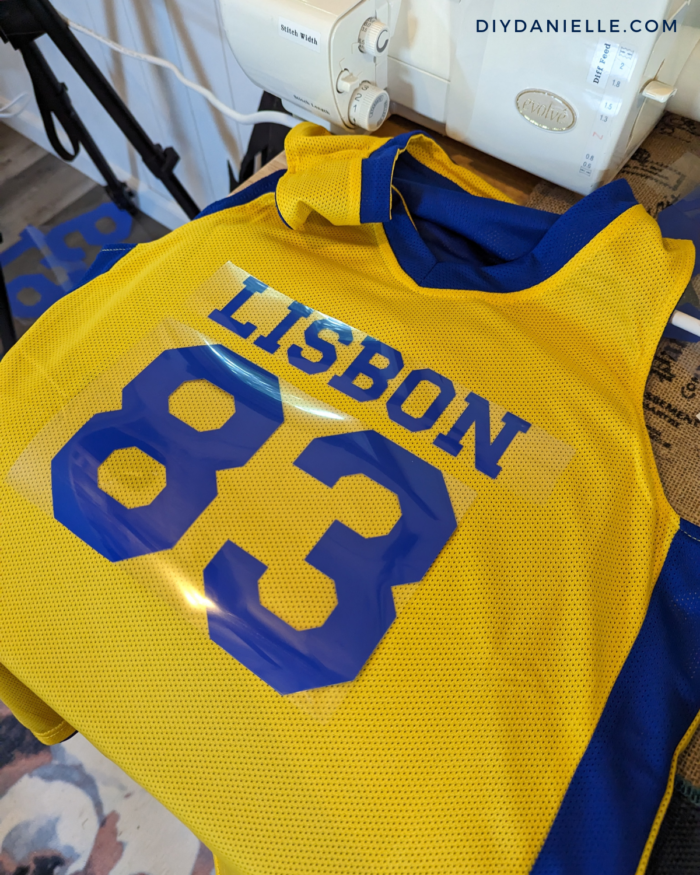
Step 7: Layout your design on each shirt and make sure you’re happy with the alignment. Double check the name and size on your spreadsheet.
Step 8: Press each design. You should check the appropriate heat press settings for your particular press, material, and jersey fabric type. Mine required 315F at 20s, but I had a few issues (possibly related to the off brand vinyl) and needed to repress some designs.
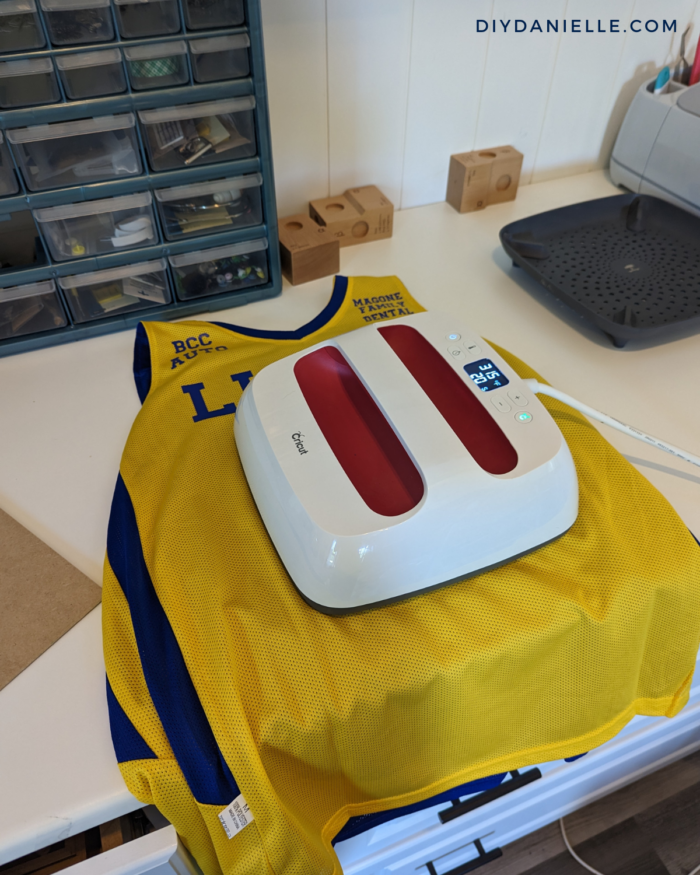
My friend came over with her heat press too which made this SO much easier- I probably could have juggled two heat presses at the same time if she hadn’t been able to come, but it was nice to have extra help.
And that’s all there is to it! The jerseys were finished on time (barely) and the basketball game was fantastic!
Please share and pin this post! You can also post your project and tag the DIYDanielle team on Instagram @doityourselfdanielle!

did you have any issues related to the holes in the uniform material? Have you done this on any reversible jerseys?
These were reversible. No holes created, although I’m guessing if you get the settings wrong or leave the heat press on too long, it’s a possibility.
Where do you get the jerseys from?
I think the PTA got them from Amazon, but I didn’t order them myself. They dropped off supplies for me and voluntold me I was doing it 😉