
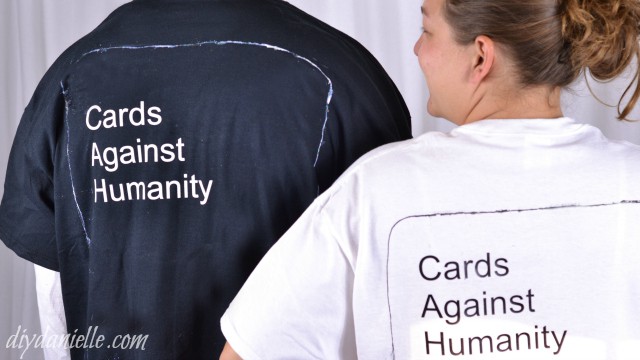
How to make an easy Cards Against Humanity costume. These would be perfect for a couple or two friends!
This post may contain affiliate links. Using these links helps support my blog. Thank you!
I have to be honest- I saw this idea on Imugr, but I decided to make a parent/kid friendly version the cards as a costume. I needed something to wear at the last moment- and so did my husband. And this DIY Cards Against Humanity Costume was just so easy to pull off!
Supplies Supplies listed below may include affiliate links to the products.
- Cards Against Humanity
- A white shirt and a black plain tee-shirt (known as “blanks”)
- Black paint and white fabric paint
- Cardboard
- Optional (if you don’t use either, you can free hand it with paint):
- Silhouette Cameo , Cutting Mat, Weeding Tool, iron, and Iron On Vinyl
- Cricut Air 2 , Heat Transfer Vinyl (HTV): Black and White
- Piece of scrap fabric or you can use a teflon sheet like I did
Use the Discount Code DIYDANIELLE on cricut.com for 10% off any cutting machine or heatpress (no minimum). Excludes: materials/accessories/mystery boxes/etc. Applies to US/CA only, code expires 12/31/23.
Pin it for later: https://www.pinterest.com/pin/48554502213369092/
Tutorial
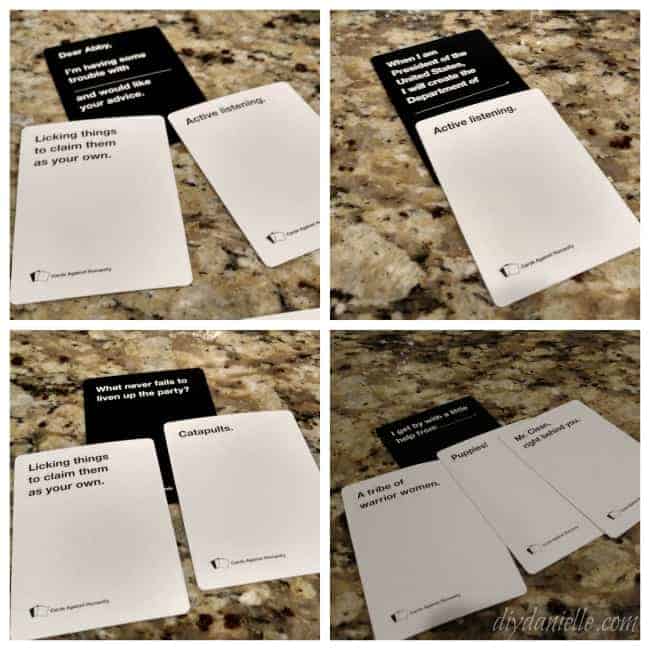
I started by looking through the cards to find the best match that would be kid-friendly. This was a lot of fun. Which is your favorite? Leave me a comment!
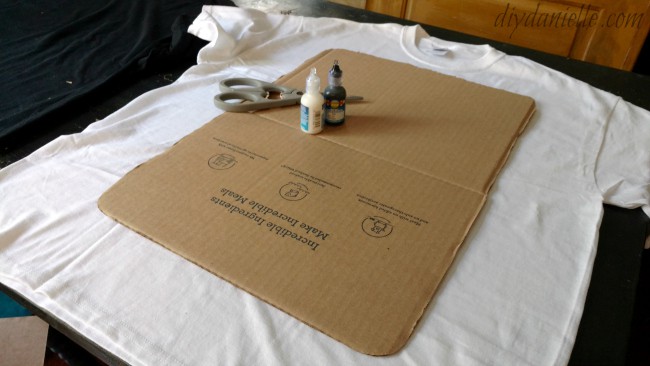
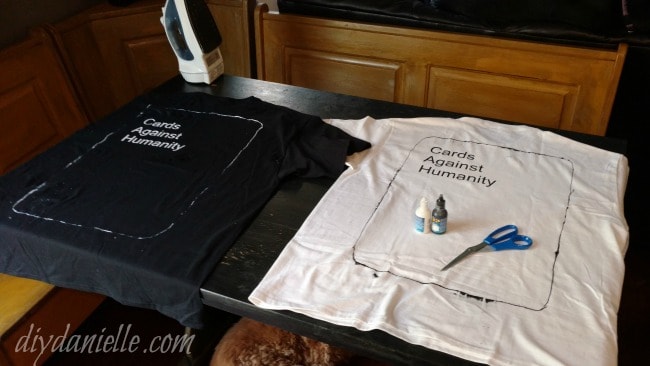
Once you pick out your cards, you need to line the inside of your shirt before you paint the top. Otherwise the paint might seep through. I used some cardboard.
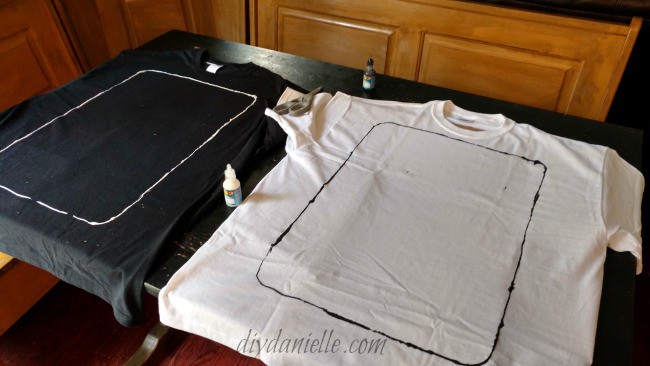
Once I did that, I cut another piece of cardboard in the shape of the cards. I used this as a template for my lining for the card. I used black ink on the white shirt and white ink on the black shirt. Remove the template. Then I set a fan on it to help it dry.
The card size for my XL shirts was 13″ wide x 20″ tall, but you will need to adjust that size down if you use a smaller shirt.
Alternatively you could use the iron on vinyl to create the outline. Would certainly dry faster.
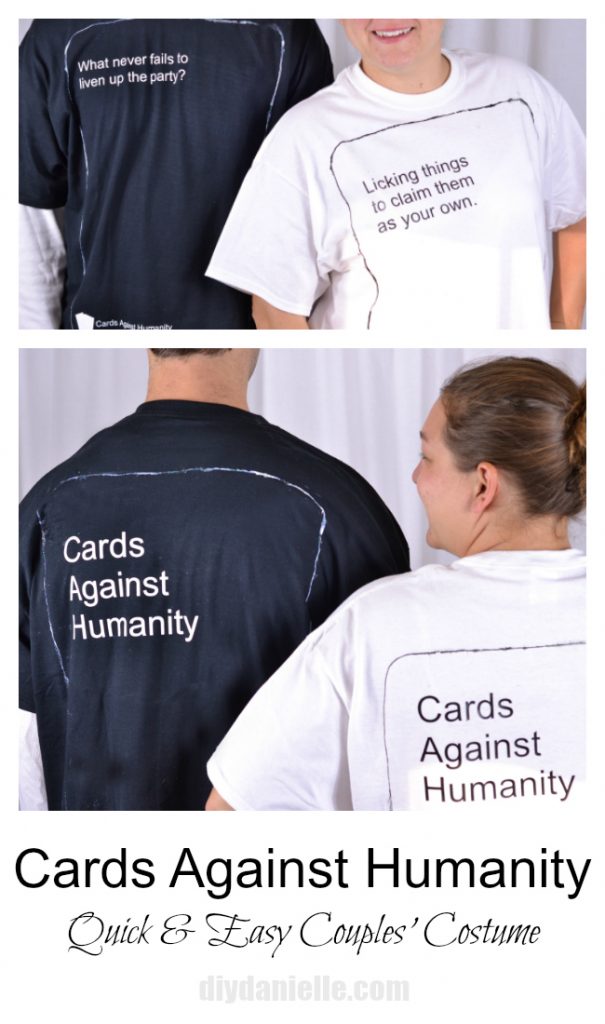
Once dry, I added my wording for the cards. I used by Silhouette Machine with iron on vinyl, but you could also free hand this. I just ironed it on.
If you want to create your own words, Helvetica is the closest font. Personally, I think I may have used Arial on these. The width of my words for the size of my cards was around 6-7″ wide… but you may need to adjust this if you are making a smaller shirt/card.
Cards Against Humanity is open source which means they share their content free. As such, you can probably just upload the image of the card to Design Space if you have Cricut and enlarge it to make your own duplicate card for the shirt. Just a thought.
Want to make your own? Subscribe to my newsletter and get my free Silhouette design from the Subscriber’s-Only Member Google Drive Folder. Look for CAH (Cards Against Humanity).
Here are some more adult costume ideas and check out these Halloween Costumes with Jeans!
Pin it for later: https://www.pinterest.com/pin/48554502213369092/
Love it? Pin it!
Thanks for taking the time to read this post! I really appreciate the time you’ve taken. Please share, like, and pin my post if you enjoyed it. Follow me on social media and subscribe to my email list to keep up to date on all of my latest projects!

Funny!