

Everything you need to know about bias tape. Learn how to sew on single fold and double fold bias tape, as well as how to make your own!
This post may contain affiliate links which may earn me commissions should you click through them and take certain actions. As an affiliate for Amazon, Cricut, xTool, Home Depot, and other sites, I earn from qualifying purchases. Please DIY carefully. View my full legal disclosures here.
Please read the whole post so you don’t miss any important information!
Bias tape is a useful tool to have in your sewing repertoire and provides the opportunity to make your garments look more professionally finished.
If you want to save time, you can buy your bias tape. Store bought bias tape comes in solid colors such as black, brown, white, and other rainbow solids.
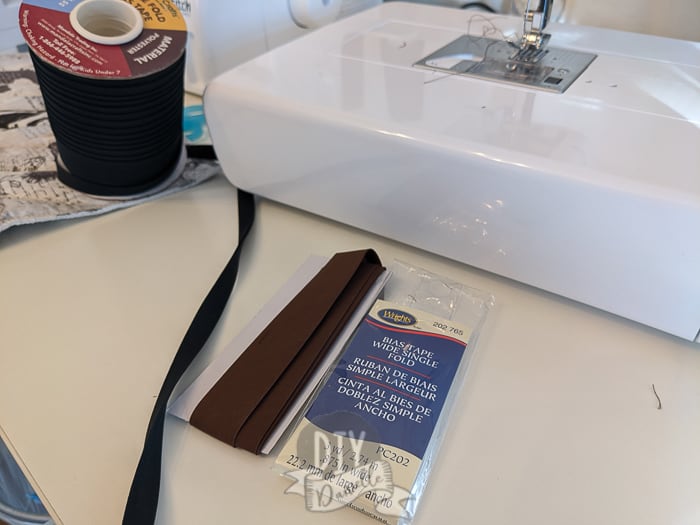

You can also make unique bias tape using fat quarters or larger cuts of fabric!
What is Bias Tape?
The first thing to keep in mind is that bias tape isn’t sticky like most tapes. It is a long, narrow strip of woven fabric that is cut “on the bias,” meaning it’s cut at a 45-degree angle from the grain of the fabric. Woven fabric typically doesn’t have any stretch (unless it contains a stretchy fiber like spandex), but it will stretch some on the diagonal.
Bias binding is not super stretchy like a knit, but has enough give to help it lay flat around curves.
You can buy bias tape premade in a wide variety of colors, or you can make your own very easily with a straight edge and a rotary cutter.
If you make your own, there’s no limit to the colors and patterns you can use.
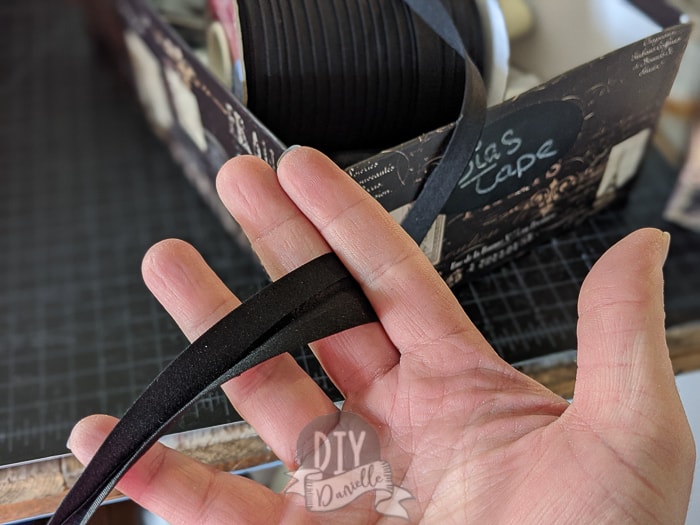
Bias tape typically comes in two different types: single fold and double fold. The names are a bit deceiving, though, as single fold bias tape has two folds and double has three! They are so named because of the number of times the tape is folded over onto itself.
With single fold bias tape, the edges of the tape are folded over once to meet in the middle, so that the edges of the tape meet each other.
Double fold bias tape is folded over one more time right down the middle, so the edges of the tape are hidden inside.
What Should I Use Bias Tape For?
You can use bias tape for many different purposes, including as decorative detailing on clothing or home projects, but most of the time, bias tape is used for finishing edges or seams on woven garments.
The pot holders below have black bias tape around their edges.
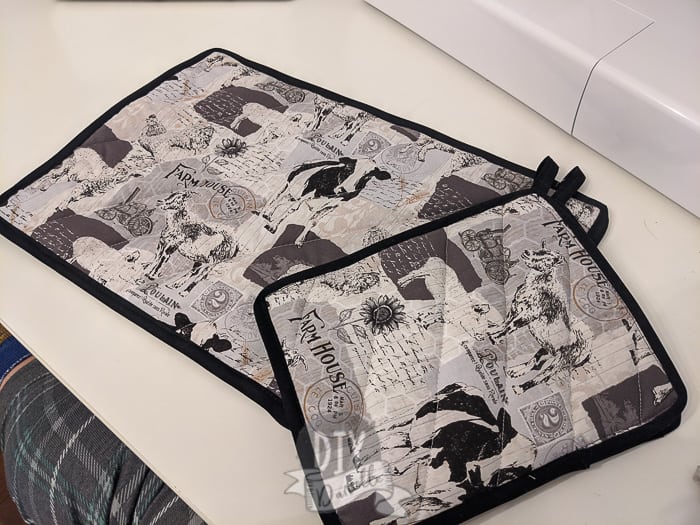
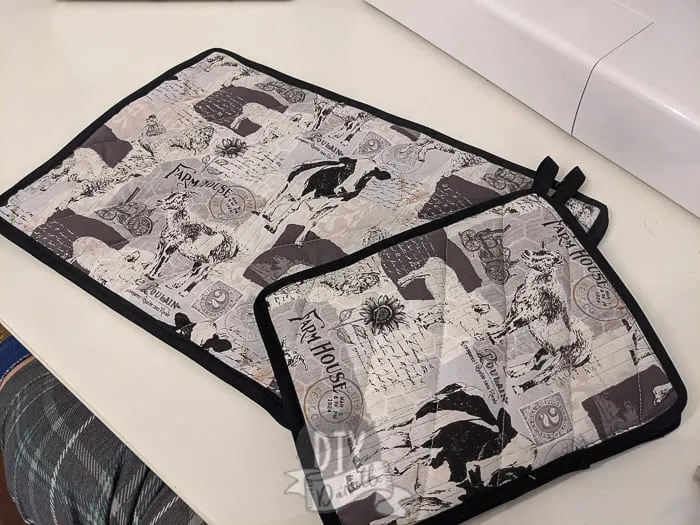
Double fold bias tape is used to enclose the raw edge of the fabric, while single fold is used basically as a tiny facing for edges like necklines or armholes.
The method used to sew the bias tape onto the garment is slightly different for single and double fold, so we’ll review them separately.
Where to Buy Bias Tape
You can pick up bias tape at Joann Fabric. I recommend purchasing it when notions are on sale or you can use a coupon if it’s full price. If you buy the bias tape online for store pickup, you can save yourself the hassle of trying to find exactly what you want in the store (gives you more time to browse the fabric!).
I’ve also purchased bias tape on Amazon, although you don’t get the benefit of coupons. That said, I bought two HUGE rolls of black and white double fold bias tape on there. It’s nice to have that on hand and I LOVE that it’s a 55 yard roll. It’s nice to not need to overlap tape pieces for larger projects like my car seat poncho. And compared to buying a bunch of smaller packages of bias tape, the price was pretty good!
How to Sew Single Fold Bias Tape
Single fold bias tape is used as a small facing to get a clean edge around something like a neckline or armhole. For some garments, you can just fold the edge over one or twice and sew, but it’s unlikely it will lay as flat or look as nice on the inside as using bias tape.
The bias tape provides a clean, finished edge on both the inside and outside of the garment.
If you are sewing a tightly curved edge, it can be helpful to press your bias tape into a slight curve to make application easier. Open up one fold of your bias tape, and press it a bit with your iron. You want the bias tape to lie relatively flat, but you still want to be able to see where it used to be folded.
Take the raw edge of the unfolded side and line it up with the edge of your fabric, right sides together. Pin or clip to hold in place.
If you’re going to be applying the bias tape around a curve, you’ll probably need to use a lot of pins. Then, using your sewing machine and a straight stitch, sew in the fold you pressed open (this is why you still want to be able to see the fold… so you can stitch in it).
Next, press the bias tape back up, re-folding the fold you previously opened. Make sure the fabric of the garment is flat under the bias tape.
Now fold the bias tape completely to the wrong side of your fabric and press. You should not be able to see the bias tape at all from the right side of your garment, and on the wrong side of your garment, it should have no raw edges showing.
Pin, and sew around the bias tape from the inside, as close to the bottom edge of the bias tape as you can while still catching it (1-2mm). Press one more time and you’re done!
You can use single fold bias tape to wrap a raw edge in the same method as described below, though it’s slightly harder because you don’t have that nice clean fold in the middle of your tape to ensure your bias tape is even on both sides of the fabric.
How to Sew Double Fold Bias Tape
Just as with single fold bias tape, you may want to press your double fold bias tape into a slight curve if you’re going to be applying it to a curved raw edge.
Next, open up one fold of the bias tape and press it. Again, you want the tape to lie flat but you still want to see where your fold used to be. You may want to open up the center fold, too, as this will make it easier to see what you’re doing and stop the tape from folding back up on itself, but it’s probably not necessary to press the center fold flat, just hold it out of the way as you pin and sew.
Line the raw edge of the bias tape up with the raw edge of your fabric, right sides together, and pin or clip. Sew a straight stitch along the fold you’ve pressed flat.
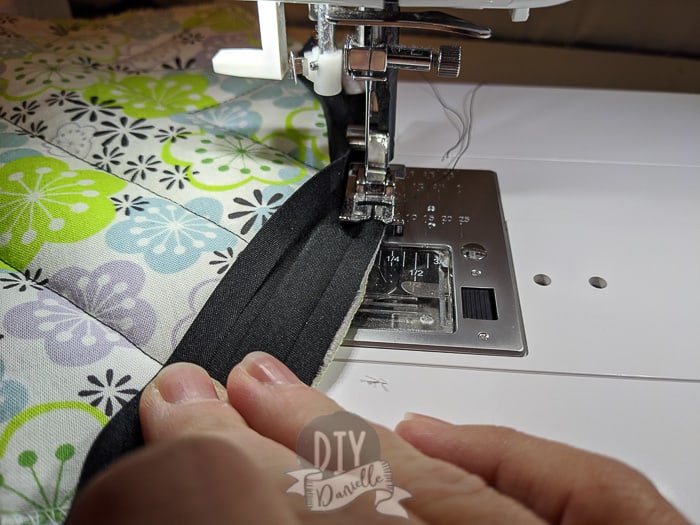

When you’re done sewing, fold the bias tape back up along the fold you pressed flat and sewed in. Wrap the bias tape around the raw edge of your fabric so that the center fold of the bias tape is aligned with the raw edge of the fabric.

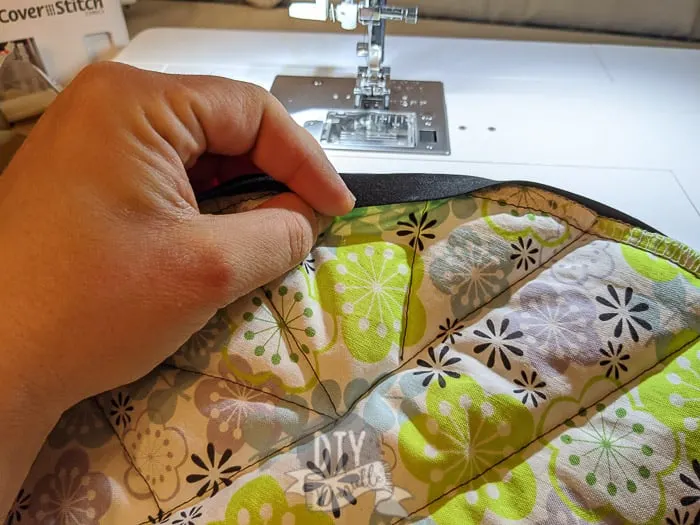
Because you sewed in one of the side folds of the bias tape, your bias tape should want to do this naturally. Just guide it into position. The fabric itself should not be folded at all.
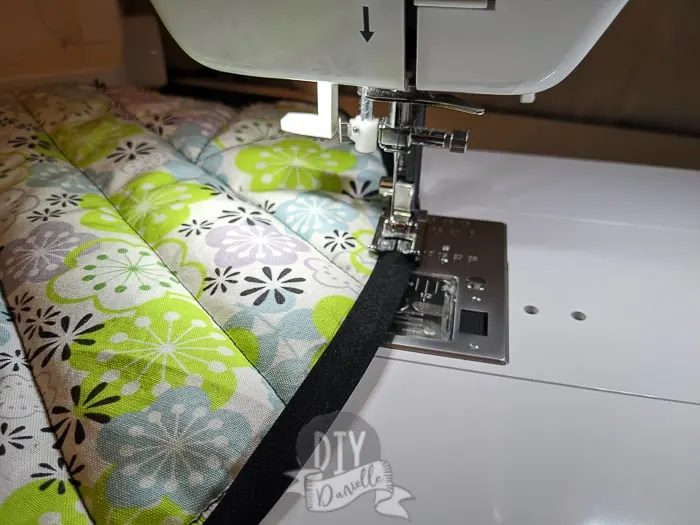
The bias tape should look the same on the inside and outside of the garment (except that it’s not sewed down on the inside). Press well. Pin or clip the bias tape so that it stays folded correctly. Sew along the bias tape from the right side, 1-2mm from the bottom edge of the tape.

What is a Bias Tape Maker?
Making your own bias tape is a great way to create the perfect bias tape to match your fabric. While normally I keep black, brown, and white bias tape in stock to use for projects, it’s nice to make my own occasionally!
There are three options for making bias tape. The first option would be to make it completely by hand. I’ve never done this because the tool set that speeds things up is so affordable. There’s also an electronic device to make AND iron it!
Bias Tape Maker
The normal bias tape makers are just small metal tools that you can run your strips of tape through. As the fabric is pulled manually through the tool, it folds over. When it comes out the end, you iron the folds flat, creating your bias tape!
You have to be very careful to not burn your fingers so keep your hands out of the way!
The Simplicity Bias Tape Maker
The Simplicity Bias Tape Maker does all of the hard work with one device. I haven’t use it, but it looks really convenient if you plan to make a lot of your own bias tape. Essentially it irons the bias tape for you, saving yourself from burning your fingers.
This is a demo I found on YouTube of the process:
How to Make Bias Tape
Bias tape is really easy to make with metal Clover bias tape makers. The main thing to remember is that you’re cutting your fabric on a diagonal- NOT STRAIGHT. I have made it by cutting straight strips and it works for projects that don’t require the bias tape to have any stretch, but it’s better to do it the correct way.
Many people love using fat quarters for this purpose, particularly fat quarters with fun patterns. Fabric with larger designs won’t really show up on the finished bias tape, but stripes fabric, polka dots, etc. work well!
The set of bias tape makers has four different sizes. You need to cut different widths of fabric depending on which bias tape width you want to make!
Start by cutting your fabric the width you need. Cut your fabric TWICE the width of the finished bias tape. Again, make sure you’re cutting on the bias/diagonal. This will allow your tape to stretch a bit.
You will likely need to cut a bunch of strips. These strips get sewn together, then used as one long strip of bias tape. It’s a bit of work, but worth it if you want custom bias tape!
Once you have a long strip of fabric in the width you need, you can push one end through your bias tape maker. The big side is the side you put the fabric in…

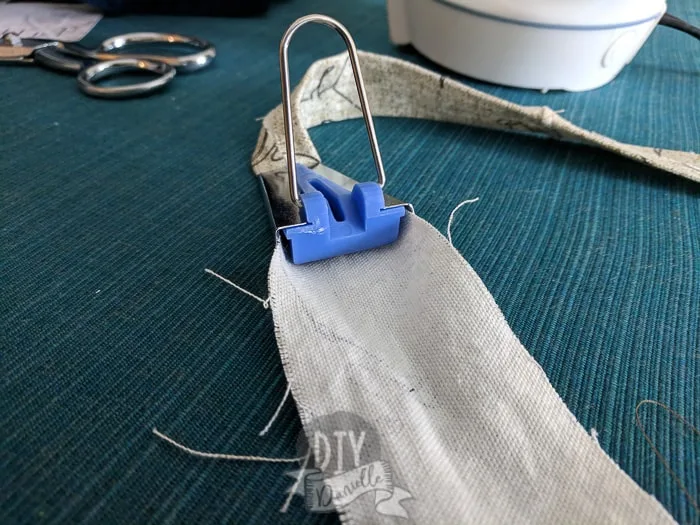
…and the short side is the side the tape comes out folded.
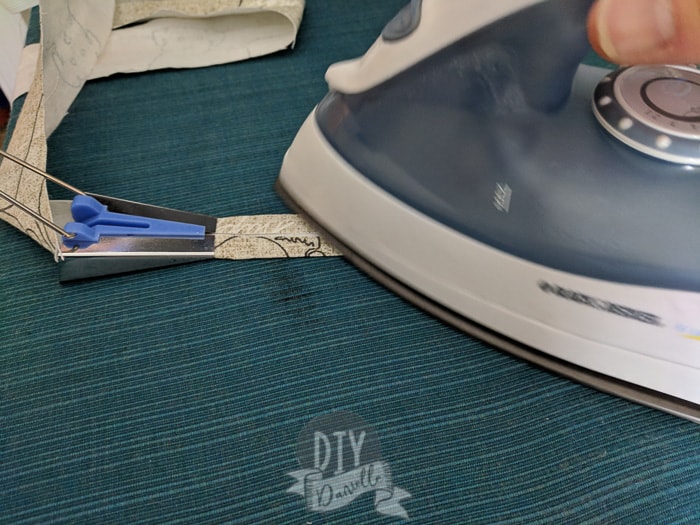

You grasp the tiny metal handle and pull that while you use your iron to press the folded fabric coming out at the smaller end.
This is a really GREAT video tutorial on bias tape and how to make it using the metal bias tape makers!
Was this helpful? You’ll love my other blog posts. Learn how to make your own pattern weights with remnants and check out all of the other beginner sewing tutorials!
Please share and pin this post! If you make this project, share it in our Stuff Mama Makes Facebook Group. We have regular giveaways for gift cards to craft stores. You can also tag me on Instagram @doityourselfdanielle; I love seeing everything you make!


MPaula
Sunday 12th of January 2020
I have never used bias tape but I inherited a project that requires it. Now that I've read this post, I will be able to make it myself. I have 1 or 2 of the metal makers but since I've never used them and I recently moved, it might take a while to find them.
Danielle Pientka
Tuesday 14th of January 2020
I'm so glad it was helpful! Enjoy!
Brenda
Saturday 11th of January 2020
Great tutorial! Thanks.
Danielle Pientka
Tuesday 14th of January 2020
Thanks for the kind words!