 |
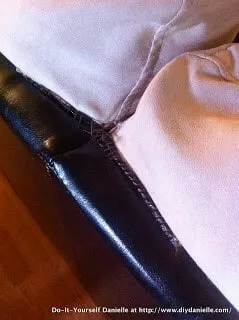
| Hand Sewn by Daddy B |
How to repair scratched leather.
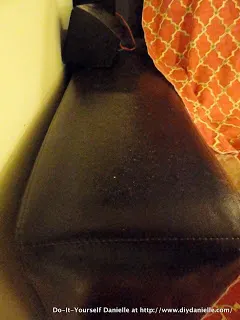
Our poor poor couch. I have been trying to convince Daddy B that we need a new couch because I am so tired of the microfiber. I’ve had it professionally steam cleaned a couple of times which is expensive and it seems like the next day it rains outside and the dogs break free before I can clean their paws when coming inside and I end up with very neat paw prints across the couch. Then I attempt to clean them off and I smudge it, leaving huge ugly spots all over the microfiber. Sound familiar? I can’t seem to get it cleaned correctly. Daddy B isn’t ready to give up on it yet- he actually hand sewed a couple areas where the leather and couch cushion were coming apart because he was that motivated to keep the couch. Hand sewed.
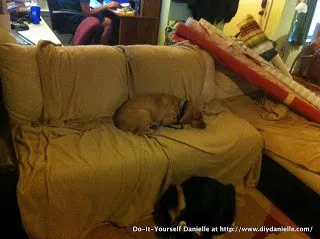 |
| Ew… not an ideal solution here… what a mess! You should see what we’re hiding under the blankets. |
On top of the ugly microfiber awfulness, my cats (who have since moved on to live with my mom) scratched up several areas of the couch and it looks really rough. The arms, back and sides of the couch are all leather, and unfortunately they preferred it to their scratching post. I have no desire to actually buy a new couch… I’m just so tired of this couch being an eyesore when I walk in the door. Fortunately, I have the internet here to save the day! Let’s see if we can repair this couch and get it looking almost like new. Better yet, let’s prevent this from happening again.
Step 1: Repairing the Leather
I searched for how to repair leather couches with scratches and found this tutorial from eHow. Reading the instructions, I decided to do this step first just in case I spill shoe polish. Weirder things have happened.
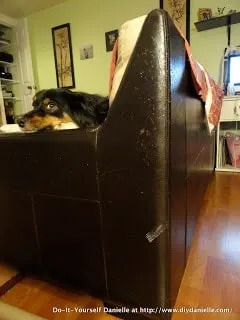 |
| “I swear it wasn’t me, not this time!” |
Please view the detailed eHow tutorial as I’m not listing all of the information, just adding my photos of the process.
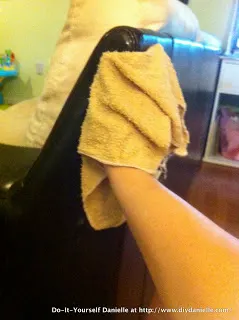 |
| Step 1: Clean Leather, Rinse, Let air dry. |
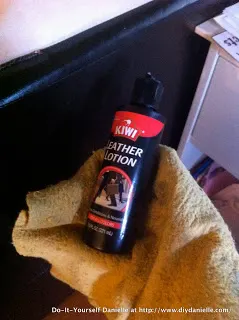 |
| Step 2: Apply Leather Condition, let sit. |
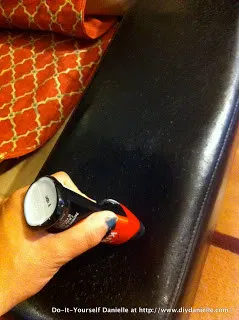 |
| Step 3: Apply Shoe Shine. I did it twice in hopes that it’d help even more. |
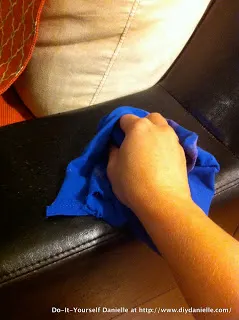 |
| Step 4: Buff with clean rag. |
It’s still not perfect, but I think it’s less obvious. I didn’t have high hopes that it would be a complete repair, but I guess I was still hoping! At least now though, I feel like it’s not a complete eyesore.
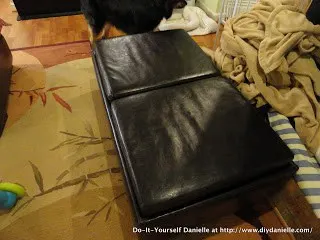 |
| I wish I’d had a “before” picture of this. It looks so much better. |
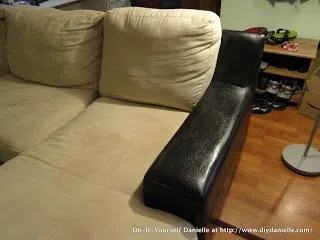
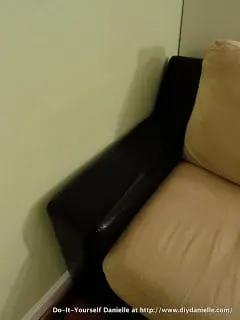
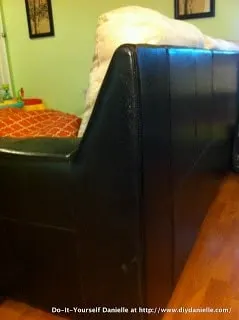
I went back through other websites to see if I could find other solutions. I may try the method of using a hot iron that you can see on this tutorial. I will update this post if it helps!
The Next Blog Post will be Part II, Cleaning Microfiber. I had to separate this blog post into three sections because it was a little photo heavy.

