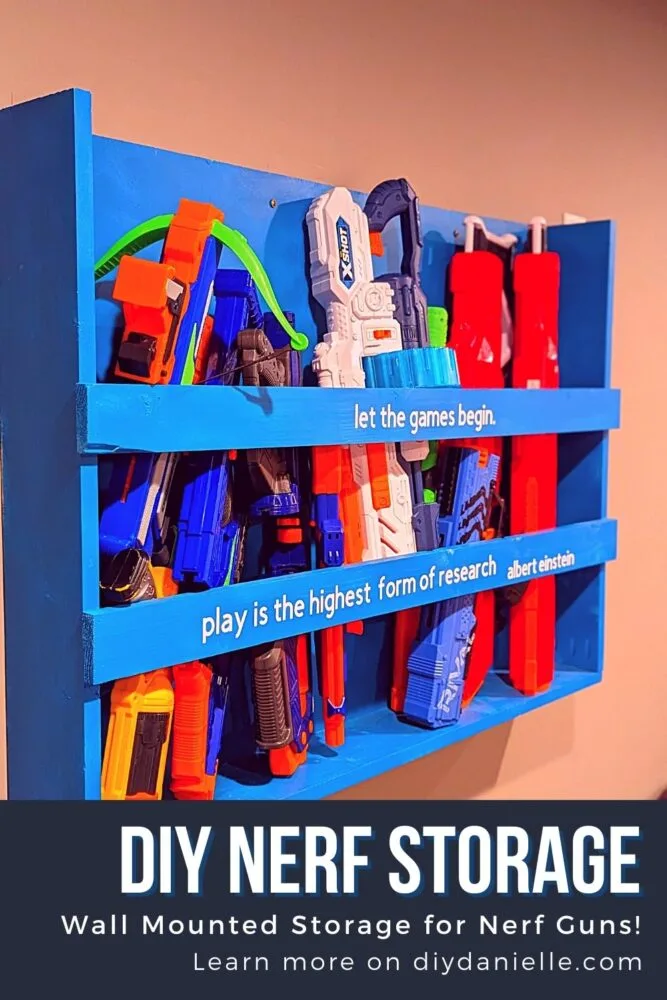
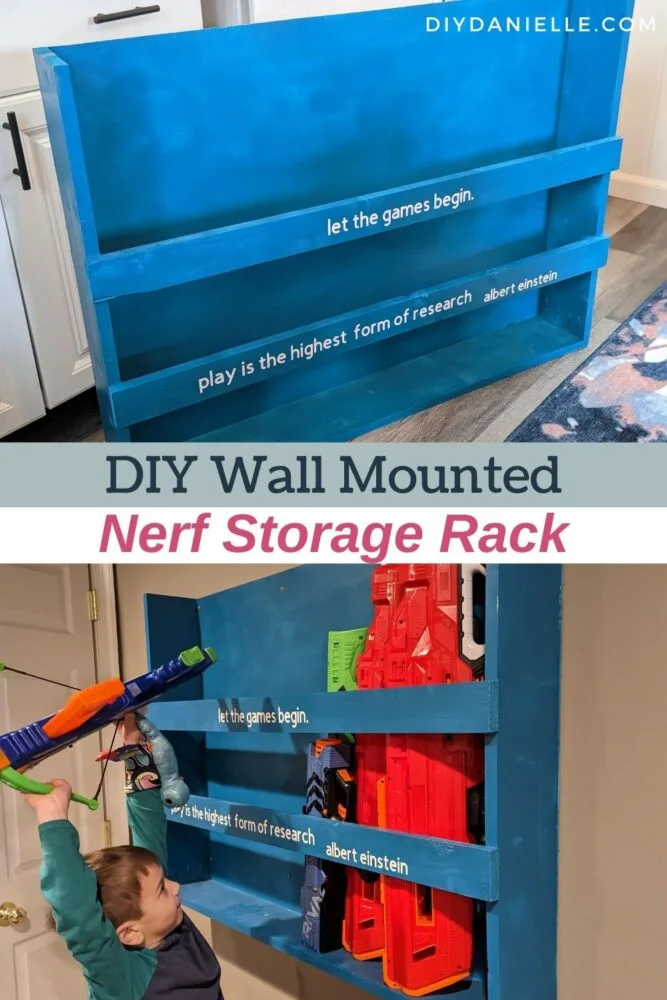
Learn how to build Nerf gun storage. This wall mounted shelf is perfect for getting Nerf guns organized and OFF THE FLOOR!
I AM SO TIRED OF NERF STUFF EVERYWHERE! Yeah I said it! I think my in-laws get my three boys Nerf guns EVERY holiday and they are overflowing the playroom. I find it really overwhelming. I have lots of storage options on the floor, but our basement playroom walls are pretty empty so I decided to make a Nerf gun storage rack that is WALL MOUNTED. This will get stuff off the floor and give the kids a place to put everything away.
I’m planning to make some bins for them to store Nerf bullets in too so keep an eye out for that!
This post may contain affiliate links which may earn me commissions should you click through them and take certain actions. As an affiliate for Amazon, Cricut, xTool, Home Depot, and other sites, I earn from qualifying purchases. Please DIY carefully. View my full legal disclosures here.
Please read the whole post so you don’t miss any important information!
How to Make a Wall Mounted Nerf Storage Rack
Supplies:
- 1/4″ Plywood: Cut to 30.75×42″
- 1×3 Board: Cut 2 pieces to 42″ long
- 1×6 Board: Cut (2) pieces to 30″ and (1) piece to 42″
- Kreg Jig Pocket Hole System
- Primer and Paint
- Wood Glue
- Ryobi Airstrike
Use the Discount Code DIYDANIELLE on cricut.com for 10% off any cutting machine or heatpress (no minimum). Excludes: materials/accessories/mystery boxes/etc. Applies to US/CA only, code expires 12/31/23.
Step 1: Cut your wood to the specifications above.
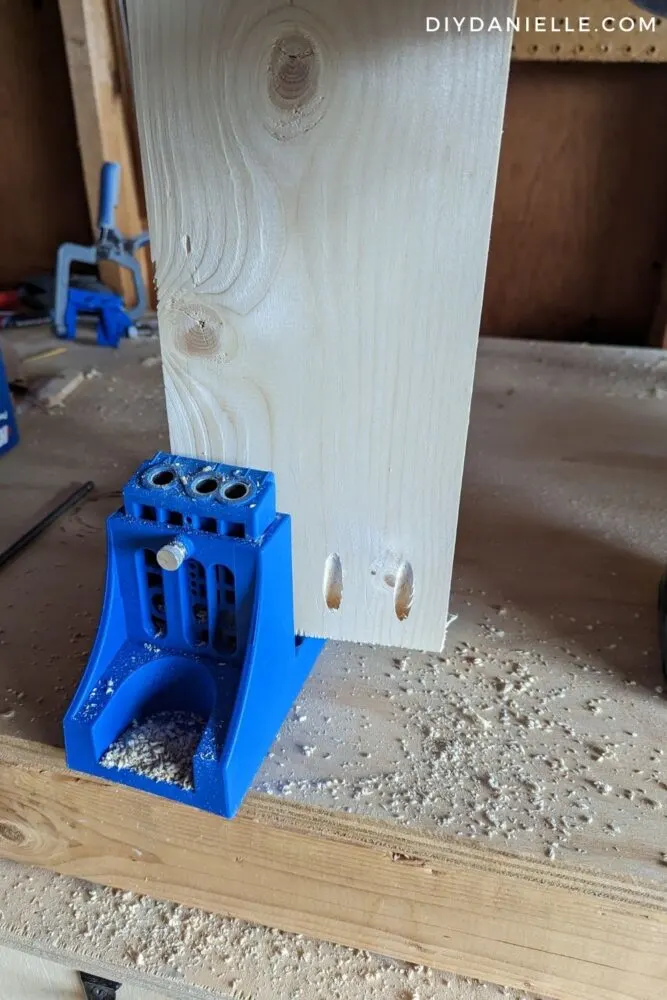
Step 2: Add pocket holes to the bottom of the two 30″ 1x6s.
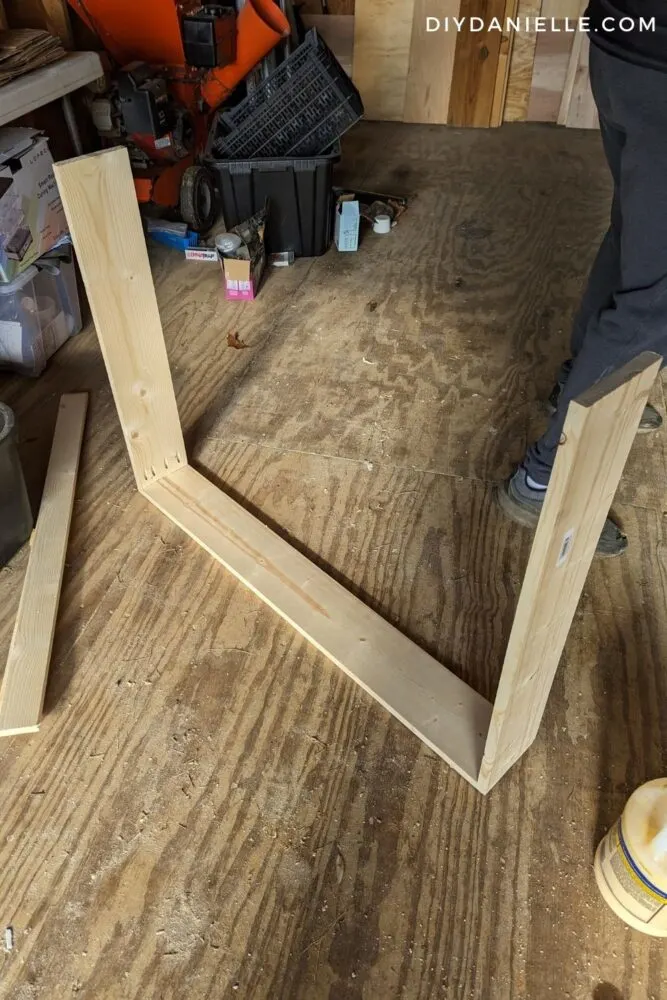
Step 3: Attach your 1x6s together using the pocket hole screws and also wood glue.
Wood glue adds stability! DO NOT SKIP IT.
Step 4: Attach the 1/4″ plywood to the back of your 1x6s with the Ryobi Airstrike and wood glue.
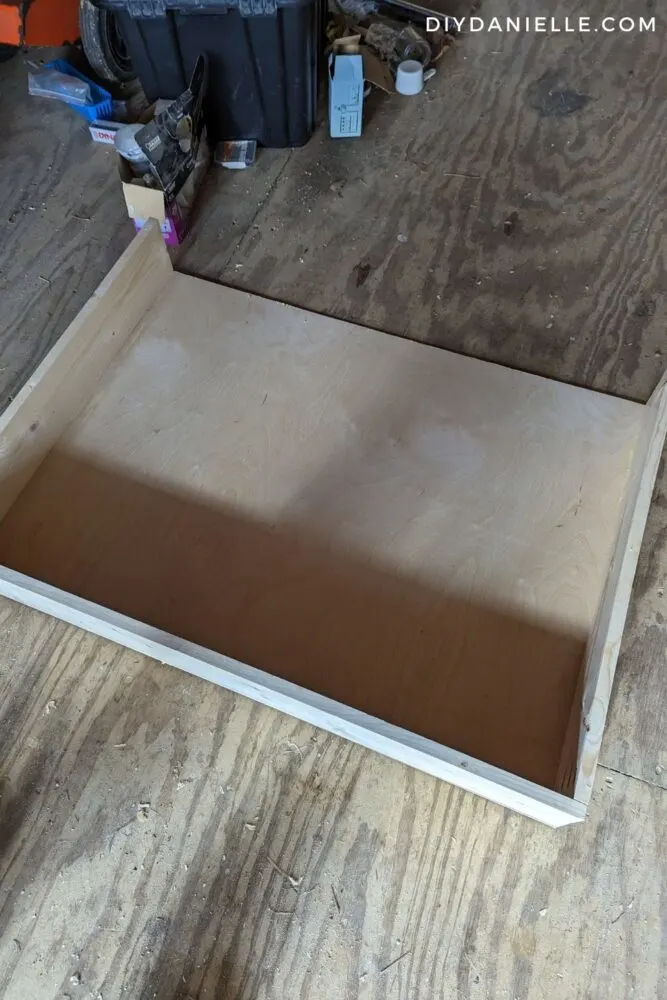
Step 5: Attach the 1x3s to the front of the storage shelf. You could add more than two boards if you prefer. I wanted to make sure that the bottom didn’t collect dust (+ Nerf bullets and dead spiders) like it might if I added a board to the front bottom. The positioning of my 1x3s was related to my personal preferences.
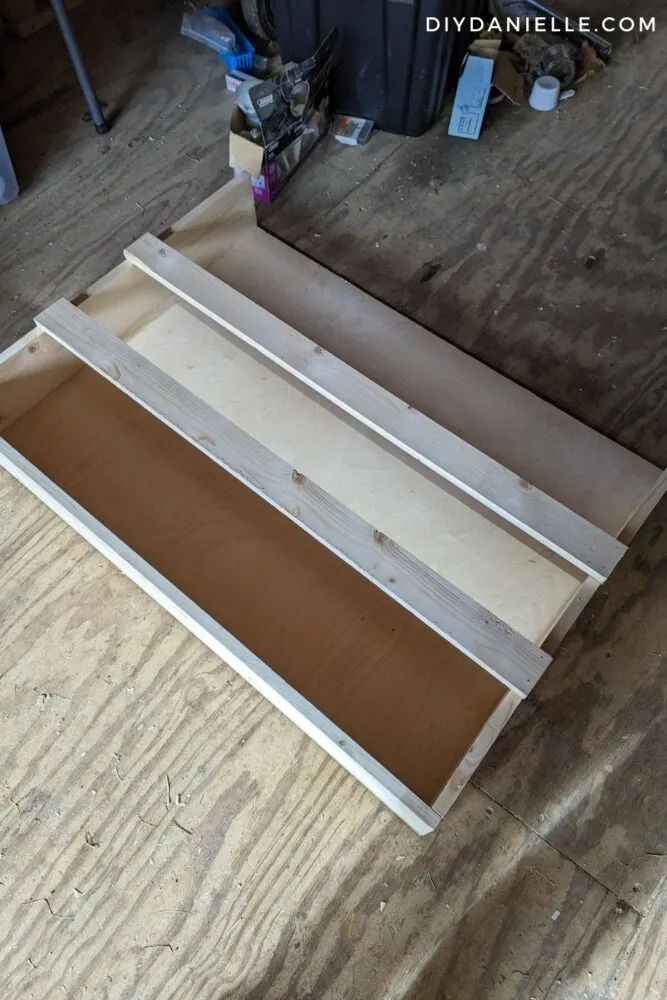
Step 6: Prime and paint your shelf.
Step 7: I added permanent vinyl to the front of my shelf. Here is a tutorial on how to apply permanent vinyl. This is totally optional, but feel free to get creative!
Step 8: Hang the shelf on STUDS using cabinet screws. You’ll need a stud finder and level.
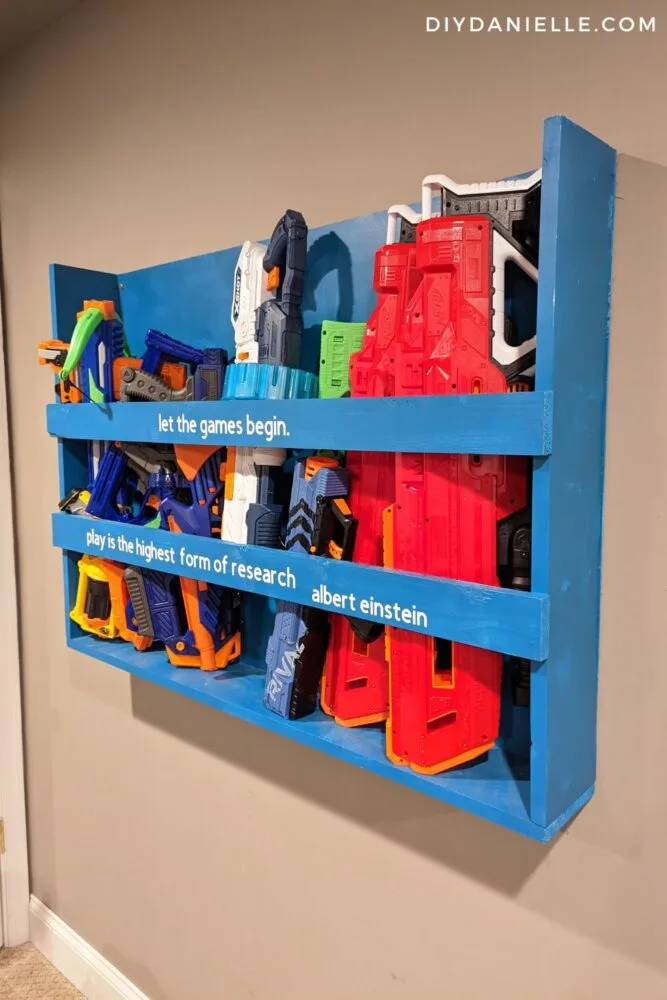
Here’s a quick video showing the process photos… not my typical long winded video because I wasn’t 100% this project would work out to my satisfaction. But I like how it came out (and I refuse to build a 2nd one).
Please share and pin this post!
