Skip to Content

Creating a Paint and Craft Station from a Lazy Susan

Sharing is caring!

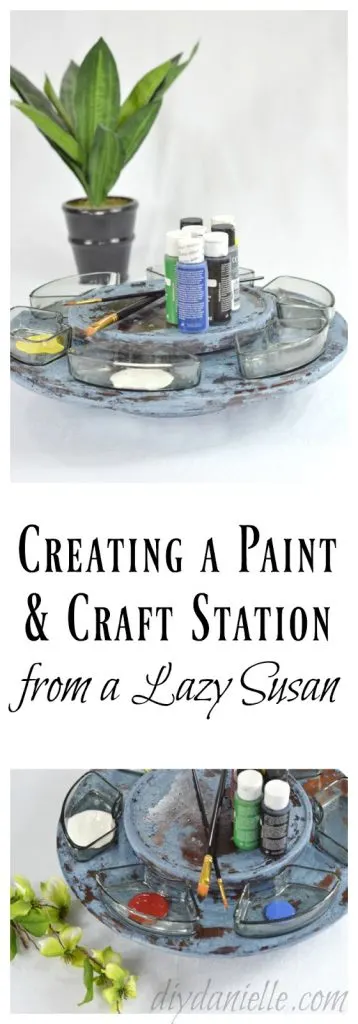
A very chippy lazy susan crafting and painting station.

How to update a thrift store Lazy Susan for use with painting and crafts. This project was completed with snow white and soldier blue Old Fashioned Milk Paint. 

This post is sponsored by The Old Fashioned Milk Paint Company. They provided the paint for this project. This post may also contain affiliate links. Using these links helps support my blog. Thank you!  

Ahhhhhh I needed a craft for this month’s Old Fashioned Milk Paint post. For some reason, I’ve been coming up blank. Everything I touch has died an ugly death recently… I mean… it’s not going well. You ever have those weeks? Usually I just put my sewing machine, hammer, etc away for a while and find a good book to read. Well I needed a post by the 31st and on the 26th, I was wandering Goodwill looking for inspiration.

I found this.
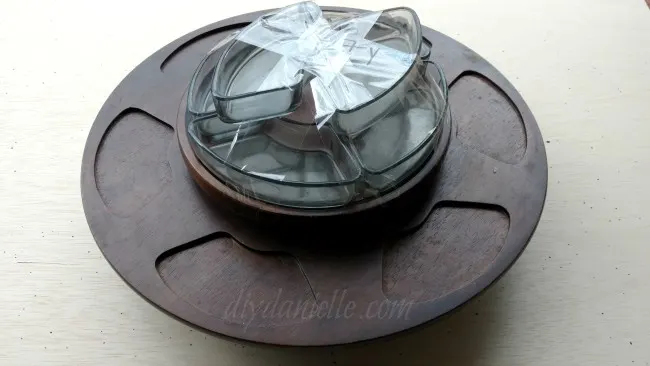
Before Pictures: Lazy Susan from the thrift store

The turning mechanism worked perfectly and the glass containers weren’t damaged at all. I left the glass to wash, and decided to paint the wood.  My initial thought was that I’d use this for food, but I just struggled to think when I would use it.

Then I remembered the paint party that I’m hosting in a week! This would be PERFECT for holding paint.

… I know, it would also be perfect for holding food at the party. BUT PAINT! It’s nice to have a rotating item like this for everyone to share the colors at a table. I think it’d also be perfect for crafts with small items like beads or gems. I like the glass containers because they’re easy to clean out.

Supplies Supplies listed below may include affiliate links to the products.

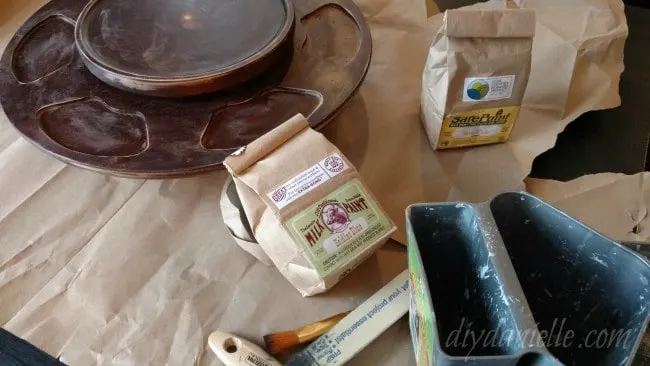
  • Old Fashioned Milk Paint: Soldier Blue and Snow White
  • Sander or sand paper
  • Polyurethane
  • Wet paper towel
  • Paint brushes and a container to mix paint in
  • Felt for bottom and hot glue gun

Tutorial
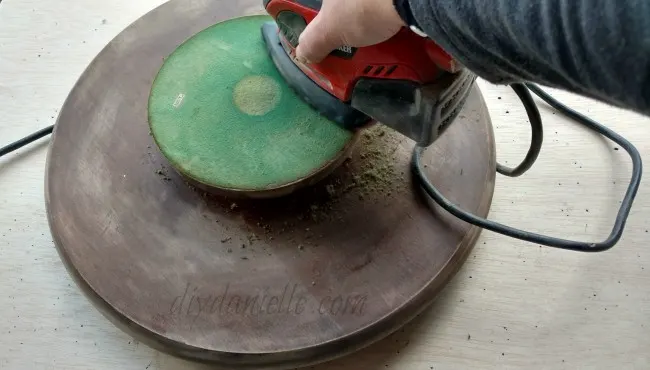
This actually turned out a lot different than I imagined. I’m going to tell you how I did it, but this probably isn’t ideal. I messed up a LOT. In fact, I nearly scrapped the project and sanded it down again. 
I started by sanding my piece. I recommend doing a better job than I did. A lot of the chippy look I got is because I didn’t sand it well enough. I also sanded the weird fabric piece on the bottom down… I wasn’t sure I could get it off and I want to put a new piece of felt on it. Once sanded, I wiped away all of the dust.
Sanding a thrift store lazy susan.
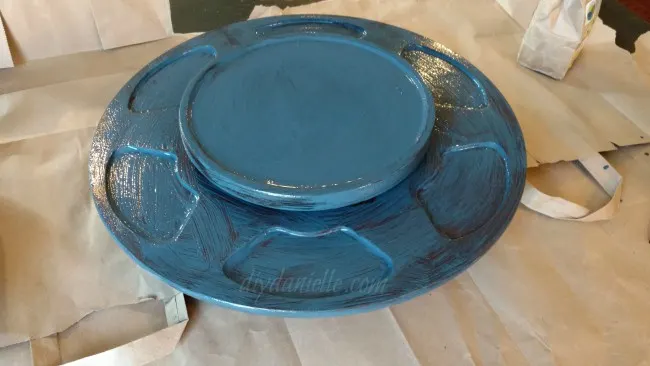
I mixed up my blue OFMP and painted it onto the bottom of the lazy susan. I did NOT paint where the felt is. This allowed me to flip it and paint the top of the lazy susan immediately. Very convenient as I was trying to be speedy.
Lazy Susan Paint & Craft Station Supplies
One coat of Soldier Blue Old Fashioned Milk Paint
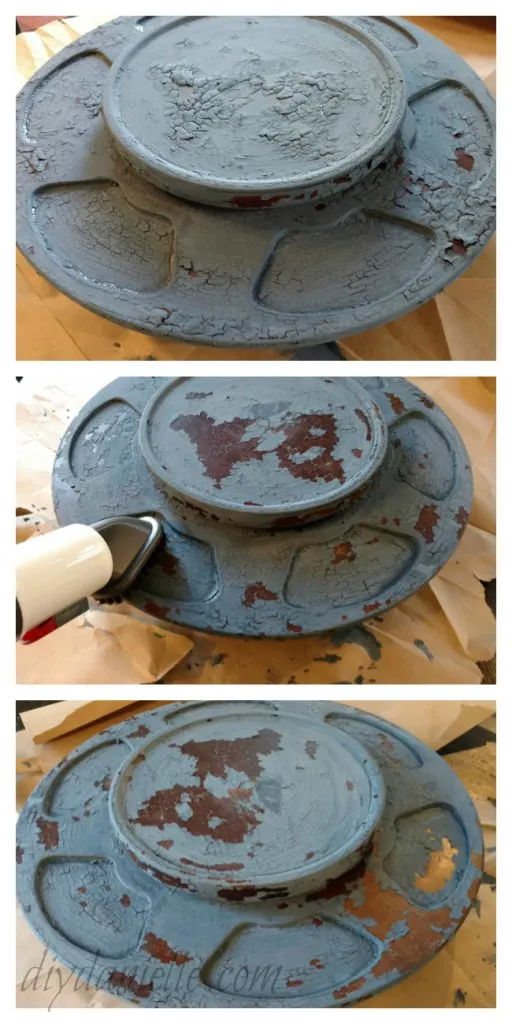
Now I decided to whip out my hair dryer and dry the lazy susan to speed up the process. Well… it worked-ish. I think this also contributed to the paint chipping. I dried a layer, painted over it, dried a layer, painted over it. There were three layers of blue. Once that dried, it was pretty chippy. I used the brush on my vacuum to vacuum up all of the loose paint chips. 
That top picture… really… I thought I was done for. Look how bad it looks!
Vacuum to remove chipped paint.

Next, I took some white OFMP to go over the top. I wanted a white wash look so I used more water in the mix than normal, and also wiped the piece down with a wet paper towel. This worked *fairly* well. It also made it chip more. 
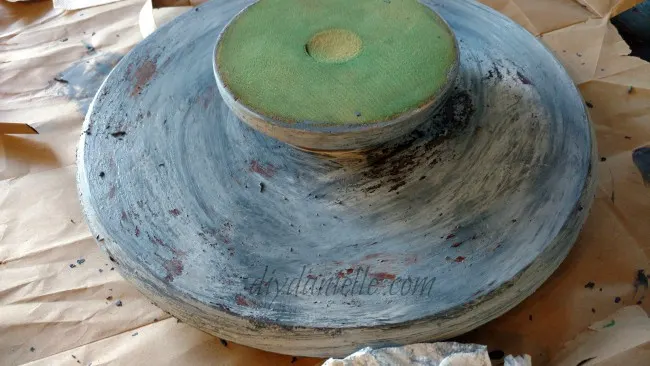
White Old Fashioned Milk Paint over the Blue

Let dry. Repeat process to clean up with the vacuum.

Use something to seal your piece. I used two or three layers of polyurethane. 
Cut a piece of felt for the bottom and adhere using a hot glue gun. 
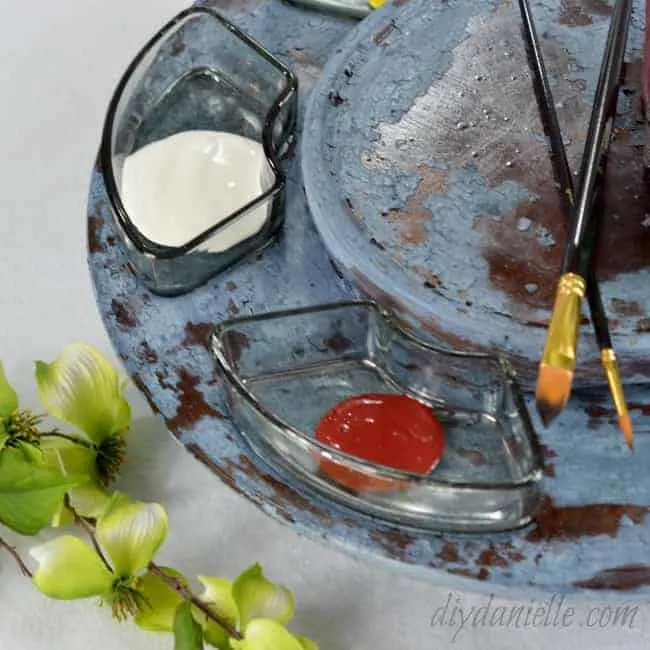
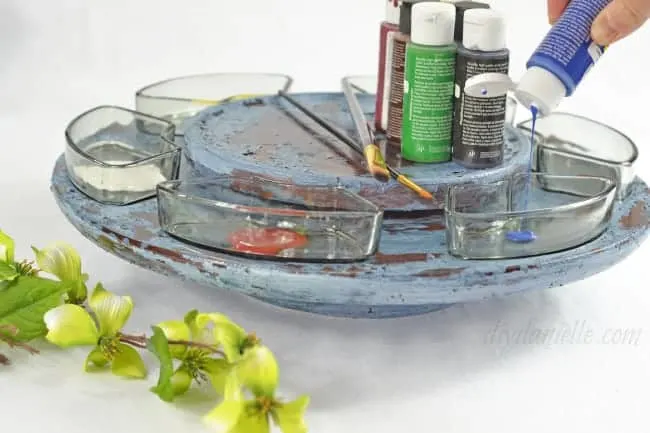
Pouring paint into the individual containers for the lazy susan.
Thrift store lazy susan, painted with Old Fashioned Milk Paint and left chippy.

Love it? Pin it!

DIY Lazy Susan Craft Station

More from the Organization Series:

Thanks for taking the time to read this post! I really appreciate the time you’ve taken. Please share, like, and pin my post if you enjoyed it. Follow me on social media and subscribe to my email list to keep up to date on all of my latest projects!
Thanks for Reading! -DIYDanielle
Disclosure of Material Connection: This is a “sponsored post.” The company who sponsored it compensated me with painting products to write it. Regardless, I only recommend products or services I use personally and believe will be good for my readers. I am disclosing this in accordance with the Federal Trade Commission’s 16 CFR, Part 255: “Guides Concerning the Use of Endorsements and Testimonials in Advertising.”

Sharing is caring!