 I’ve seen a lot of people showing off the ice dyeing so I had to try it. I ordered the kit below from Amazon and got started on some old teeshirts of my husbands. They were white everywhere but the armpits so I wanted to upcycle them into pajamas for the boys… But obviously plain white is a bit boring.
 |
| I diy’ed a mask, lol. |
Here is a link to the tutorial I used on how to ice dye. It’s very easy, but I’ll mention that I agree that this is best done outside. I felt pretty woozy afterwards despite the ninja scarf I made myself out of fabric. If you’ve got snow outside, you can actually use that instead of ice if you want. I used some cubed ice and some shaved ice… I emptied my entire freezer container doing this so be prepared. You need to cover the entire piece of fabric you’re dyeing.
The dyes for the kit were each half used after I dyed these eight white teeshirts, but I still had plenty of the soda ash left. Note that I’ve also heard you can substitute washing soda for the soda ash. I might try that next time.
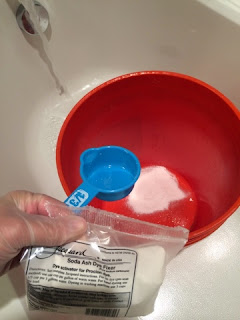
- I used a big 5 gallon bucket, 1/3 cup of the ash, and about 3 gallons of water to soak shirts in first. Still had lots of ash left.
- For those shirts, I felt like I used quite a bit of the dye. I’m not positive though because the dye isn’t a full container when you open it (typical “room for air”, they were as full as I would’ve expected).
- Use a mask and preferably do this outside. I used a mask but still felt a bit lightheaded, even though I couldn’t smell anything. Maybe I was just overtired or maybe it was the powder/dyes.
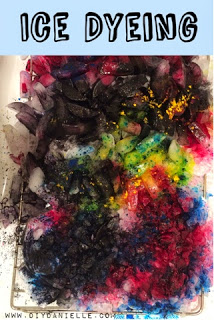
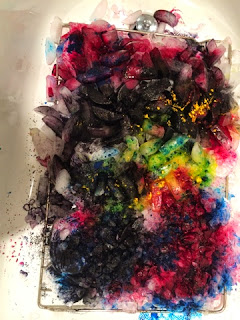
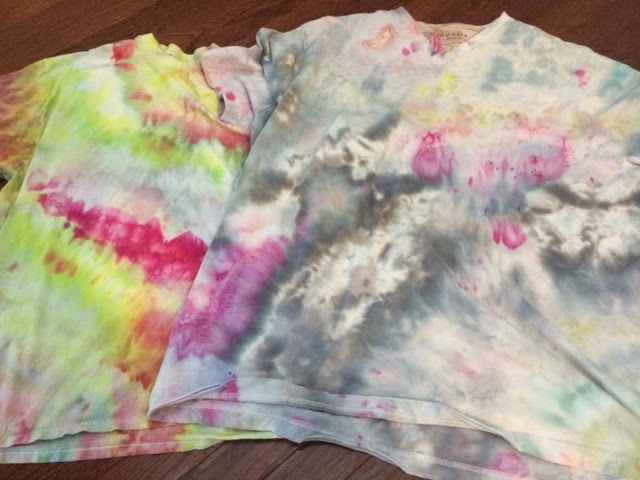
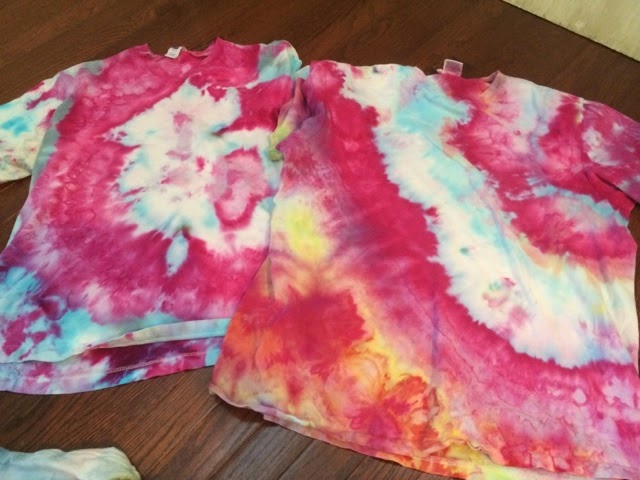
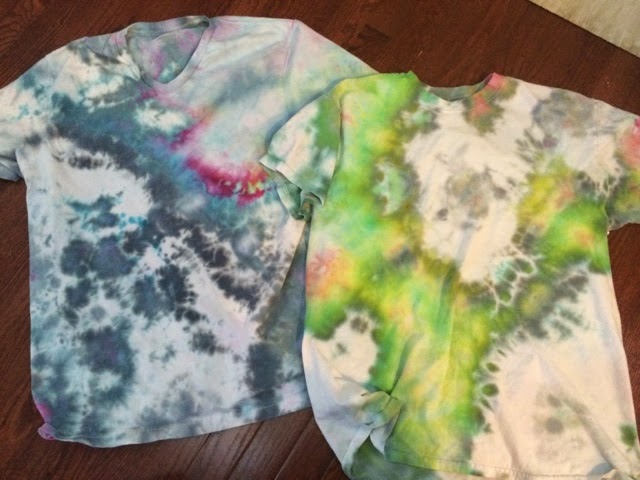
- I assume you can do regular dyeing with this, but I was trying to do ice dyeing… basically you put down fabric, then cover with ice, then put dye on top of that. Because the ice all melts at a bit different rate, you’ll get interesting colors and patterns. I’m excited. I actually mixed regular ice cubes with shredded ice too. You’ll use a LOT of ice for this… if you don’t have an ice maker in your fridge then you’ll want to buy bags of ice. I used ALL the ice in my freezer bin (ice maker) and still wish I’d had more. Next time I’ll probably empty the ice bin into a bucket and put in our big freezer, wait for it to make more, then use both bins worth.
- I’m looking forward to snow season because I’ll probably retry this with snow instead of ice.
- I let it sit for 24 hours. I think it might be better to be left on longer, but I’m not positive. Make sure you use enough dye.
- I did this in my bath tub, but it dyed a bit of the bathtub in the areas that were right under the tray I had them on. I recommend putting something down… I knew better before I did this, but did it anyways. Next time, I’ll put something down first.


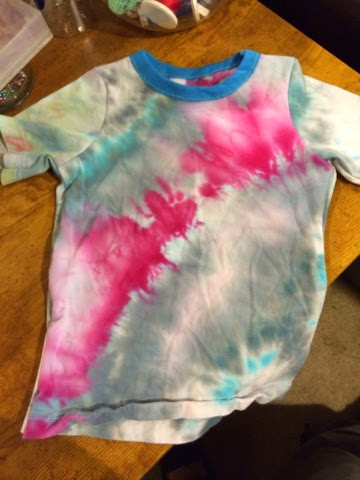
And here’s a teeshirt that I made for my 4T son out of these upcycled shirts. I bought the blue ribbing to add to the shirt, but otherwise the whole shirt is upcycled. Cool huh?! Now I just need to make him some pants to go with it for pajamas.