
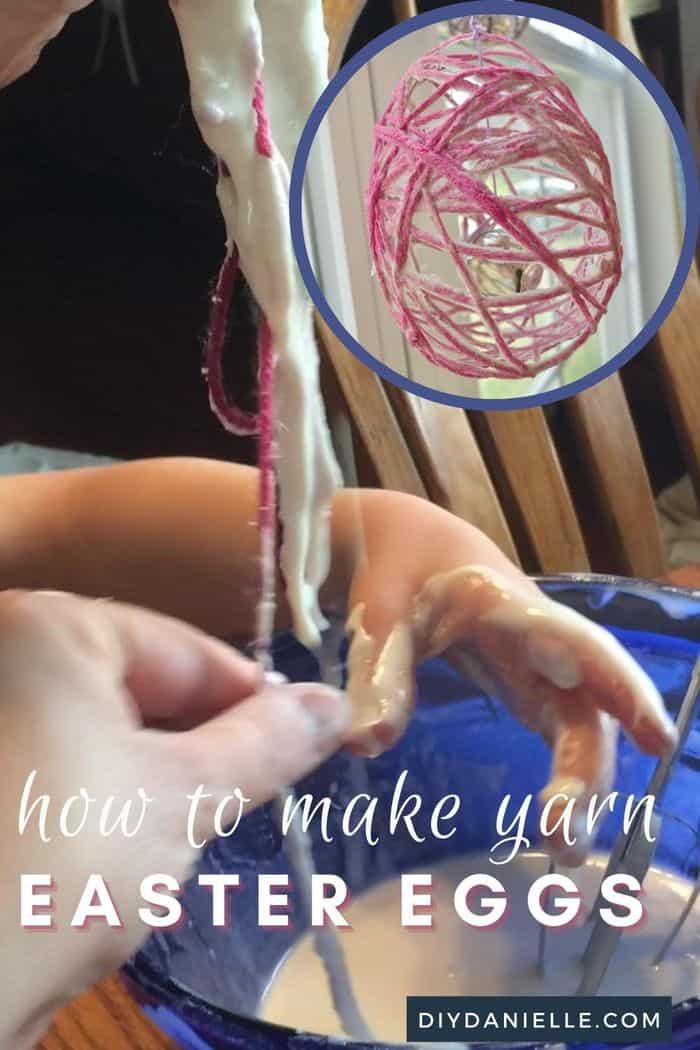
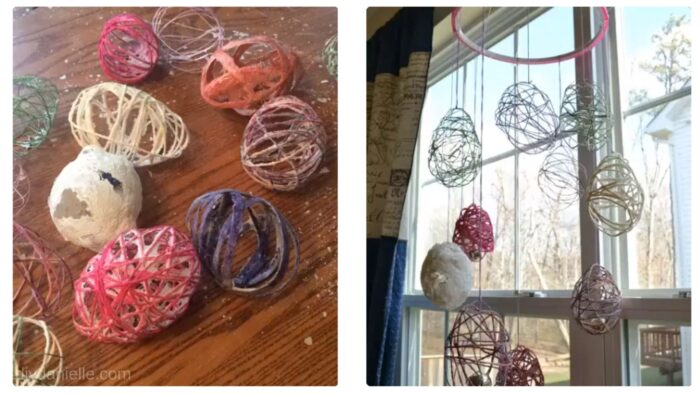
This easy Easter craft is fun for kids. Learn how to make Easter Egg wind chimes with balloons and paper mache.
I wanted to make an Easter egg project with the kids and saw all of these fantastic ideas for making paper mache eggs on Pinterest. Digging through my craft room, I found some bells and an extra embroidery hoop so I decided to make Easter egg wind chime. These look fantastic hanging in our front entry.
Making them was easier than trying to hang them. Here’s how to make your own.

This post may contain affiliate links which may earn me commissions should you click through them and take certain actions. As an affiliate for Amazon, Cricut, xTool, Home Depot, and other sites, I earn from qualifying purchases. Please DIY carefully. View my full legal disclosures here.
The majority of my content is generated by me, as are 99% of the photos and videos, but I utilize technology for titles, descriptions, video editing out all of my ums, and occasionally for text overlay on images.
Please read the whole post so you don’t miss any important information!
How to Make Easter Egg Wind Chimes
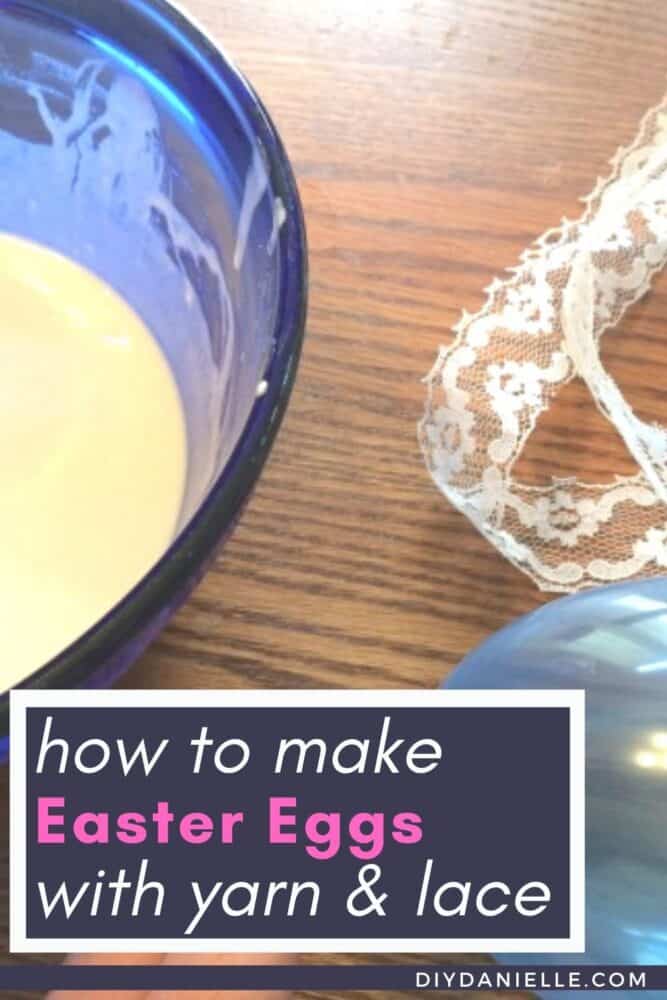
These chimes are really easy. You create a paper mache type solution and dunk your yarn into it to help create the egg shape; once it dries, you have solid eggs. Just don’t get them wet!
Supplies
- Flour and water: 50/50 mix. Or mod podge.
- Balloons
- Bells
- Embroidery thread, yarn, or/and lace
- Embroidery hoop
Step 1: Combine flour and water (1:1 ratio) to make a paper mache paste.
Step 2: Blow up some balloons part way. You want more of an oval than a big circle.
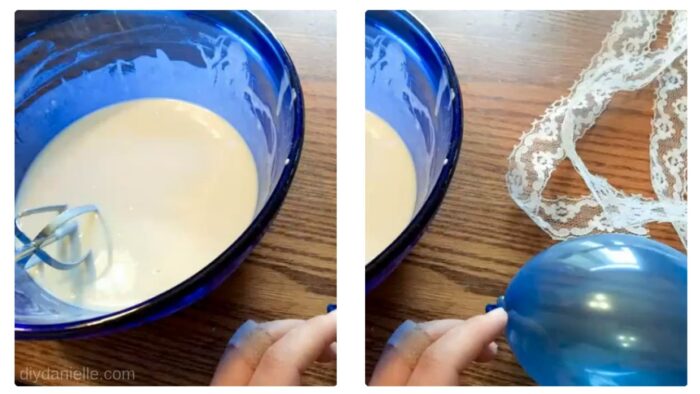
Step 3: Cut some long pieces of string. The more string, the more of a solid “egg” you will have. Cut less if you want gaps between the strings. You can use yarn, lace, embroidery thread, or string… I found yarn and embroidery thread worked best. My lace was too wide but a thinner lace might work. Fabric was eh and wool roving was disastrous.
Step 4: Dip your yarn in your paper mache mix, making sure that it is thoroughly covered.
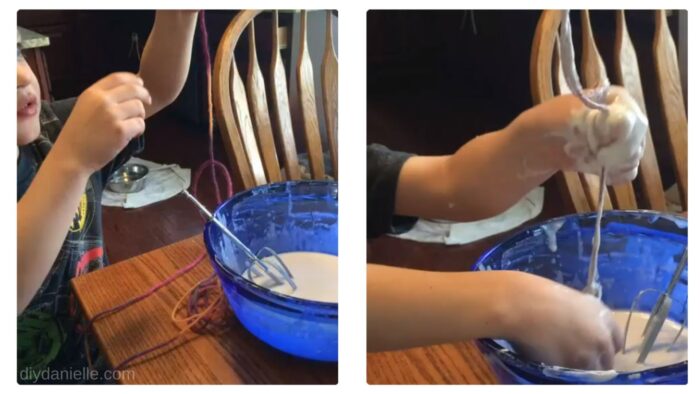
Step 5: Pull the yarn up, scraping off any excess glue. You want the glue to be soaked in but not dripping.
Step 6: Wrap the yarn around your balloon, adding more yarn if you want fewer gaps between the pieces. We left a lot of space.
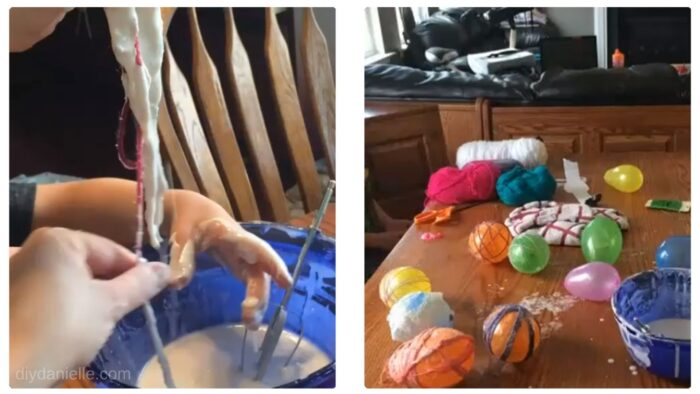
Step 7: Let dry. I gave them about 24 hours, making sure to flip them over every now and then so all sides could dry. Once dry you can pop the balloon and dispose of it.
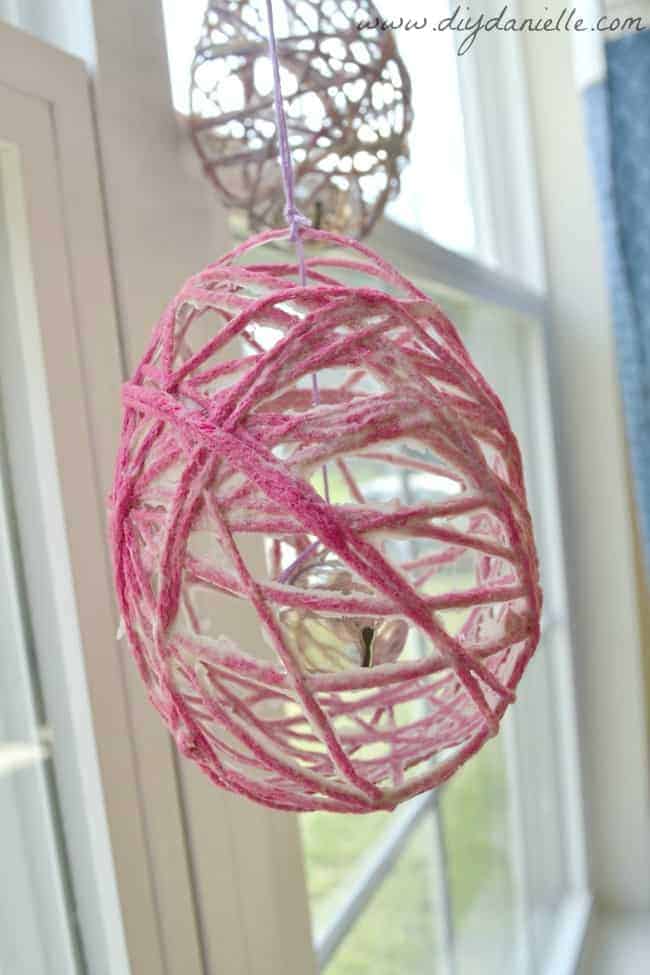
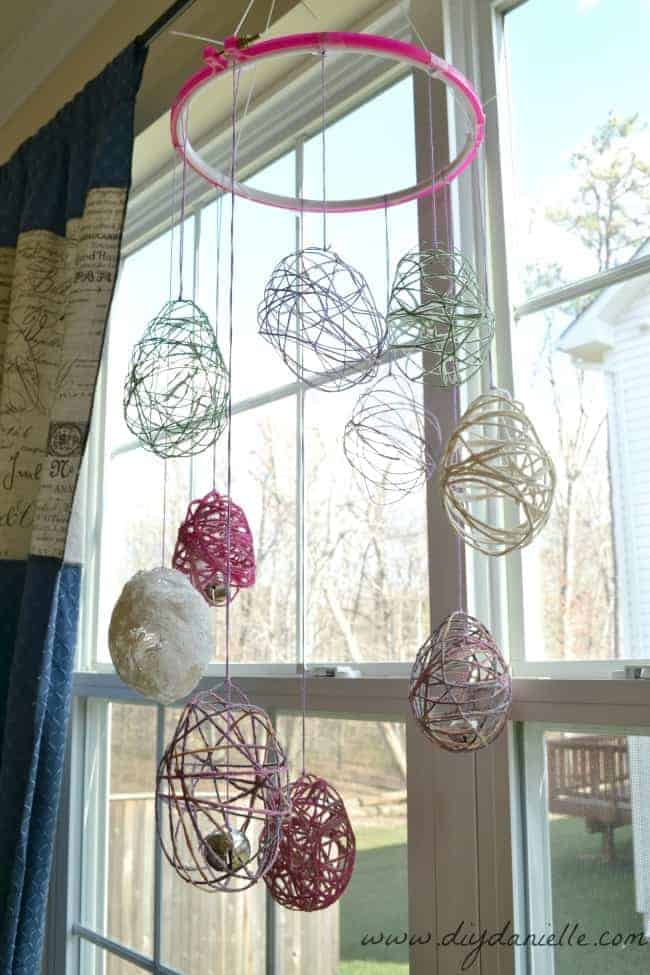
Step 8: Tie each egg with embroidery thread hanging from a pink embroidery hoop. I also added small bells (hanging from embroidery thread) to the inside of some of the “eggs.”
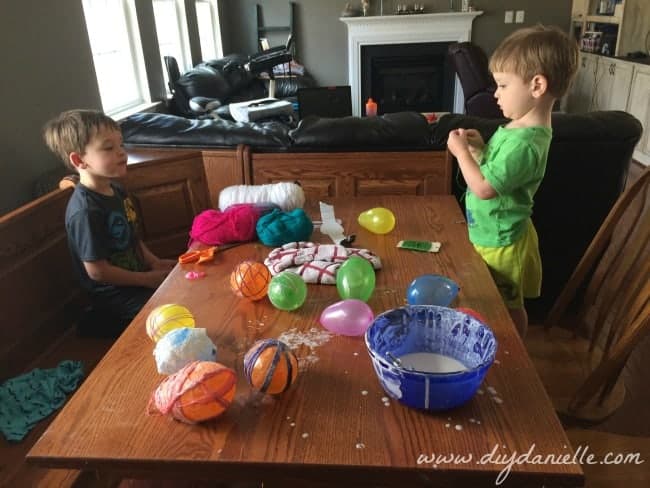
I should mention that I had really fun plans to involve my children in making these. My 4 year old put his hands inside and IMMEDIATELY bailed on me because it was gross. My 2 year old wouldn’t even try. Instead they handed me yarn as I needed it. Ah well. They did LOVE popping the balloons though!
Here’s a video of the process.
Please share and pin this post! You can also post your project and tag the DIYDanielle team on Instagram @doityourselfdanielle!
Oh, I love these! The kids would really like to help make them.
You're so creative!
These are so fun!