How to Fix a Ripped Trampoline Net
This post may contain affiliate links. Using these links helps support my blog. Thank you!
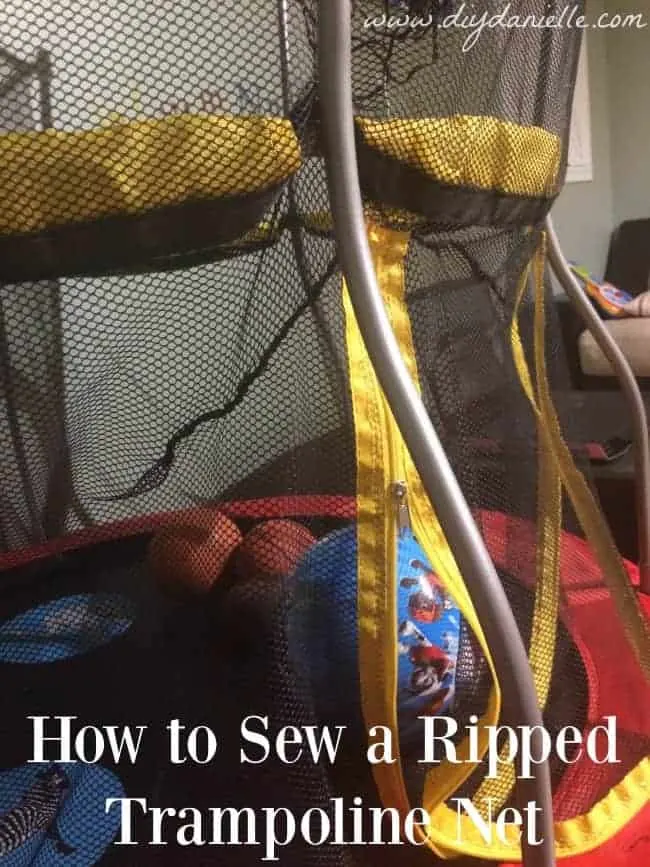
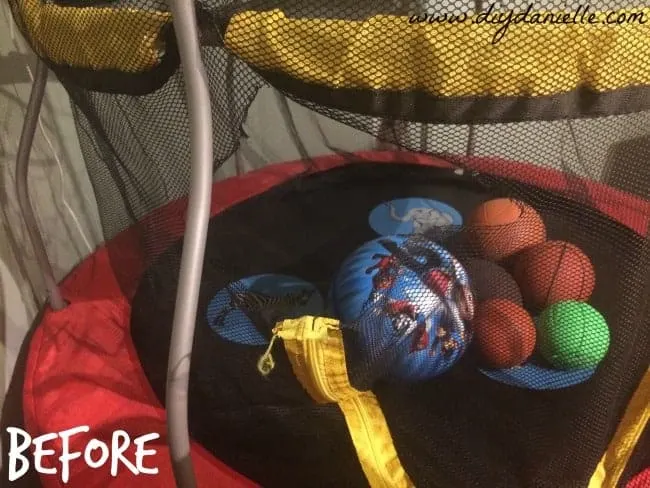
We have an indoor trampoline for the boys and we LOVE it for the winter when they can’t get their wiggles out as much outdoors. Within a year, however, we started to get a rip near the top of the zipper on one side. Looking at my friend’s similar trampoline, I noticed that she has had the same problem. Except I let mine go and now I have a giant rip because when toddlers see a rip, they like to stick their hands in it and see it get bigger and bigger. Oooo magic. Seeing I sew, it was sort of ridiculous that I let this go, but I finally got it together and repaired it recently.
If you own one of these and it hasn’t ripped, it may be worth sewing the area near the zipper just to reinforce it so it won’t rip.
Supplies
- Needle
- Black Thread
Tutorial
First, you want to thread your needle. I double threaded mine (cut thread for double the length that you want, pull thread through eye of needle and tie a knot where the thread ends meet).
Now you want to find one end of your rip. Draw your needle through the mesh of the bottom of the tear and then above the tear. Tie a knot.
Now you’ll draw your needle through one of the complete circles above and then below of the rip… this draws the fabrics together and pulls rip closed. Pull your needle and thread through the loop that you create. This should make a strong knot. Continue along your rip. Do the stitch frequently. Once you get to the end, you can make another knot (or three), then cut your remaining thread. Because my rip was so large, I actually had to keep rethreading my needle with more thread.
Don’t be like Danielle. Fix your rip sooner rather than later.
If you don’t have a needle, you could always just use embroidery thread and tie individual knots every .5″ or so, but that would be more time consuming if you have a rip like I did.
Hope this helps!


