

Need to remove a countertop to replace a vanity or to replace it with something new? Here’s how. It’s easy and DIY friendly.
When we were working on our small bathroom renovation, I knew I wanted to update the countertop. It was that old 1990s laminate, and a bit off white. Why was off white ever popular?! It looks dirty ALL THE TIME. I debated painting the countertop, but the paint I saw recommended is apparently highly toxic and you need good ventilation. The room does NOT have good ventilation. I could have pulled it off to paint outside, but I opted to replace the countertop.
The main reason for replacing it vs. painting, beyond the fumes, was that we wanted to add a tall shelf for storage in the bathroom. We converted the long vanity with makeup station (something my three boys will never use) to a small vanity with a tall shelf for storage. It’s much better.
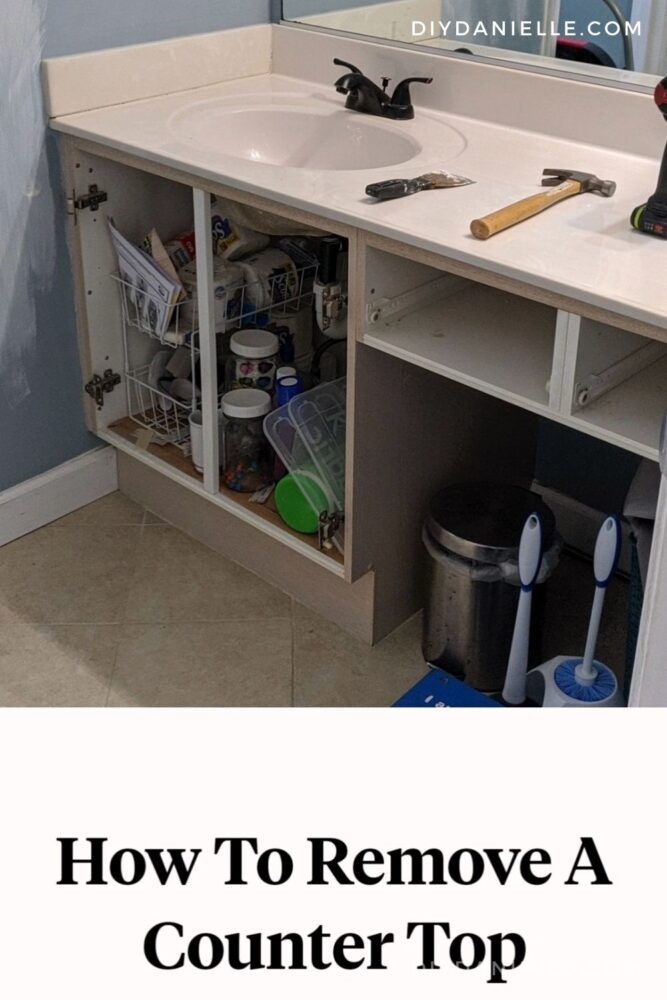
This is the before picture:
How to Remove a Countertop
Supplies:
Tutorial:
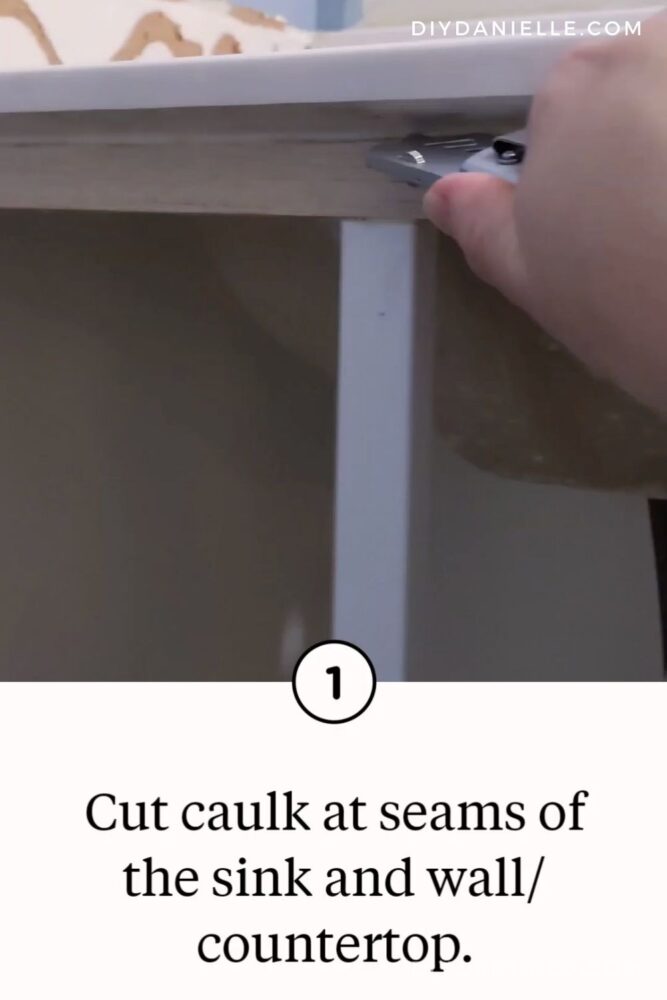
Step 1: Cut caulk at seams of the sink and wall/countertop.
Caulk pretty much acts as glue to hold the countertop in place. The caulk also provides a moisture-proof barrier so water droplets can’t drip down your walls and behind your cabinet. By cutting the caulking, this helps you remove it more easily.
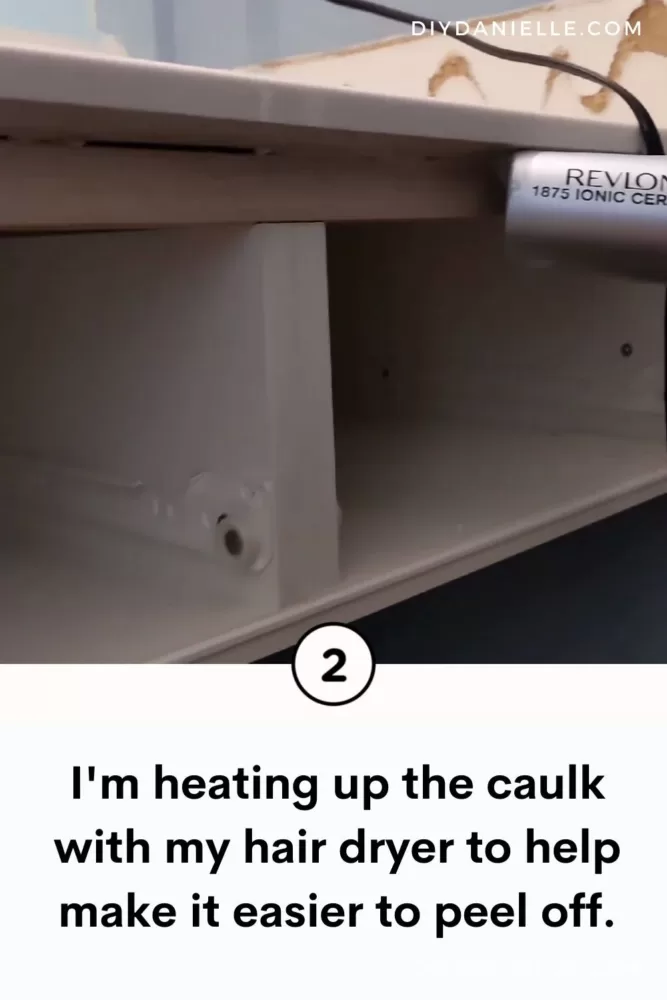
Step 2: Some people use something called Caulk Softener to help make removing the caulk a little easier. I used a hair dryer on hot. The heat helps release adhesive so I figured it would help to make it peel off easier.
Step 3: Peel off the caulk.
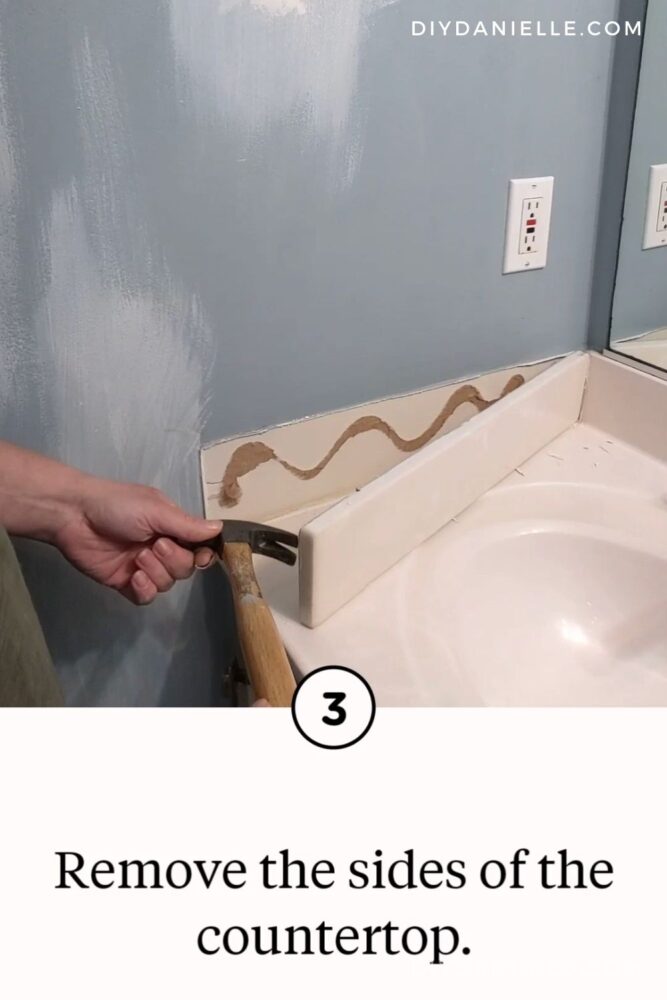
Step 4: Remove the small backsplash sides of the countertop. These go on separately so they’ll need to come off separately.
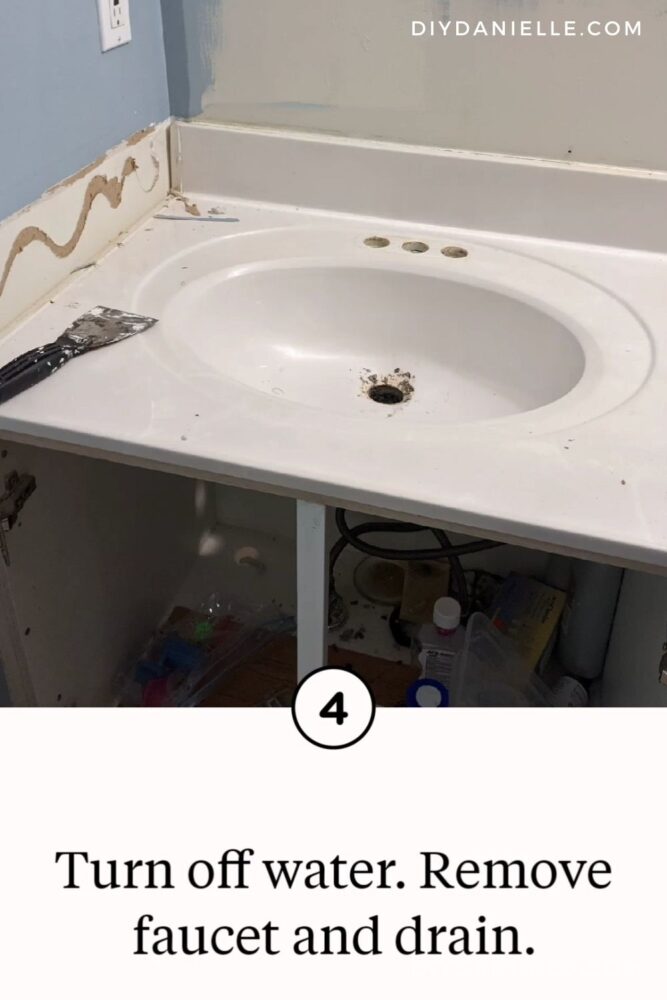
Step 5: Turn off water. Remove faucet and drain. Not a plumber so not going into that piece.
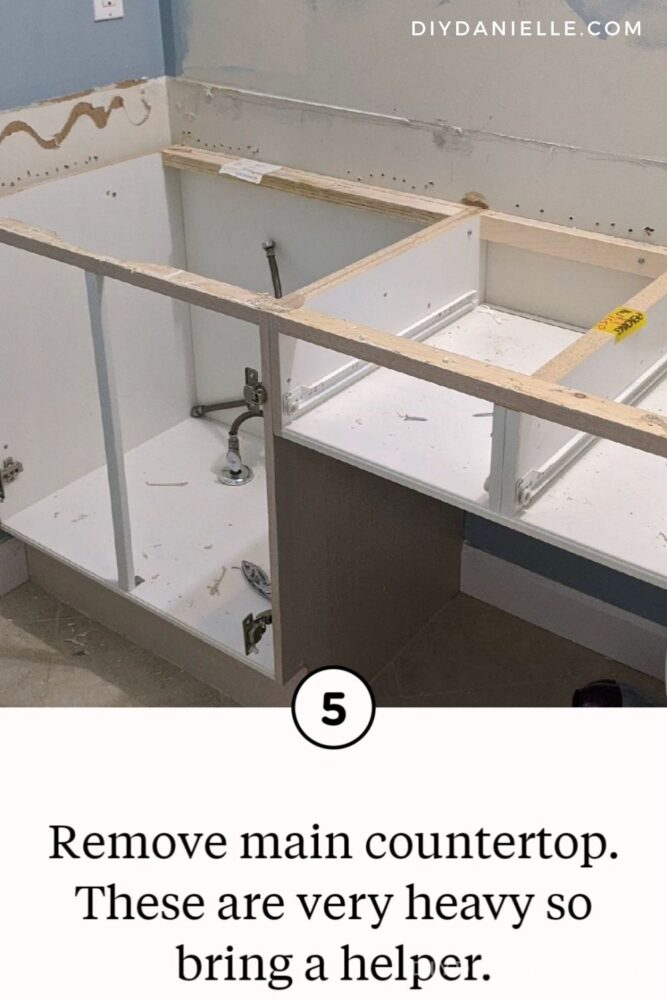
Step 6: Remove main countertop. These are very heavy so bring a helper.
We managed to get ours off with almost no damage and we put it up on Marketplace for free. Someone came to get it! I love keeping stuff out of the landfill.
Once we finished this, we removed the section on the right with the two drawers. I painted the main cabinet, added a new countertop, and then built a shelf to go on the right. This gave us a lot more storage space. You can also install a pull out shelf inside the cabinet to make accessing items easier.
Please share and pin this post! You can also post your project and tag the DIYDanielle team on Instagram @doityourselfdanielle!