Learn how to grow mushrooms indoors using North Spore’s Boomr Bin and fruit blocks. Step-by-step setup, sanitization tips, and an honest review!
I am obsessed with mushrooms. Each type of mushroom is a bit different- just like different vegetables- but they can improve brain health, offer immune system support, help with heart health, and more.
I’m particular about food so when I find something that I’ll eat AND that’s healthy for me, I try to eat the food as much as possible.
But it’s HARD to find a good variety of fresh mushrooms at the grocery store. Some mushrooms are difficult to store and transport so we will rarely, if ever, see them available commercially. Farmers markets are often a good place to buy, but mushrooms really are an ideal food to grow at home.
They grow fast and most are relatively easy to grow, particularly with the automated Boomr Bin.
Many thanks to North Spore for providing the supplies for this post!
This post may contain affiliate links which may earn me commissions should you click through them and take certain actions. As an affiliate for Amazon, Cricut, xTool, Home Depot, and other sites, I earn from qualifying purchases. Please DIY carefully. View my full legal disclosures here.
The majority of my content is generated by me, as are 99% of the photos and videos, but I utilize technology for titles, descriptions, video editing out all of my ums, and occasionally for text overlay on images.
Please read the whole post so you don’t miss any important information!
Products Featured
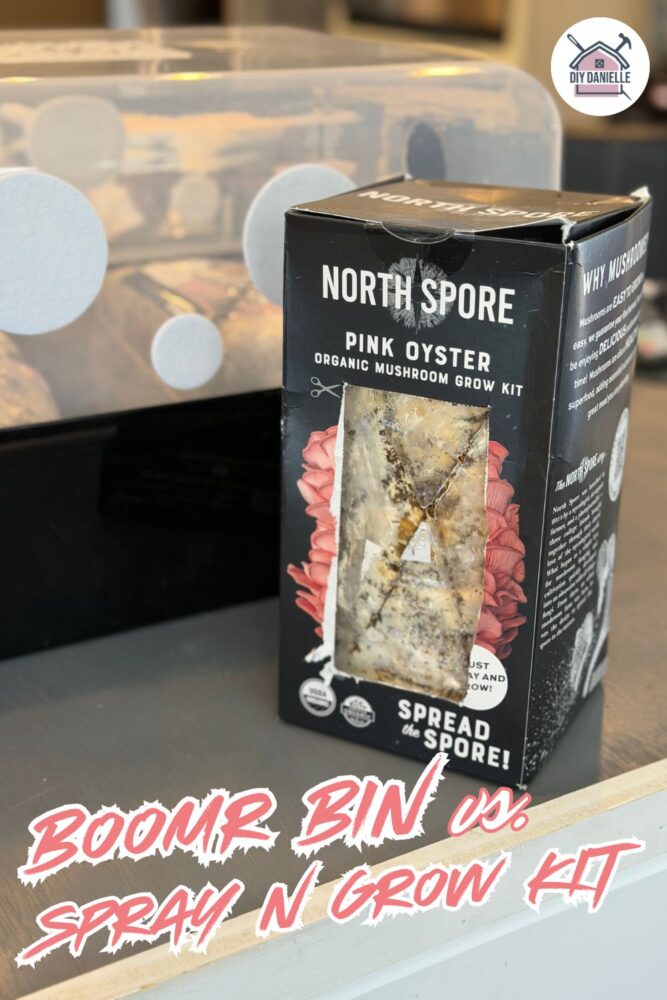
- Organic Pink Oyster ‘Spray & Grow’ Mushroom Growing Kit: https://northspore.sjv.io/L0K3Ga
- Automated ‘Boomr Bin’ + Fruiting Blocks Monotub Mushroom Grow Kit: https://northspore.sjv.io/m4OJ0O
- Isopropyl Alcohol, 70% (the regular stuff you can buy at the grocery store or pharmacy)
- Nitrile Gloves: https://amzn.to/4bw6H6D
Once you go to buy new fruiting blocks, I like the price and freedom of the 4-pack the best. You can pick which four blocks you’d like to try, alternating depending on your needs.
I ordered Lions Mane and Pink Oyster again, but I’m also trying Reishi and Italian Oyster.
Fruiting Block Bundle Builder, Choose Four Kit: https://northspore.sjv.io/n4XJxa
Growing Mushrooms: Indoors vs. Outdoors
I delved into outdoor growing a bit a few years ago. I normally prefer growing fruits and vegetables outdoors because the weather does my watering for me, but mushrooms are something that I found easier to grow indoors initially.
It’s nice to be able to control the humidity, heat, and light in order to get a good yield as quickly as possible.
The way I see it (I’m sure some will disagree):
- Outdoor gardening = easy mode
- Indoor gardening = hard mode
- Outdoor mushroom growing = hard mode
- Indoor mushroom growing = easy mode
Of course, mushrooms grow in the woods all the time and a well educated forager can find mushrooms to eat.
My concern is… misidentification. Even when growing my own outdoors, I was second guessing eating what I grew. Yes, I knew I planted this here… but I have other non edible types of mushrooms popping up everywhere too soooo what if… I accidentally feed my family something that I shouldn’t?
It really came down to anxiety.
When I grow indoors in a box, I don’t need to worry about this factor.
That said, as I get more comfortable growing mushrooms, I think I’ll feel more confident about identifying what I’m growing, even if I start to grow them outdoors too.
Eventually I’d like to add mushrooms in my garden as well because they help break down organic matter in the garden and turn it into nutrients for your other plants. They help with soil structure and some mushrooms even ‘clean’ the soil by breaking down toxins and pollutants.
I didn’t grow up identifying and eating mushrooms so indoor growing helps me do what I already do naturally with other foods that I grew up eating… recognize food vs. poison!
Pro Tip: Once you’ve used the leftover blocks from mushroom growing indoors, you can use them in your garden. They’re fantastic as a soil amendment. You can break them apart and spread them directly in the garden, add them to your compost bins to help speed up the breakdown of organic matter, or you can crumble them up to add to your potting mix.
Sanitization is Vital
When I went down a rabbit hole years ago about mushroom growing, I saw that the main issue when growing indoors is mold growth. And when I researched setting up and using my Boomr Bin, that’s the mistake and issue that I saw the most.
The key to preventing mold growth is a clean setup. Sanitizing and keeping the air clean is vital. Large setups rely on it.
With small setups, you have a bit more freedom (because one mistake doesn’t undo hundreds/thousands of dollars worth of mushrooms).
My spray and grow kit is more likely to be exposed to mold spores and other contaminants because the kit is sitting on my counter. But unlike my Boomr Bin, it’s slower growing as I can’t maintain the same humidity easily in that setup. I’m guessing that this helps prevent some mold growth.
In a setup like the Boomr bin, you create this really ideal setting for mold – and mushroom- growth. So keeping everything is clean is vital.
How to Sanitize
You want to keep 70% Isopropyl alcohol on hand and nitrile gloves. Make sure you aren’t touching your gloved hands everywhere because the gloves aren’t doing much if you contaminate them.
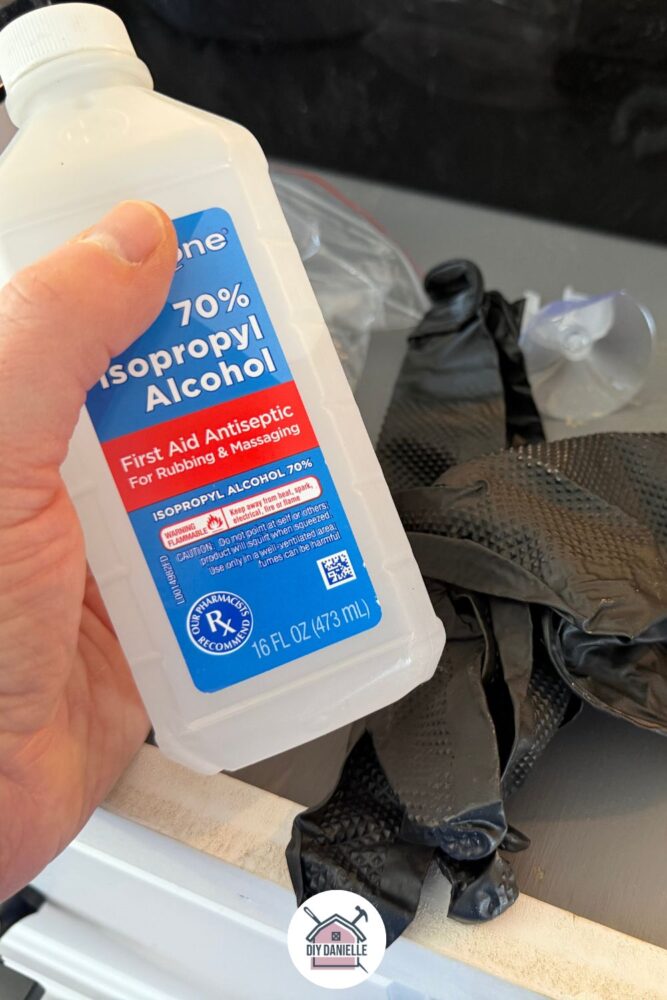
Spray down your knife, Boomr bin, and gloves with the isopropyl alcohol to sanitize them before cutting into blocks.
How to Grow Mushrooms Indoors: Spray N Grow Kit
These kits are fairly easy to get setup.
Start with your box and cut out the front where indicated. I recommend sanitizing your knife or scissors first.
Once open, you’ll see that there’s a plastic bag around your grow block. Cut an X in the front of that… someone told me cutting many smaller X’s works well too.
The plastic around the grow block is what helps make this all work- do NOT completely remove it.
Place this in a sunny spot… technically mushrooms don’t need sunlight, but sunlight is still important for them. It’s not food- it’s a signal to pin (form the mushroom caps), it’s a signal for what direction to grow, and it helps them produce vitamin D (that will then benefit you when you eat the mushroom).
I like to keep mine above my sink with a spray bottle of water next to it. This is a spot we see frequently and I spray it with water at breakfast, lunch, and dinner.
While the kits say to spray twice per day, I anticipate that my quick growth on these boxes is due to my frequent spritzing.
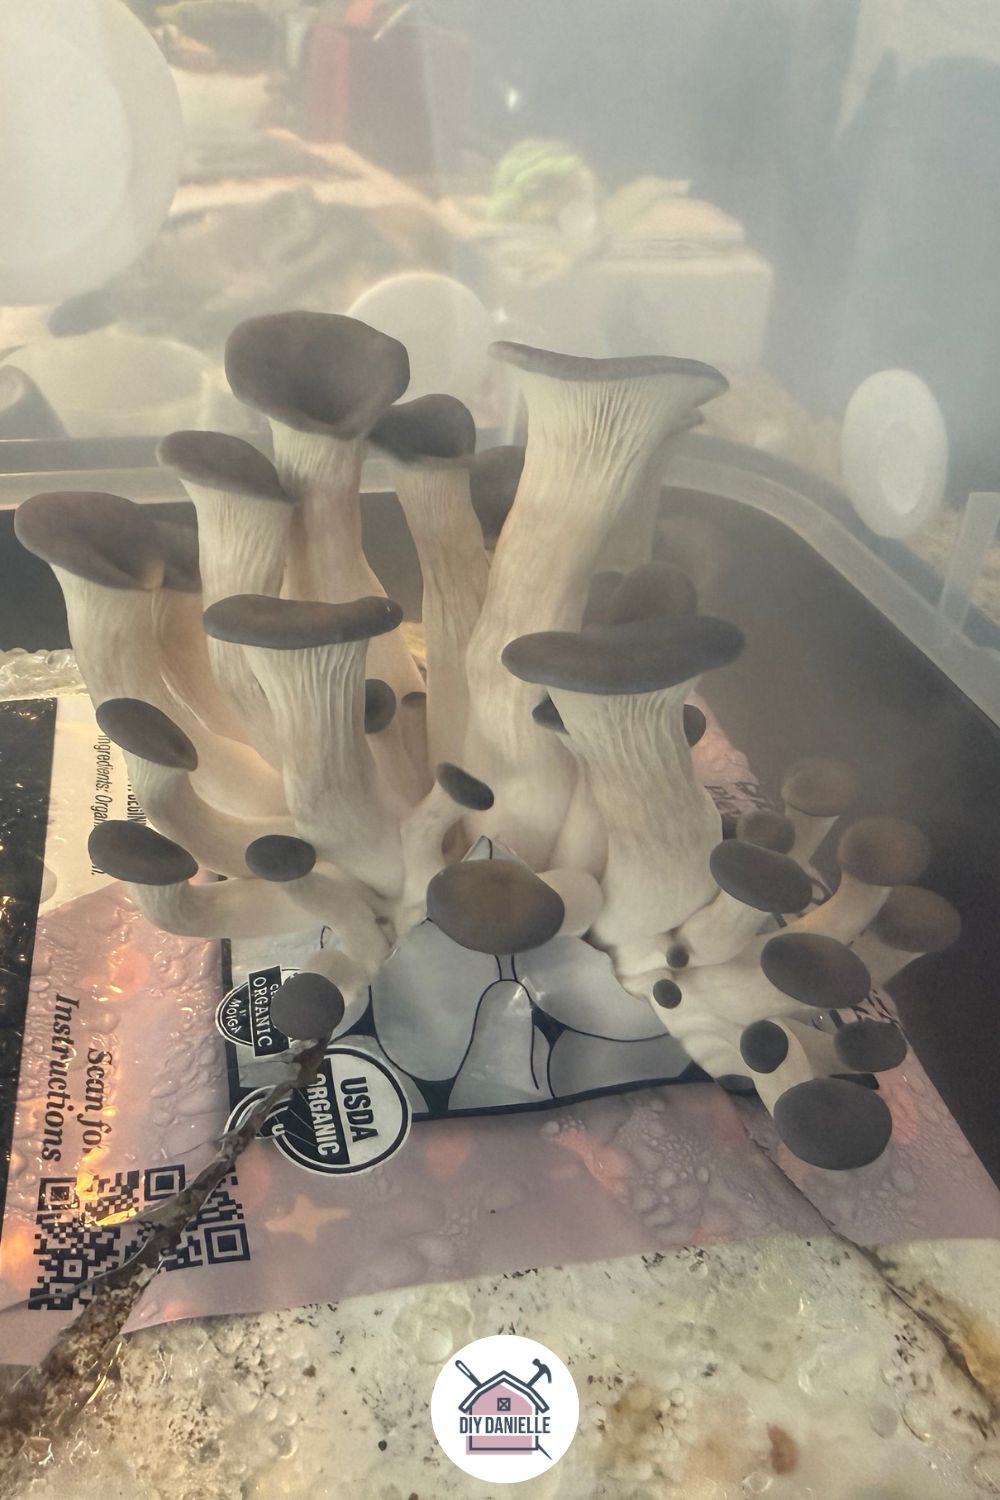
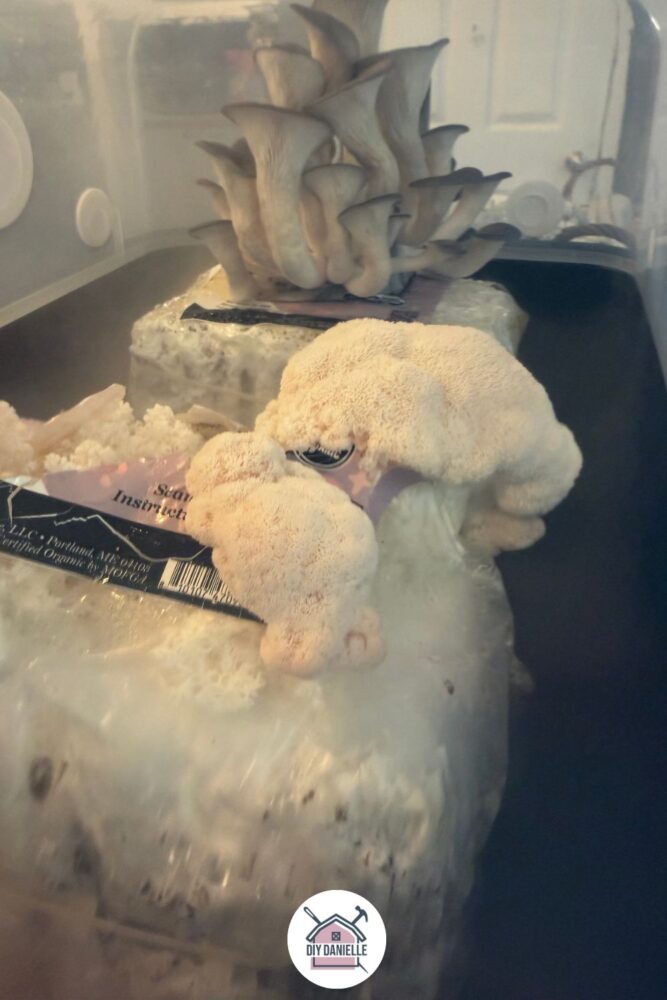
Different mushrooms take different amounts of time to grow, but my pink oysters were ready for harvest by day 11.
Once you harvest, you can continue to spritz and you may be able to get another flush or two from the block. I got two flushes and I’m trying to get a third, but I think I need to give up on this block at this point and spread it in my garden.
The first flush tends to be quicker and easier, but getting additional flushes from the same block is a ‘next level’ skill.
How to Grow Mushrooms Indoors: Boomr Bin
How to Setup the Boomr Bin
Step 1: Remove the box and lid. The lid has holes for the fan on one side. The fan has a label on it showing the direction of the air flow. You want the fan airflow blowing into your bin. Place the small square screen on the inside of the fan, then attach the fan to the Boomr Bin’s lid, using the included screws and nuts.
Don’t worry about sanitizing yet- we’ll do this after it’s all setup!
Step 2: The humidifier has a small rubber piece that pops into one of the large holes in the bin’s lid. You can place that in the hole that makes the most sense for where you’ll want to place the humidifier. The tubing connects to that.
I repurposed my Microwave Cart for the Boomr Bin because we moved the microwave to the pantry after I converted my dining room to a walk-in pantry.
Fill and setup your humidifier, but don’t turn it on yet.
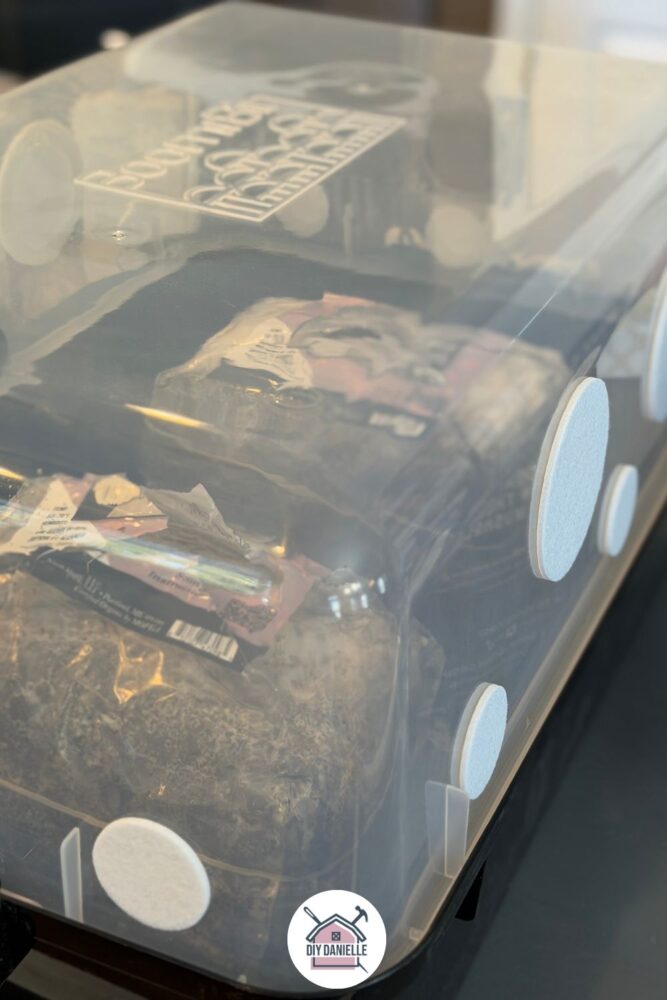
Any holes that aren’t being used should be covered by the included stick on filters (the white circles).
Step 3: At this point, it’s good to spray down your bin with 70% isopropyl alcohol and get your gloves on. You should also sanitize your knife or scissors.
I sprayed too much alcohol and I didn’t want it sitting in the bin so I did take a clean paper towel to dry it up a bit… ideally you want to spray just enough that the alcohol dries on its own.
Step 4: Decide which side of the block you want to grow mushrooms on… I choose one of the larger sides. Put an elastic around the plastic. This helps keep air from getting to the sides of your block and encouraging growth within the bag.
Step 5: Cut an X (or multiple small X’s) in the spot you’re trying to grow mushrooms.
Step 6: Place the block (or blocks if you’re using more than one… I think 2-3 could fit in here) in your Boomr Bin and close the top.
Step 7: Setup the humidifier with the appropriate settings for your mushrooms.
Step 8: Monitor for growth and refill the humidifier as needed. I recommend keeping the lid closed as much as possible to avoid introducing any contaminants. If you need to go in, use nitrile gloves and sanitize your equipment.
Step 9: When your mushrooms are ready for harvest, use sanitized equipment and gloves. Cut the mushrooms off and place in a paper bag until you’re ready to eat them.
DO NOT USE a plastic bag or container.
You can try to grow a second or third flush from the same block… this is a bit more difficult and it seems to be taking longer, but I’m giving it a try as it seems like a way to grow my skills with growing mushrooms.
But you may want to order some new blocks so you can grow some more!

Again, once you’re done with those blocks, you have quite a few options:
- Bury the block in your garden under other plants. If all goes well, they might continue to grow there!
- Break up the block and spread in your garden.
- Break up the block and put into your compost bins to help speed up decomposition rates.
- Crumble up to add to potting mix.
Video Tutorial on Growing Mushrooms
Boomr Bin vs. Spray & Grow Kit
I honestly had great luck with BOTH the kit and the Boomr Bin, but it’s likely that working from home makes me the ideal person to make those spray and grow kits work.
If you want to ‘set and forget’… or you have a terrible memory… I recommend the Boomr Bin.
If you want to grow more than one mushroom at once… I recommend the Boomr Bin.
If you want a cool experiment with the kids and to grow these once, I think the spray and grow kit might be a better fit. It’s honestly a great way to just see if you like growing and eating mushrooms. These are smaller and they will produce fewer mushrooms.
If you’re REALLY into growing and eating mushrooms, North Spore has bigger kits and bigger setups that are more practical for those wanting to grow more than 2-3 blocks at a time. The larger setup is the ‘BoomRoom II’ Automated Martha Tent Mushroom Grow System.
These bins are WORTH buying… I’ve done other types of indoor gardening and comparatively, these are faster to get to the end product and more affordable. I also know that I can get… lettuce… at the grocery store quite affordably, but mushrooms are harder to find. This alone makes it worthwhile.
Please share and pin this post! You can also post your project and tag the DIYDanielle team on Instagram @doityourselfdanielle!