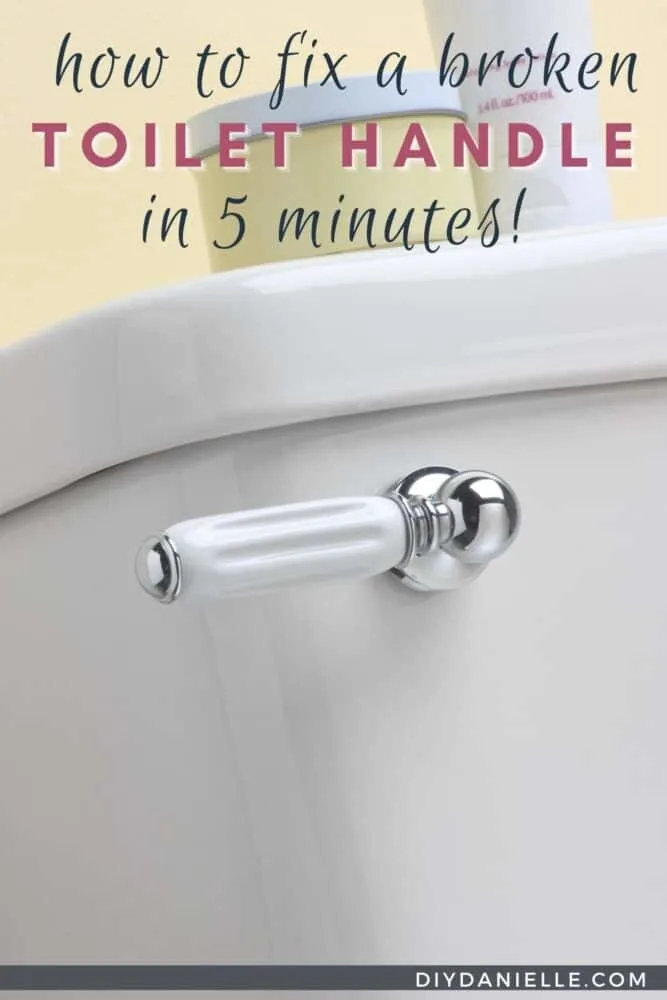
How to fix a toilet handle or to replace a toilet tank flush lever with a higher quality handle.
This post may contain affiliate links which may earn me commissions should you click through them and take certain actions. As an affiliate for Amazon, Cricut, xTool, Home Depot, and other sites, I earn from qualifying purchases. Please DIY carefully. View my full legal disclosures here.
Please read the whole post so you don’t miss any important information!
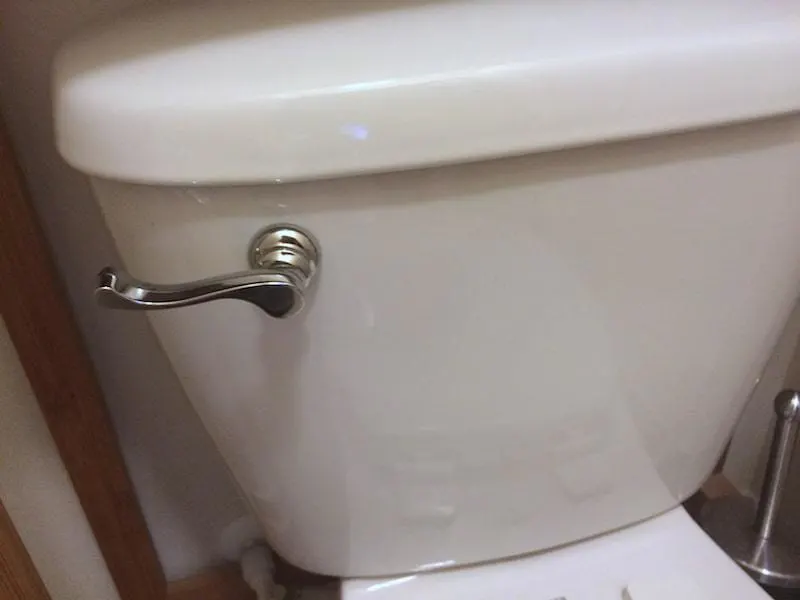
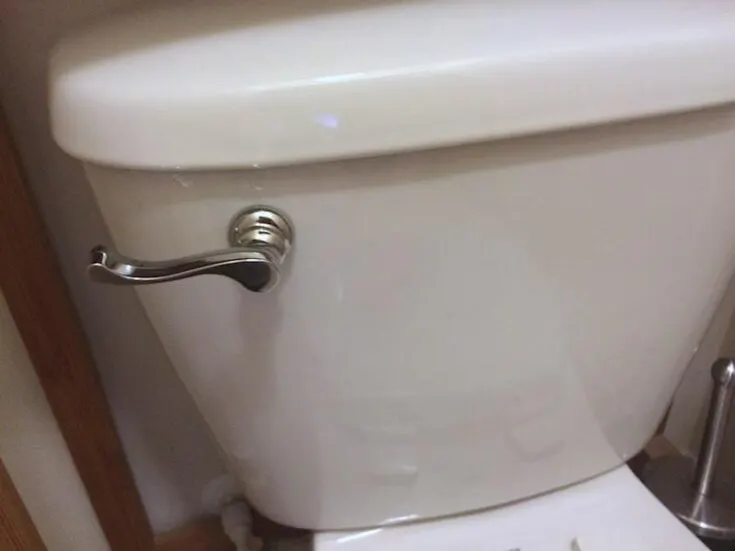
We had a broken toilet handle. I walked into our bathroom one day and it was falling off the toilet… the handle needed to be replaced. Did my kids flush too hard in their obsession with repeatedly watching the toilet flushing magic? Did my husband accidentally abuse his strength when he was flushing one day? I don’t know.
But this was what it looked like.
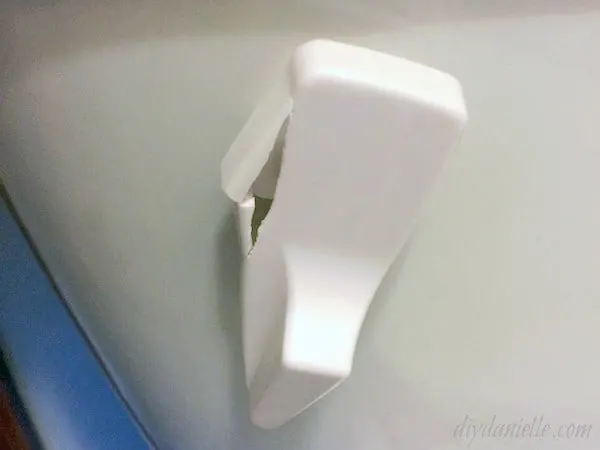
All I know is that it wasn’t me. Probably not.
I was a bit nervous about replacing it ourselves because yikes, DIY plumbing, but I wanted to give it a try because I’ve done one or two other small plumbing jobs and it’s often easy. It ended up being a very simple project that was cheap to do.
While you’re waiting to fix the handle, you can manually flush the toilet by reaching into the toilet and lifting up the lever yourself. It’s a pain, but it can be done if you don’t have a replacement lever yet.
Supplies to Fix a Toilet Handle
This is a good time to upgrade to a sturdier handle that has an aesthetic you love…
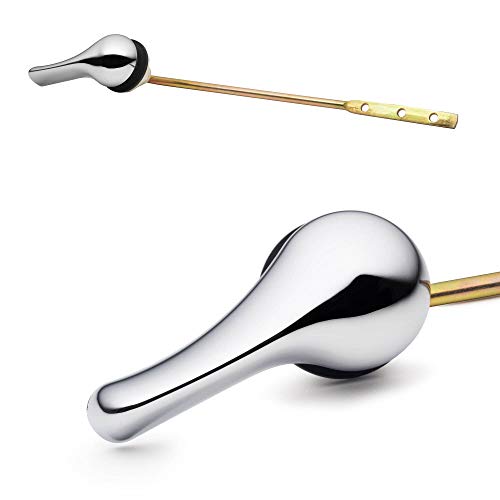
- Toilet Tank Flush Lever (aka a toilet handle and lever)
- Basic tool kit
How to Fix a Broken Toilet Handle
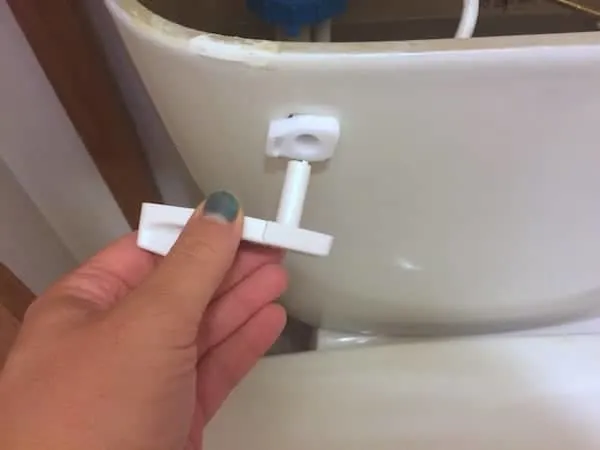
The handle and the bar inside are all connected. These are sold together. As you can see in the photo below, the bar inside the toilet that connects to my handle was also broken.
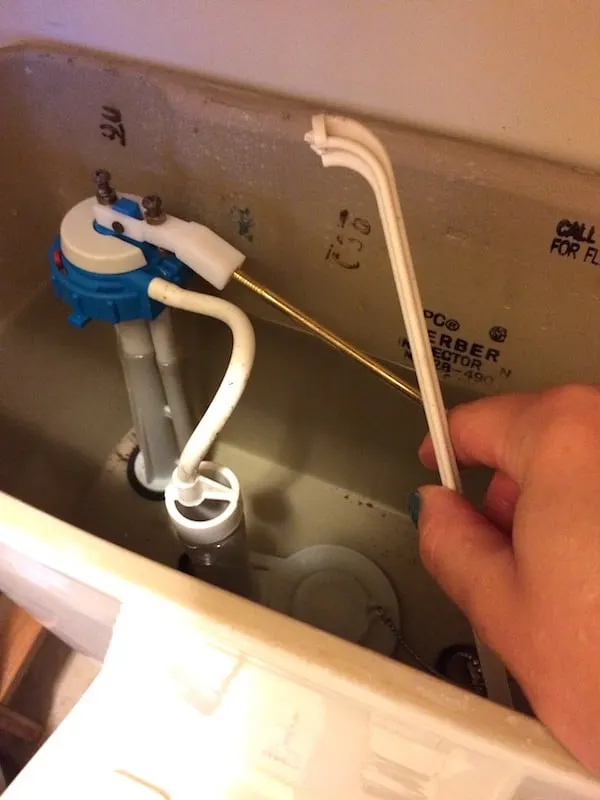
Step 1. Remove the old handle and inner lever. The plastic piece that you can see in the picture actually unscrews. If it won’t unscrew for you, try unscrewing the opposite direction.
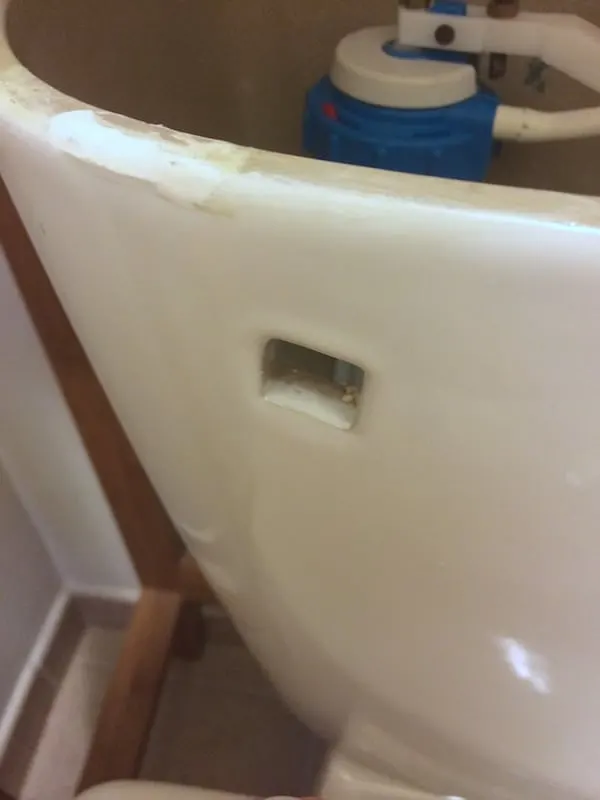
This picture shows what the toilet front looks like without the handle on.
Step 2. Take out your new handle and screw it on.
Push your lever into the hole on the back side of the handle.
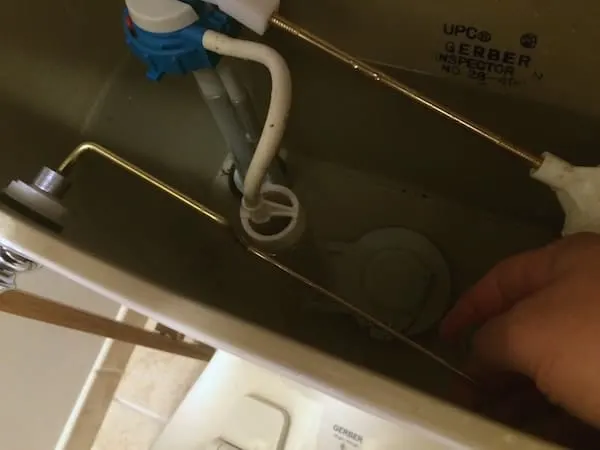
Step 3. Once you screw it altogether, attach the bar to the chain that connects to the plastic piece that blocks the water from draining all the time.
You don’t want this to be too tight (water will drain constantly) or too loose (won’t flush easily).
I managed to get the adjustment right the first time, but you can easily adjust if you don’t. My chain had a small clip that clipped into the hole in my lever.
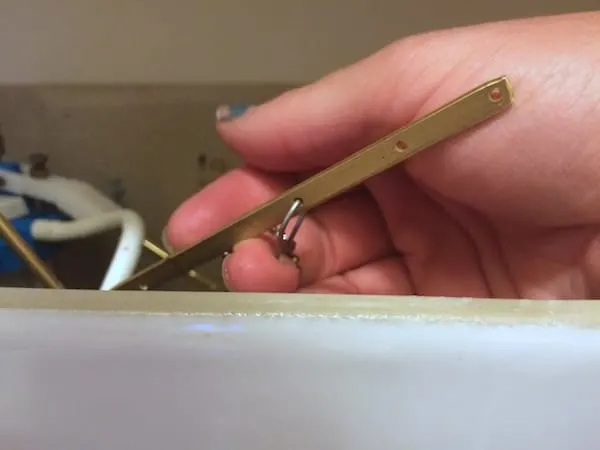
Step 4. Give your new toilet handle a test run. If you don’t hear water draining all the time and the toilet flushes easily, you’ve got it right!
Below is a video demonstrating the process of replacing the toilet handle. Sorry for awkward videography. I was trying not to drop my phone in the toilet. Ha.
Please share and pin this post! If you make this project, share it in our Stuff Mama Makes Facebook Group. We have regular giveaways for gift cards to craft stores. You can also tag me on Instagram @doityourselfdanielle; I love seeing everything you make!
How to Fix a Toilet Handle
Replace a broken toilet tank flush lever with a higher quality handle with these simple tips. This tutorial will help you change out the aesthetic in your bathroom by replacing your flush level with new hardware, or you can fix a broken level. It's the same process!
Materials
Tools
- Basic tool kit
Instructions
- Remove the old handle and inner lever.
- Take out your new handle and screw it on.
- Push your lever into the hole on the back side of the handle.
Recommended Products
As an Amazon Associate and member of other affiliate programs, I earn from qualifying purchases.

