
Learn how to age paper with tea and teach your children how to create old fashioned parchments. You only need tea and paper for this project!
This post may contain affiliate links which may earn me commissions should you click through them and take certain actions. As an affiliate for Amazon, Cricut, xTool, Home Depot, and other sites, I earn from qualifying purchases. Please DIY carefully. View my full legal disclosures here.
The majority of my content is generated by me, as are 99% of the photos and videos, but I utilize technology for titles, descriptions, video editing out all of my ums, and occasionally for text overlay on images.
Please read the whole post so you don’t miss any important information!
As part of homeschooling this year, we’ve been reading a lot of the “You Wouldn’t Want to Be/Live Without/Etc” books. They’re FANTASTIC. This week’s book was “You wouldn’t want to live without books.” We learned about the printing press, as well as the history of books, including how clay and animal skins were used to make documents.
I decided that this was a good opportunity to do some different experiments and try to imitate some of these old ways of making paper or books. My kids love writing their own books so I’m going to do the following projects with them:
- Aging paper using tea
- Recycling paper / making paper
- How to bind a book
- Using clay to make a document or write a message.
- How to make a stamp from a potato
- How to make a paperback book
Keep an eye out for each tutorial if you’re interested in this project for homeschool! There’s another book, “You wouldn’t want to live without writing” that might be good to read too as part of a 2 week process.
Other homeschool activities:
- Use stamps to individually stamp out a message on a piece of paper
- Learn how to use a quill pen
- Writing practice: Copying a (short) book like a monk in 9th century Europe
- Make stamps from potatoes and use them to write something out.
- Write a story together, each person adding a sentence to the story.
- Practice editing for each other’s short story.
- Math: Calculate how much you’d charge for a book, how much a publisher would take, and how much you would pay to self publish, etc.
- Visit a bookstore and have each child bring $5-10 to spend on a book
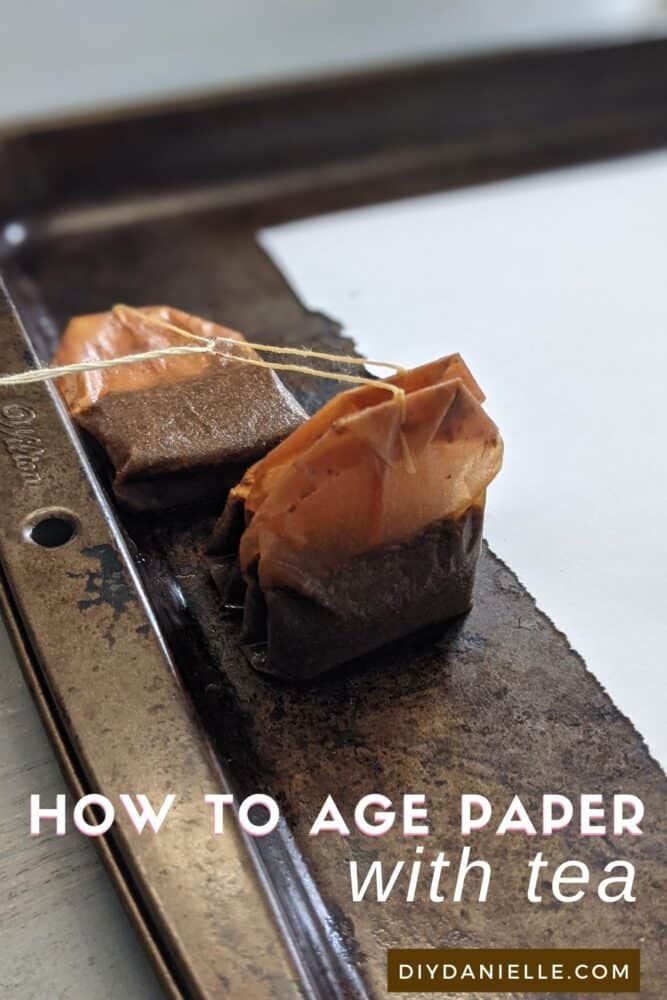
How To Age Paper with Tea
1. Heat a kettle of water until hot.
2. Make tea. I tried 2-3 bags, but also tried loose leaf tea.
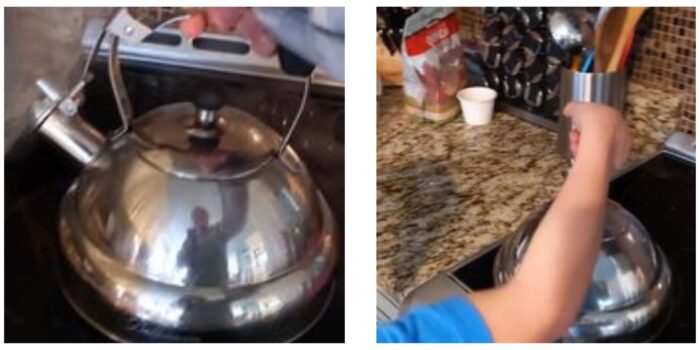
3. Let tea steep and cool for 10 minutes
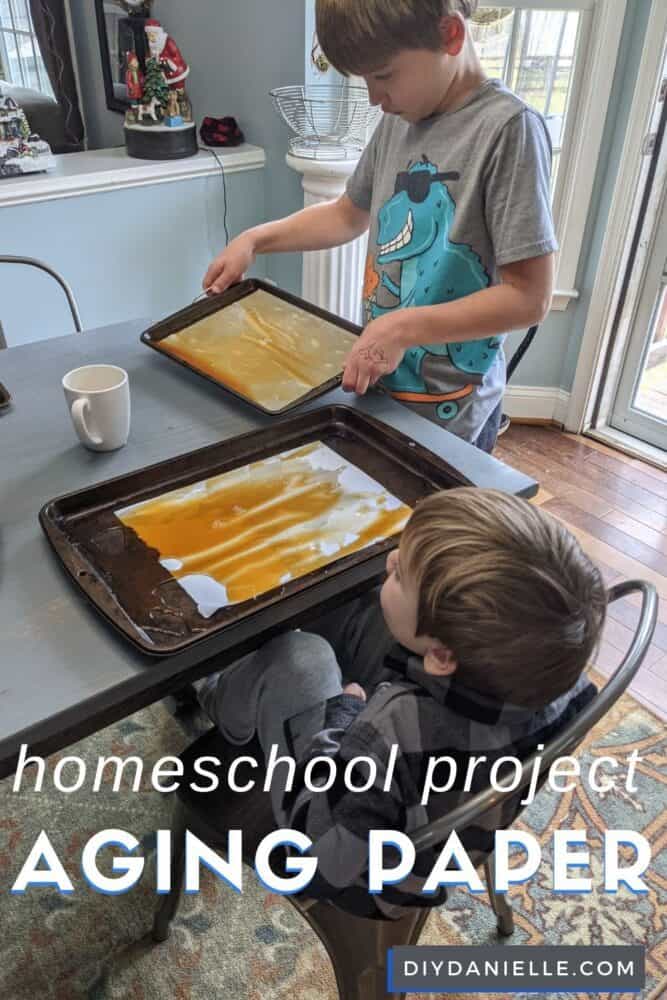
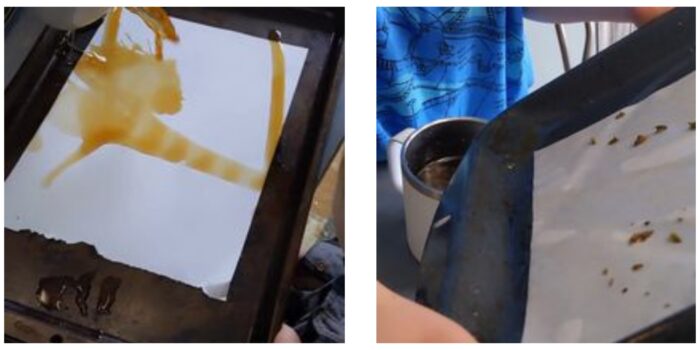
4. Place paper in a shallow dish or pan. Cover with tea.
5. Pour off excess tea.
6. Let sit for 60 minutes.
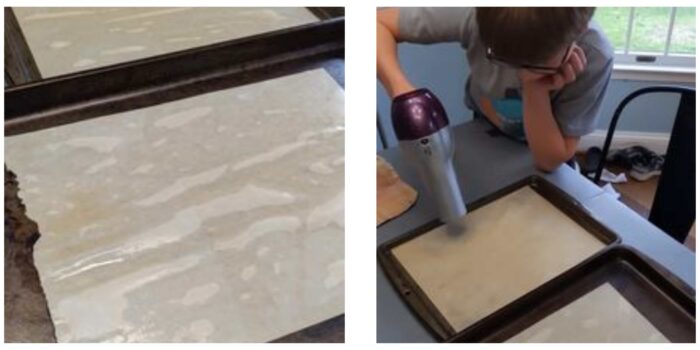
7. Carefully dab dry with towels. Let fully dry for 1-2 days. Blow dry if you want results faster.
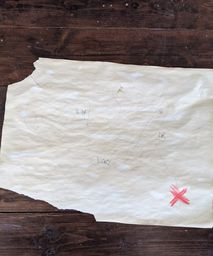
8. Rip, burn the edges, and draw to your heart’s delight.
Here’s a video showing our process…
Please share and pin this post! You can also post your project and tag the DIYDanielle team on Instagram @doityourselfdanielle!
How to Age Paper with Tea
All you need is tea and paper to teach your children how to make old fashioned parchments. It's an educational project and so easy to make.
Materials
- Paper
- Tea Bags
Tools
- Blow Dryer
- Tea Kettle
Instructions
- Heat a kettle of water until hot.
- Make tea. I tried 2-3 bags, but also tried loose leaf tea.
- Let tea steep and cool for 10 minutes
- Place paper in a shallow dish or pan. Cover with tea.
- Pour off excess tea.
- Let sit for 60 minutes.
- Carefully dab dry with towels. Let fully dry for 1-2 days. Blow dry if you want results faster.
- Rip, burn the edges, and draw to your heart's delight.
Recommended Products
As an Amazon Associate and member of other affiliate programs, I earn from qualifying purchases.

