How to make your own wall mounted coat rack using wood and coat hooks. This easy project is a great way to customize your home’s entry.
This post may contain affiliate links which may earn me commissions should you click through them and take certain actions. As an affiliate for Amazon, Cricut, xTool, Home Depot, and other sites, I earn from qualifying purchases. Please DIY carefully. View my full legal disclosures here.
Please read the whole post so you don’t miss any important information!
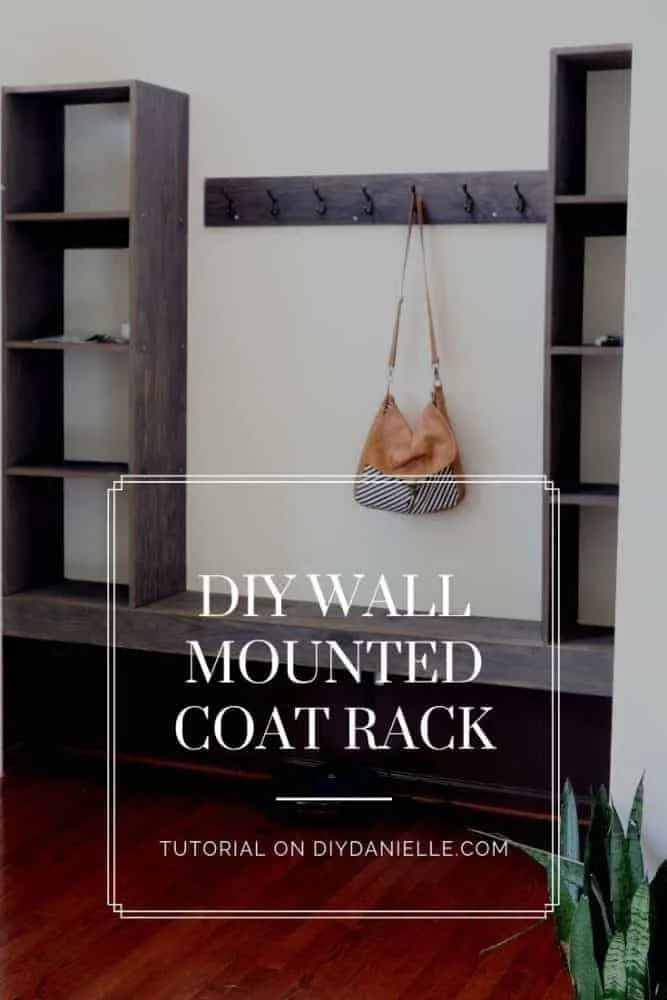
When we were putting together our built-in seating and storage for the front entry, I wanted a matching coat rack for hanging backpacks and coats. I did NOT want a plain rack that you’d buy at the store- it wouldn’t match and blend with our built-ins. So I made this… now I’m wondering why I ever bought these before. They are SO easy to make. I made another for our closet built-ins with my leftover coat hooks.
These racks are useful for everywhere in the house. Personally, I love them in my kids’ bathroom because they have an easier time hanging towels on them rather than the towel rods.
Once you check this project out, don’t forget to subscribe to my newsletter so you won’t miss out on the posts about alllll of the built-ins we added. They’re ahhhh-mazing.
Supplies
- Wood
- Coat Hook Hardware
- Screws
- Stud Finder
- Level
DIY Wall Mounted Coat Rack
These wall mounts are pretty easy to make. All you need to do is cut a board the width you want for your area.
Paint, distress, it or stain the wood.
Then mount it to wall, making sure that it’s level. Make sure you’re screwing them into wall studs.
Once it is mounted you want to add your hooks for this. Figure out how far apart you want each one to be and make sure to center them.
These are really easy to just screw on and you’ll save money compared to buying the pre-made ones. It also gives you a lot of options to customize with higher-quality products compared to the ones that you buy in the store.
Here’s a video showing how I make them!
Please pin and share this post!

