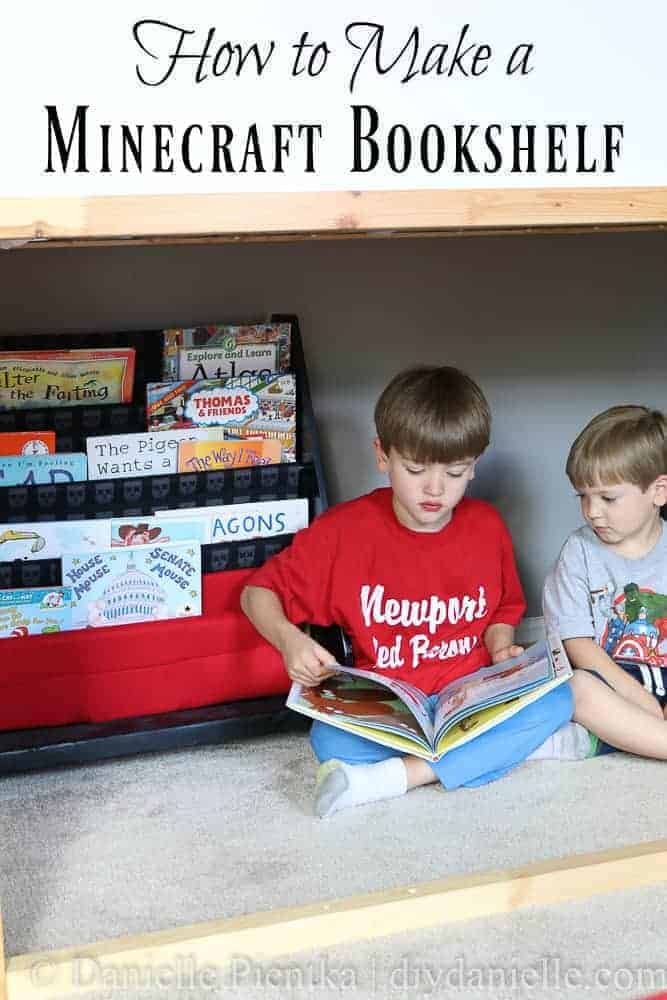
How to make some easy Minecraft themed bookslings from a thrift store find.
This post may contain affiliate links. Using these links helps support my blog. Thank you!
I was in desperate need of a bookshelf for the boys’ Minecraft room and I needed it to fit under the loft bed. Unfortunately, all of our bookshelves were just a smidge too high- except the Paw Patrol bookshelf that I made two years ago. My kids have outgrown Paw Patrol so it seemed reasonable to redo it with a Minecraft theme.
To be honest though… I feel a bit guilty squeezing a post out of this project because I didn’t really take any process photos, but fortunately it’s a repeat on the Paw Patrol project. I’ll quickly go over the steps, but check out the old post if you need photos and details.
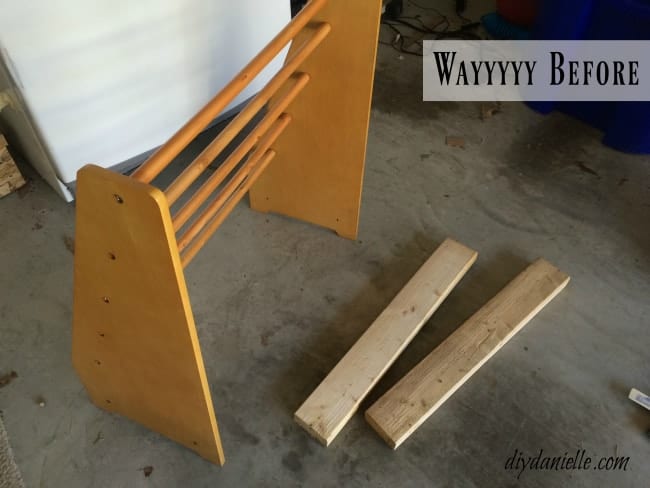
Here’s the wayyyy before photo…
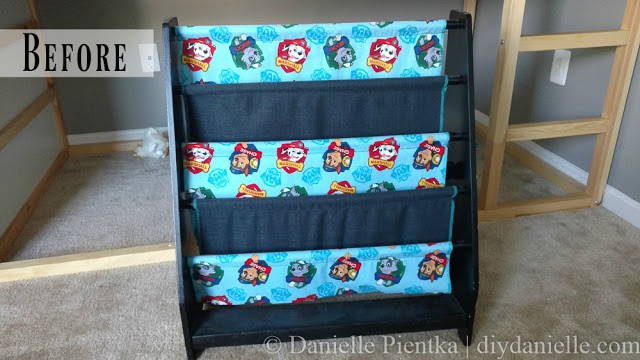
Here’s the shelf two years later… before I changed it into a Minecraft bookshelf.
Supplies
Supplies listed below may include affiliate links to the products.
- Minecraft themed fabric
- Old sling bookshelf
- Spray paint: I prefer Rustoleum 2x and I used black to match
Tutorial
First, you need to unscrew the dowels that hold the slings in place. This allows you to remove the slings and set them to the side. You’ll need them to make your new slings. You can screw the dowels back in if you want or you can separate them for painting. I did mine while it was put together.
My shelf was already spray painted prior to this, but if you’re using an old bookshelf from the thrift store, you may want to put on a layer or two of spray paint. I used black. It’s still holding up pretty well so I didn’t fix it. When I originally painted this, I also replaced one piece of wood on the shelf to make it more sturdy and it’s held up really well over two years and two boys worth of wear and tear!
While your 1-2 coats of spray paint dry, you can work on your slings. I used the original book slings as a template for my new ones, adding a small seam allowance. I had found some Minecraft looking flannel a while back so I used that for most of it, then I added a sling in bright red (to match the rest of the room) for the bottom sling. I only did this because I’d run out of the flannel, whoops.
It’s an awkward project to do, but pretty easy if you just keep an eye on the original slings to see how they’re made and folded. All the fabric attaches together so it’s several slings in one long row.
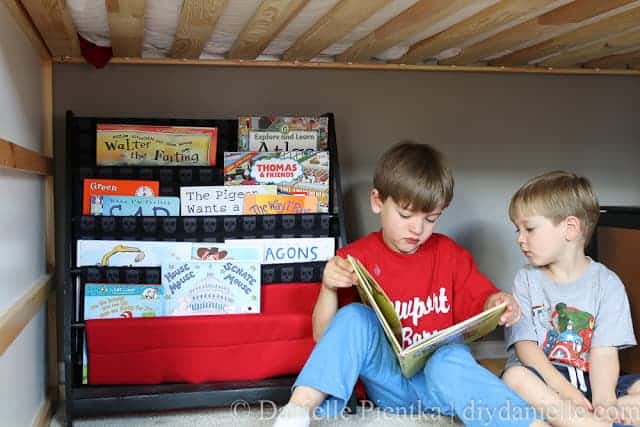
Once the paint dries, you can just slip the slings back on and adjust. Add your books and you’re done! The kids love it!
Again, if you need a pretty basic tutorial on how to copy the original book slings then check out my Paw Patrol Book Shelf.
Love it? Pin it!
Thanks for taking the time to read this post! I really appreciate the time you’ve taken. Please share, like, and pin my post if you enjoyed it. Follow me on social media and subscribe to my email list to keep up to date on all of my latest projects!
How To Make Some Easy Minecraft Bookslings
Learn how to make a DIY Minecraft Booksling from a thrift store find.
Materials
- Minecraft themed fabric
- Old sling bookshelf
- Spray paint
Instructions
- Unscrew the dowels that hold the slings in place.
- Remove the slings and set aside.
- Paint with one or two coats of spray paint.
- Use the original book slings as a template for the new ones.
- Add a small seam allowance with the new Minecraft fabric, or fabric of your choice.
- I also added a sling in bright red for the bottom sling.
- Allow the paint to dry.
- Slip the slings back on and adjust.
- Add your books and you’re done!
Recommended Products
As an Amazon Associate and member of other affiliate programs, I earn from qualifying purchases.