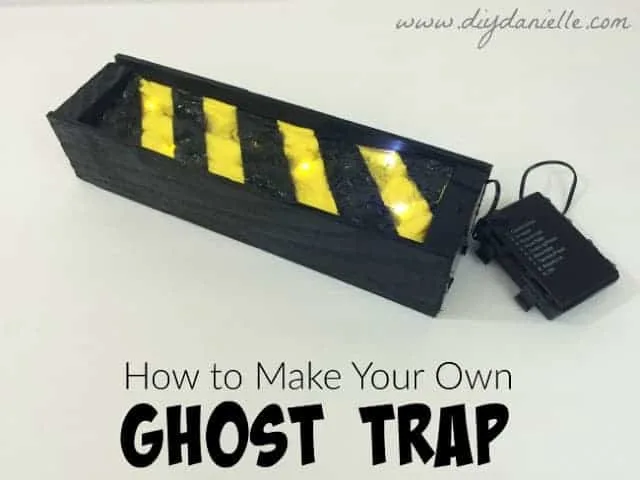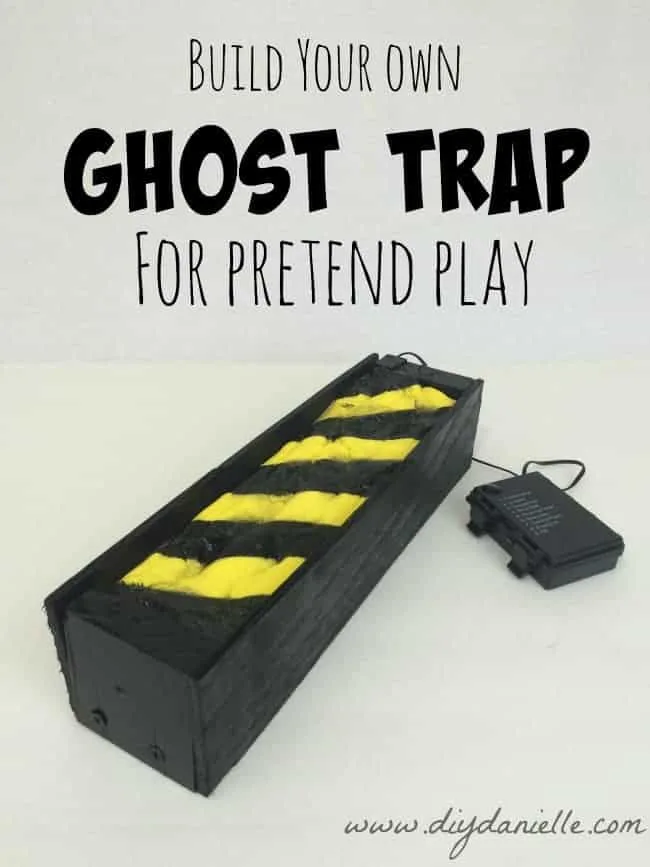
How to Make Your Own Ghostbuster’s Inspired Muon or Ghost Trap.
My sons are 2 and 4 years old, but we showed them the old Ghostbusters movie and they are OBSESSED with pretending to be Ghostbusters, They use nerf guns to pretend to get ghosts and they strap on backpacks and it’s super cute. We wanted a more legit ghost trap than the shoe boxes we gave them though. We figured that there might be some good toys available because of the movie coming out, but nope. And have you SEEN the price on the old Ghostbuster’s ghost traps?! This (affiliate link) Ghost Trap on Amazon costs $2300! No can do. We decided to DIY this project and it came out cute. I had received the moldable plastic free to try out which was a lot of fun to work with. The wood is a bit wonky because we put it together very quickly, but we may fix that at a later time.
The only problem is that it doesn’t actually catch ghosts… oh well… you can’t have everything.
Supplies
Supplies listed below may include affiliate links to the products.
Tutorial
Once gooey, I transferred it into the soap mold to form the top. Be careful molding it- mine got hot water in little pockets so it squirted hot water a couple of times. I pressed it into the soap mold.
I used my fingers to insert the LED string lights on the top. I didn’t work fast enough so I didn’t get as many in as I would’ve liked. Make sure to form an area in the top to push the wire through.
Tip: If I could do this again, I would add screw holes to the sides to make putting the box together easier.
Once it was solid and hardened, I used painters tape to cover the areas I wanted to be yellow. I spray painted the other portions black. Once dry, peel the painter’s tape back.
Now you need to make the box for the other areas. My husband cut some wood for me and then put the top on… he screwed the whole thing together.
Here’s a video of the process:

This blog is in no way affiliated or sponsored by Ghostbusters, their subsidiaries, or affiliates. This tutorial is intended for personal use only.
Thanks for taking the time to read this post! I really appreciate the time you’ve taken. Please share, like, and pin my post if you enjoyed it. Follow me on social media and subscribe to my email list to keep up to date on all of my latest projects!

