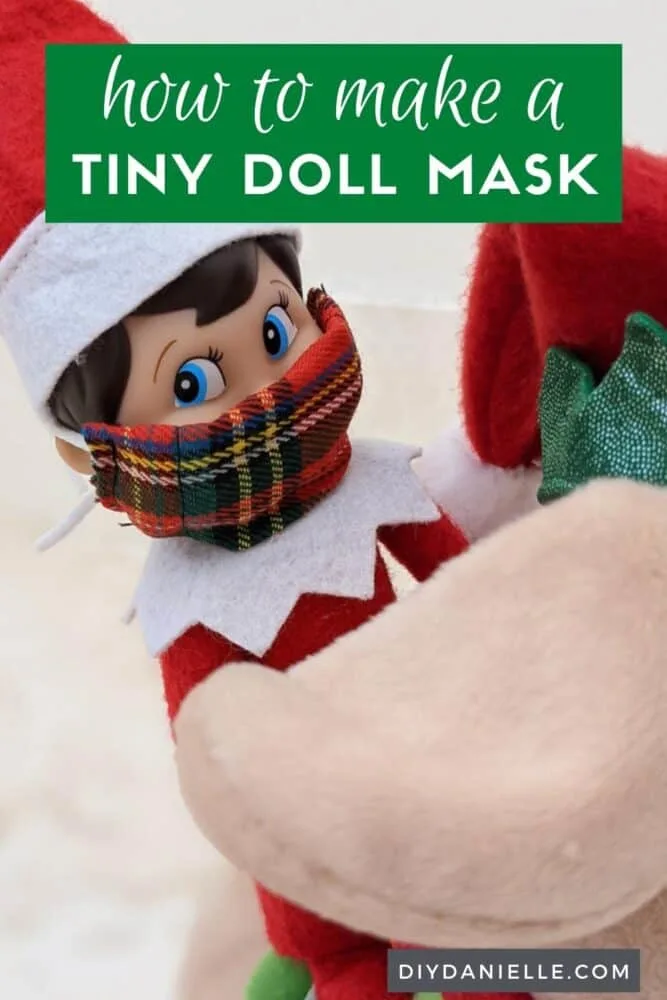
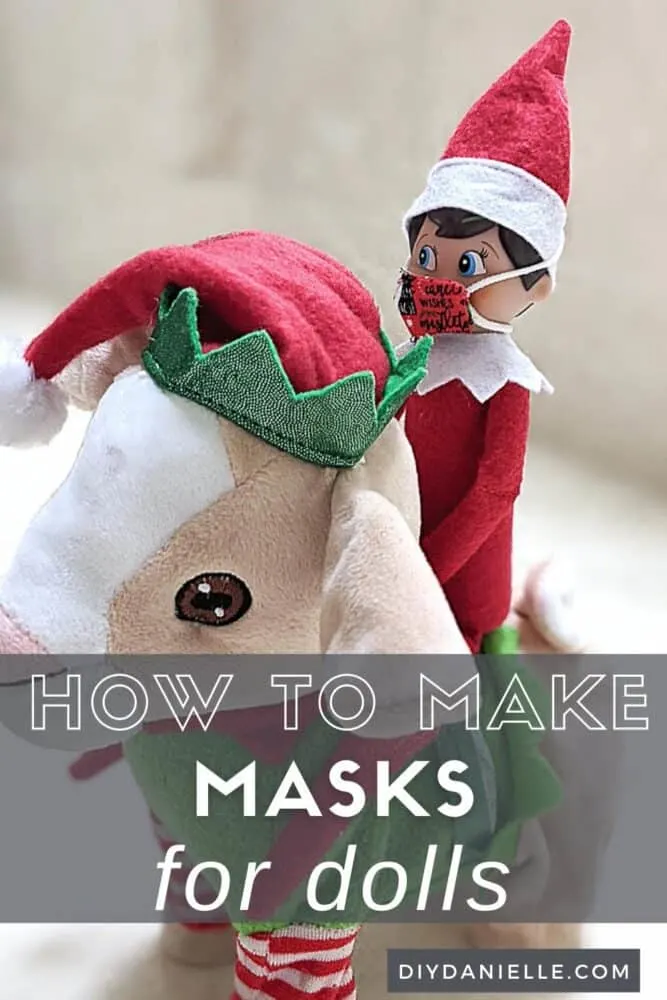
How to make a quick and easy mask for the Elf of the Shelf. Leave a little mask for your elf so he can keep everyone safe, including Santa!
This post may contain affiliate links which may earn me commissions should you click through them and take certain actions. As an affiliate for Amazon, Cricut, xTool, Home Depot, and other sites, I earn from qualifying purchases. Please DIY carefully. View my full legal disclosures here.
Please read the whole post so you don’t miss any important information!
Santa isn’t a young chicken, and we want to keep him healthy year round. We can’t be sending sick elves back to the North Pole! So here’s how I made a quick and easy mask to leave for the elf this year. If you leave it by the tree, he can grab it when he shows up!
Now… I tried this two ways- sew and no sew. I find the no sew, hot glue version to be a bit easier. I’m really not willing to put an excessive amount of energy into this tiny mask so it’s not perfect, but you can certainly practice until it’s perfect!
DIY Doll Mask
I’m going to discuss this as a possible mask for any doll and let you adjust the sizing if needed. But this was made to fit the Elf on the Shelf which means it’s probably about the right size for a Barbie or similarly sized dolls. Larger dolls could probably use the kids size masks.
Supplies for a Tiny Mask
- Fabric: If you use a cotton fabric, like I did, you’ll run into the issue of fraying around the edges. It’s VERY hard to sew such a tiny mask. If you use a non fraying fabric such as felt or fleece, you don’t need to worry about that.
- Ear loop elastic
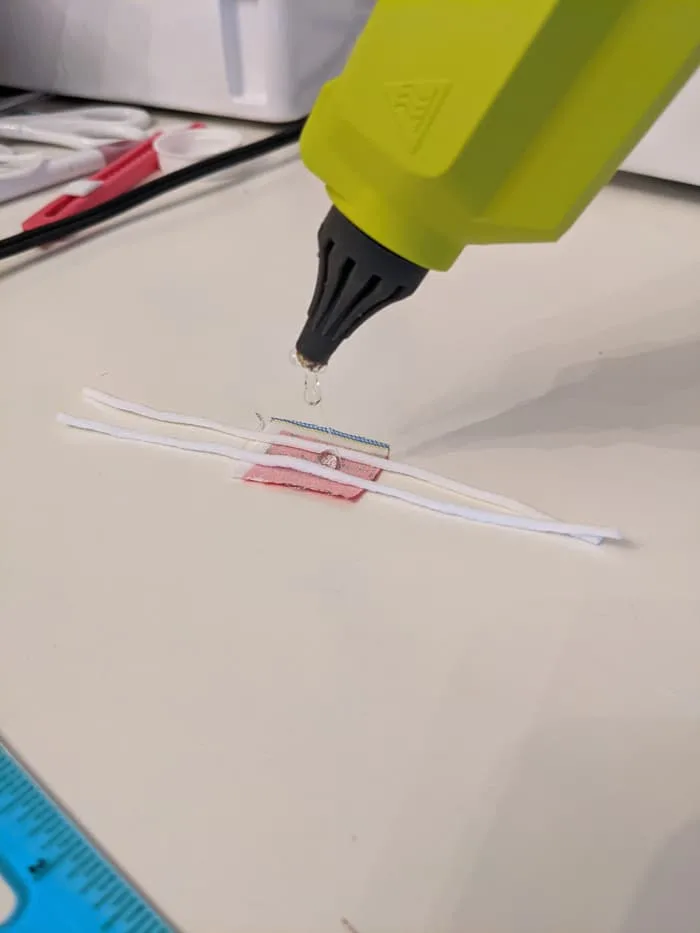
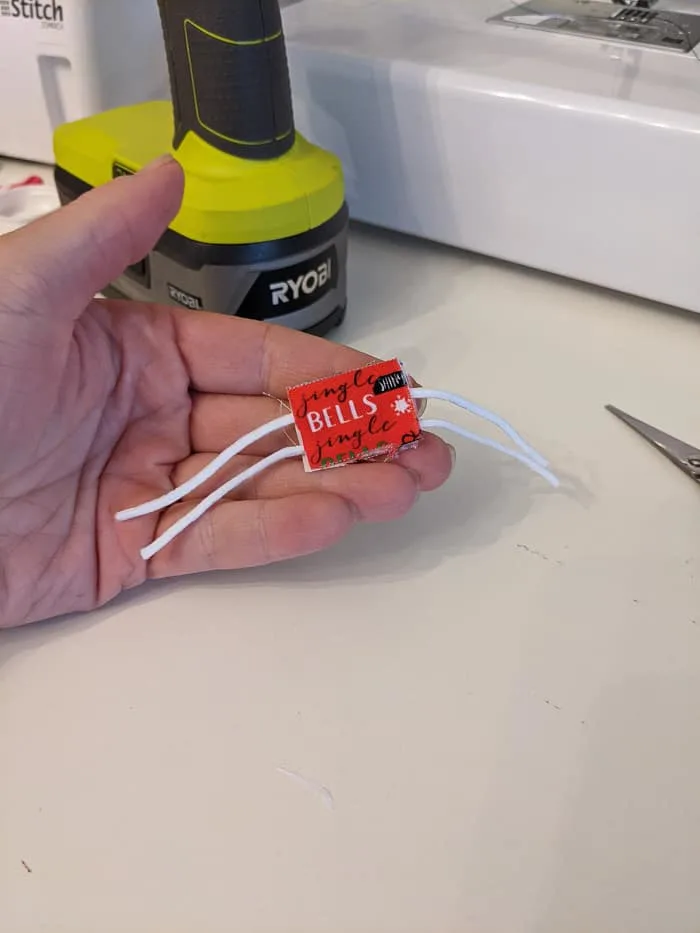
- Hot glue and hot glue gun and/or hand sew it: This is my favorite hot glue gun because it’s cordless and uses Ryobi batteries.
Tiny Mask Tutorial
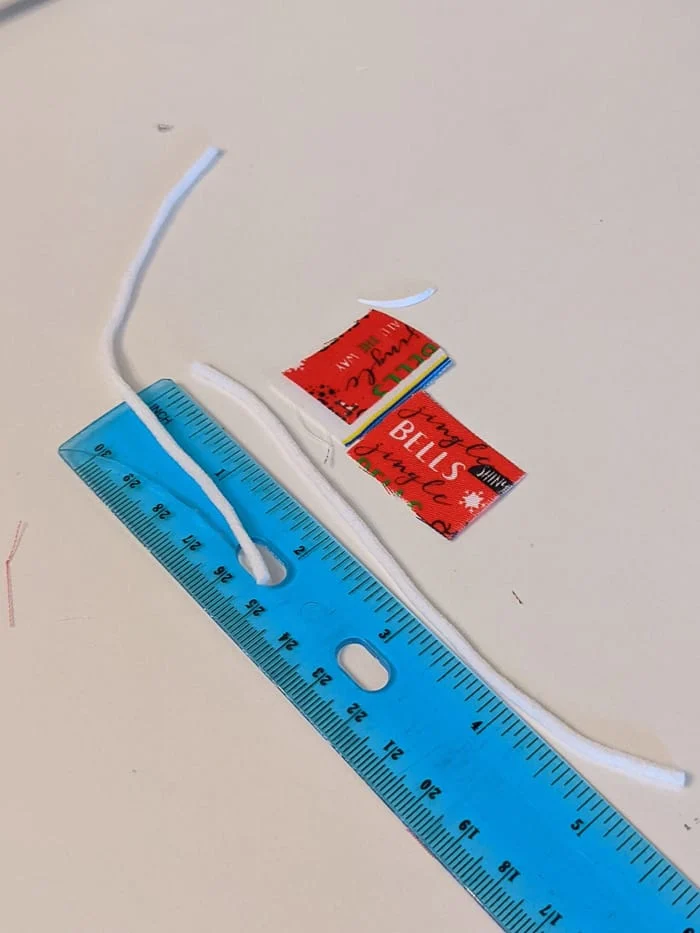
If you’re making this for an elf, feel free to use my sizing, but make sure to size up if you have a bigger doll! I used (2) pieces of cotton fabric that were roughly 1″ x 1″… this is REALLY small and hard to sew. I found that it wasn’t very wide so I would probably try 1″ tall x 2-3″ wide next time. If you give yourself plenty of seam allowance on the ends, you have a lot more freedom to sew this together instead of using glue.
Sewing Version:
If you are sewing this, I recommend adding the extra seam allowance on either side of the mask, then folding over the edge a bit and pressing it down.
As you can see below, I started with a scrap of fabric that had seams on three sides already.
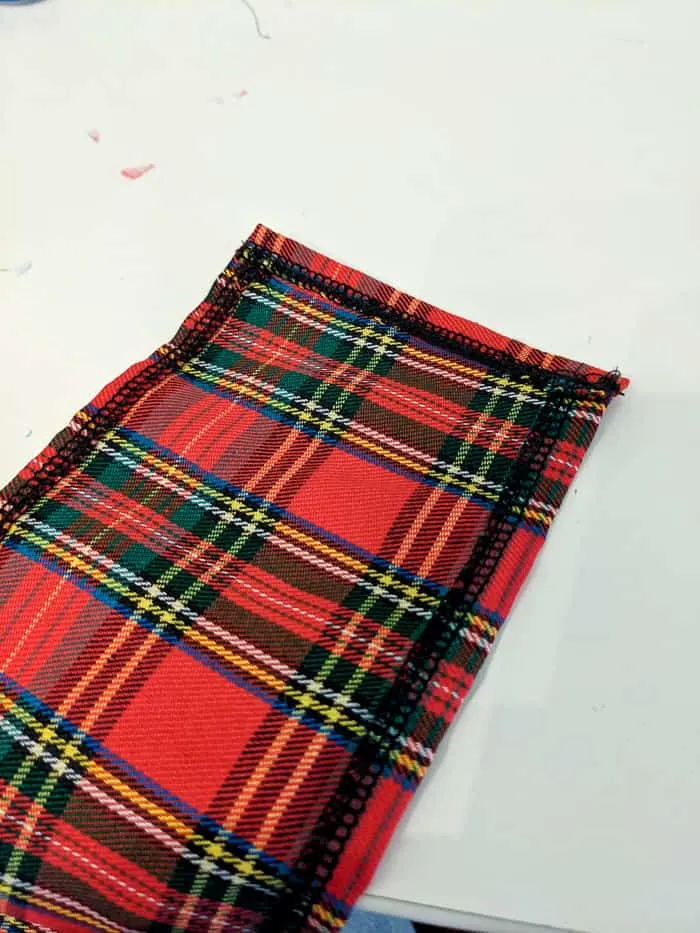
I folded the sides once more and sewed them so the whole mask wasn’t so wide.
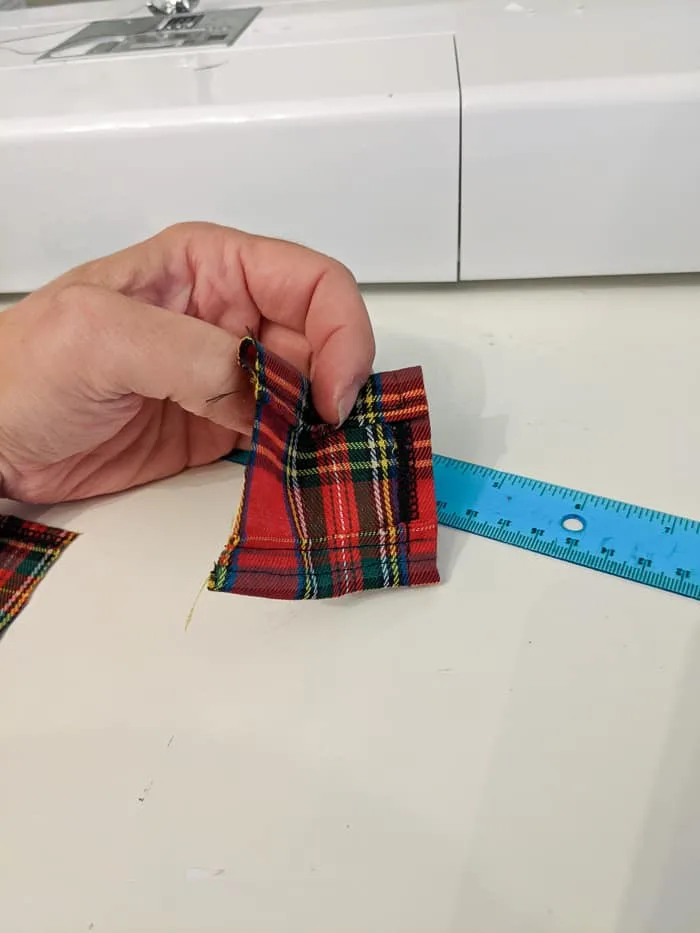
Then I folded it in half, right sides together, and sewed along the raw edge.
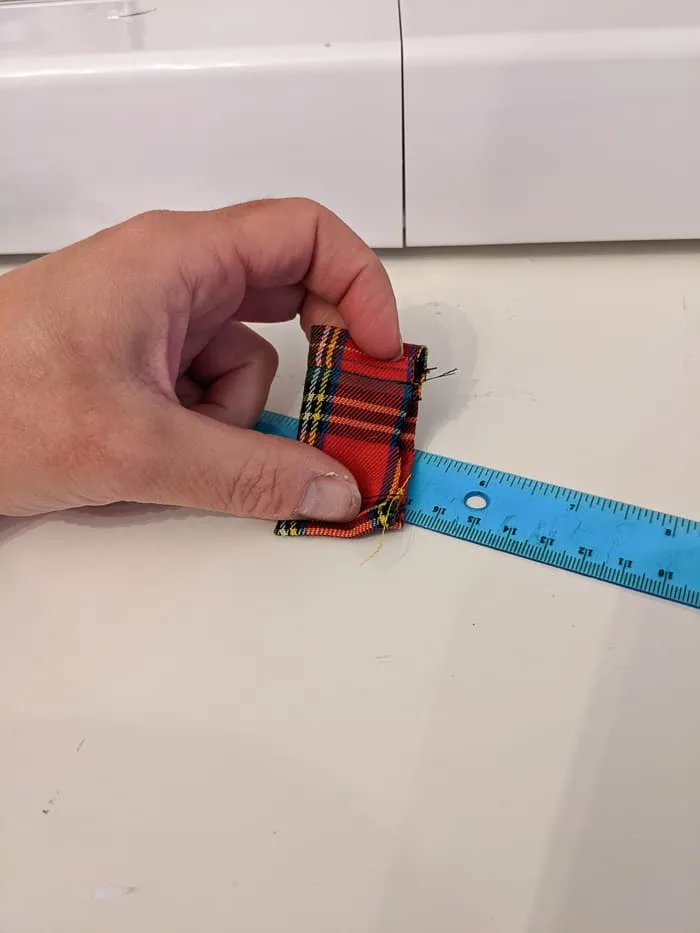
Once I did this, I had a small tube of fabric. I turned it right sides out.
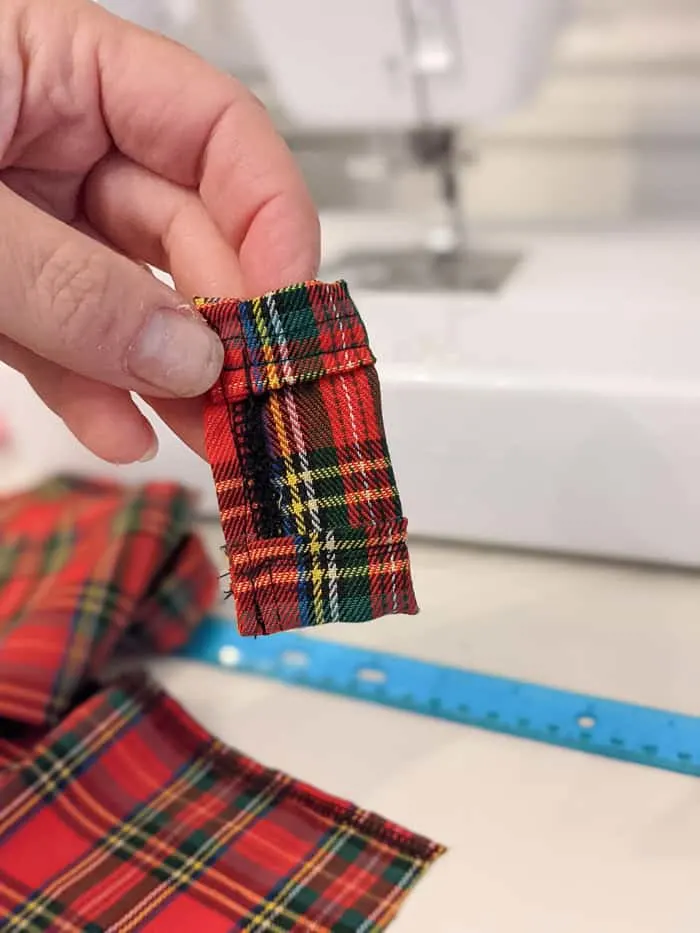
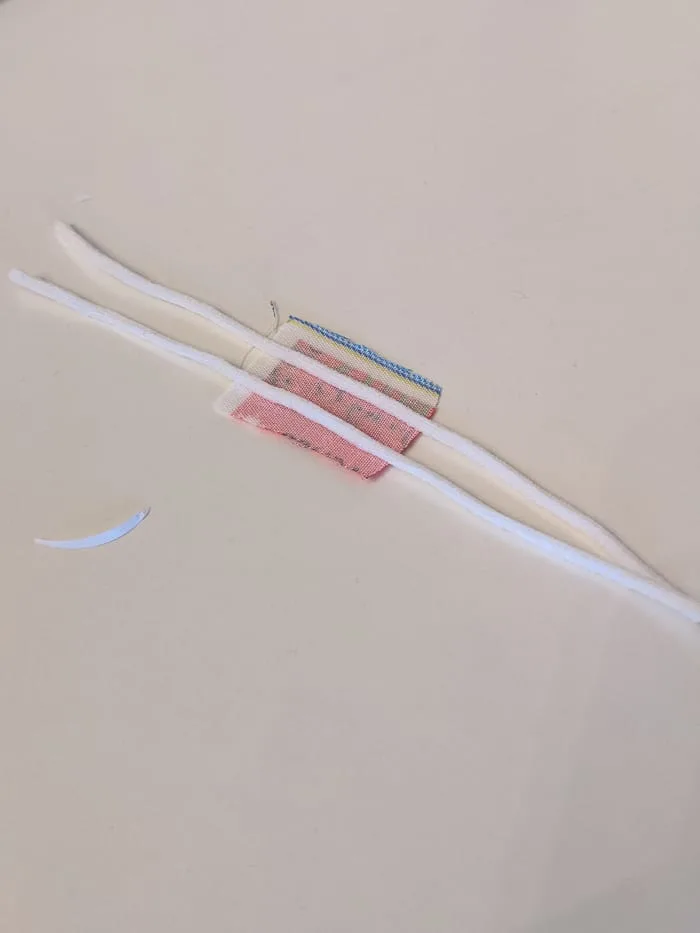
I slid the two long pieces of ear elastic through the mask, one at the top and one at the bottom.
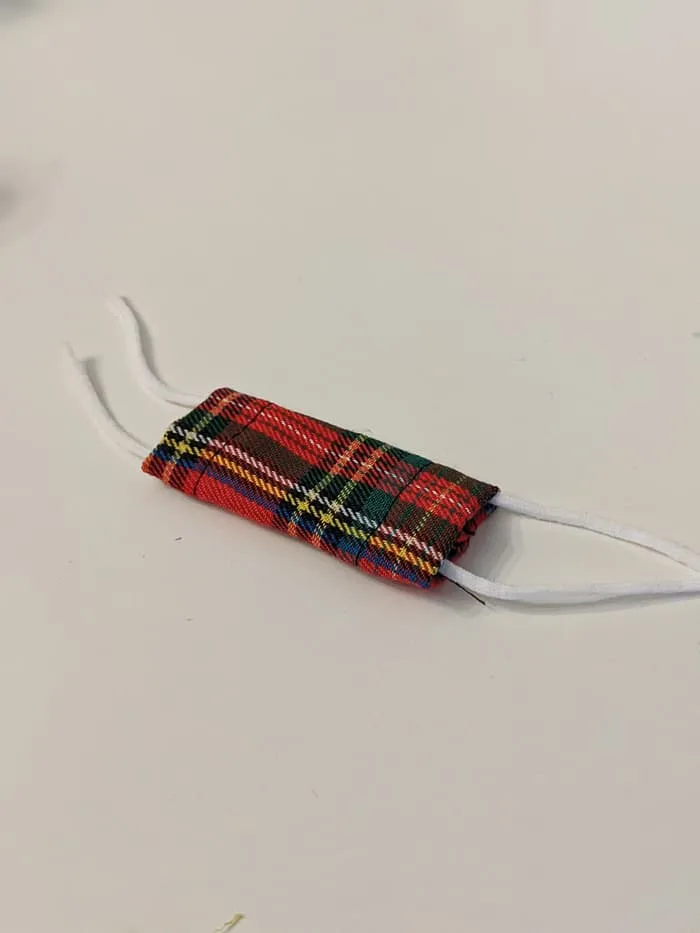
Finally, I sewed each open end of the tube closed to hold the elastic in place. I stretched the string which is an elastic so you can see the mask is a bit scrunchy in the photo below. I would probably avoid that next time.
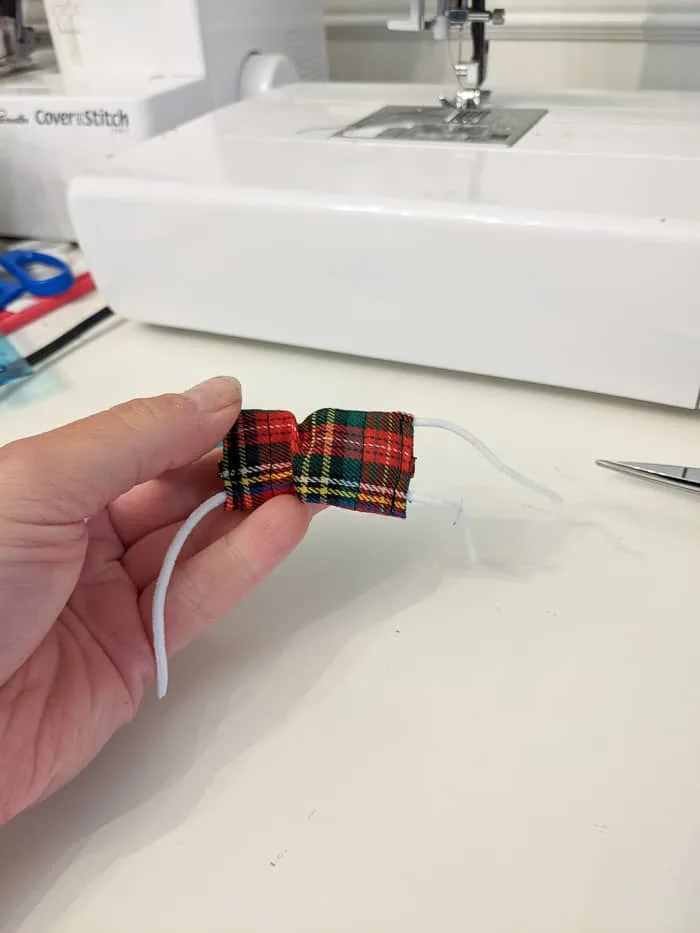
Tie the strings behind the elf’s head to hold it on.
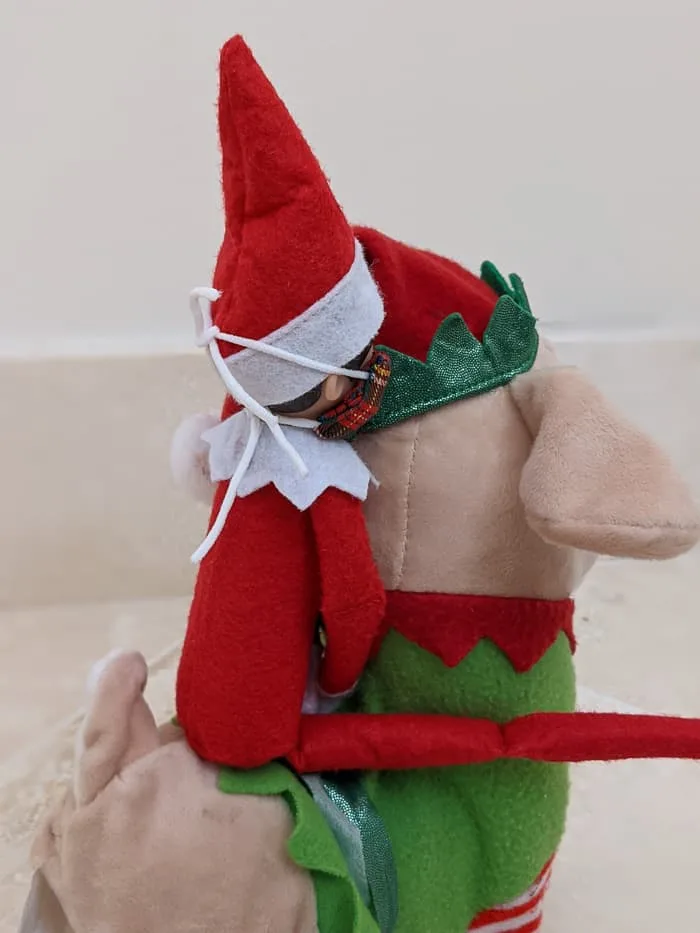
No Sew Doll Mask
For this version, you’ll need fabric, the elastic, and also a glue gun or fabric glue. You’ll need to make this similarly to the mask above, just replace sewing with glue.
I did this one first and the raw edges drove me nuts, but this was too small for me to machine sew nicely. I’d suggest making this slightly wider than I did (this one was (2) pieces of 1×1″ cuts of fabric) and using an iron to press the right and left sides first.
You can use the glue gun like a sewing machine and just hold the pressed edges down with a dab of glue.
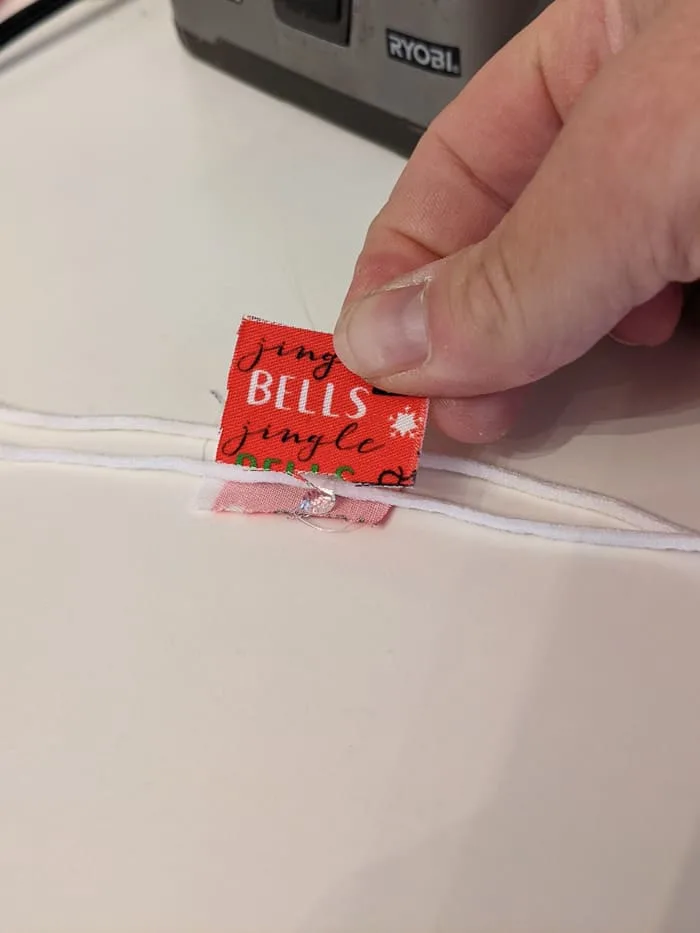
At that point, you can glue them right sides together.
The tricky part is that I used cotton fabric so the edges are prone to fraying. If I had used felt or fleece which don’t fray, I would have done this exactly as pictured below with no obvious fraying.
I hope that makes sense? But honestly you can just ignore the fraying because it’s really not that big of a deal for a small, quick project like this.
As you can see, I’m not
Please share and pin this post! If you make this project, share it in our Stuff Mama Makes Facebook Group. We have regular giveaways for gift cards to craft stores. You can also tag me on Instagram @doityourselfdanielle; I love seeing everything you make!

