

This DIY chick waterer will work for your chicks or full grown chickens. You just need a couple of items and a 5 gallon bucket!
I started with ducks years ago and fashioned this DIY duck waterer for them. Ducks are really gross with their water, but they can’t use a nipple waterer like chickens. Dipping their bills is important.
When we added chickens to our flock, I wanted to ensure that they had clean water in their chicken tractor. I LOVED the idea of a nipple waterer so they couldn’t dirty the water.
This post may contain affiliate links which may earn me commissions should you click through them and take certain actions. As an affiliate for Amazon, Cricut, xTool, Home Depot, and other sites, I earn from qualifying purchases. Please DIY carefully. View my full legal disclosures here.
The majority of my content is generated by me, as are 99% of the photos and videos, but I utilize technology for titles, descriptions, video editing out all of my ums, and occasionally for text overlay on images.
Please read the whole post so you don’t miss any important information!
Homemade Chicken Waterer
This was a satisfying and quick project. I made two chicken waterers out of 5 gallon buckets so I can get two chicken tractors going.
Supplies
- 5 Gallon Bucket (1 pk @ $5)
- Lid for the bucket (3 pk @ $6)
- Chicken Nipples (10 pk @ $12)
- Drill with a drill bit that matches the recommended size for the nipples you buy.
Total Cost per Waterer: $13
If you prefer a waterer that has little cups, you can buy the cups instead. I figured they’d poop in the cups if I went that route. I am real tired of cleaning poop out of my animal’s water and food.
This is a FIVE minute DIY. So super easy.
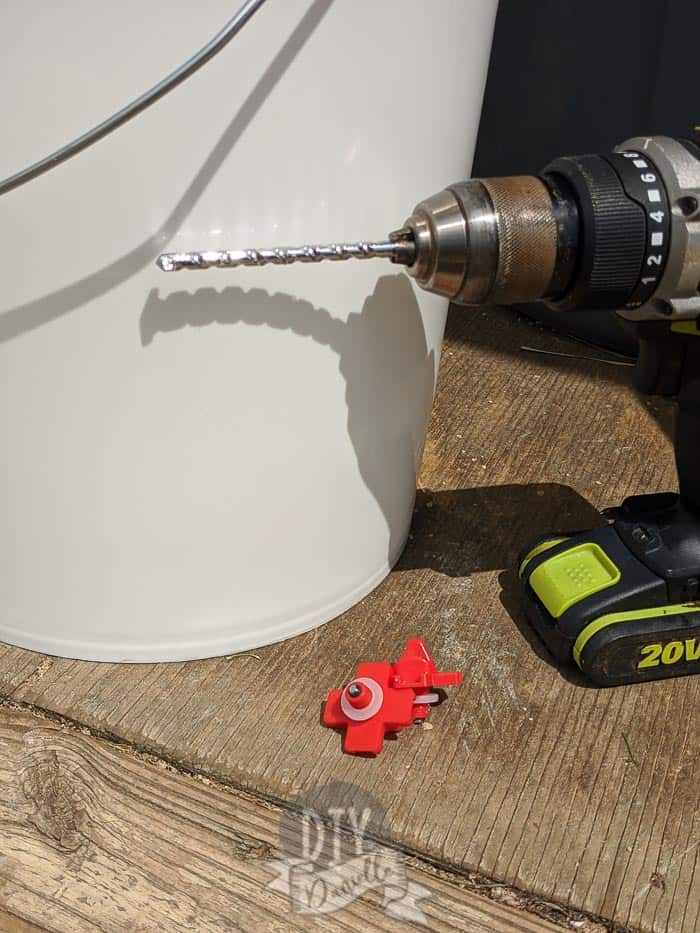
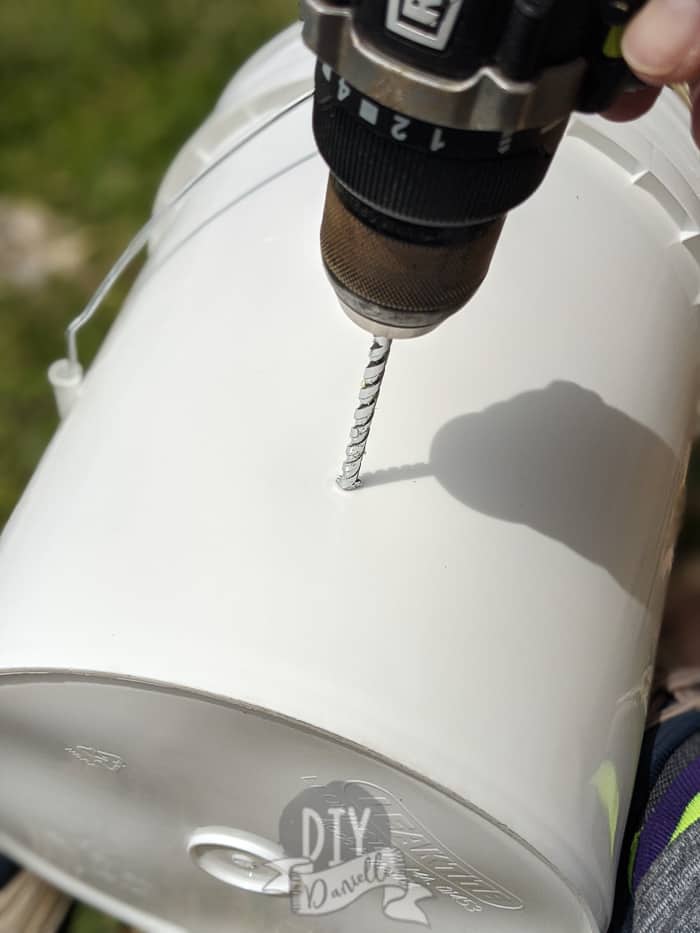
Start with your bucket, drill, drill bit, and nipples. If you have a marker, you can mark where you want the holes for the nipples. Remember that you don’t want the holes too high because all of the water under those nipples is just added weight and inaccessible to your flock.
I used 5 chicken nipples per bucket. This seems to be enough for my chickens and I was able to make two buckets with my 10 pk.
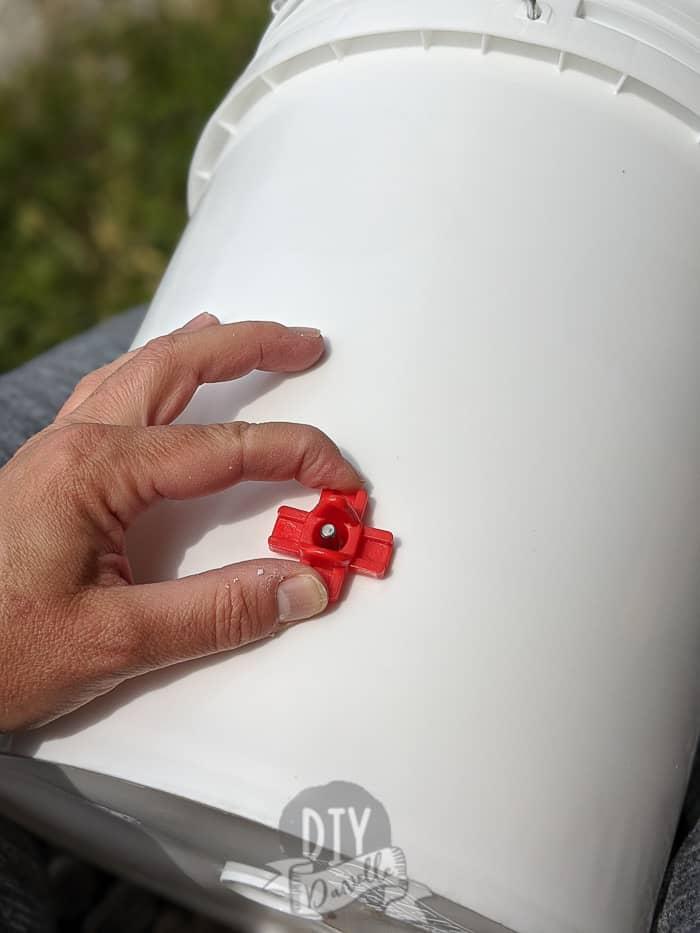
Wondering how these babies work? The chick licks the metal peg, it pushes inside and water drips out. Pretty clever and the chickens were SO fast to figure it out.
You want to eyeball your nipples (teehee) and make sure they’re all fully functional. Sometimes they get stuck on the opposite side.
Similarly, you want to make sure to cut away excess plastic let from the drill to make sure it doesn’t block the metal peg in the inside of the bucket.

You’ll want to use a drill bit per the recommendations in the manual for the chicken nipples. Our set stated to use a 5/16 or 11/32, but please double check in case the manufacturer ever changes that sizing!
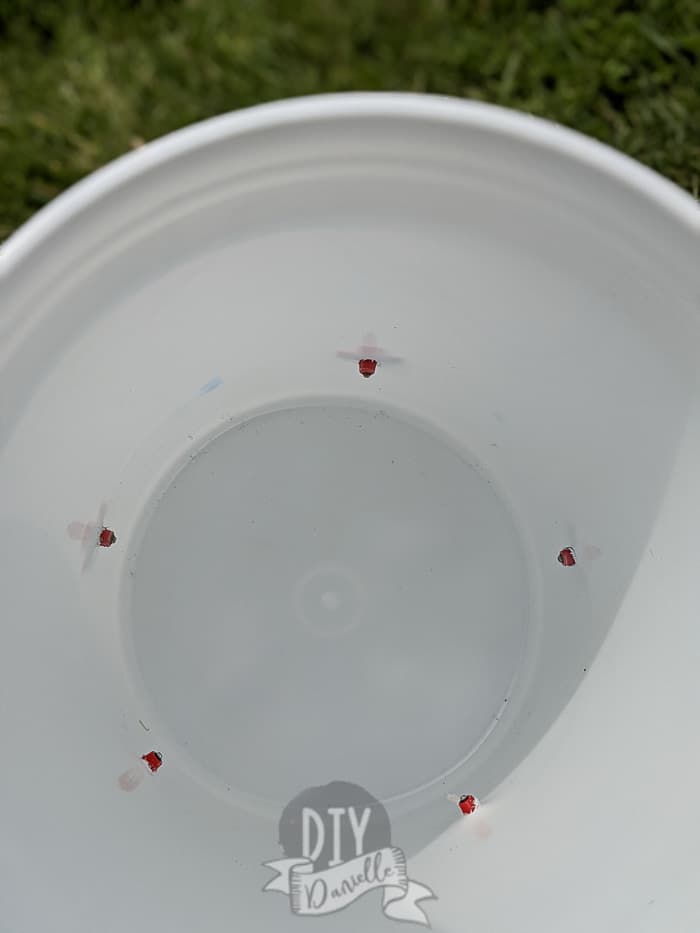
Your hole will look like this. Before inserting the nipple, you need to make sure there’s no excess plastic on the inside of the bucket that will block the waterer pieces. I had to cut them off with scissors.
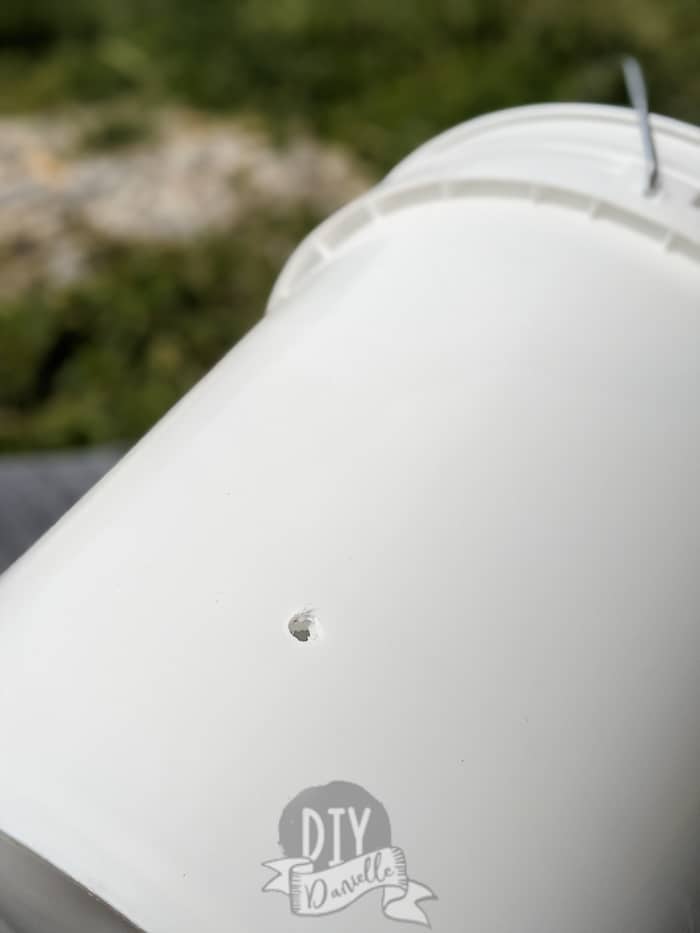
You can see on the bottom right how there’s a little excess plastic next to the inside part of the water nipple? That’s AFTER I cut away a bunch.
Once you have the holes ready to go, you can insert the nipples. DO NOT PUSH HARD. You’ll need to firmly push initially, but once it catches a bit, you want to gently screw it in. This should be TIGHT.
I added 5 per bucket. Each nipple should be sufficient for 4 birds so 5 nipples should be enough for my flock of 18.
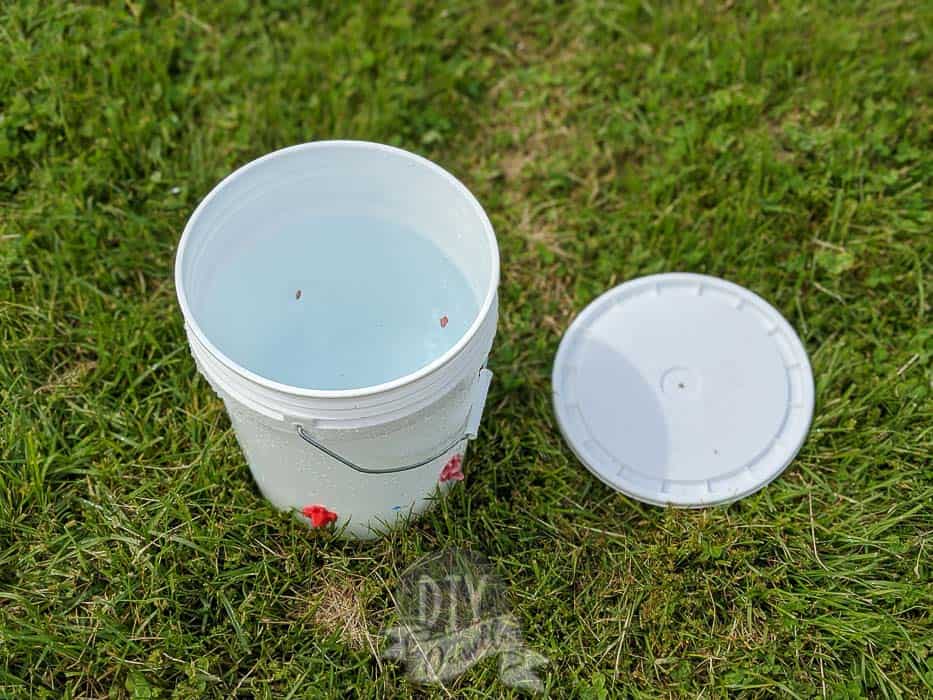
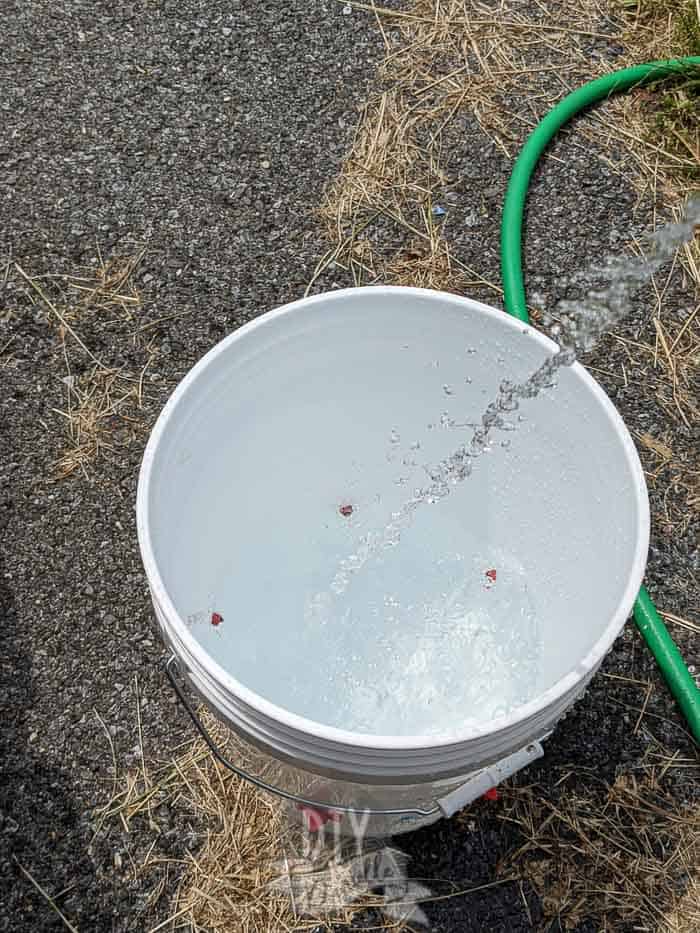
Fill it with water and let it sit on the driveway on a sunny day. If it’s leaking, you’ll see wet spots around it. If you see any leaking, screw in the nipples further. Some people use caulk for the interior of the bucket to help prevent leaks; this was NOT necessary for our waterers.
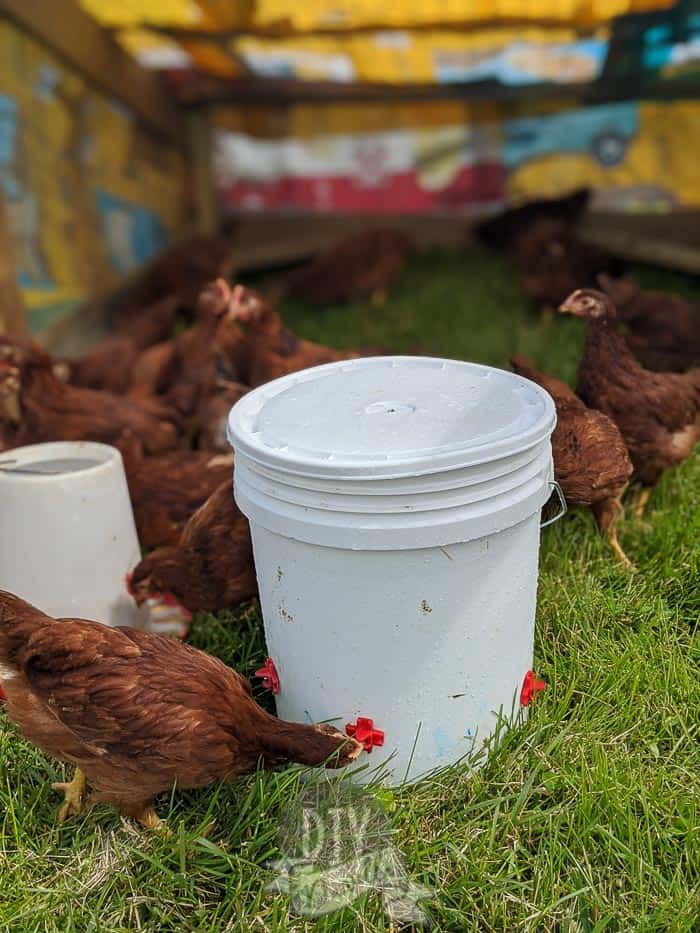
Once you’ve confirmed it’s not leaking, pop the lid on and you’re ready to put it in with your chickens. I recommend keeping water and feed OUTSIDE the coop. We have a predator proof chicken run attached to our coop so feed and water can stay outdoors. It helps keep the bedding and coop clean-ish.
Overall, this works GREAT. I need to haul around a 5 gallon bucket as I moved the tractor which isn’t ideal, but I didn’t want to add the weight of the bucket to my tractor. The chickens have NO problem accessing water, it doesn’t seem to leak, and if it does leak then it’s just into the grass.
My MAIN complaint is that the chickens love to sit on top of it and of course… poop. So I have to wash the top off regularly. It’s WAY better than leaving the top off though and risking drowning/poopy water.
Here’s the video of the process!
Need an easy shelter and don’t want to DIY? Here’s what you can buy.
Omlet makes a ton of chicken shelters and runs that are movable and have lots of accessories available. You can add wheels and handles to move the run as needed which is nice. The cages look like they’re well predator-proofed, and you can get an attached run up to 13′. They even sell an automatic coop door that opens and closes when the sun rises and sets. The Eglu Go is their easily movable shelter and run. They have perches to add on, swings, treat holders, and even chicken clothing. Totally worth checking out if you like to geek out over your poultry.
Please share and pin this post! You can also post your project and tag the DIYDanielle team on Instagram @doityourselfdanielle!
Google Web Story: DIY Chicken Waterer
To prevent pooping on the lid of the watering bucket, we hang the bucket from a rope and run a large, upside down oil funnel down the rope over the bucket. When we refill the bucket, we just slide the funnel up the rope, remove the lid, and pour in fresh water.