

Create a spooky graveyard cemetery archway using foam blocks and spray paint. Learn how to make this easy outdoor Halloween decoration now.
As a last minute addition to our 2023 Halloween Trail, I decided to make this quick and easy cemetery arch for the graveyard entrance. These use free foam blocks from our local feed store. I LOVE how they came out!
This post may contain affiliate links which may earn me commissions should you click through them and take certain actions. As an affiliate for Amazon, Cricut, xTool, Home Depot, and other sites, I earn from qualifying purchases. Please DIY carefully. View my full legal disclosures here.
The majority of my content is generated by me, as are 99% of the photos and videos, but I utilize technology for titles, descriptions, video editing out all of my ums, and occasionally for text overlay on images.
Please read the whole post so you don’t miss any important information!
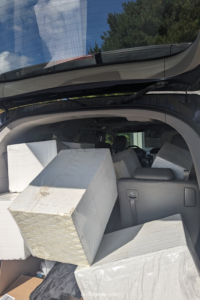
I was THE happiest DIY’er when I discovered that my local feed store had a TON of these foam blocks that would otherwise get thrown into the dumpster. These are great for making a lot of DIY projects.

DIY Graveyard Entrance with Foam Blocks
Supplies
- Foam blocks from TSC: These are used to pack trailers when they ship. They’re often tossed in the dumpster so just ask if they have any that they don’t want! But you really need to get lucky and hit them on a delivery day.
- Rustoleum 2x spray paint in some version of gray: https://homedepot.sjv.io/Ean04Q … I liked charcoal gray satin for the edges/crevices and then using granite satin for the rest.
- Spray Foam Sealant https://homedepot.sjv.io/q4LVPY
- Ryobi 7 1/4″ Circular Saw https://homedepot.sjv.io/21L247
- Black Sharpie and Scrap piece of wood
- Optional: Skulls and dowels
- ShopVac for cleanup: Mine isn’t still listed, but I like this one for a replacement… Ryobi 40V 10 Gal. Cordless Wet/Dry Vacuum (Battery Operated): https://homedepot.sjv.io/0ZM2e3
Tutorial
Step 1: Use spray foam to attach your foam blocks into three columns. Keeping the columns separate initially until you’ve cut the gaps would be easiest. Let dry. You want to weigh these down if you use spray foam for the adhesive because it tends to expand.
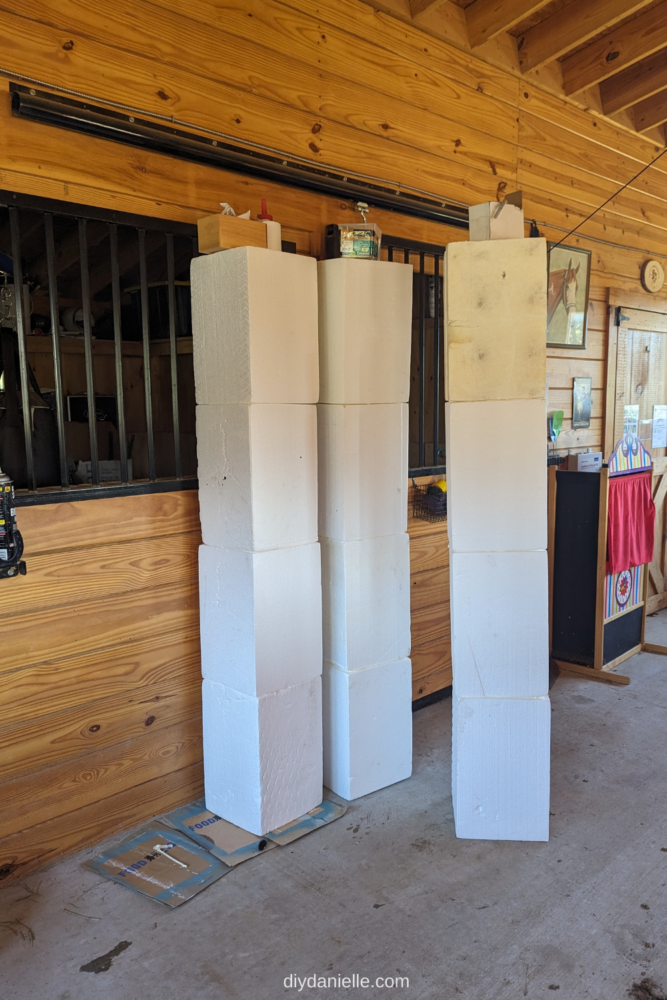
As an alternative, you might be able to put a dowel or a tall t post through these to hold them together.
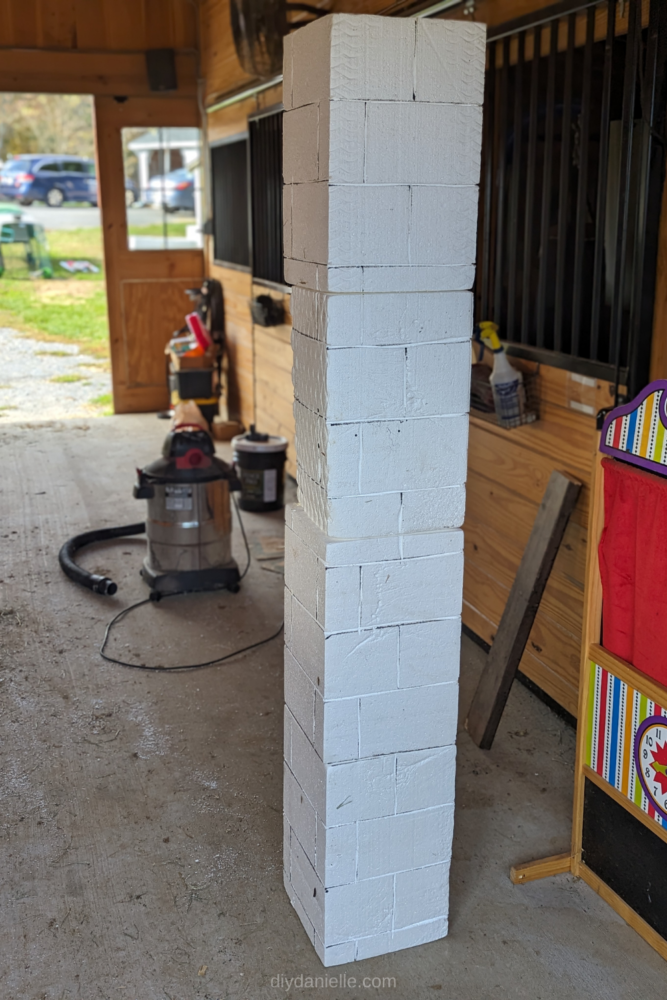
Step 2: Use a piece of scrap wood and a black sharpie to draw your lines for the ‘bricks’ on your ‘granite column’… this gives you guide lines to use when you cut. Don’t forget to get each side!

Step 3: Use a circular saw, hot knife, or some type of tool to cut a 1/2″ deep or thereabouts gap along those lines. In the photo below you can see what they look like after they are cut.
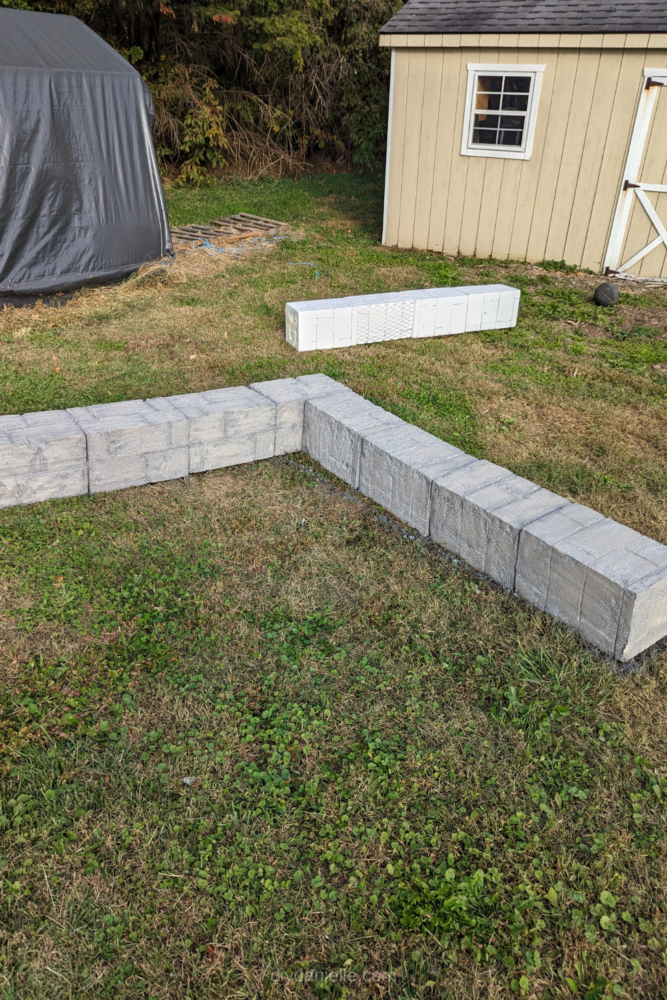
Step 4: Connect the three columns into the arch shape using the spray foam. I recommend attaching the bottoms to something solid to weigh the entrance down, but I skipped this step. My plan is to fix it for next year. I think two cheap pavers might work if you glue the bottom of each side to one. That said- you’ll need to be careful moving those around.
Step 5: Use charcoal gray satin spray paint for the edges/crevices of the columns, then use granite satin spray paint to fill in the rest. Let dry.
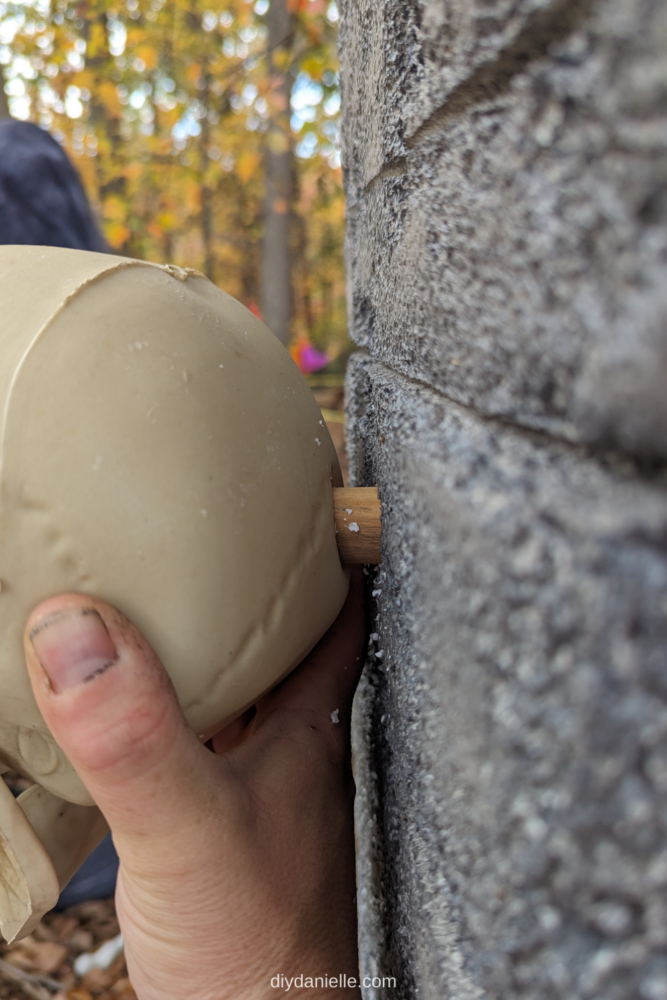
Step 6: If desired, drill a hole in the column and in the back of a faux skull and use a short dowel piece to attach the skull to the column front. This was pretty easy, but I would have added glue if I’d wanted to make it permanent.
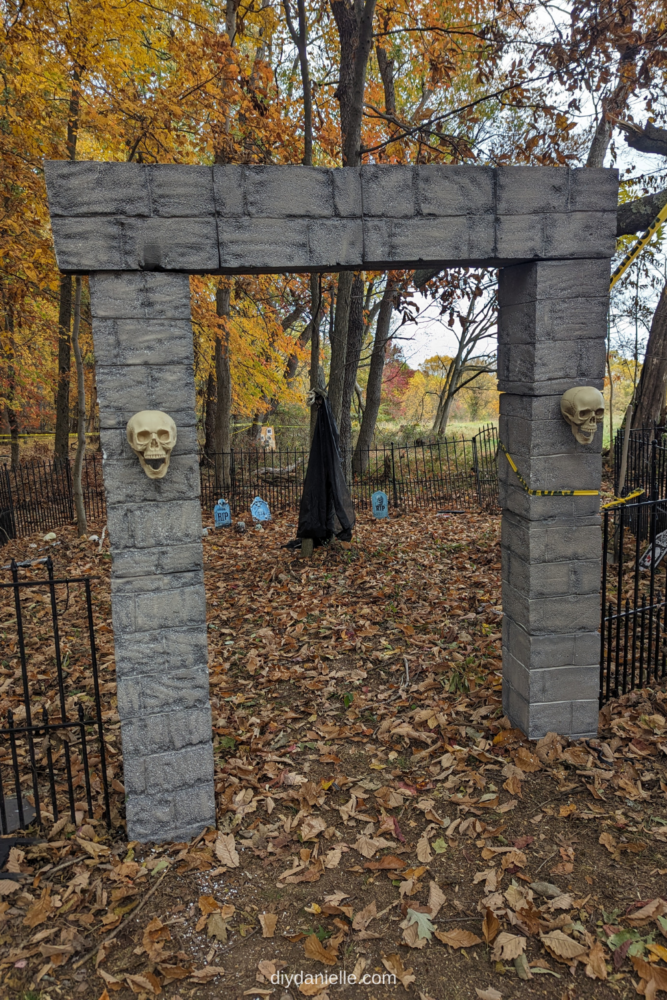
Here is the final picture of the cemetery entrance made of foam blocks and plastic skulls. Because I didn’t have them mounted to the ground well (yet), I used caution tape and also fishing line to hold them in place next to the no dig dog fence that I’m reusing.
Please share and pin this post! You can also post your project and tag the DIYDanielle team on Instagram @doityourselfdanielle!

