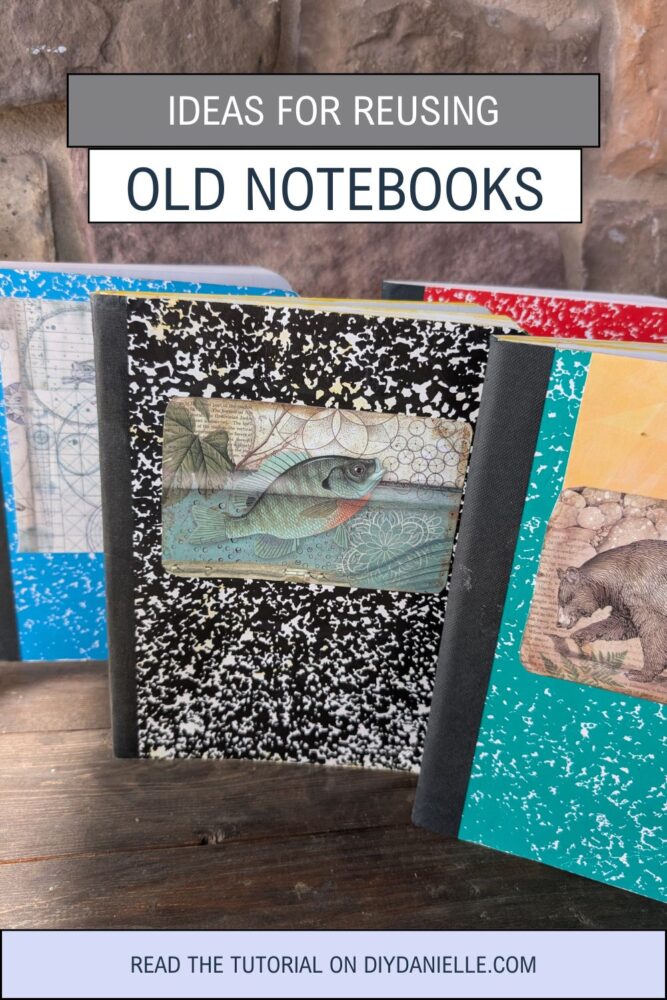
Discover creative and eco-friendly ways to reuse, recycle, or upcycle old notebooks instead of throwing them away.
We have a lot of old school supplies, particularly notebooks. But the kids can be particular about using hand-me-downs. Usually I use the notebooks because I do a LOT of note taking when I do trainings for other career. If there are only a few pages left, I usually tear out the blank pages and add it to our pile of lined paper. Then I’ll recycle the cardboard piece.
This time though, to avoid the trip to the store, I decided to spruce these up so my youngest kiddo would still be able to use them without feeling like they were getting their brother’s cast offs. They came out so cute!
He’s still at the age where getting something made by mom is extra special so I’m going to enjoy these moments while I can!
This post may contain affiliate links which may earn me commissions should you click through them and take certain actions. As an affiliate for Amazon, Cricut, xTool, Home Depot, and other sites, I earn from qualifying purchases. Please DIY carefully. View my full legal disclosures here.
The majority of my content is generated by me, as are 99% of the photos and videos, but I utilize technology for titles, descriptions, video editing out all of my ums, and occasionally for text overlay on images.
Please read the whole post so you don’t miss any important information!
Upcycled Notebooks DIY
Project Supplies
- Old notebooks, ideally with a paper cover
- Mod Podge: Matte https://amzn.to/3uZFoRf
- Scrapbook Paper (any/all/whatever you like):
- Vintage Christmas Sheet Music, Scrapbook Paper https://amzn.to/4hvpnpJ
- Stamperia Scrapbook Paper, Cosmos https://amzn.to/4hw6rr9
- Stamperia Scrapbook Paper, Around the World https://amzn.to/4htybwf
- Stamperia Scrapbook Paper, Forest https://amzn.to/4nmyb2E
- Stamperia Scrapbook Paper, Wonderland https://amzn.to/3WXJKlW
Step by Step Instructions
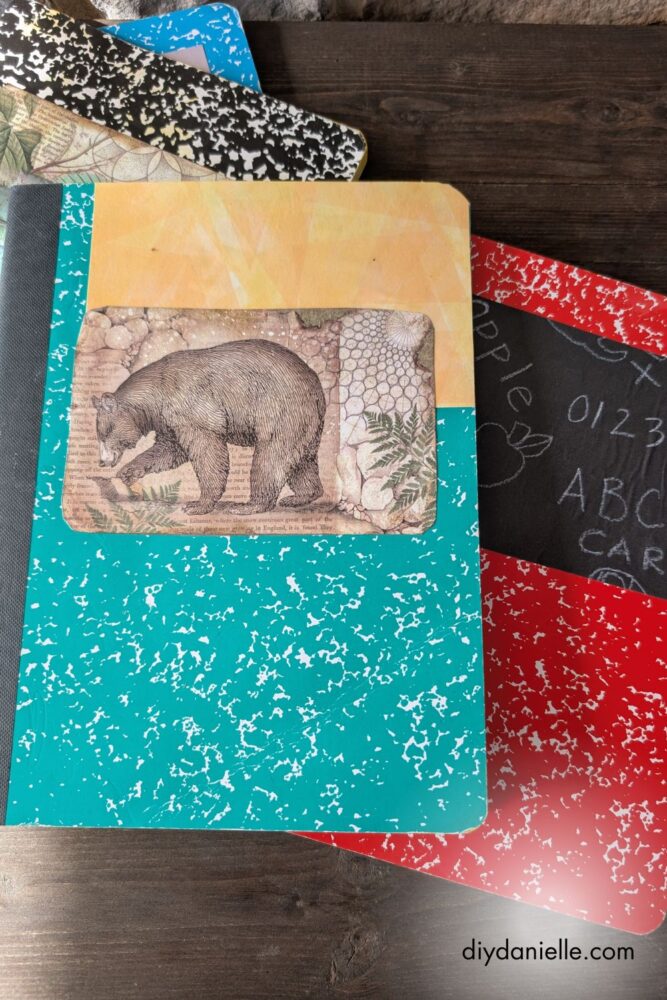
Step 1: To begin, I took any of the paper covered notebooks and separated them out. I anticipate that this project won’t work for notebooks that have a plastic cover. Fortunately, you can still put stickers over the names or previous text. Alternatively, I also tried magic eraser to get the sharpie off.
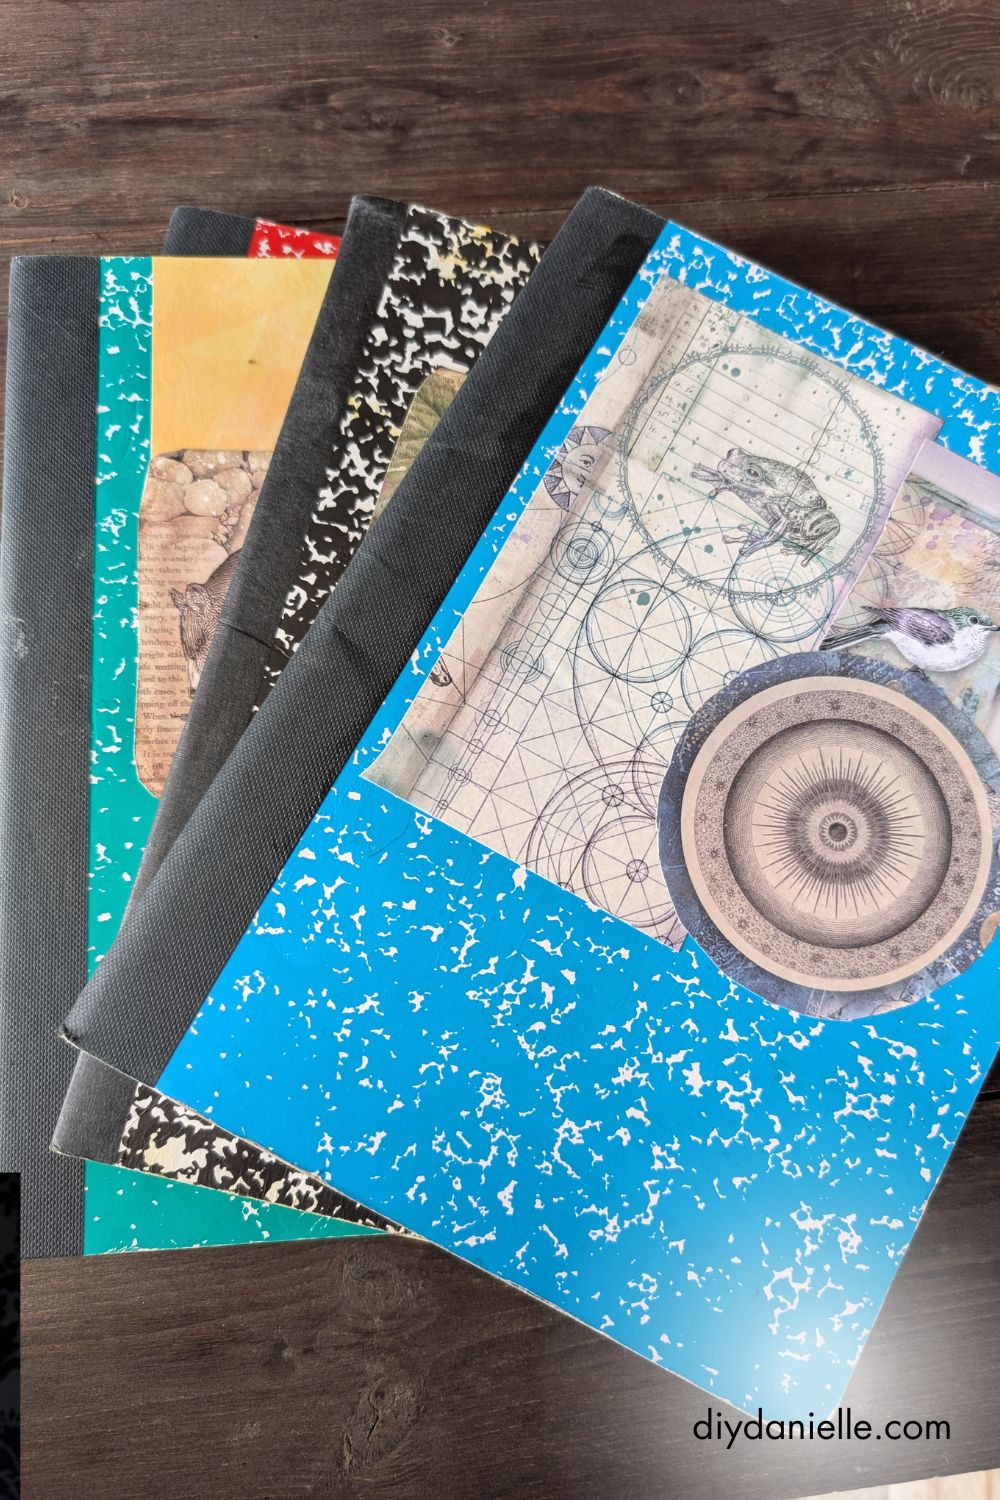
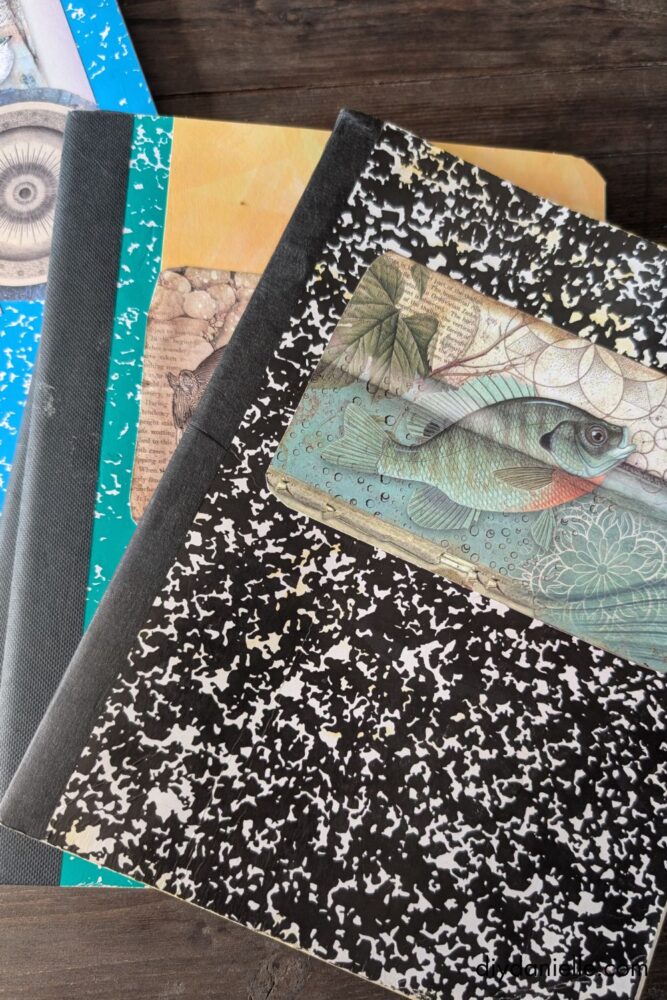
Step 2: I cut out pieces of scrapbook paper and used modge podge to apply a layer of glue.
Step 3: I placed the scrapbook paper on top, ensuring that I pushed out any bubbles that were underneath.
Step 4: Afterwards, I added a layer of mod podge on top. Again, you are working to push any bubbles out because you will get some air bubbles. I haven’t found a way around that.
Step 5: Let dry.
If you want, you can try a few layers of mod podge on top for extra durability. I’m not sure how much more you get out of extra coats, but I tend to go overboard.
You can add a label on top with your child’s name or the class.
That’s all there is to it!
I’m super pleased with these and they’re so cute. I really hate throwing things away.

Please share and pin this post! You can also post your project and tag the DIYDanielle team on Instagram @doityourselfdanielle!