

Learn how to make an easy DIY tissue box cover to match your home décor. A quick, stylish, and affordable project that adds a custom touch to any room.
I really love tissue box holders. But I can’t always find something that I really really love. I realized that I was missing a perfectly good opportunity to do a craft. This project was super easy and only requires a couple of materials that you should have easily accessible to you.
This post may contain affiliate links which may earn me commissions should you click through them and take certain actions. As an affiliate for Amazon, Cricut, xTool, Home Depot, and other sites, I earn from qualifying purchases. Please DIY carefully. View my full legal disclosures here.
The majority of my content is generated by me, as are 99% of the photos and videos, but I utilize technology for titles, descriptions, video editing out all of my ums, and occasionally for text overlay on images.
Please read the whole post so you don’t miss any important information!
DIY Tissue Box Holders
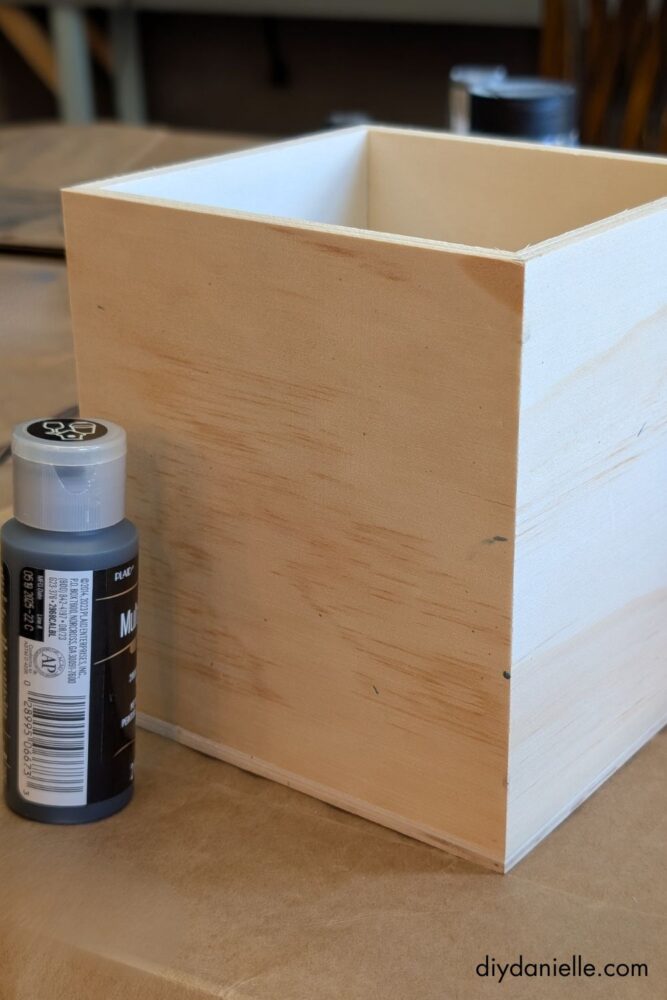
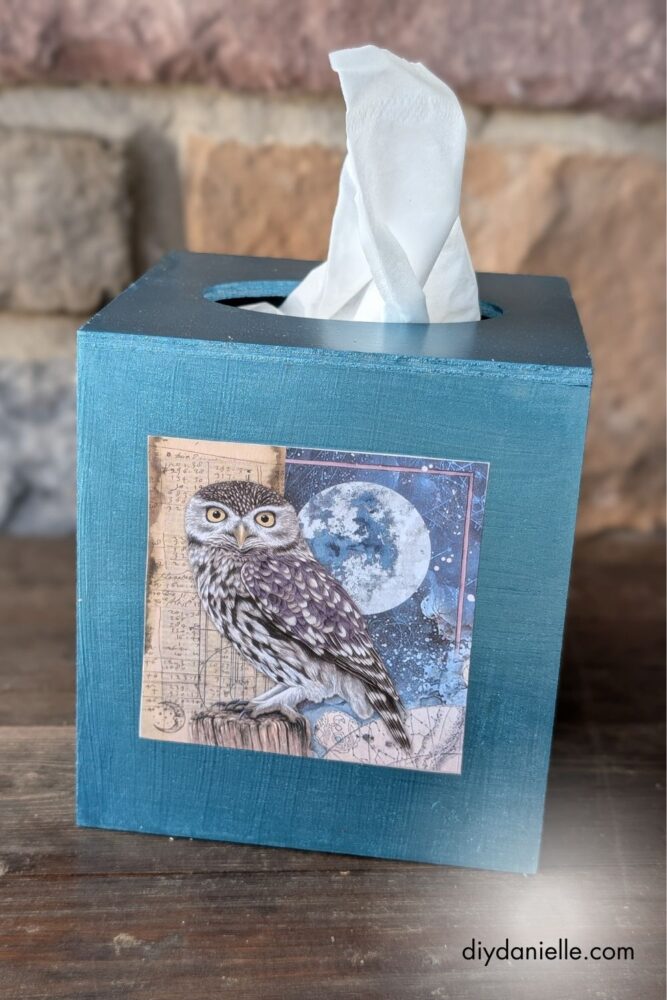
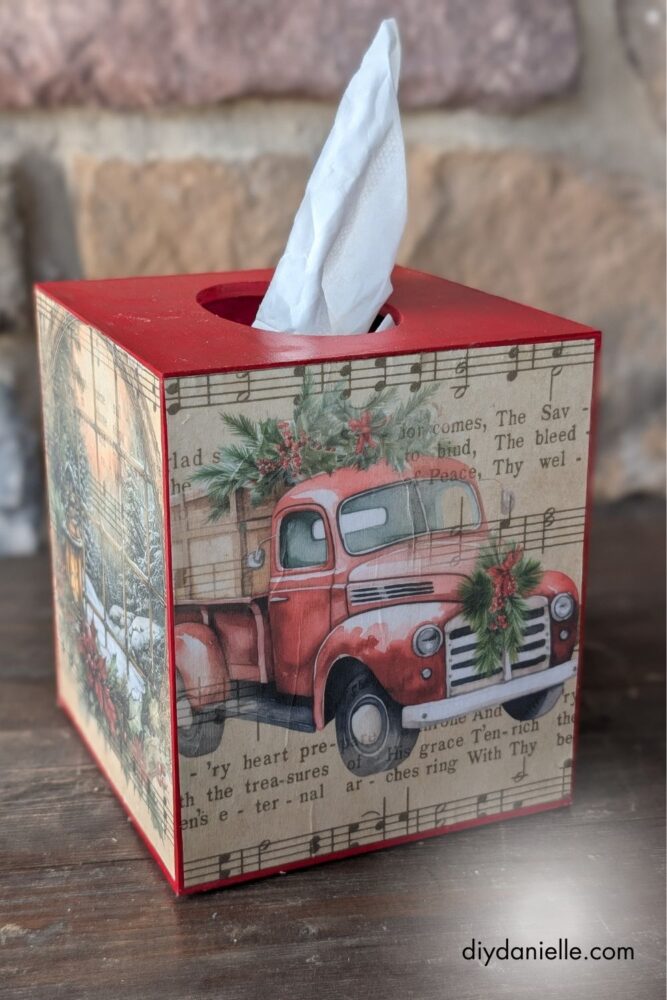
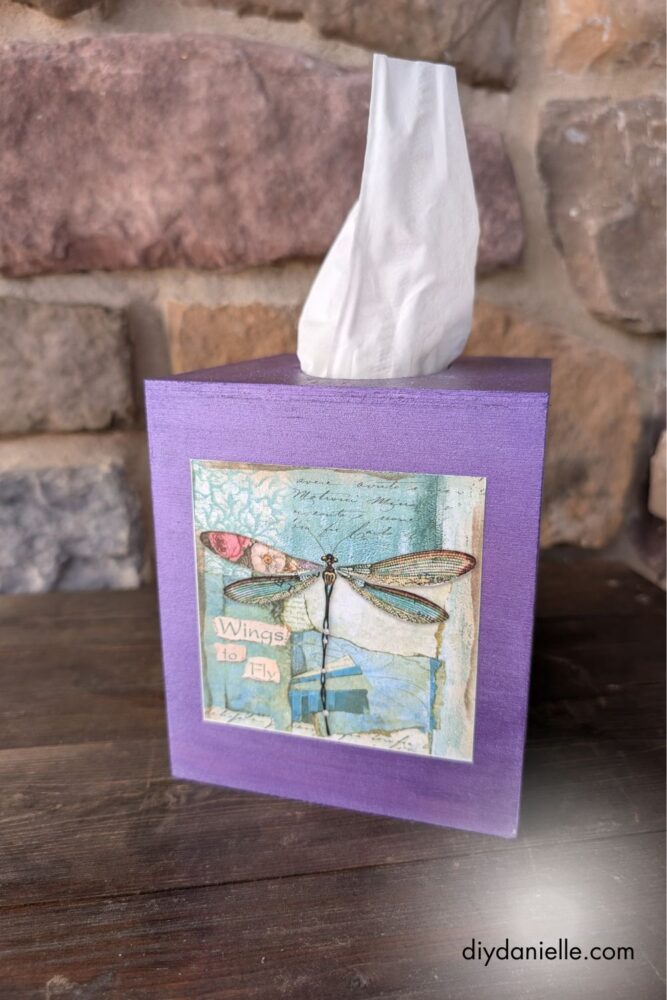
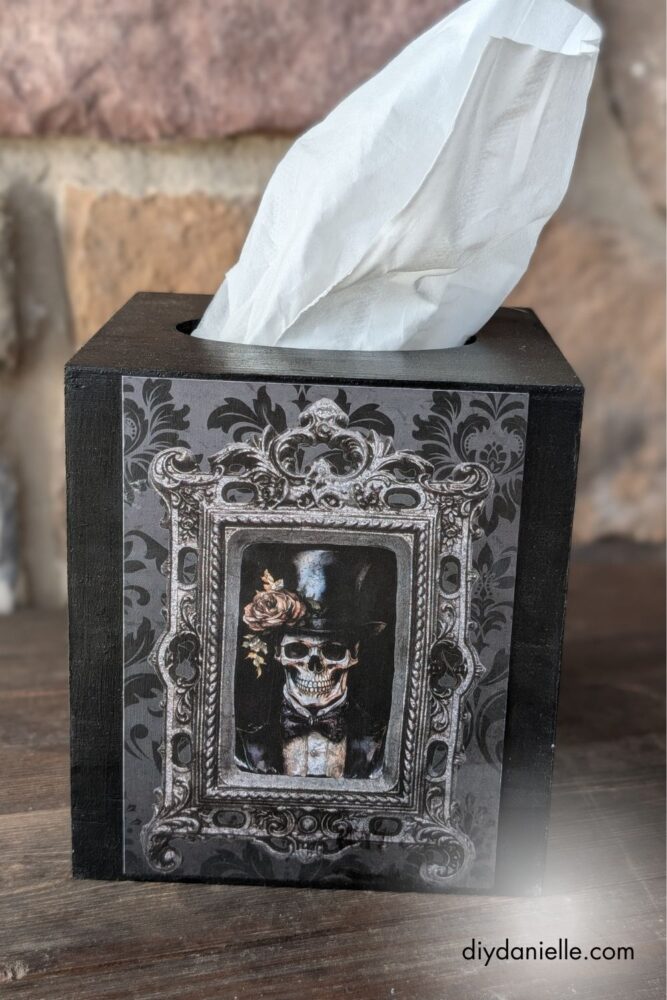
I considered using my laser cutter to cut out the tissue box, but I decided to buy it from Michaels instead with a coupon. I bought four different tissue boxes because that’s how many they had… I’ll probably be back from more.
I need to hit them up when they have a sale on them because this was a lot of fun.
Project Supplies
- Tissue box holder, blank: https://amzn.to/4hH7ILV (this is not the one that I got, but a different brand- it’s a bit cheaper for two… only difference is that the bottom slides on and off. The ones I have don’t have a bottom)
- Scrapbook paper (just a few of my favorites, some of which I used for this project):
- Vintage Christmas Sheet Music, Scrapbook Paper https://amzn.to/4hvpnpJ
- Stamperia Scrapbook Paper, Cosmos https://amzn.to/4hw6rr9
- Stamperia Scrapbook Paper, Around the World https://amzn.to/4htybwf
- Stamperia Scrapbook Paper, Forest https://amzn.to/4nmyb2E
- Stamperia Scrapbook Paper, Wonderland https://amzn.to/3WXJKlW
- Vintage Christmas Sheet Music: 36 Decorative Sheets Scrapbook Paper For Collage, Scrapbooking, Junk Journaling, Paper Crafts and Decoupage https://amzn.to/4nvqmHU
- Mod podge: Matte https://amzn.to/3uZFoRf
- Paint brush
- Paper bags to protect your workspace
- Paint:
- FolkArt Jewel Tone Acrylic Craft Paint Kit, 15 Piece Set Including 12 Metallic Colors and 3 Premium Paintbrushes https://amzn.to/4qCf0Vq
- Alternatively, Rustoleum metallic spray paint: https://homedepot.sjv.io/Oe7GzG
Step by Step Instructions
Step 1: Grab your scrapbook paper or whatever paper you are applying to the outside of your tissue box. Grab some mod podge and a paintbrush. I like to use some type of straight edge to cut my scrapbook paper evenly.
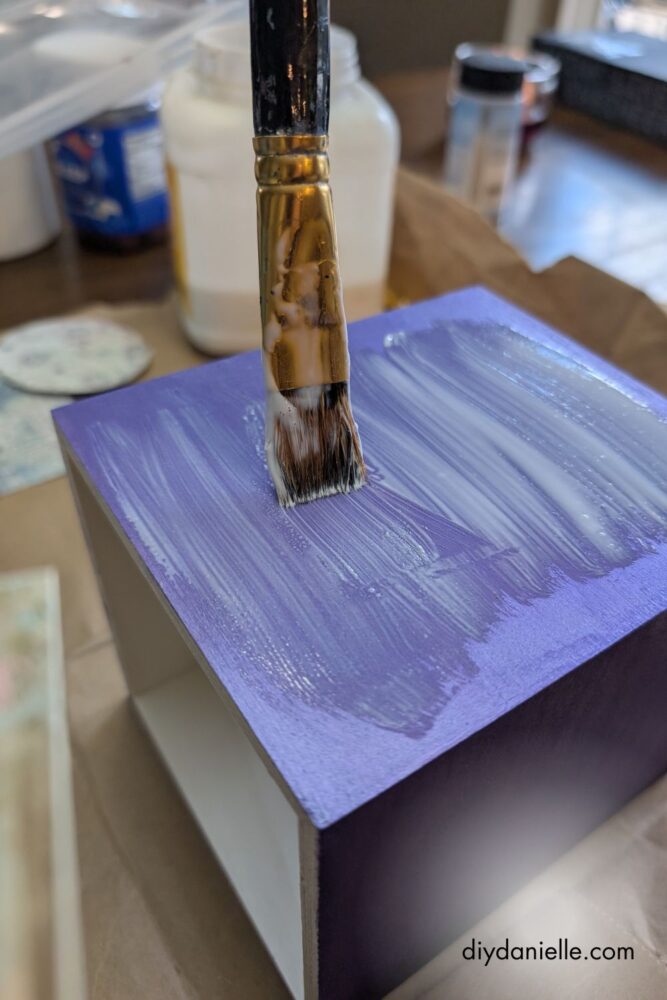
You also want some paint. FolkArt Metallic Acrylic Craft Paints are my favorites because they have a Metallic Sheen to them. I do think it would be a little bit easier to spray paint, however.
Step 2: Start by painting your tissue boxes, the base color. It helps if you picked out your scrapbook paper in advance so you know what color will match well.
You’ll want to spray the inside first. Let it dry.
Once dry, paint the outsides.

Step 3: Once that’s dry, get your scrapbook paper and your straight edge and scissors. Decide how you want your designs and how large you’d like them to be. I put designs on all of the sides of my tissue box holder but not on the top. But this was my personal preference. You can do what you want! That’s the fun part about doing it yourself.
Cut out your pieces and arrange them to your liking.
Step 4: Place a thin layer of mod podge on one side.
Place your scrapbook paper for that side on top. Press out any bubbles.
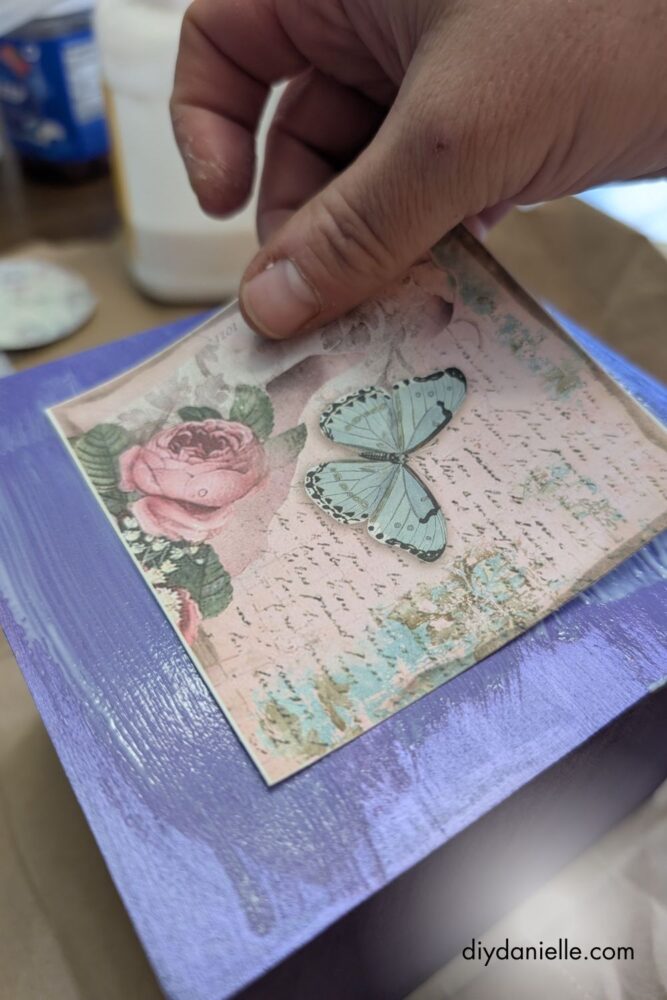
Continue with the other three sides.
Step 5: You now you have two choices here. The first is that you can apply a layer of mod podge on top of your scrapbook paper right away. That’s what I did. You have to continuously press the bubbles out to make sure that nothing puckers underneath.
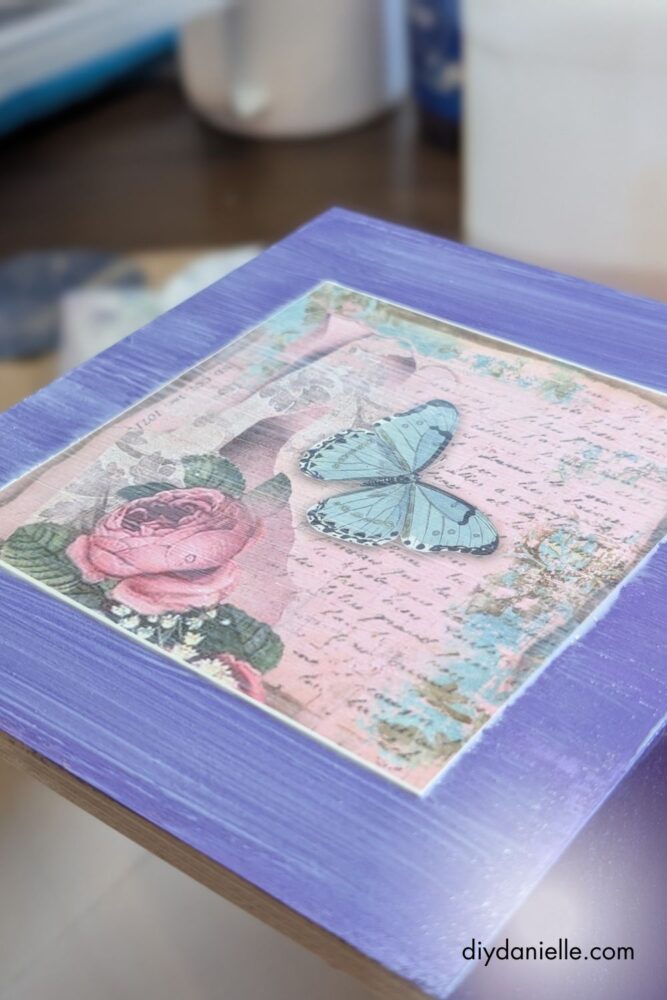
Alternatively, you could be patient and let the first layer dry before applying your top layer. We don’t do that around here.
I usually apply a few top layers of mod podge to anything that I do. I let them dry in between, but feel more secure in thinking that my craft will last longer if I add extra layers.
Now will this last forever? Maybe. To be honest it’s pretty sturdy at this point. But if not, you can always peel it off sand anything that gets stuck and start over.
This is such a fun and easy craft and it’s a great way to make some custom tissue box holders for yourself. I made one for Halloween, one for Christmas, and two that’ll work at any point in the year.
Tissue Box Decoration Ideas
While I used scrapbook paper, I’m going to give you a list of other options… just in case you need something clever to do with ‘that thing’ you’ve been saving to upcycle.
These are specific to using the same technique (yes, thinner fabric works too!)
- Old t-shirts or other fabric items: thin fabric will work, but something thick like fleece likely won’t.
- Wrapping paper
- Upcycled cards: greeting cards OR playing cards
- Upcycled calendars
- Puzzle pieces from a puzzle that you lost pieces to.
- Thoughtful notes or letters that someone has given to you: I would make a copy to use vs. using the original if it’s something you really value… just in case the mod podge causes the ink to smear. I usually don’t have issues with that, but I’m cautious with things of emotional value to me.
- Packaging from favorite food/candy/treats
Please share and pin this post! You can also post your project and tag the DIYDanielle team on Instagram @doityourselfdanielle!
