

See how we transformed our space by raising our sunken living room floor! Learn the benefits, key considerations, and view our progress photos.
As part of a great update to our home’s floor plan, we decided to update our living room this year and this included raising the floor in the sunken living room. This has made a MASSIVE difference in the feel of our space, and while it’s always been fairly ‘open concept’ in terms of noise, this opened it up more visually. If I have to hear everyone else, I want the open concept look too. Or I want a closed door. One or the other. Let me show you the progress on this room.
This post may contain affiliate links which may earn me commissions should you click through them and take certain actions. As an affiliate for Amazon, Cricut, xTool, Home Depot, and other sites, I earn from qualifying purchases. Please DIY carefully. View my full legal disclosures here.
The majority of my content is generated by me, as are 99% of the photos and videos, but I utilize technology for titles, descriptions, video editing out all of my ums, and occasionally for text overlay on images.
Please read the whole post so you don’t miss any important information!
Why Raise the Floor?
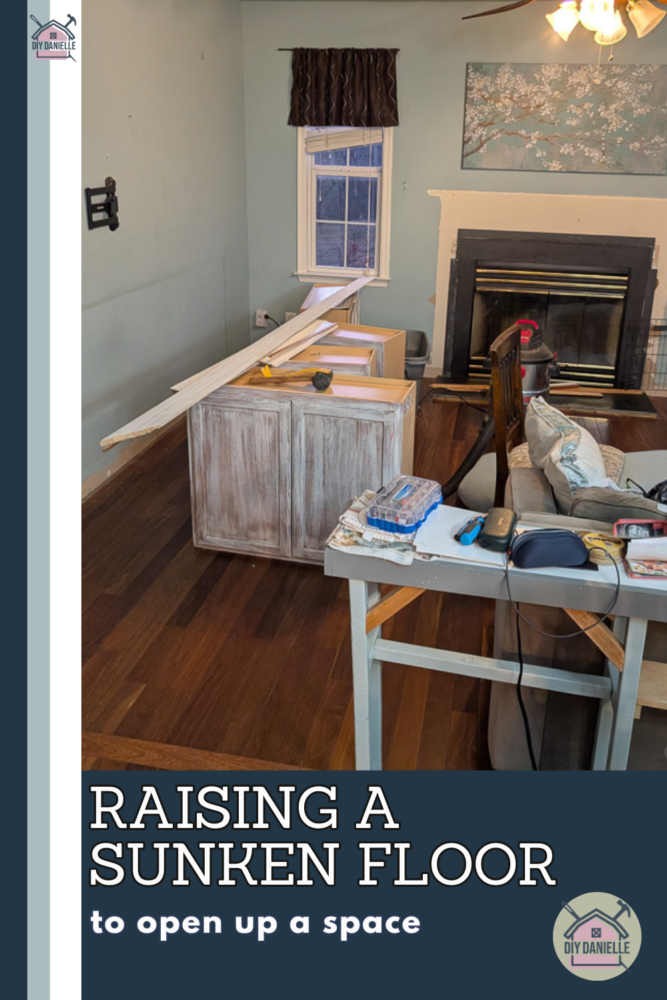
Our living room had a sunken floor and it was a bit of a pain point because people would frequently trip over it. As more of a first world problem, it also made sure that we couldn’t use a vacuum robot to help keep the floors clean.
While buying an additional robot would have been much cheaper, we wanted to update this room regardless.
Our plan was to remove the half wall, at a door where the double windows are, and turn this into a full dining room for a longer dining room table. We have five people in our family and there’s no space for guests as is.
We converted our previous teeny dining room into a pantry and also a hallway which will go out to our new living room once it’s finished.
Removing the half wall and raising the floor made this space seem a lot larger, without actually changing much to the floor plan.
Considerations for Raising a Sunken Living Room
There were a few considerations to raising the floor:
- Style: Some people love sunken living rooms.
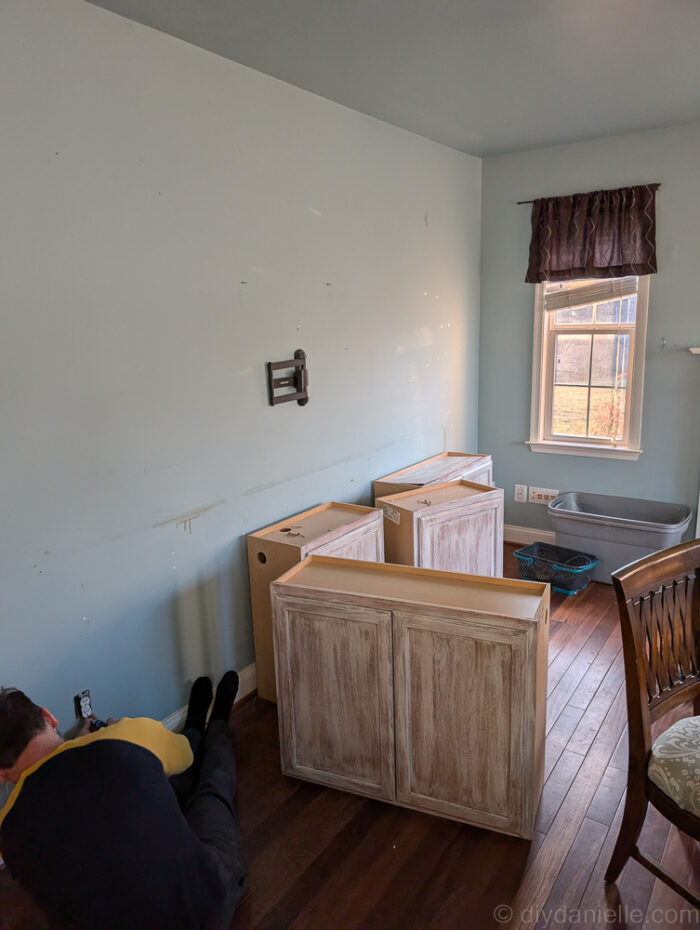
- Electrical: Outlets needed to be raised in order to meet code. The floor outlet either needed to be extended or closed off (properly)
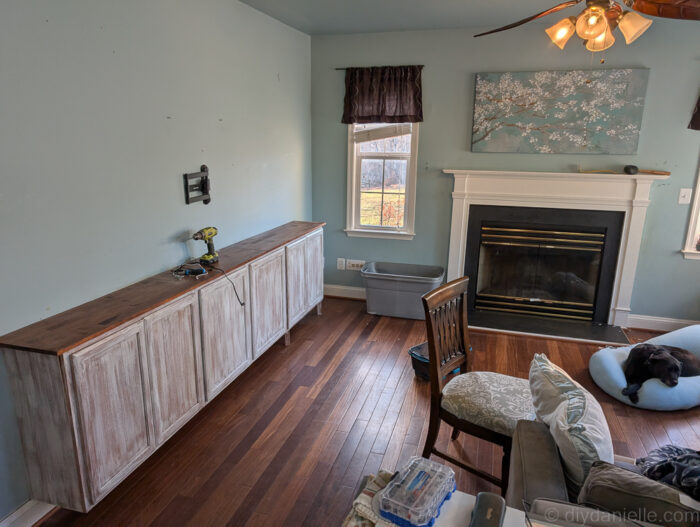
- Fireplace: This was now being raised off the floor by an addition 7″+ in our case.
- Windows: The windows were fine to stay as is, but in some spaces, they might need to be moved or adjusted for the new floor height.
- Sliding Glass Door: We added one where two of the windows were. This needed to be adjusted to the correct height, but it worked out fine with the standard door size and our new floor height.
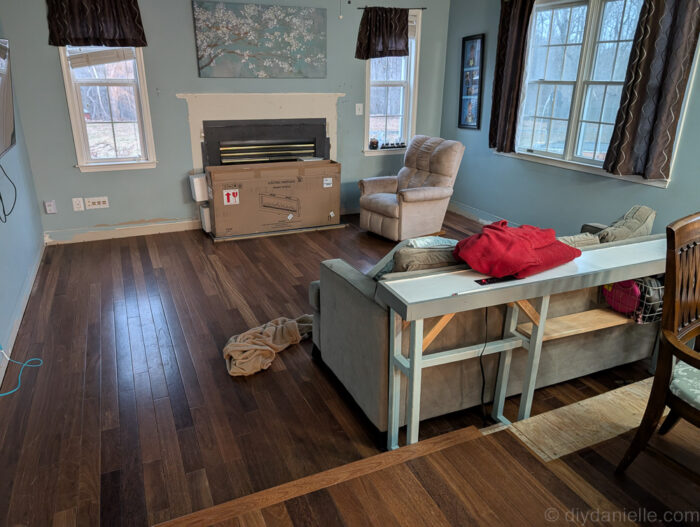
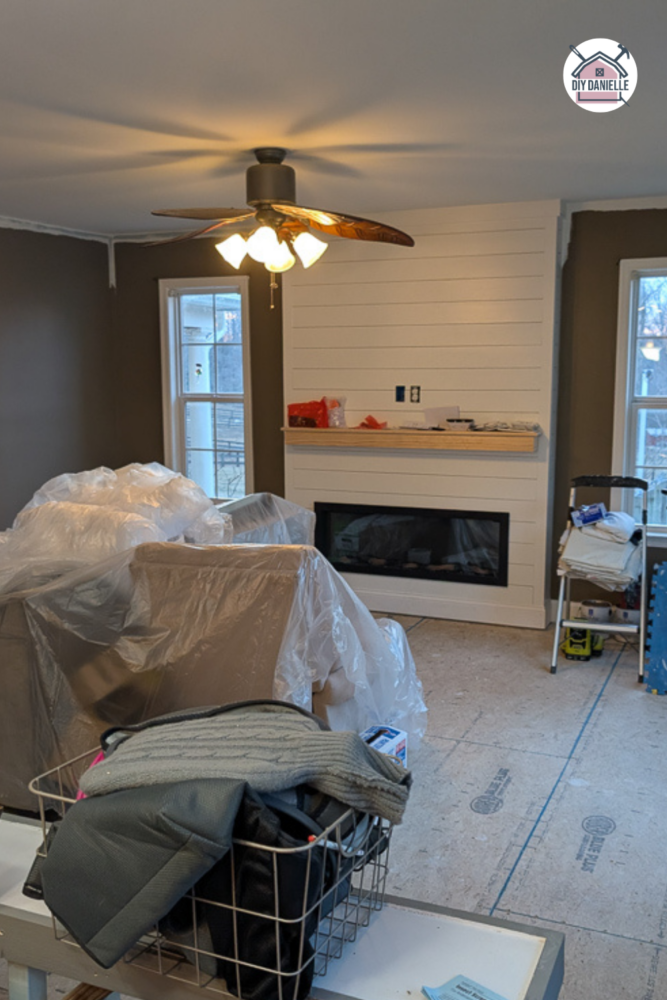
The fireplace might have been tricky, but we needed about $2000 in repairs to the chimney. We opted to close it off and insulate it, then add an electric fireplace instead. This is more health-conscious for me and my older son who both have asthma.
Hiring vs. DIY
I debated doing a lot of this project myself but my main pain point was how long it would take. I also was concerned about doing the math and making sure the floors would line up perfectly so that we could install hardwood to continue this.
I ended up hiring out the project and it was pretty reasonable, although things like the door and the fireplace were expenses that I had to plan for.
We opted not to finish the floor immediately so you’ll see the subfloor in the finished photos. This was because we planned to do an addition and will likely end up doing hardwood everywhere and needing to refinish this all. I didn’t want to do it twice.
But we have been chatting about potentially pulling the hardwood floor back a little and doing a matching but different floor for the dining room. This would speed up finishing the flooring.
I have mixed feelings. I’ll figure it out eventually though.
Saving Some Money: Demo
I ended up demo’ing a lot of the stuff ahead of time in order to save some money and also so I could save some of the supplies. We sold the fireplace mantle, and I have trim that I can either reuse or sell. I didn’t want things to end up in a landfill that may be useful to me or someone else, even if it means a bit of extra work. I have a fairly good eye for what’s worth saving at this point.
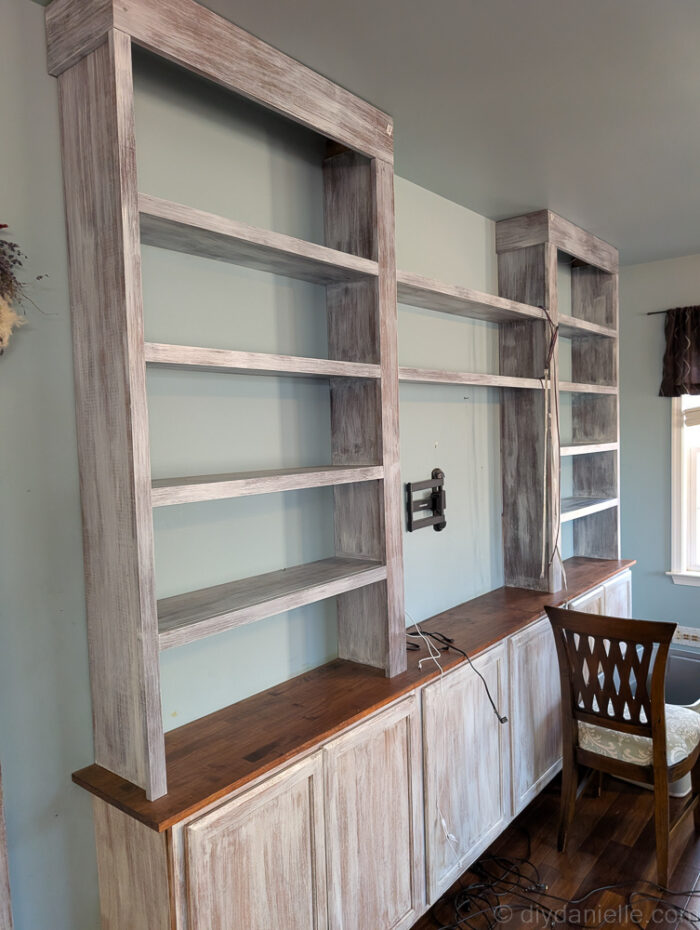
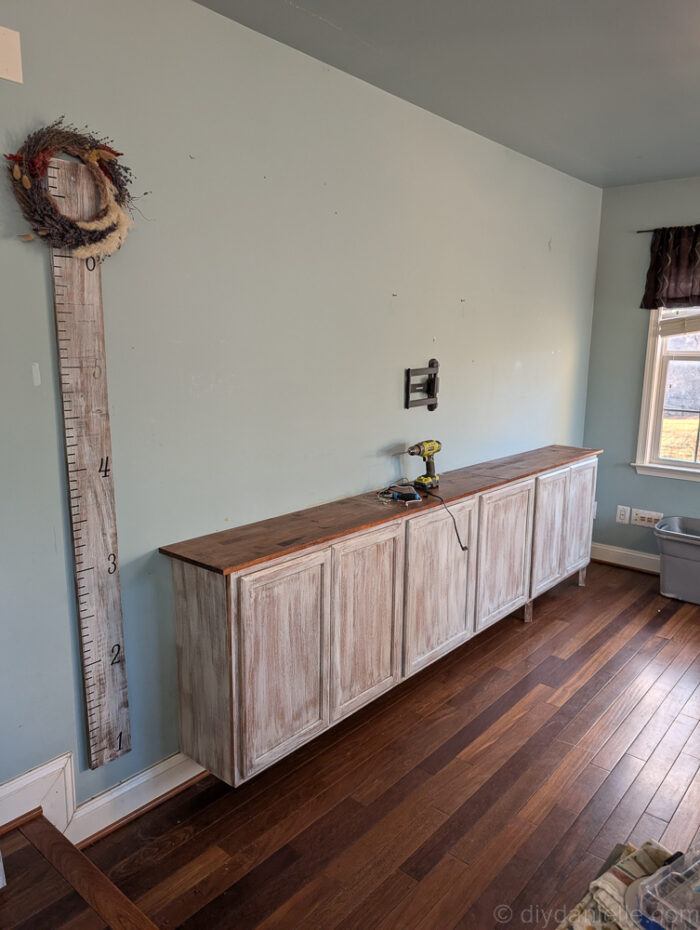
I demo’ed the old living room cabinets myself… carefully… so I can use them elsewhere.
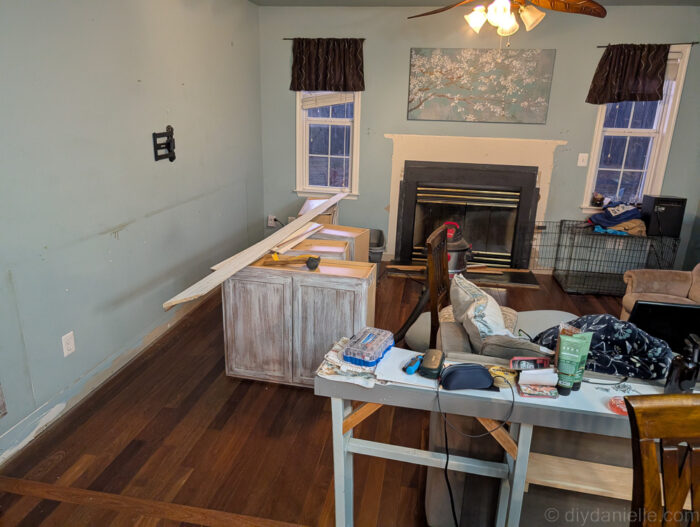
You can see some of the progress photos below, including what the floor looked like before it was raised.
I don’t have a photo of the half wall before I demo’ed it, but the internet said that it could cost $500-2000 to demo a half wall and so I figure I saved a few dollars DIY’ing it. You can see the half wall in this video showing our process on this project:
https://www.tiktok.com/@doityourselfdanielle/photo/7486445147215973663?is_from_webapp=1&sender_device=pc&web_id=7470977788730557998
Progress Photos for Raising a Sunken Living Room
I’m going to share some photos of the process- just remember that we didn’t do this ourselves. If they did anything wrong, I didn’t make the mistake! Haha.
I’m not going to give you advice on how to do the installation yourself. I think it’s certainly feasible for an experienced DIY’er, particularly if you hire out the electrical work. It just may take the time that you don’t have.
We opted to do the pantry/hall ourselves instead. If I get around to it, I’ll try to post that project soon.
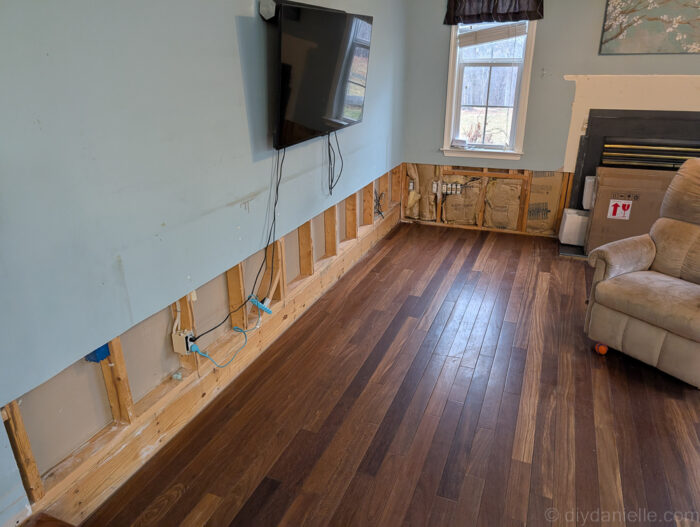
The first step they did was to cut the drywall where they would need to have access. This is areas where they would be raising the electrical outlets as well as the area where the floor would be raised up as well.
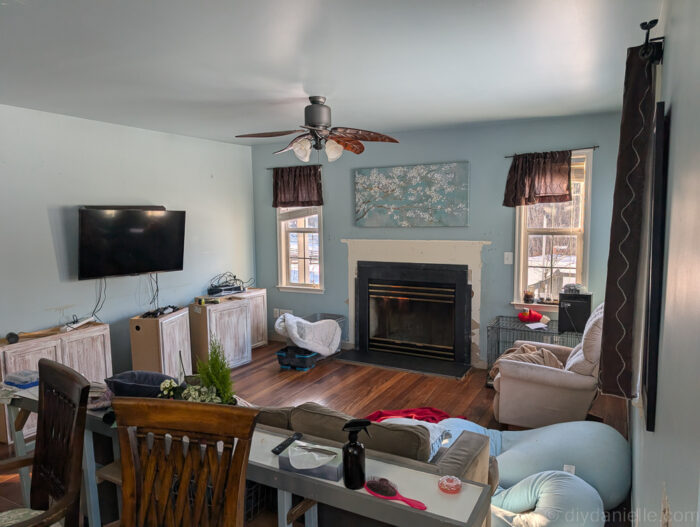
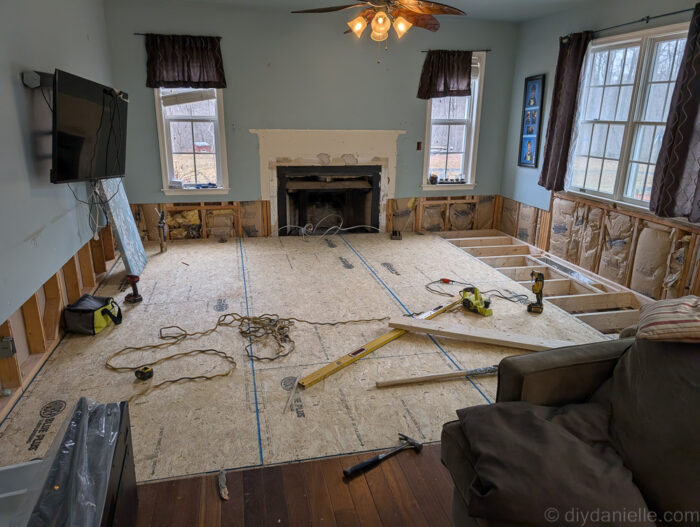
You can see in this photo that the wall under the TV doesn’t have insulation. This is because it’s a shared wall with our office. All of the other walls were exterior walls so they are insulated.
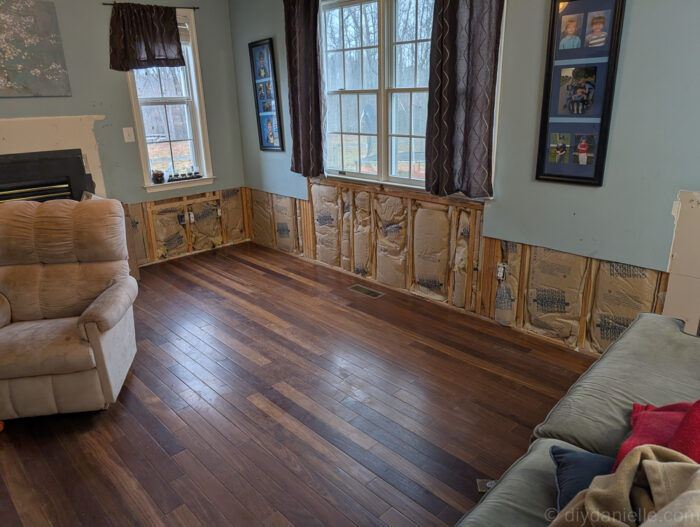
If you look really closely, you can see that the area underneath our window wasn’t insulated. That was a huge builder error from the original build. Filling those gaps in ended up being a big improvement in how warm the room felt.
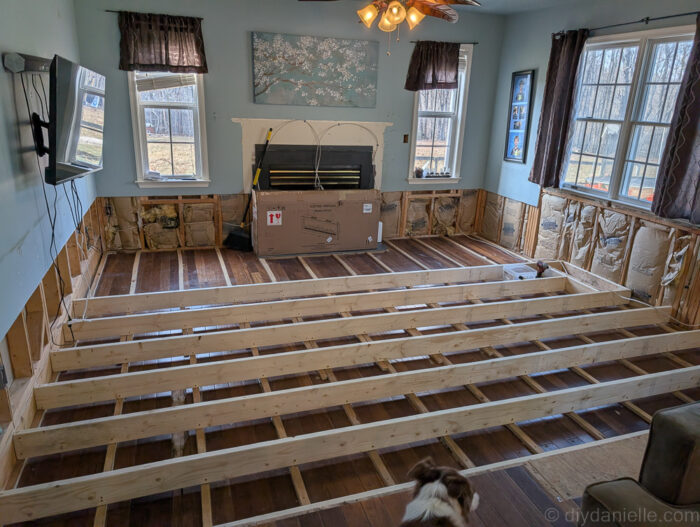
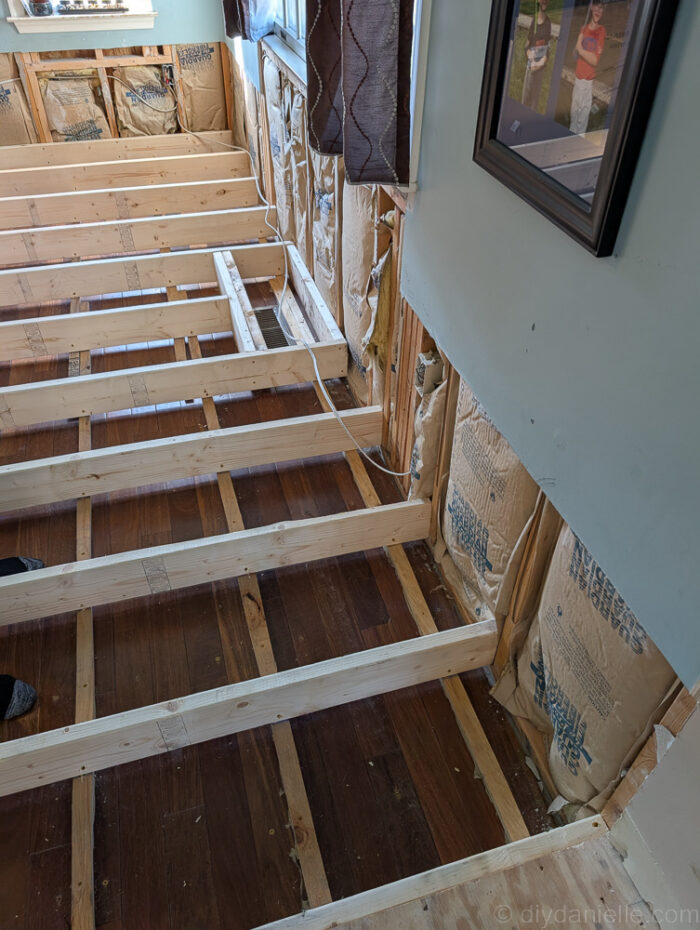
Here’s where they got started. They laid strips across in One direction and then they laid the 2x6s (I believe) in the opposite direction on top.
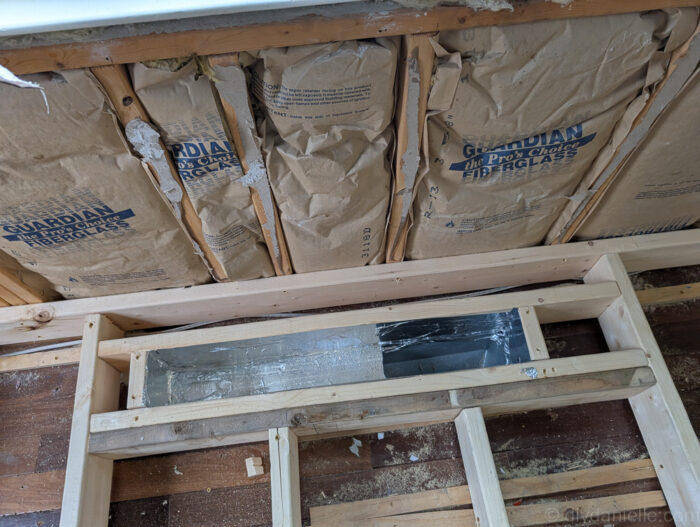
In this photo you can see the vent and some of the work they’re doing to raise the vent and redirect it so that it won’t be an inconvenient place when the door goes in.
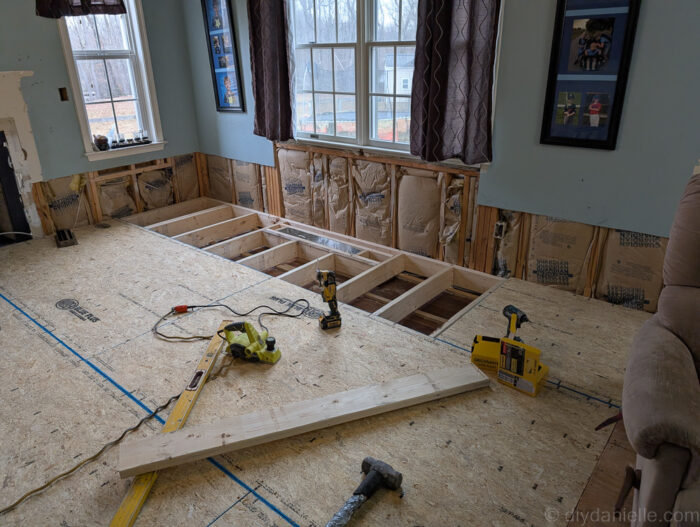
This photo is actually not accurate. They could have installed it like this (attaching the floor joists to the 2x4s in the wall), but we had them go back and fix it because we wanted to ensure that there was a support beam all the way across that room. That will allow us to add a deck on the other side in the future without issues. Technically, it’s worth just doing this correctly regardless.
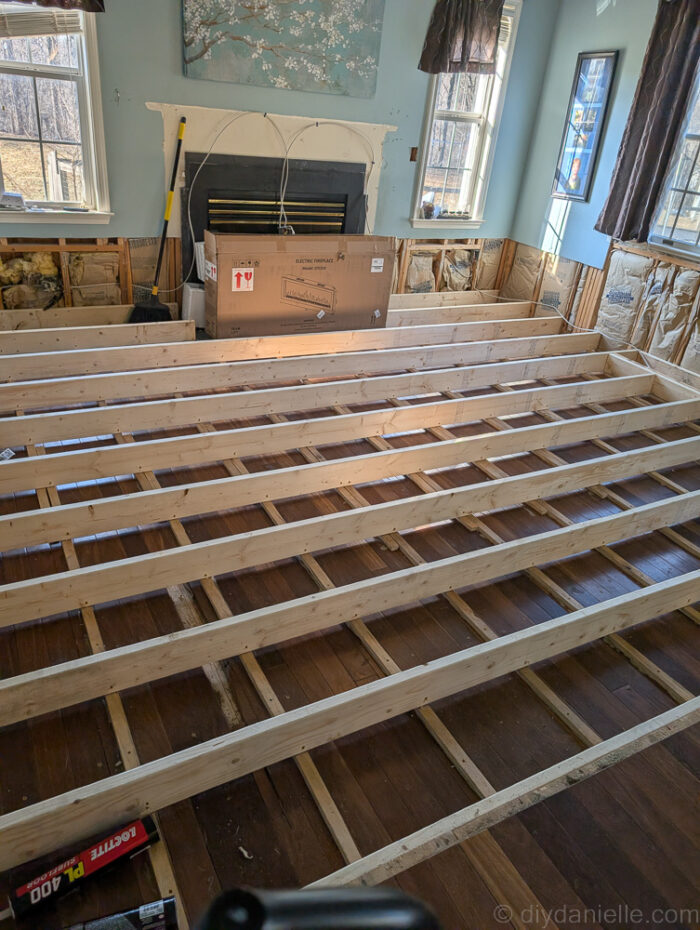
You can see in this photo how they fixed the problem from the last photo. There’s one long 2×6 all the way across the room.
At this point they have started adding the subfloor on top.
Here is another photo of the subfloor going in.
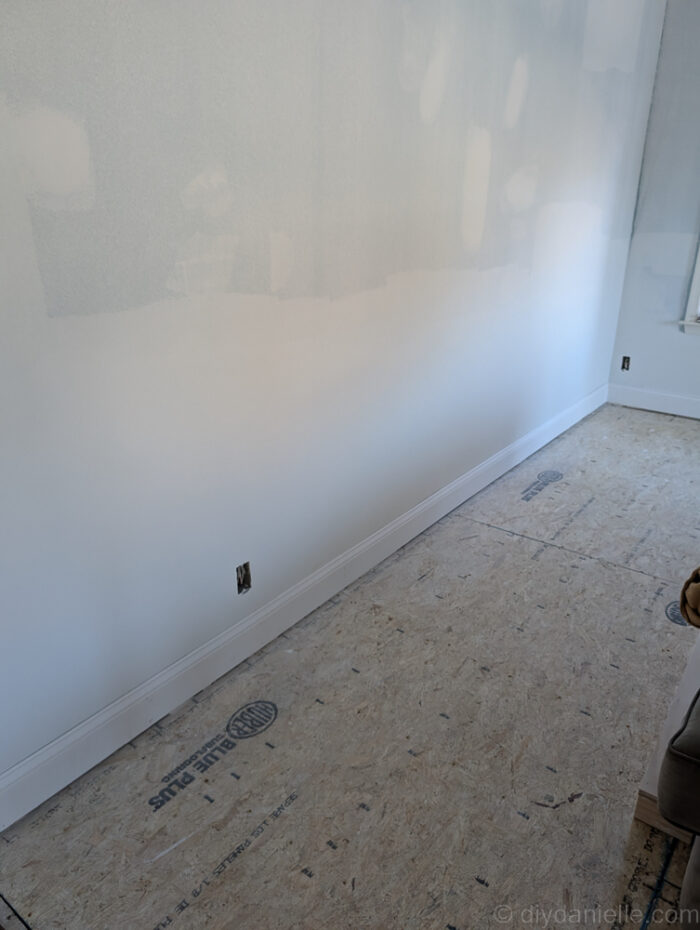
After this was all finished they had to repair the drywall and add baseboard. This was before the room got painted. They left a gap so that we can put flooring underneath if needed. We have not decided on a flooring option yet, so we’re sticking with the subfloor for a bit.
Completed Raised Floor
I’ll get some better photos once we get the flooring done and everything organized (having two other rooms under renovation at the same time SUCKS).
Other Living Room Updates Completed
- Replaced the Wood Fireplace with Electric
- Added a Sliding Glass Door to the Future Deck
- Removing the Half Wall
- Replacing the 2 Windows with a Sliding Glass Door
- https://diydanielle.com/living-room-renovation-final-reveal/
Please share and pin this post! You can also post your project and tag the DIYDanielle team on Instagram @doityourselfdanielle!