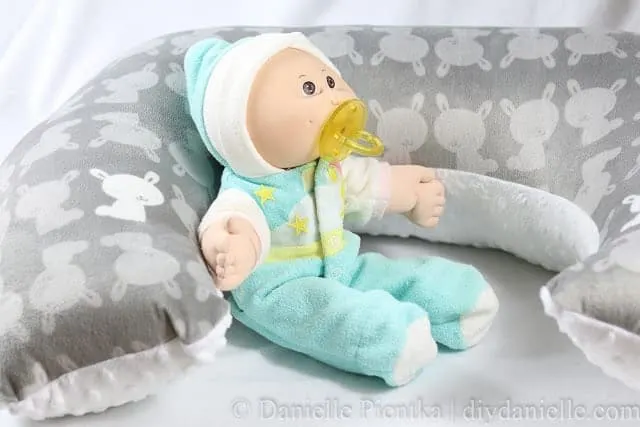
How to sew a nursing pillow that fits your body comfortably post partum.
This post may contain affiliate links. Using these links helps support my blog. Thank you!
With my first two sons, I bought a used nursing pillow and made covers for it. I thought it was really useful, but I found that it was a bit snug for my body, particularly post partum with a sensitive c section.
I knew it needed to be snug-ish for safety and to get just the right fit, but… I didn’t like how much bending it I needed to do to fit it around me.
The nursing pillow was among the items that I decluttered a few months prior to finding out I was pregnant so I needed to pick up another nursing pillow before baby was born. I thought about trying a different brand, but instead I opted to try to make my own. I think it worked out pretty well.
I made this when I was about 29 weeks pregnant so I had a substantial enough belly at that point to get an idea how big I might be post partum. If you haven’t had babies before, your body unfortunately doesn’t snap right back into prepregnancy shape the second the baby pops out. This isn’t a movie.
You may want to make a removable cover and make the pillow piece using a muslin fabric or with a thin fabric you don’t mind never seeing. I did not. I regretted this because I brought it to the hospital to use, then it ended up on the floor a few times which … ewww… but I was able to wash it when I got home without issue fortunately. I just wish I’d done a cover.
Supplies Supplies listed below may include affiliate links to the products.
- 1.5 bags of 32 oz Fiberfill
- Fabric for the bottom and top of the nursing pillow
- Sewing equipment as needed.
How to Sew a Nursing Pillow
This is how your pattern will look like when it’s put together. I made it so the pattern went all the way to the edge of the paper (just to save paper).
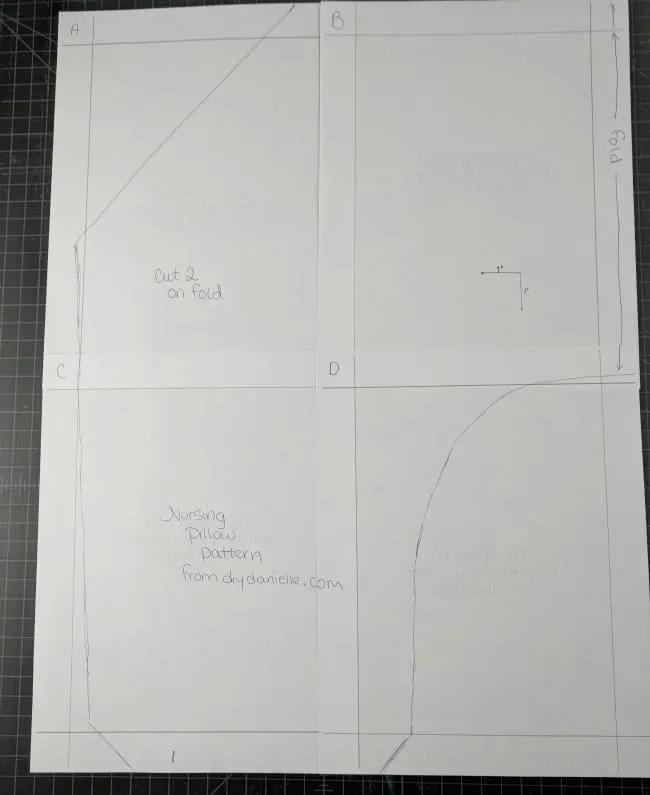
You want to adjust this pattern to work for your body. I drew mine up on an old paper bag (cut up) then held it around my 29 week belly. Then I readjusted the pattern until it fit how I wanted. Holding up a piece of paper around my belly wasn’t 100% accurate compared to what the pillow will feel like finished, but it gave me a basic idea of how well it would fit.
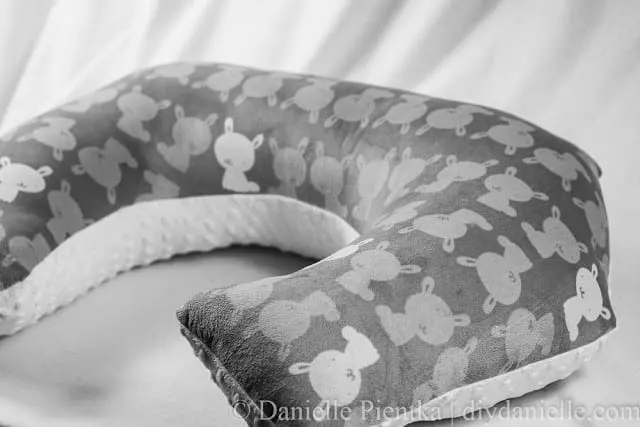
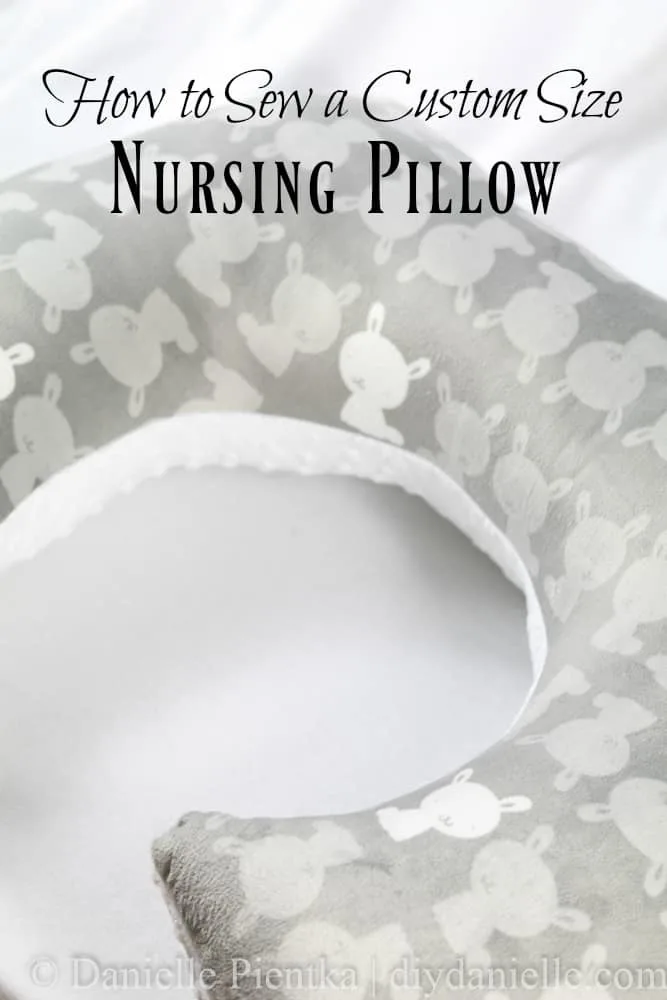
Once I adjusted the pillow how I wanted it, I was able to cut out my fabric. I used one fabric for the top and a coordinating fabric for the bottom. I really wanted something smooth and soft so I used minky. I like the soothing feel to this fabric and the top pattern had a cute, baby friendly design.
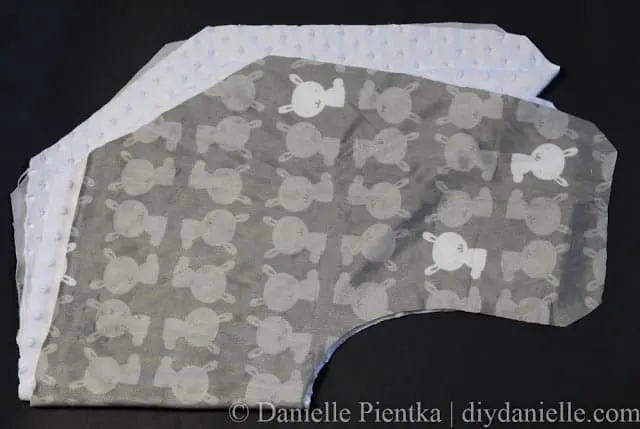
Once cut, I pinned the two pieces right sides together. I sewed around the whole thing, leaving a 1/4″ seam allowance and an area to turn it right sides out.
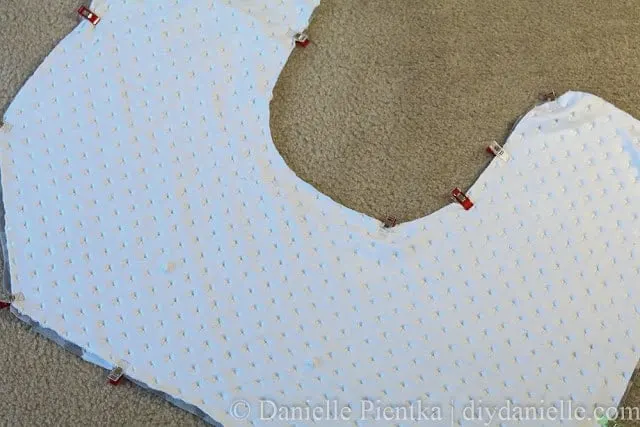
Turn the fabrics right sides out through the hole.
Stuff your nursing pillow. I used a lot of fiberfill because I wanted the pillow to be very firm, similar to store bought nursing pillows.
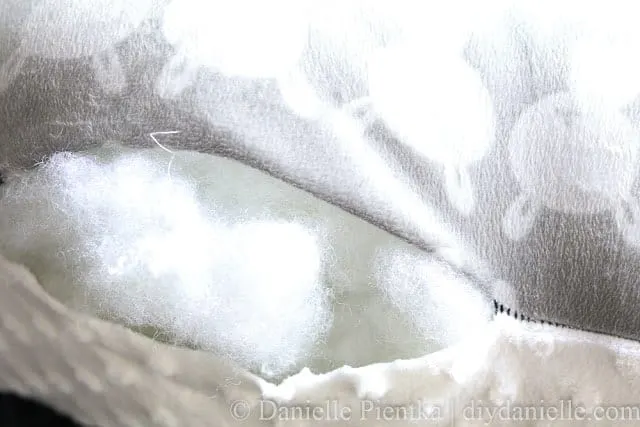
Once your nursing pillow is full, you can hand sew your opening closed.
Video Tutorial for a Breastfeeding Pillow
Love it? Pin it! https://www.pinterest.com/pin/48554502216927487/
Thanks for taking the time to read this post! I really appreciate the time you’ve taken. Please share, like, and pin my post if you enjoyed it. Follow me on social media and subscribe to my email list to keep up to date on all of my latest projects!


Lisa // Cucicucicoo: Eco Sewing & Crafting
Wednesday 22nd of August 2018
Oh, and it looks so nice and snuggly, too! I also found that the classic nursing pillow was a bit tight, even without C-Section, so I can imagine that it wasn't comfortable for you. :) Lisa
Danielle
Thursday 23rd of August 2018
Yes, it isn't really a one size fits all item.