


How to make your own blanket ladder for displaying your throws. This is simple, functional, and beautiful.
I made a couple of throw blankets for our family room. The kids jump on the couch, the blankets fall off, the dog lies on them, the kids eat food on them, etc. Yuck. Oh it just drives me insane. I have this very blank space on my wall so I decided that I should make a decorative blanket ladder to hang all of the blankets.
To begin, I purchased a long 2×4 and had the guys at Lowes cut it down into 2, 5′ ft pieces.
For the rungs, I had some short 2×4“s that have been taking up space in my garage. I cut them down to 16” long.
Using 2.5″ drywall screws, I attached the rungs to the ladder. I used two screws on each side for each rung.
Here are some pictures of my process for building the ladder:
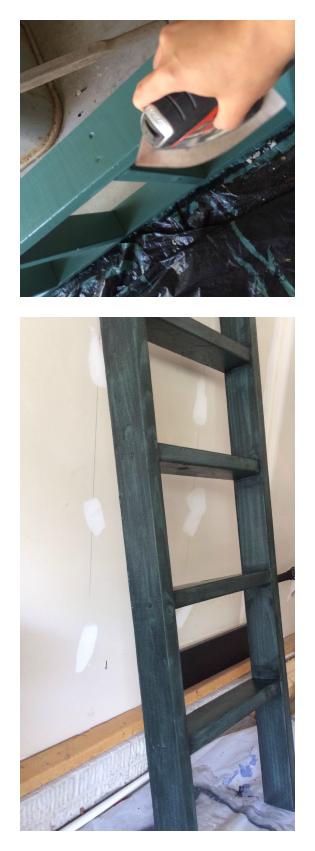
The hard part (for me) was now finished. All I needed to do was paint it. I wanted to distress mine because I’ve got a lot of distressed furniture in my house and I like the look. Plus… it’s what I do. I probably need a new addiction.
Pictured below: Sanding my (dry) painted surface lightly, letting stain dry and applying poly.
Hey! Love it! I wish I had something that creative to display my silk ribbon canvases with!
Lacy at http://www.rainbowsandballerinas.com/