Learn how to repair a bounce house if you have a puncture or tear in it. This is easy to repair and a great way to extend the life of your toy!
This post may contain affiliate links which may earn me commissions should you click through them and take certain actions. As an affiliate for Amazon, Cricut, xTool, Home Depot, and other sites, I earn from qualifying purchases. Please DIY carefully. View my full legal disclosures here.
The majority of my content is generated by me, as are 99% of the photos and videos, but I utilize technology for titles, descriptions, video editing out all of my ums, and occasionally for text overlay on images.
Please read the whole post so you don’t miss any important information!
We’ve had our bounce house for 2 years; it’s one of our FAVORITE outdoor toys for kids. This house is the Island Hopper bounce house that’s available on Amazon; it runs about the same price as a basic commercial inflatable and it’s a bit more fun looking. Unfortunately, it has a lot of seams and my kids are ROUGH on toys.
Technically my biggest kids are starting to outgrow this so I expected some damage sooner or later. Fortunately, I was able to patch it and keep this toy for my youngest who is only 2 years old. He LOVES this bounce house and I would have been very sad if the big kids had ruined it for him.
I also just HATE the idea of the waste of a bounce house getting thrown out.
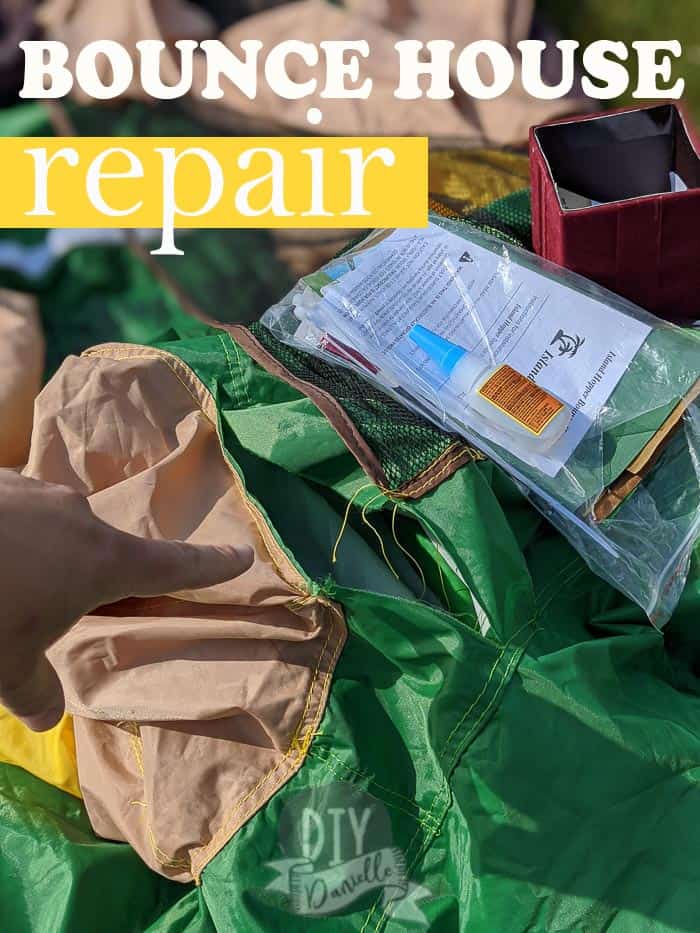
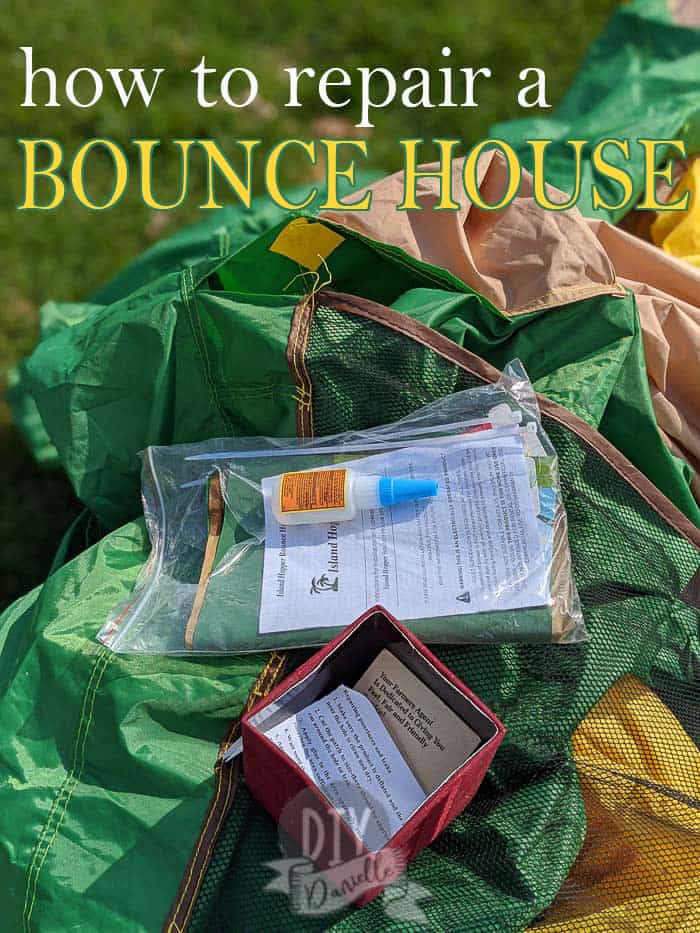
So here’s how to repair it.
You’ll need the patching kit that HOPEFULLY came with your bounce house. You also need a sewing needle. If your bounce house didn’t come with a kit, you can buy an inflatable repair kit here.
In the case of a puncture, you can probably just cut a small patch about 1/2-1″ bigger than the hole. Then you can use a heavy duty glue such as Gorilla Glue to attach the patch. Hold the patch on for 20-30 seconds to make sure the glue adheres, then let dry. Don’t use the bounce house for at least 45 minutes after patching.
For larger tears, such as the VERY long 12″+ tear that we had, you’ll want to hand sew. I have a lot of details in my video below.
As you can see in the video, I hand sewed 1/3 of the way up on one side of the tear and 1/3 of the way down on the other; this left a small gap in between. This will need to be sewn up after.
You just need to sew the tear closed… this will not make it 100% leak proof but it helps quite a bit.
Because I had such a huge tear, I decided to add a small patch to the INSIDE of where I sewed. The gap I left is to put my hand through with the patch. I added glue to the patch, shoved the patch through to the inside of the rip, and placed it on the area I sewed up.
I was hoping the ‘extra’ might help prevent leaks and make this repair more effective. Of course, I couldn’t patch the area my hand had to go through.
Once I finished that, I completed sewing up the tear.
The tear was in a weird spot so I made two patches instead of one big one. The mesh for the side of the top level was in the way otherwise; I was afraid I wouldn’t get good adhesion if I didn’t separate the patches.
Each patch was cut to be bigger than the tear, then glued over the sewn area. I added extra glue where needed, pressed down the patch for 45 minutes, then let the whole thing dry for 45 minutes before blowing up the bounce house to see if my patch worked.
This is the patch after the house was inflated.
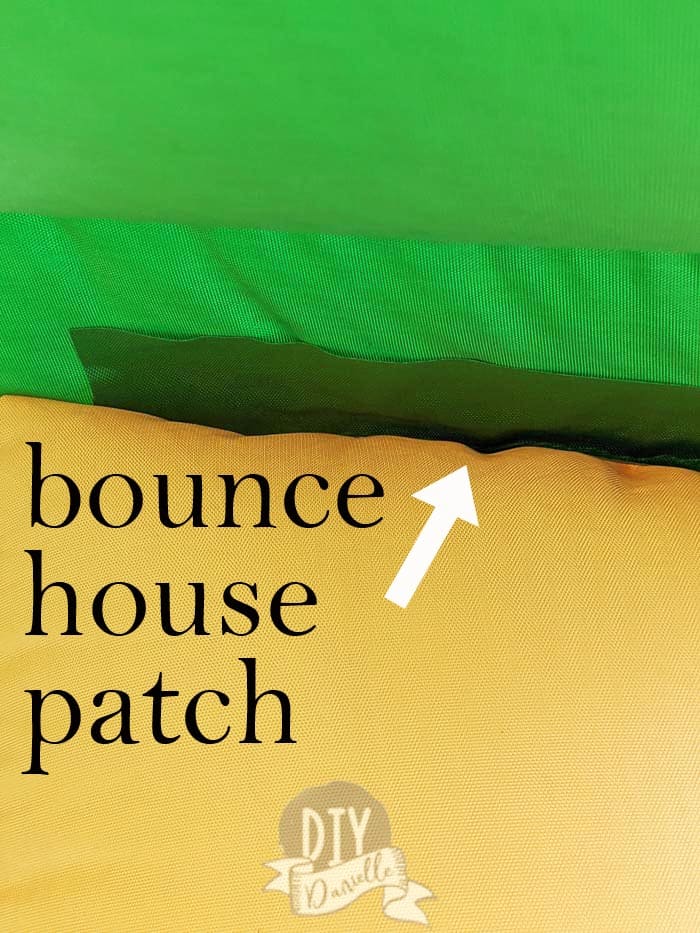
So far, so good! I’m glad we were able to get this working again!
Please share and pin this post! You can also post your project and tag the DIYDanielle team on Instagram @doityourselfdanielle!