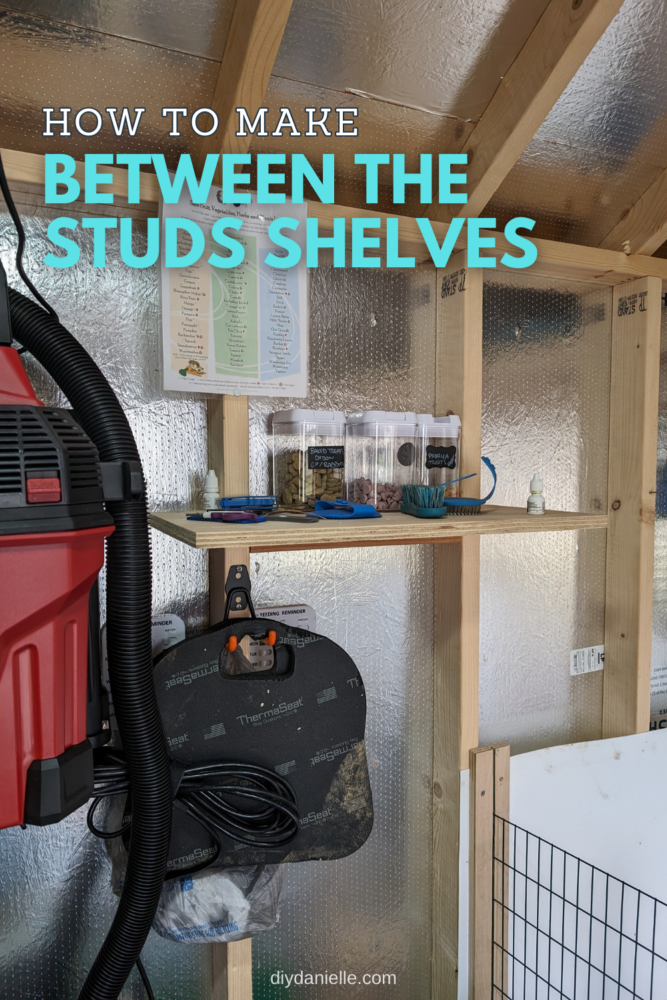
Building DIY shelves between studs is a great way to maximize storage space in your home, garage, shed, or barn. This step-by-step guide will show you how to create custom shelves that fit snugly between the studs, allowing you to make the most of your wall space.
If you’ve got exposed studs, you’ve got a built-in foundation for shelves! It’s super easy to add DIY shelves to any space where you need extra storage if there are studs hanging out in the open. This is a beginner-friendly project. The whole process is just five steps and the shelves can be made in around 15 minutes. You can make these between-the-studs shelves using scrap wood like I did, but the materials are otherwise pretty cheap right now.
These particular shelves are for storing small items for my guinea pigs and rabbits in their shared shed space. They have a divided space and I store their food, bedding and treats in the space.
Watch the tutorial video to follow the steps or check out my other DIY projects for home and garden here!
This post may contain affiliate links which may earn me commissions should you click through them and take certain actions. As an affiliate for Amazon, Cricut, xTool, Home Depot, and other sites, I earn from qualifying purchases. Please DIY carefully. View my full legal disclosures here.
The majority of my content is generated by me, as are 99% of the photos and videos, but I utilize technology for titles, descriptions, video editing out all of my ums, and occasionally for text overlay on images.
Please read the whole post so you don’t miss any important information!
Supplies
- 2x4x8, Prime stud https://homedepot.sjv.io/m535PM
- 3/4″ Purebond Plywood, Birch https://homedepot.sjv.io/10eem
- Level
- Ryobi Jig Saw https://homedepot.sjv.io/doqDEW
- Screws
- Screwdriver/drill
Tutorial
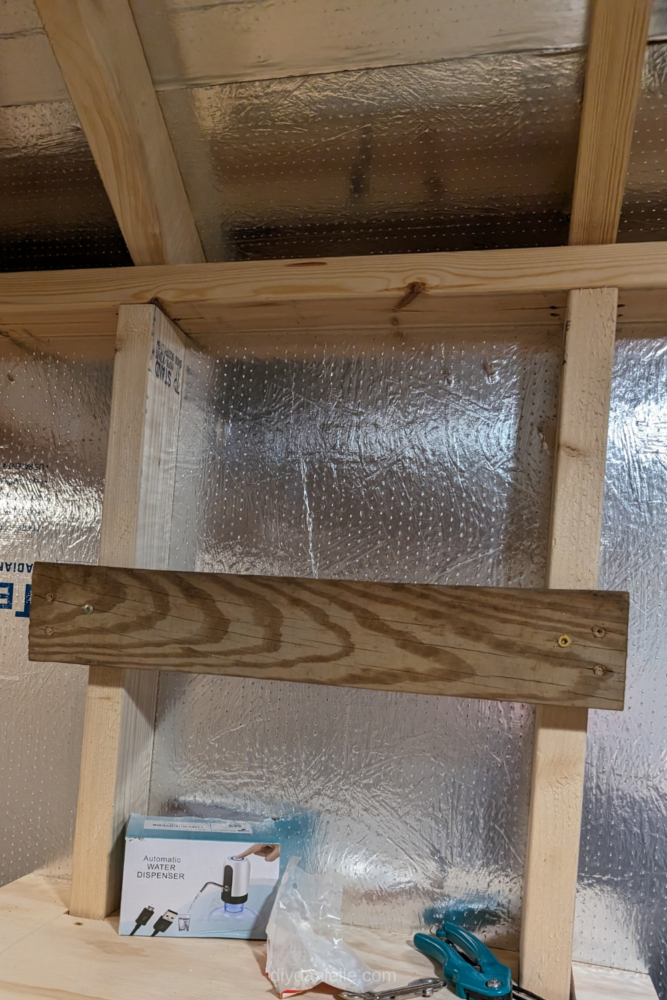
Step 1: Cut a 2×4 to either fit between the studs or to cross over them. This will be the support piece for your shelf. If you’re making them to fit between the studs, cut the support piece to the exact width between the studs and attach it with screws through the sides of the studs. If you want a less precise measurement, you can cut the 2×4 to be a little wider than the space between the studs to fit across the front of them. Use a level to make sure the support piece is perfectly level before securing them with screws.
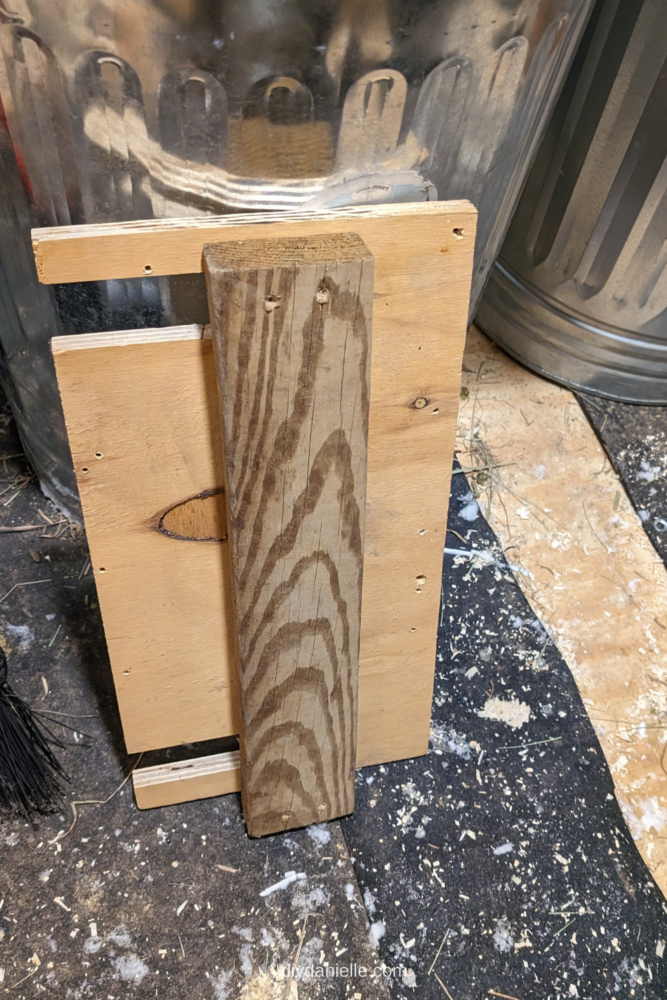
Step 2: Cut the width of the shelf, making sure it’s wider than the two studs. Cut out space for the studs to sit. You can get really precise and measure, or you can do what I did and hold up the piece of plywood to the studs and use a carpenter’s pencil to mark the cuts.
Step 3: Use a jigsaw to cut out the area for the studs. You can cut into the wood using a table saw if you need to, but you can’t cut the slots out this way, so a jigsaw works best.
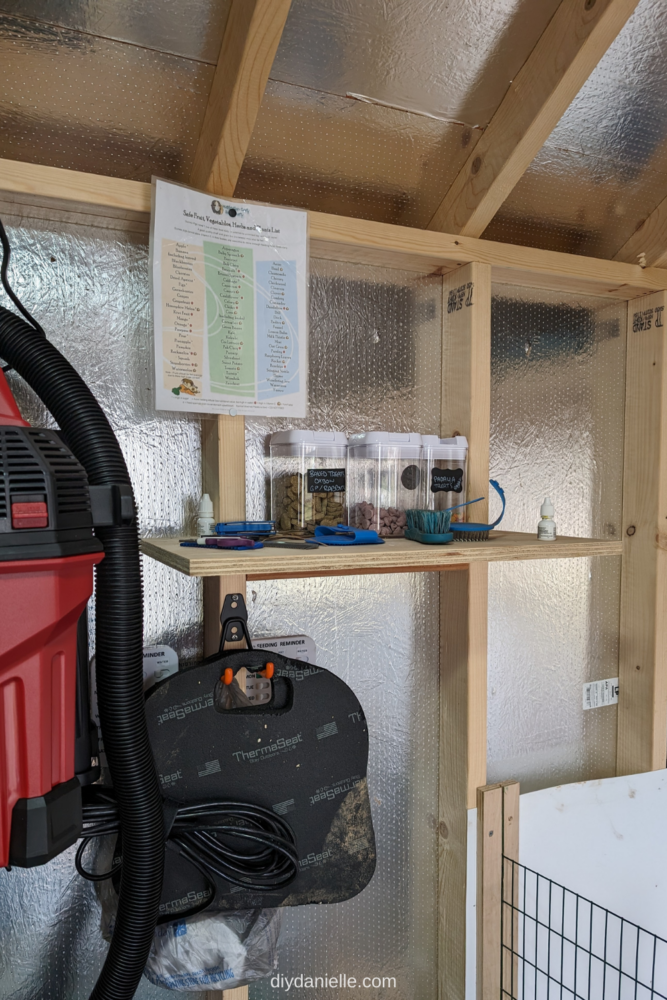
Step 4: Place your shelf on the 2×4 support. If your measurements are super snug, you might have to use a hammer or a rubber mallet to tap the shelf into place to fit flush against the studs, wall, and support piece. Double check to make sure the shelf is level, but if you leveled the support piece in Step 1 it should already be level.
Step 5: Attach your shelf to the supporting 2×4. Place screws through the top of the shelf to anchor it to the support piece. Repeat the process to make multiple shelves!

Video Tutorial
Please share and pin this post! You can also post your project and tag the DIYDanielle team on Instagram @doityourselfdanielle!