Build a DIY run-in shed for goats and sheep with this step by step guide. Affordable, sturdy, and perfect for protecting your animals year round.
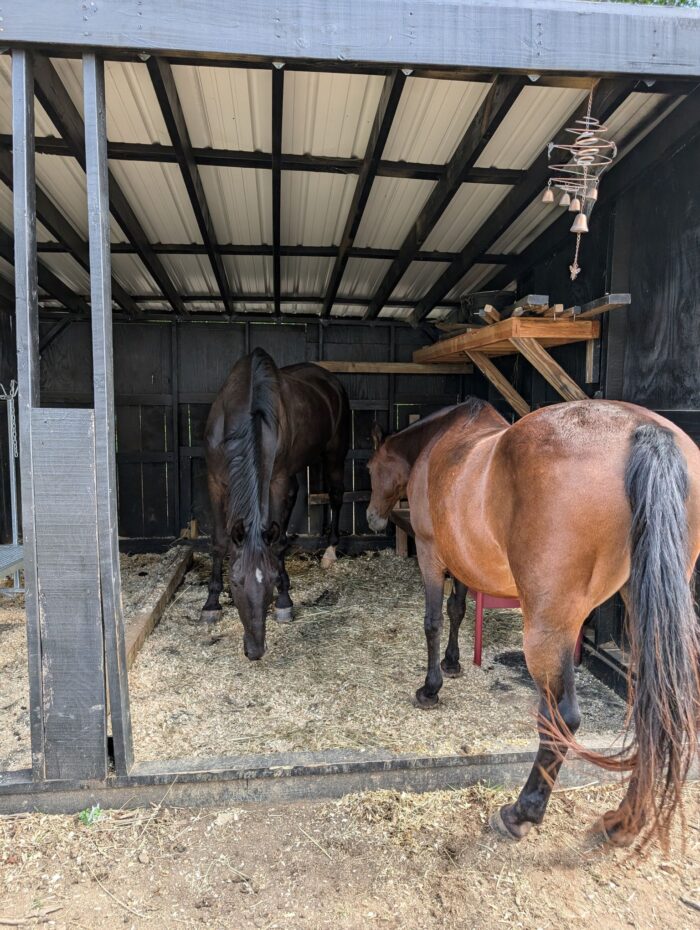
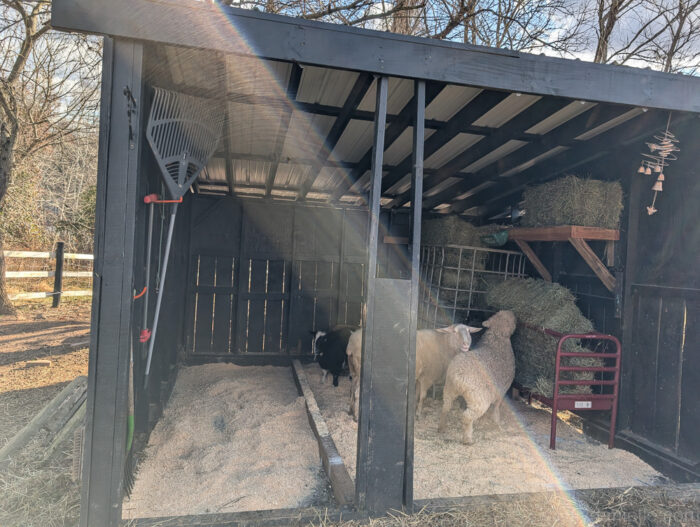
I built this run-in shed for my goats and sheep, allowing me to keep a larger herd than my previous goat shed. It works great- but I tend to be a bit dysfunctional about planning structures to be the correct size so this would probably work well for horses or cows as well. I made it quite tall.
A few notes on the project:
- It would be better to build this on a level location and add stone dust under it all (or concrete might be nice too).
- I upcycled a lot of wood for the siding. I’d recommend using T-11.
- If you use this for horses or cows, you’ll want kickboards on the inside of the structure as well.
I did a smaller goat shed a few years prior and you can see the project here:
- Small Goat Shed: Framing
- Small Goat Shed: Siding and Roof
This post may contain affiliate links which may earn me commissions should you click through them and take certain actions. As an affiliate for Amazon, Cricut, xTool, Home Depot, and other sites, I earn from qualifying purchases. Please DIY carefully. View my full legal disclosures here.
The majority of my content is generated by me, as are 99% of the photos and videos, but I utilize technology for titles, descriptions, video editing out all of my ums, and occasionally for text overlay on images.
Please read the whole post so you don’t miss any important information!
DIY Run-In Shed for Horses, Goats, Sheep, or Other Farm Animals
Project Supplies
- 2x4x8s, pressure treated https://homedepot.sjv.io/GJY4m
- T-11 Siding
- Metal Roof panels
- Ryobi Drill https://homedepot.sjv.io/a1EdkQ
- Miter Saw https://homedepot.sjv.io/BXrdaL
- 4x6s for the base of the structure (*I believe)
Step by Step Instructions
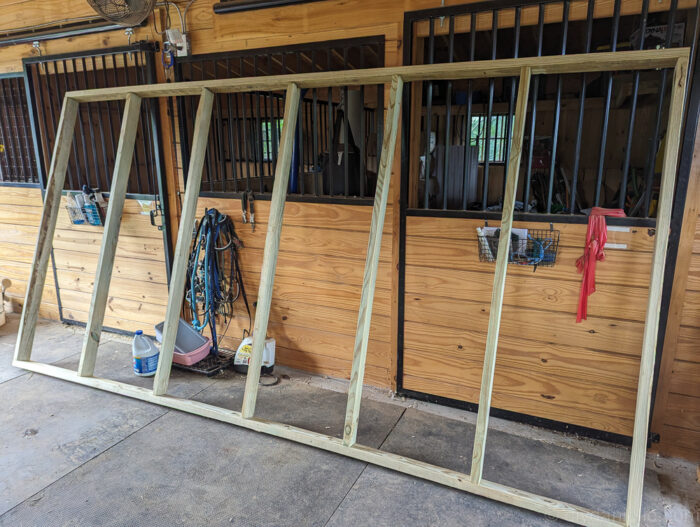
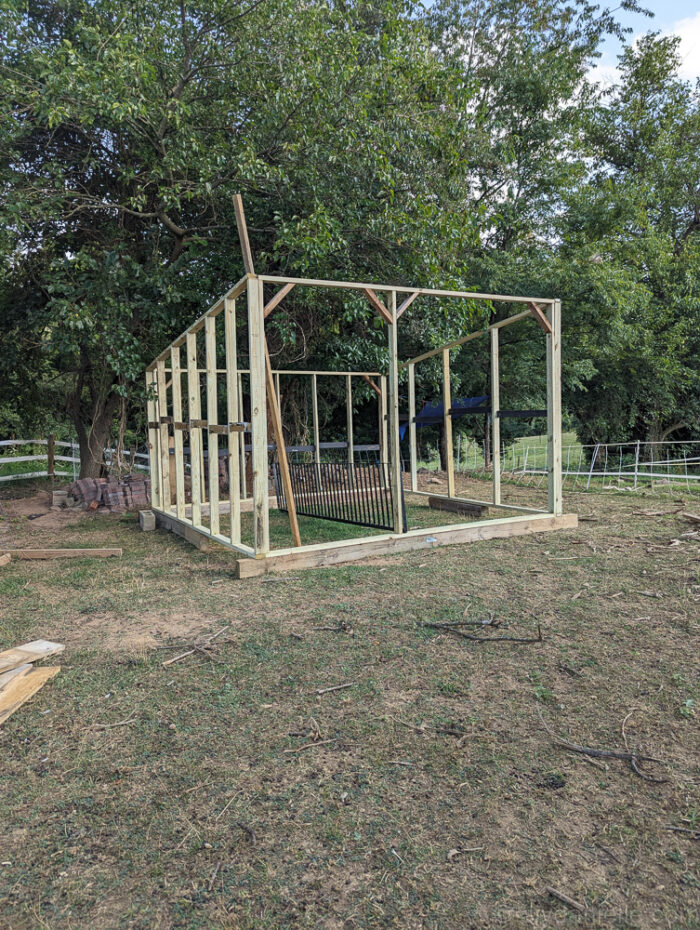
Step 1: I started by building the 2×4 frame for the sides, front and back.
Step 2: I added horizonal boards along the back as well.
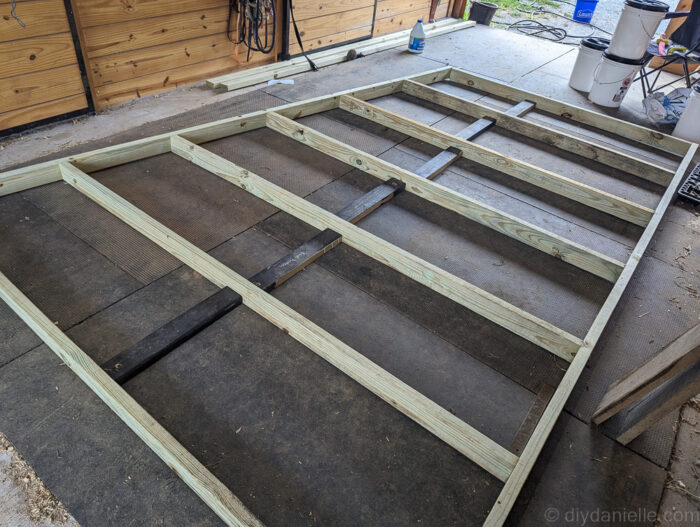
Step 3: We used heavier duty wood (4×6 I think?) to frame the base of the structure.
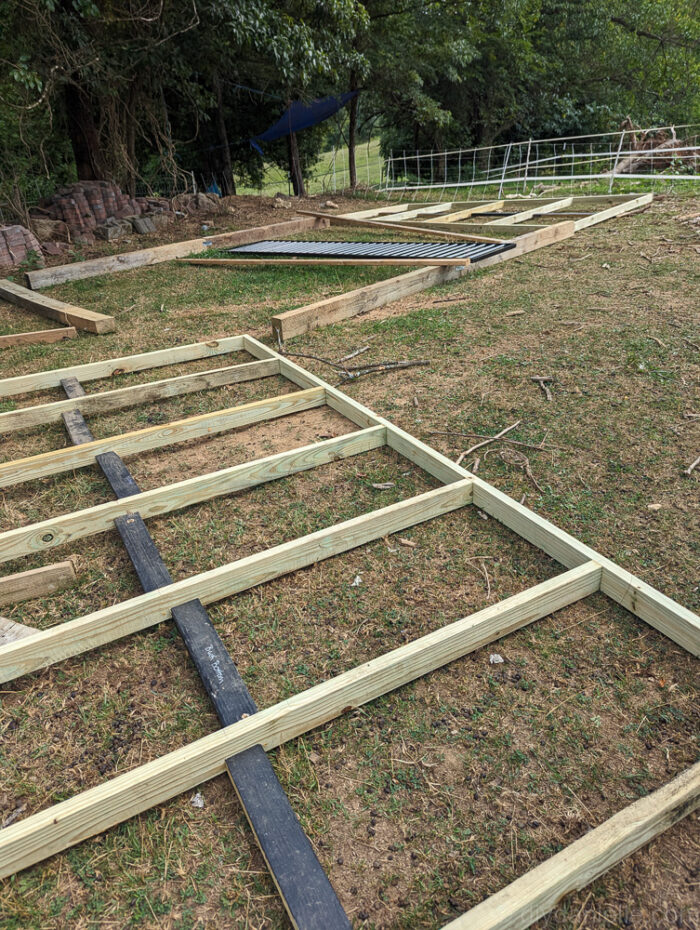
Step 4: We moved all of the sides/front/back down the hill and began to assemble the sides…
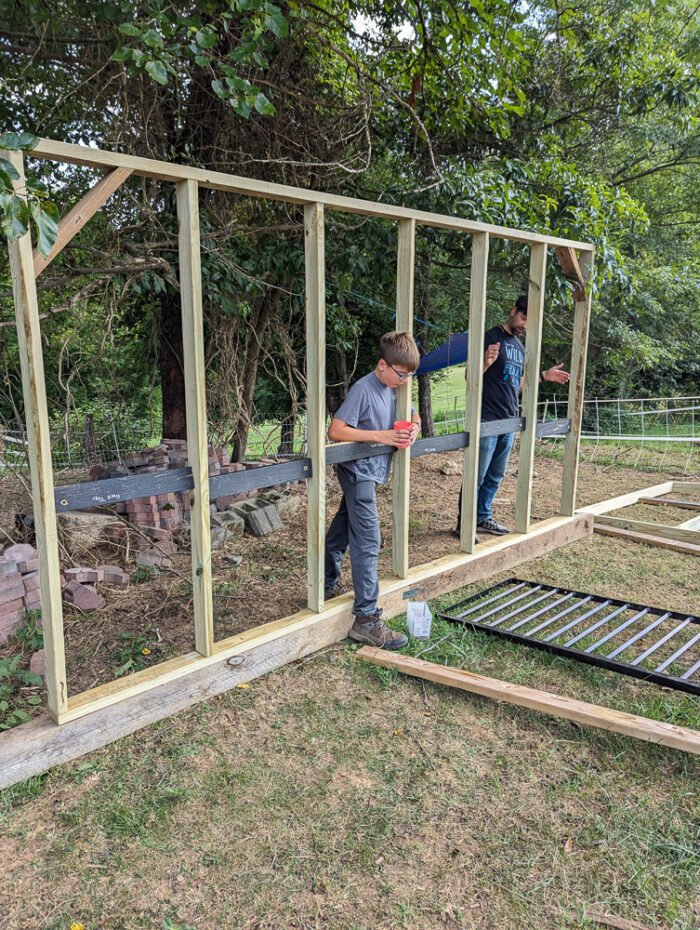
I had plenty of helpers…
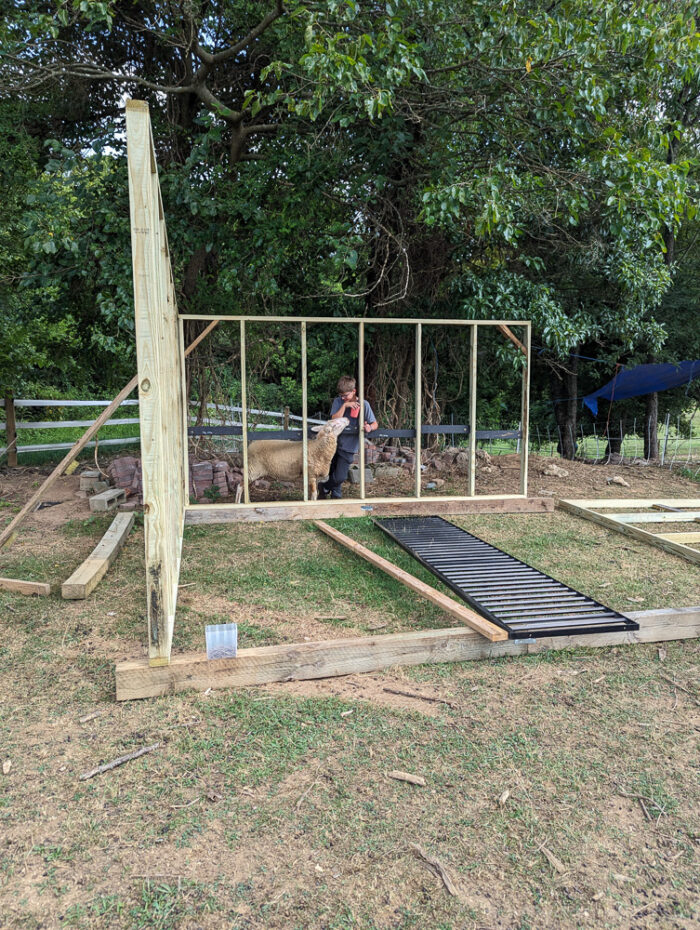
This is it once it was assembled… no roof yet.
Step 5: Next was roof framing… I bought scaffolding for this project which I was REALLY happy about. It was much less intimidating than standing on a ladder.

The front attaches to a header board.

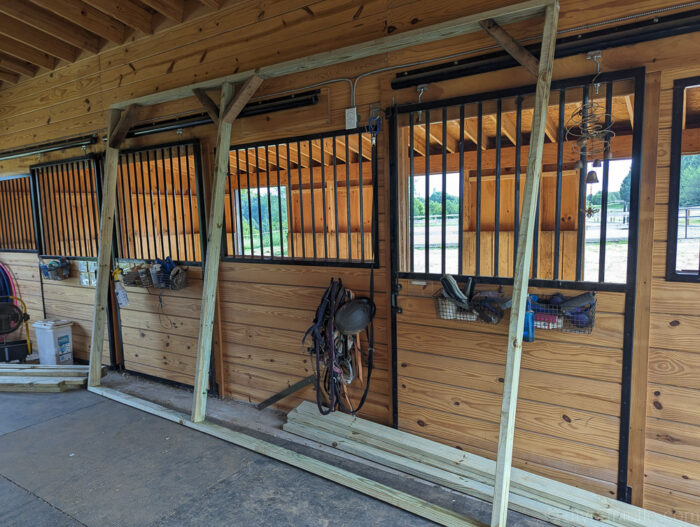
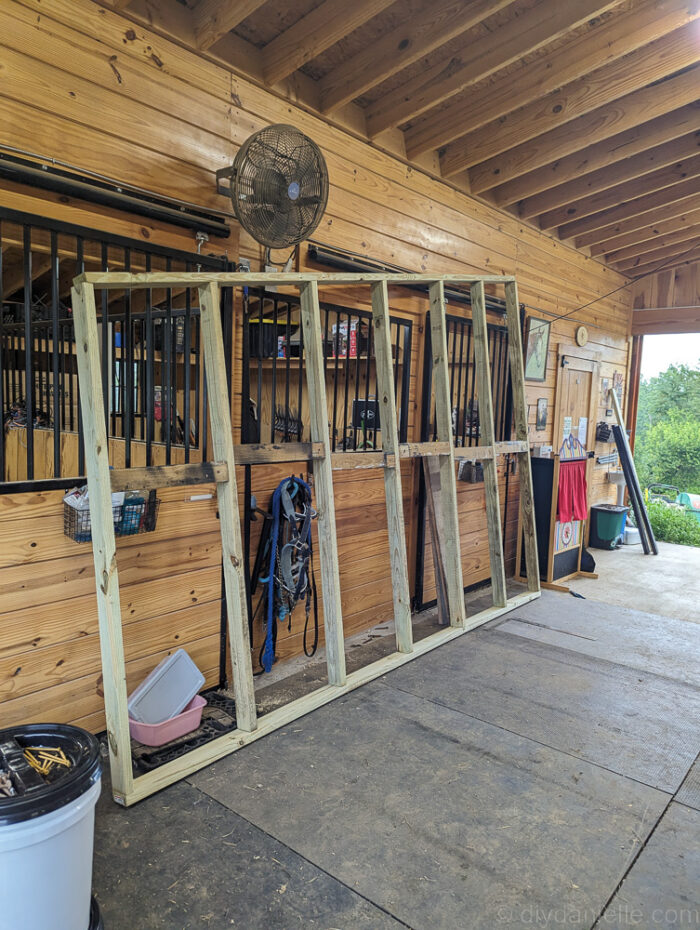
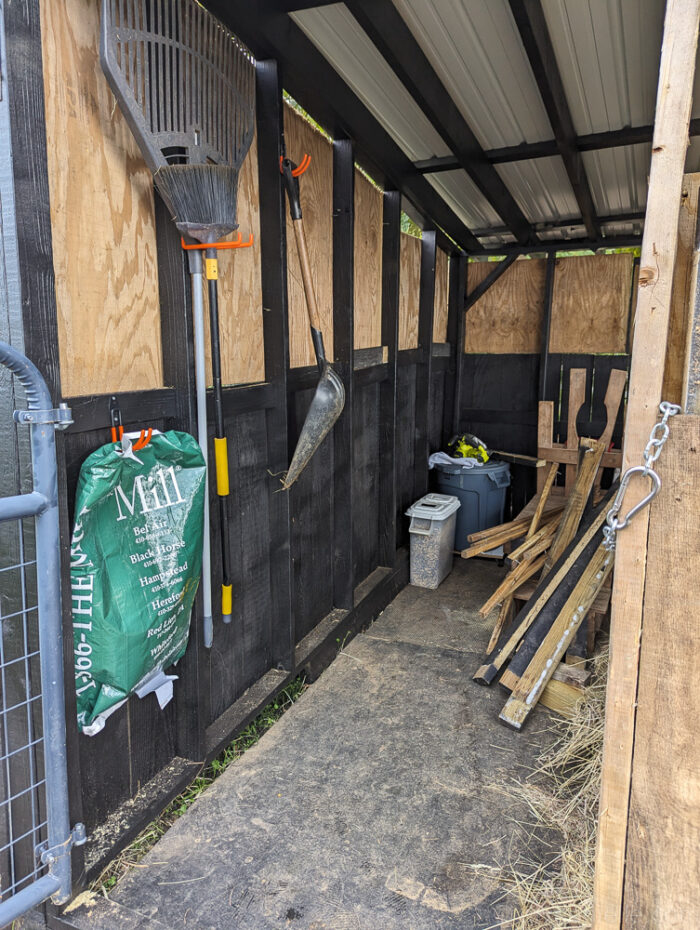
Step 6: In an effort to save money, I reused old kickboards from disassembling my barn stalls and also used the wood I initially built my compost bins with. So this isn’t as nice as if I’d used fresh T-11 but it worked!
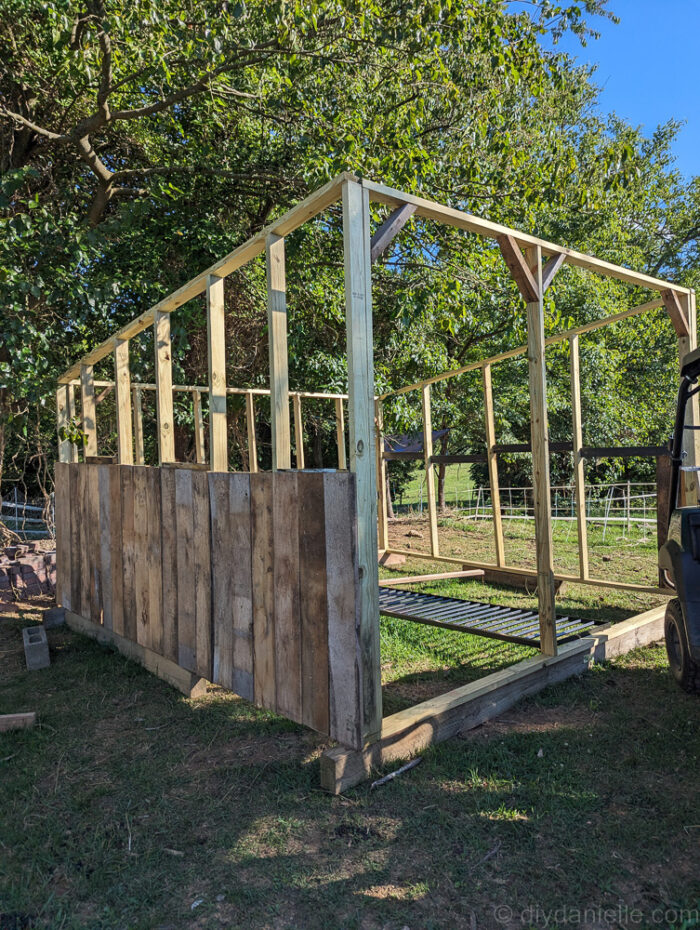
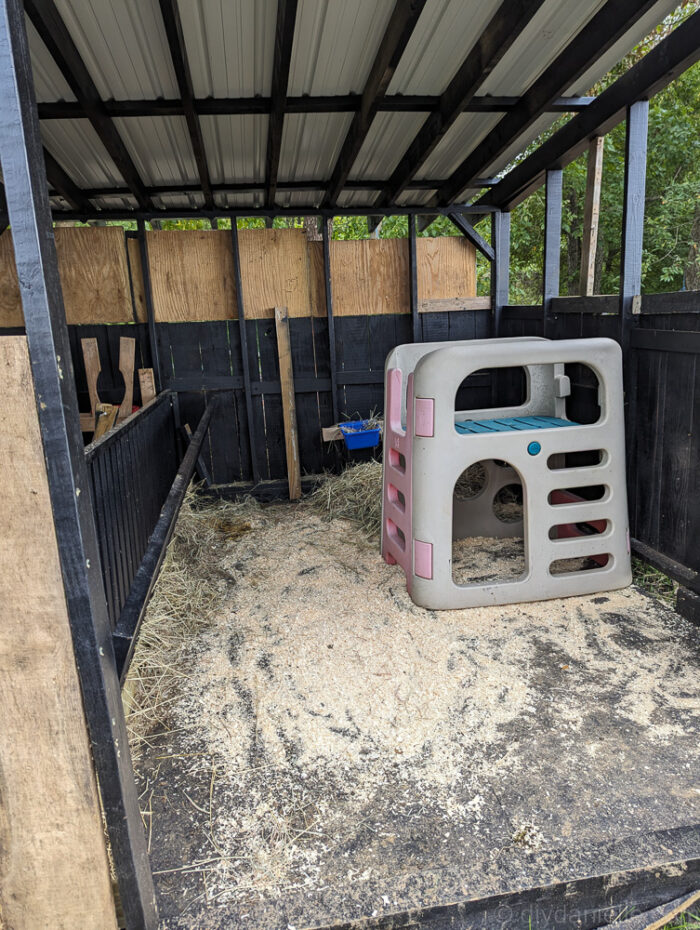
Here’s a photo from the inside…
Step 7: I painted- I should have waited until I finished, but I didn’t.
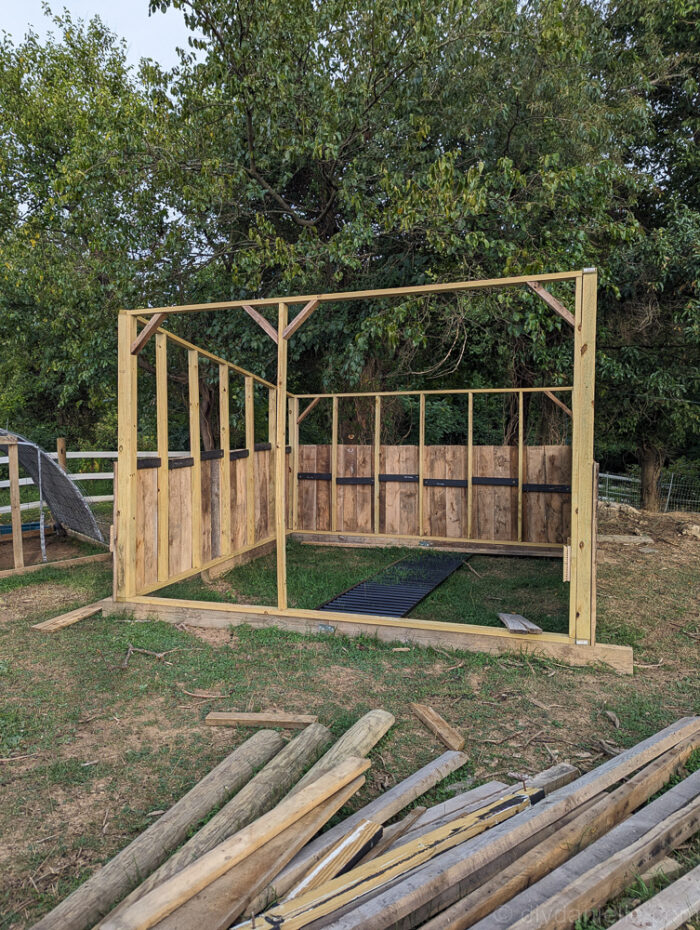
Step 8: To finish the roof, I added wood in the opposite direction.
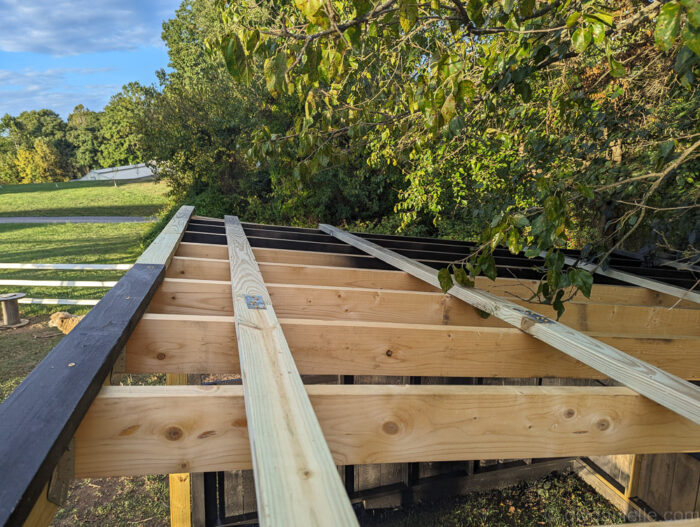
Step 9: We attached metal roofing on top after this.
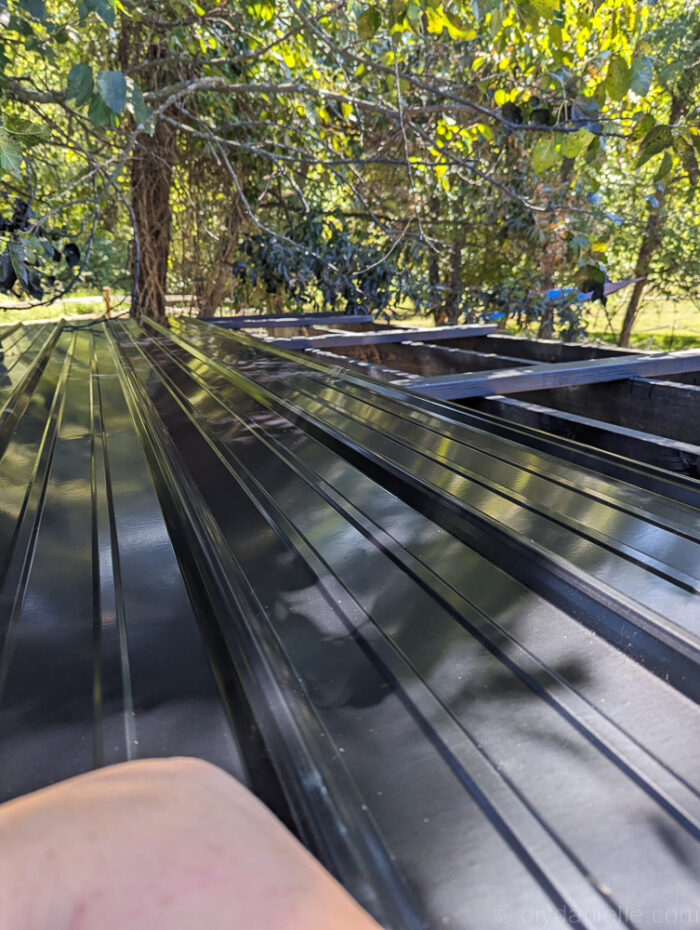
Here’s a view of it at this point…
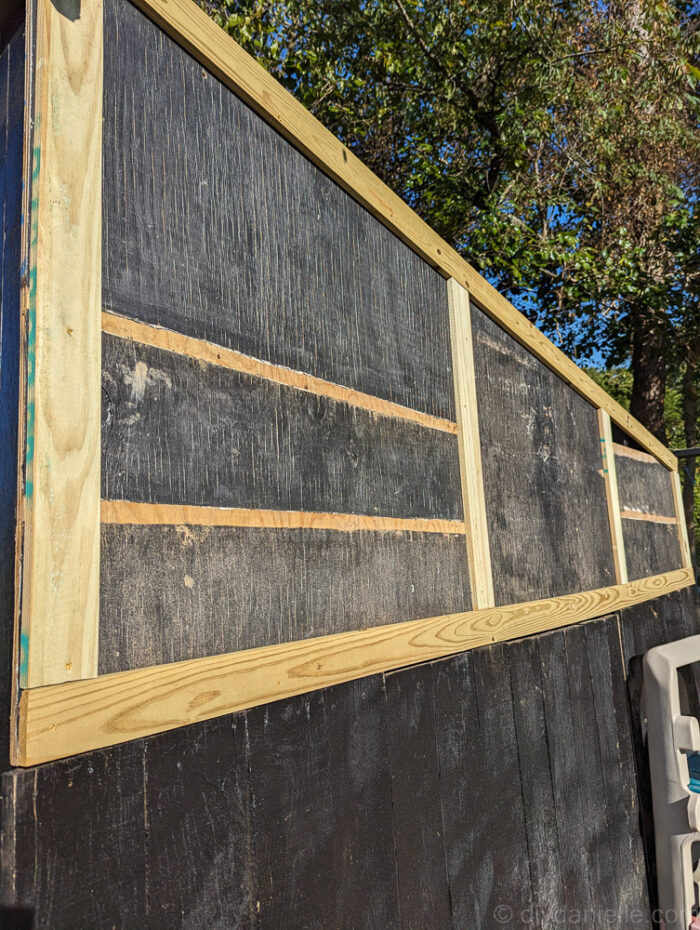
Step 10: I ended up adding more upcycled wood above the kickboards, then added trim.
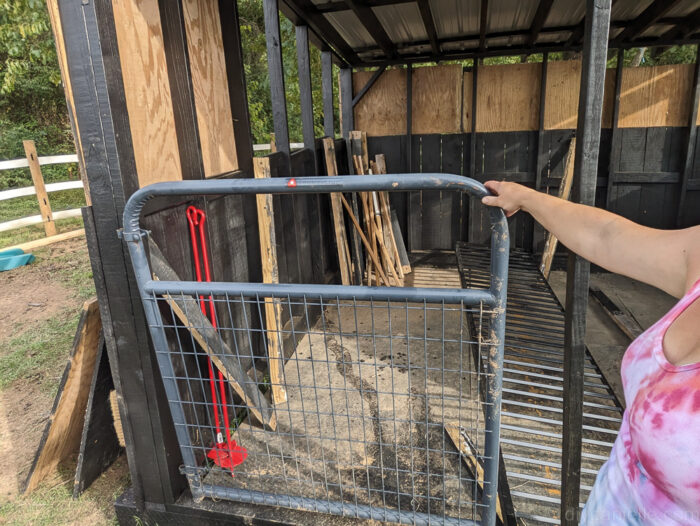
Afterwards, I decided to divide the shed into a smaller section for feed storage. The dividers were upcycled from my barn and I used them for a hay feeder. I added a small gate.
Eventually I removed the small zone because the poo would roll over there and it was a pain to clean… but I like the idea.
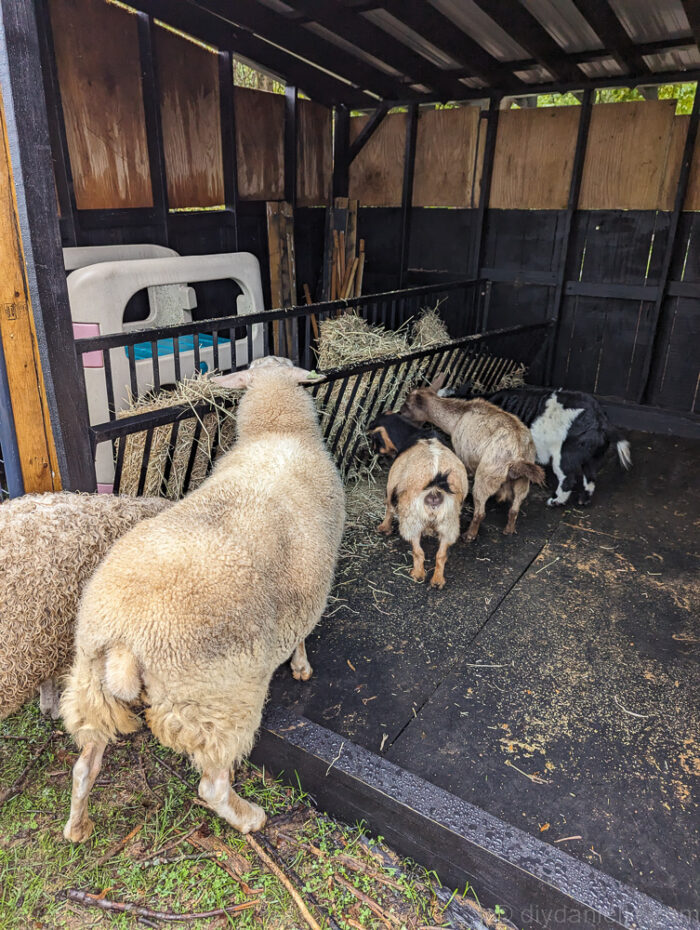
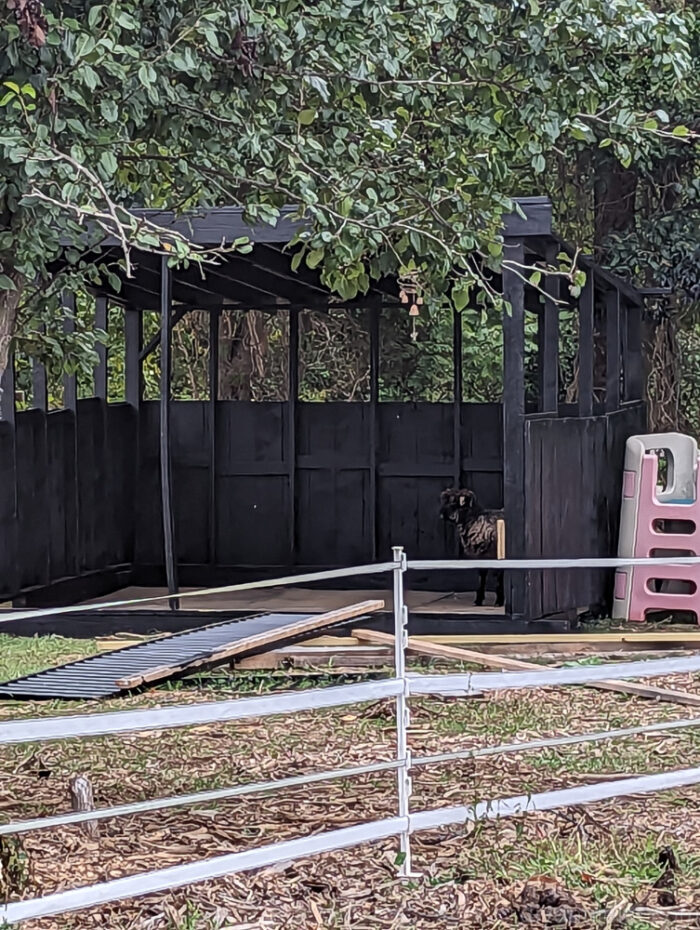
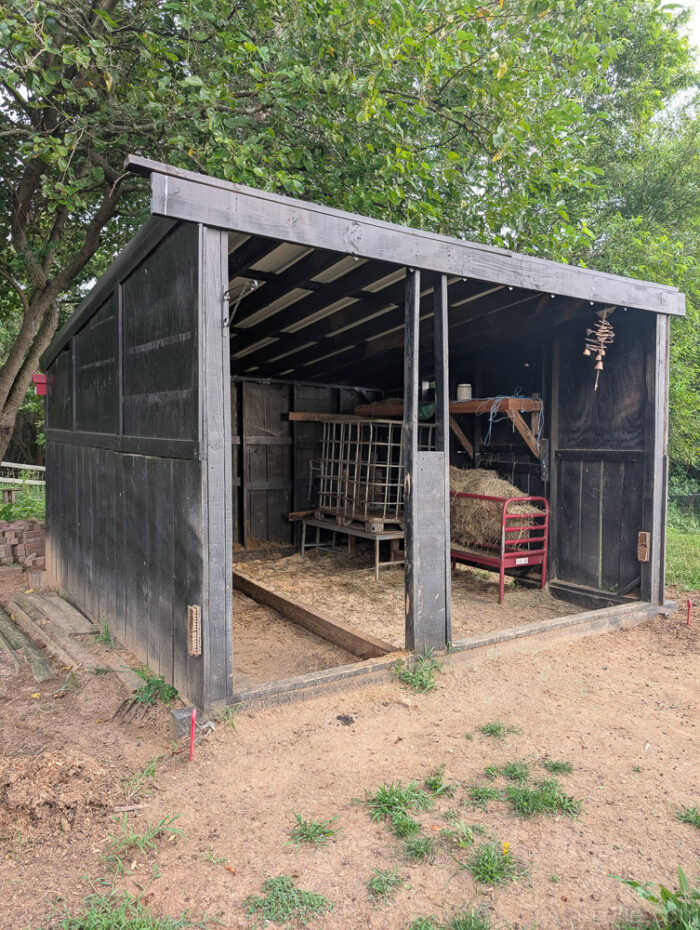
I actually wrapped this project up around the time my dad went into hospice so I never took finished photos apparently. Needless to say, I ran out to take a few pictures to show you the finished job.

Please share and pin this post! You can also post your project and tag the DIYDanielle team on Instagram @doityourselfdanielle!
The shed ended up being WAY taller than I probably needed… as you can see below… my horses broke through the fencing and my 17H (that’s tall) gelding is perfectly happy standing in there.