Learn to sew a custom guitar strap with our step-by-step guide. Choose materials, design, and craft a unique accessory!
This is a super simple custom guitar strap that I made for my son who is learning to play the ukulele. If you’re looking for something a bit more heavy duty, you’ll want to either buy a strap and the appropriate notions to adjust the size of it. You can also use a thicker interfacing between the fabrics to help add durability and support.
This post may contain affiliate links which may earn me commissions should you click through them and take certain actions. As an affiliate for Amazon, Cricut, xTool, Home Depot, and other sites, I earn from qualifying purchases. Please DIY carefully. View my full legal disclosures here.
The majority of my content is generated by me, as are 99% of the photos and videos, but I utilize technology for titles, descriptions, video editing out all of my ums, and occasionally for text overlay on images.
Please read the whole post so you don’t miss any important information!
We bought my son a introductory guitar AKA: a ukulele. But it didn’t come with a guitar strap and I decided to make one quickly versus trying to order one.
This was an easy project that could be customized to use higher quality fabric if you want to make something very custom and expensive.
In my case I was just going for something practical and kid friendly.
DIY Strap for a Guitar/Ukulele
Project Supplies
- Fabric
- Elastic
- Sewing machine and supplies
Step by Step Instructions
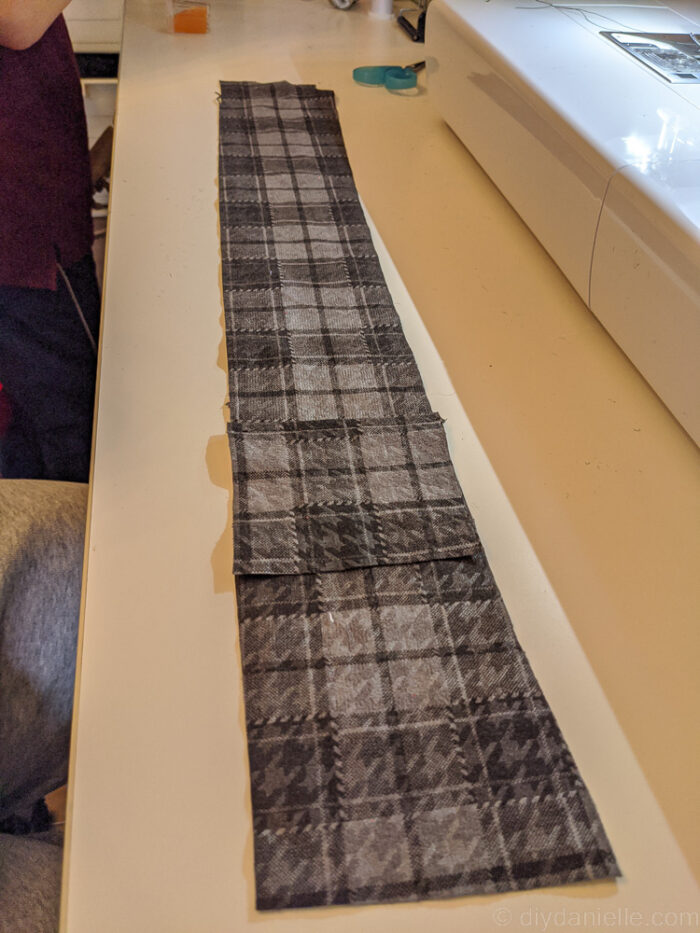
Step 1: In this case, I was making the strap to the length that he needed so I measured how long it would need to be, based on his size at the time.
I cut the fabric to the length needed + my seam allowance (add 1/2″ if you use a 1/4″ seam allowance)… and doubled the width that I wanted (+ a 1/4″ seam allowance because I’m only cutting one piece and folding it vs. cutting two pieces to sew together).
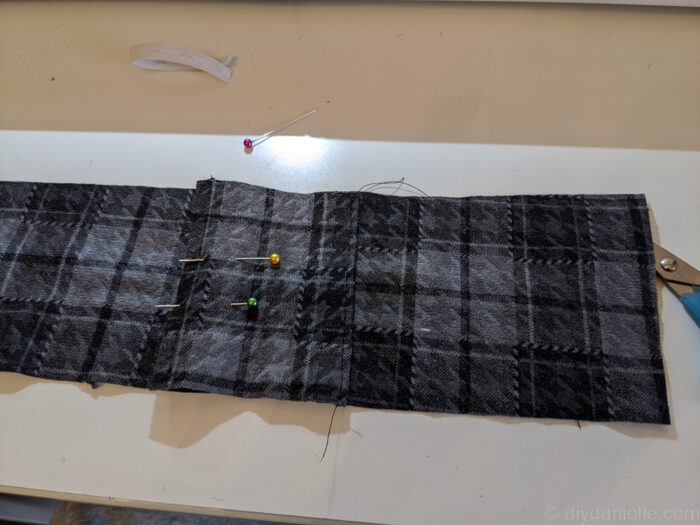
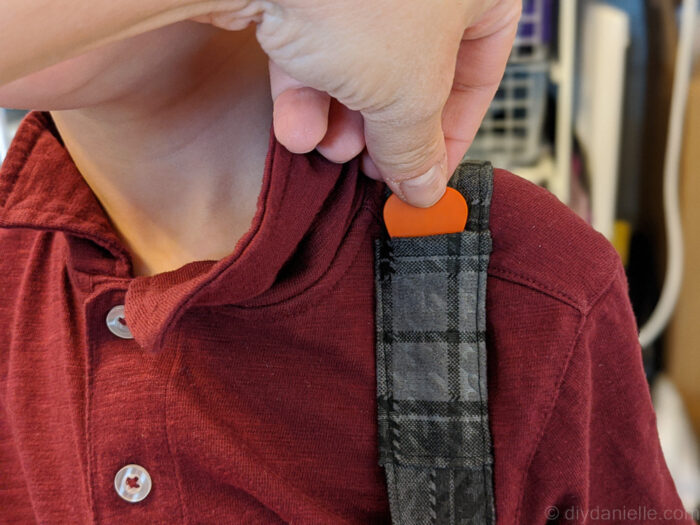
Step 2: I cut a 3×4″ piece of fabric for a little pocket for the guitar pick. Hem the top edge of the pocket.
Step 3: Place the pocket where you want it on the strap (top shoulder area).
Sew the bottom of the pocket to the strap. Pin the top in place.
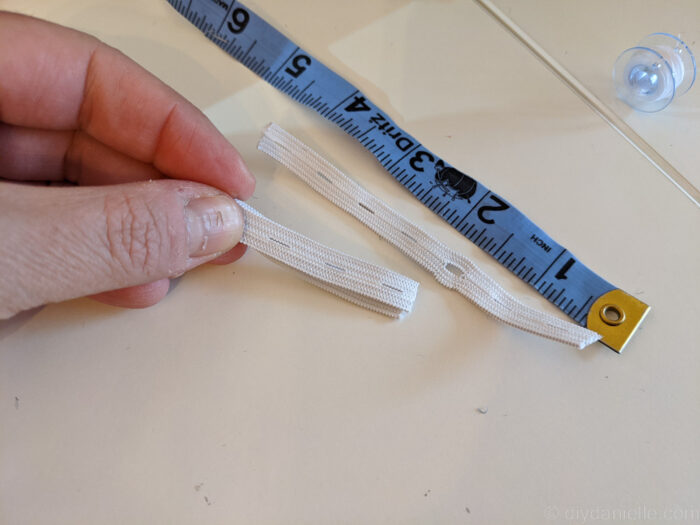
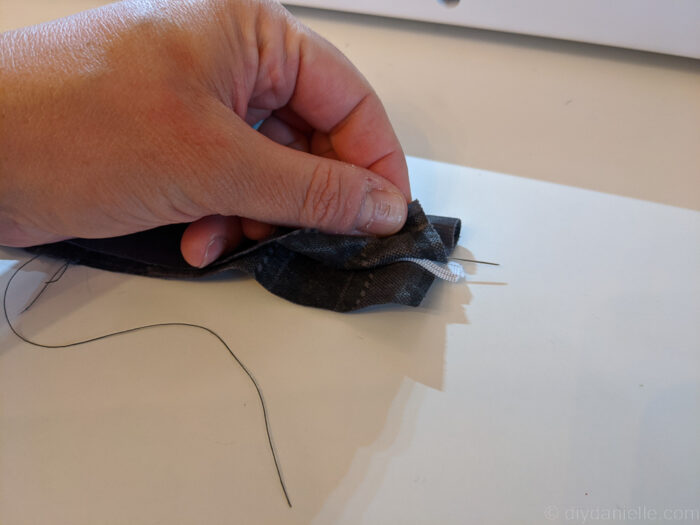
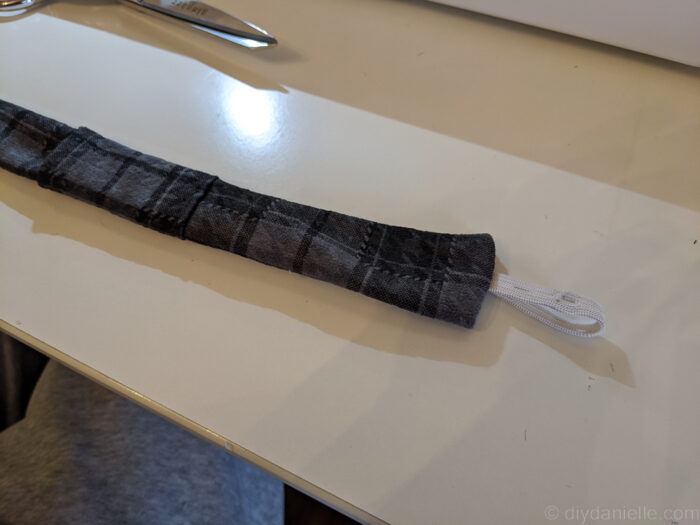
Step 4: I cut a small piece of this elastic that has notches in it… these can attach to the guitar.
I folded the fabric over, right sides together… I folded the small elastic in half and sandwiched it between the short end… the loop should be on the inside (raw ends sticking out as seen in the photo below on the right.
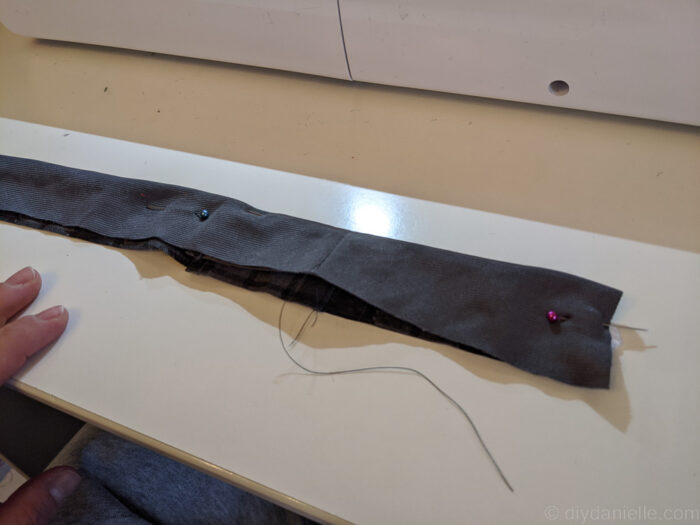
Here’s another photo…
Step 5: Once this was done, I sewed along the sides and ends.
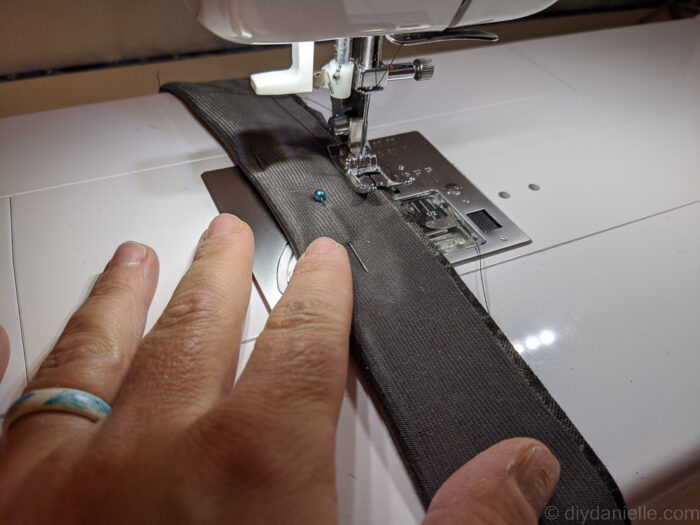
Leave a small area to turn it right sides out… I like that to be in the middle of the long side.
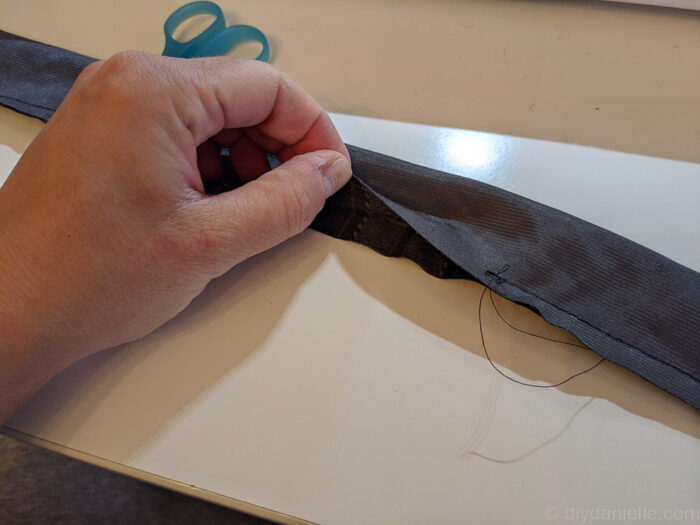
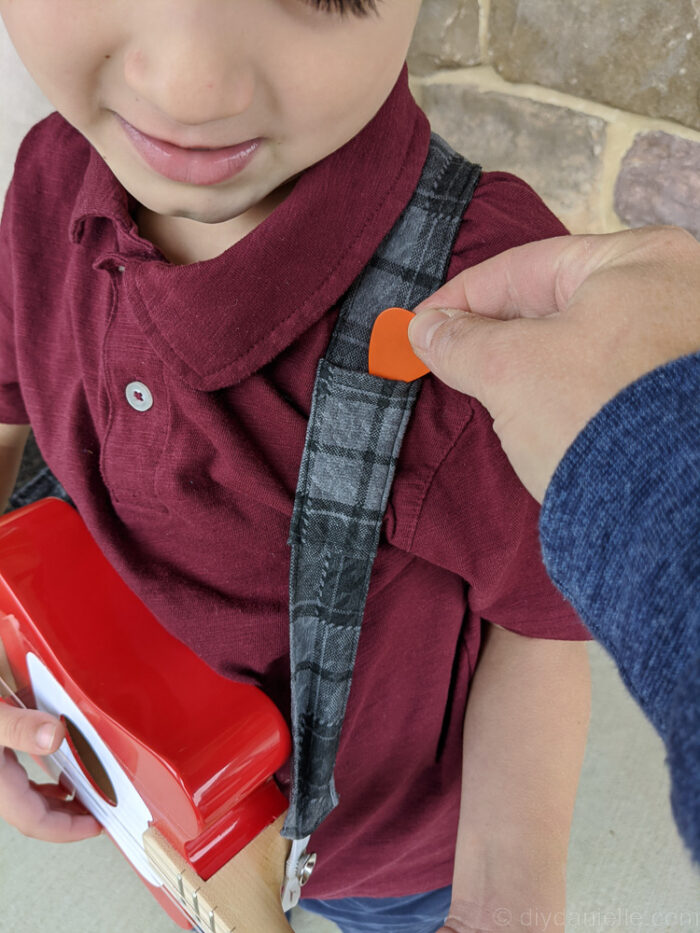
Step 6: Turn right sides out and top stitch.
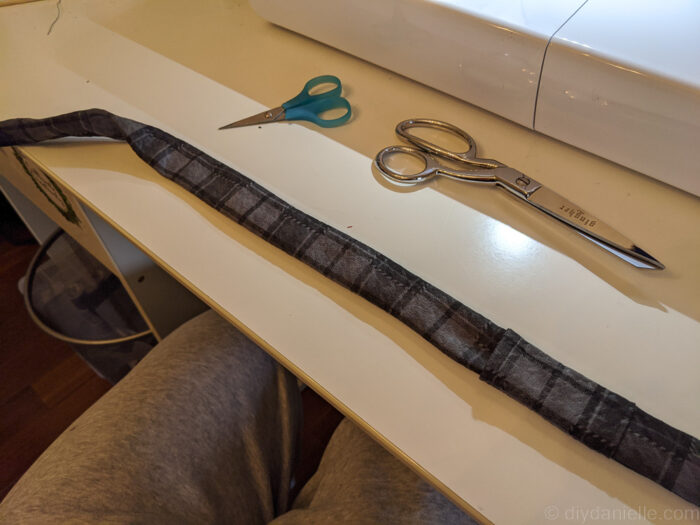
The elastic should be on the outside now!
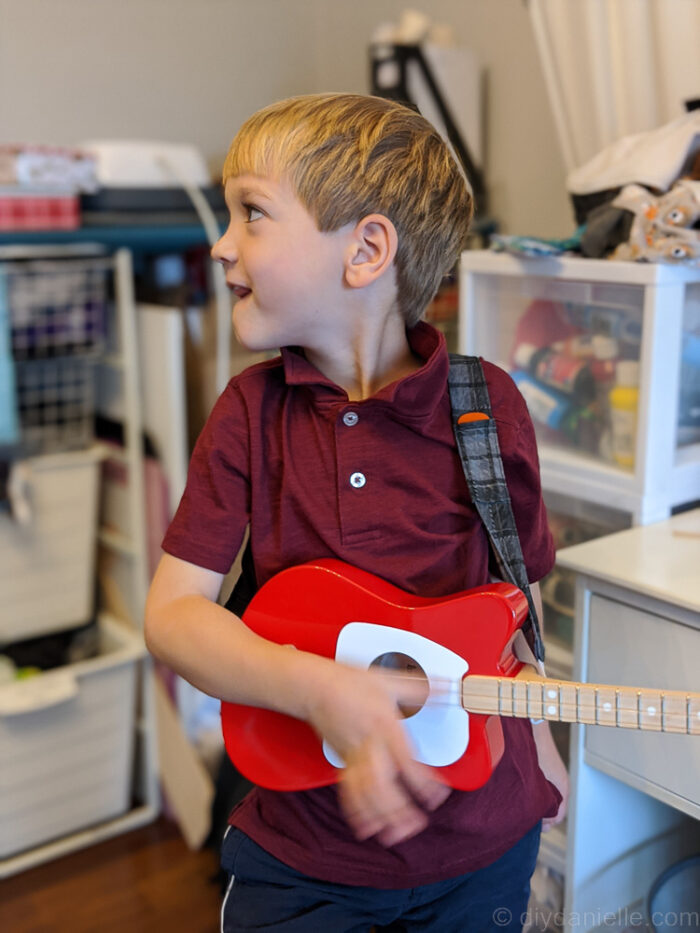
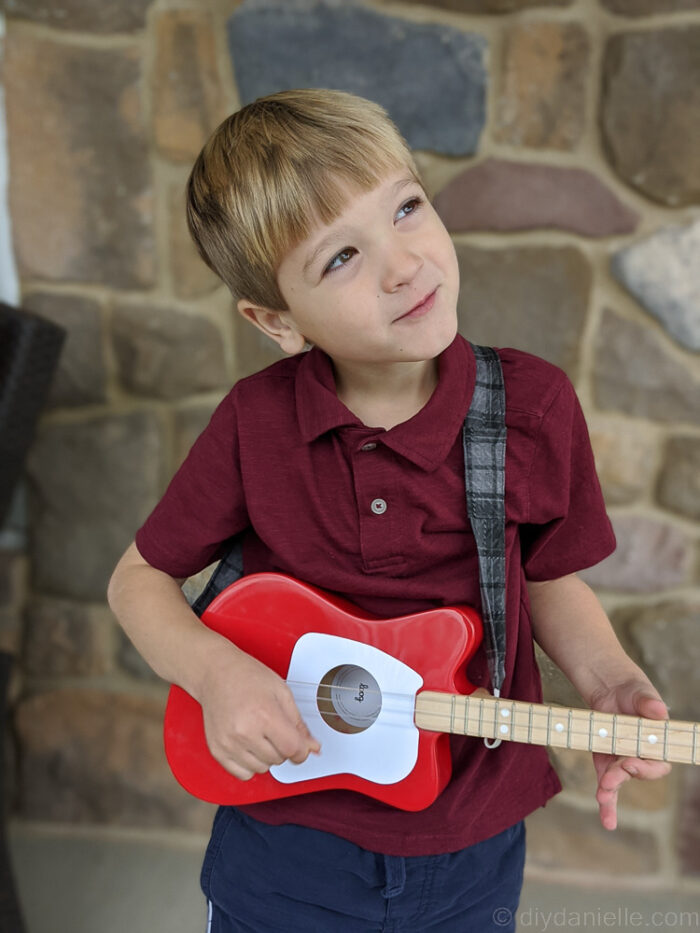
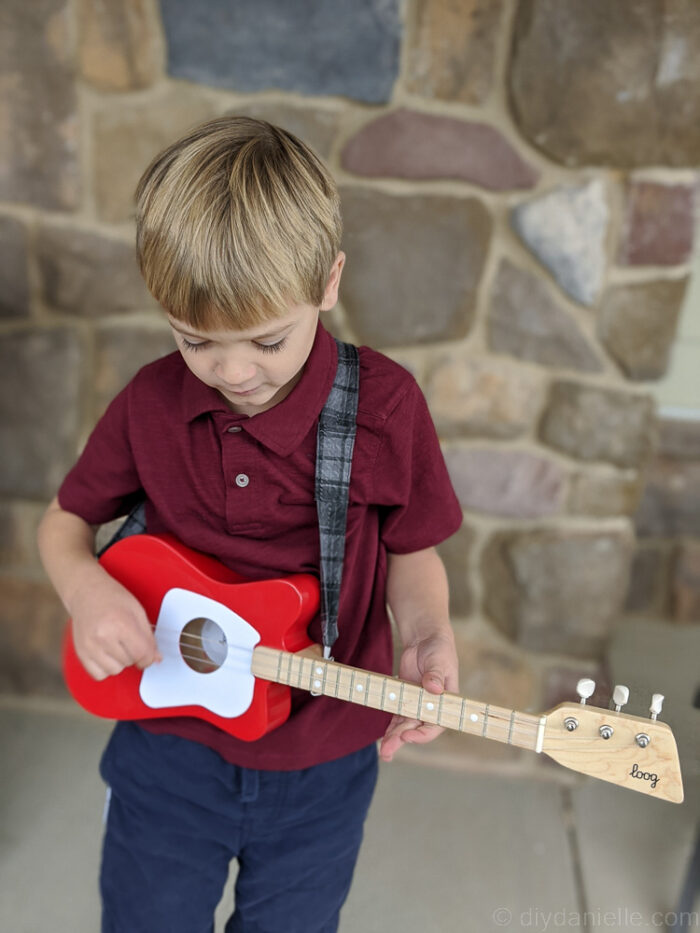
And here we are! Isn’t he cute!?

Please share and pin this post! You can also post your project and tag the DIYDanielle team on Instagram @doityourselfdanielle!